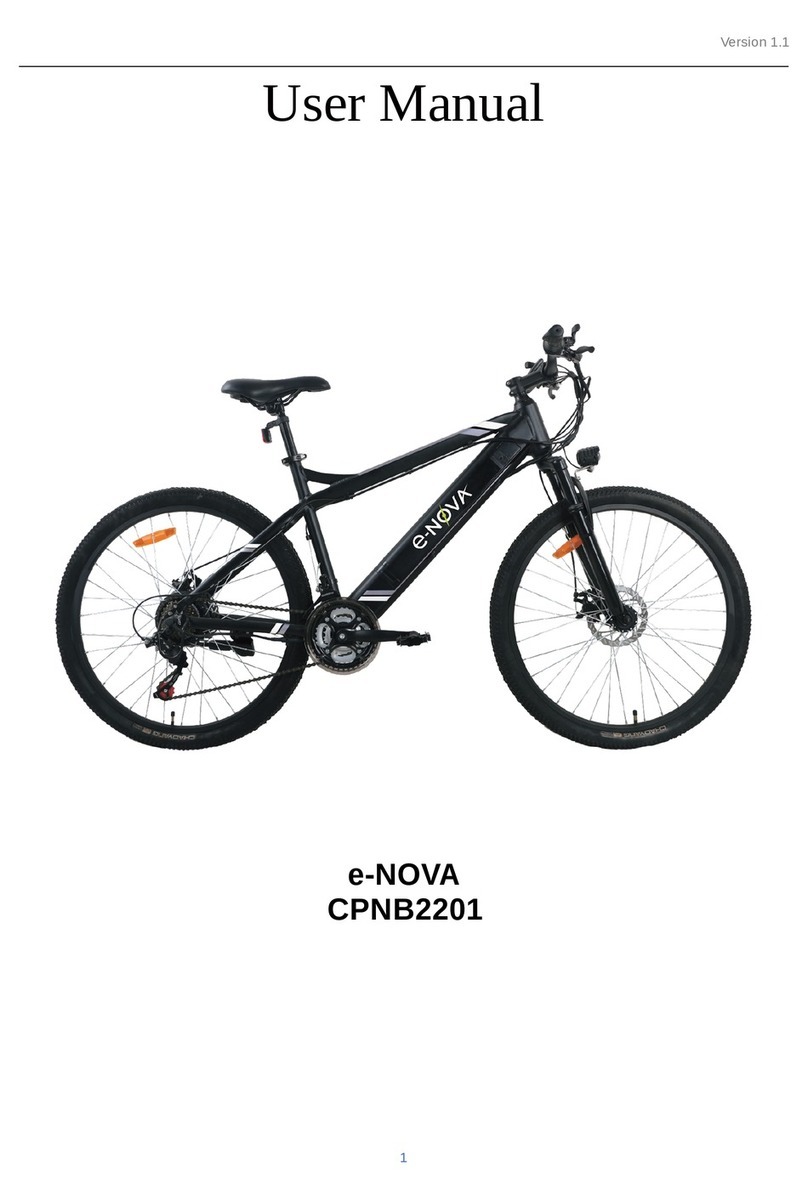
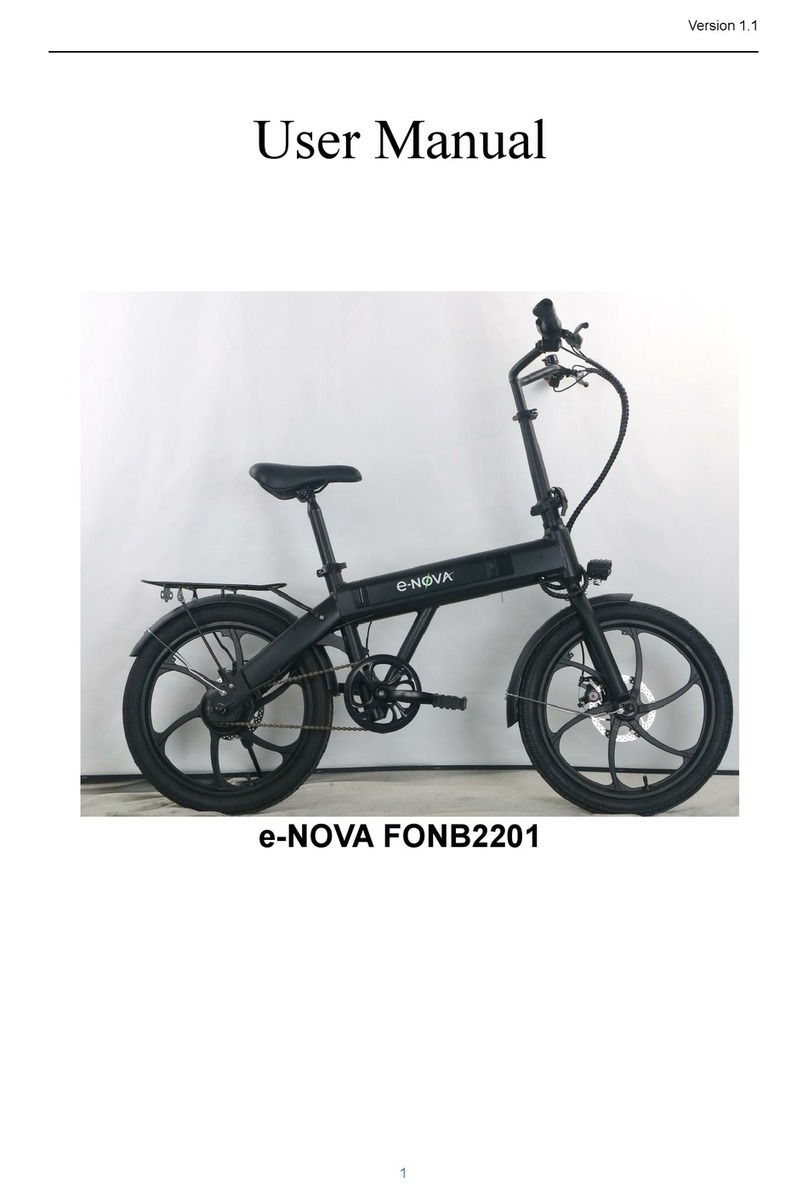
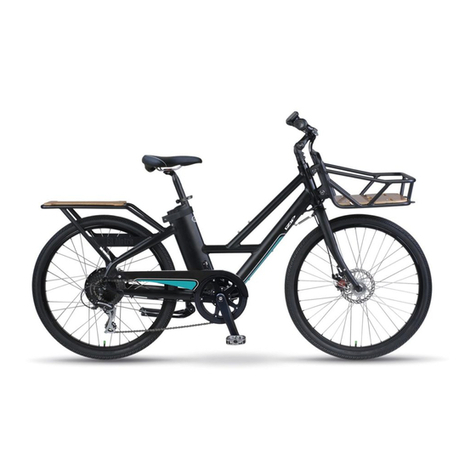
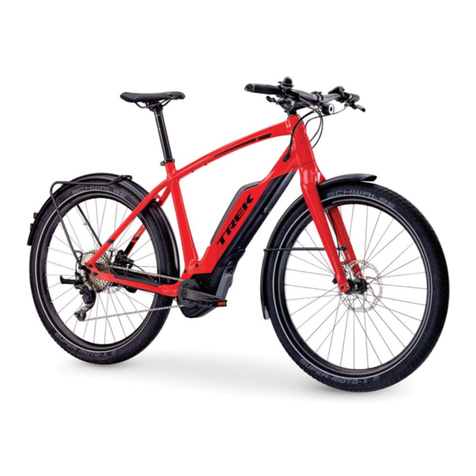
e-nova CINB2201 User manual

Version 1.1
User Manual
e-NOVA
CINB2201
Contents
1. Warranty conditions 2
2. Safety Instructions 3
2.1 Electrical Safety 3
3. Features 5
3.1 Electrical System 5
4. Parts of the Bicycle 5
4.1 Parts 5
4.2 The saddle and seatpost 5
5. General Terms of Use 6
5.1 IMPORTANT! Before riding your bicycle: 6
5.2 Throttle 6
5.3 Battery and Charger 6
5.4 Removing the battery 6
1

Version 1.1
5.5 Charging the battery 7
5.6 Battery level 7
5.7 Brakes 8
5.8 Button and Display 8
5.9 Control Unit 8
6. Maintenance and repairs 8
7. Troubleshooting 8
7.1 Technical Specifications 9
8. Assembly guide 9
8.1 Take out the bike from the original packaging 9
8.2 The front wheel 10
8.3 The handlebar and seatpost 10
8.4 The seatpost and saddle 11
8.5 The pedals 11
8.6 The front light and the front fender and rear fender 12
8.7 The rear fender support and luggage carrier 12
1. Warranty conditions
Our products are guaranteed for one year against manufacturing defects. The warranty does not cover labor,
normal wear and tear, accidental breakage or breakage due to lack of maintenance or improper use. The
main components of the bicycle are covered by the warranty, but not the accessories. Products used for
commercial purposes are not covered by this warranty.
The warranty is void in case of improper assembly of the bike, abuse, neglect, lack of maintenance, misuse,
or accidents, as well as improper charging of the battery or use of any charger not supplied by e-nova.
In no case shall Novaterr, our directors, officers, employees, affiliates, agents, contractors, interns, suppliers,
service providers or licensors be liable for any injury, loss, claim, or any direct, indirect, incidental, punitive,
special, or consequential damages of any kind, including, without limitation lost profits, lost revenue, lost
savings, loss of data, replacement costs, or any similar damages, whether based in contract, tort (including
negligence), strict liability or otherwise, arising from your use of any of the service or any products procured
using the service, or for any other claim related in any way to your use of the service or any product,
including, but not limited to, any errors or omissions in any content, or any loss or damage of any kind
incurred as a result of the use of the service or any content (or product) posted, transmitted, or otherwise
made available via the service, even if advised of their possibility. Because some states or jurisdictions do not
allow the exclusion or the limitation of liability for consequential or incidental damages, in such states or
jurisdictions, our liability shall be limited to the maximum extent permitted by law.
Safe disposal of the product
The appliance and its accessories must not be disposed of with normal household waste at the end of its life
cycle. Please refer to your local rules and regulations for safe disposal of the bike and its components, with a
special attention to safe disposal of the battery.
2

Version 1.1
2. Safety Instructions
Read the instruction manual thoroughly and follow the safety instructions in particular very carefully before the
use of bicycles
• Always obey traffic regulations.
• Do not use if you are not familiar with the bike and operating instructions before riding
• Wear a bicycle helmet whenever riding a bicycle.
• Check the bicycle brakes before each use, and keep in mind that the braking distance may vary
depending on the surface you are riding on (wet or icy conditions for instance).
• Check your bicycle's tire pressure at regular intervals. Having the correct tire inflation pressure is 3.5bar.
Incorrect tire pressure can lead to tire damage and shorten operating distance significantly.
2.1 Electrical Safety
★★
CAUTION!
★★
• Keep electrical appliances out of the reach of children. The utilization of the battery and battery charger
should be done only under adult supervision.
• To avoid injury and or damages, use only the original charger to charge the battery.
Using the wrong charger battery may lead to an explosion and cause personal injury and property
damage.
• Use only batteries approved for this product and accessories. Use of supplies from third parties may
result in fire, electrical shock, and damage to the bike or personal injury.
• Do not expose the bike electrical equipment to moisture, water or other liquids. If electrical parts are
exposed to water, disconnect the charger from the wall outlet immediately and stop using the charger.
• Do not expose the battery to fire or extreme heat. Risk of explosion!
• Unplug the charger from the wall outlet when not in use.
• Remove the charger by pulling the plug, not the cord, to avoid damage to the cable.
• Do not use the charger if the plug or cord is damaged, or if the charger is otherwise defective.
• The charger and the battery do not contain any user-serviceable parts. Do not attempt to disassemble or
repair the charger or battery on your own.
• Do not short-circuit the battery.
• Clean the electrical product only with a dry cloth.
• Avoid using an extension cord with the charger. Use an extension cord only if you are absolutely sure of
the compatibility of the extension cord with the charger.
• Before you plug in the charger, check that the power supply voltage is consistent with the marked voltage
on the charger.
• It is recommended that the battery is charged at a temperature ranging from 10
o
C to 30
o
C.
• If you charge the battery immediately after use, allow the battery to cool down for 30 minutes before
charging.
• To prevent fire risks from overcharging the battery, disconnect the charger after the battery is fully
charged.
• If not used regularly, the battery must be recharged every two months.
• Please keep the battery in a dry, cool and ventilated place. Avoid high temperatures, cold temperatures,
and/or high humidity environments.
IMPORTANT! Please read this manual carefully and strictly follow the instructions to assemble, operate and
maintain this product. Failure to do so will void the warranty and expose the user to risks of injury.
Before first use, be sure to carefully ensure that the bicycle is assembled correctly. Make sure in
particular that the pedals, saddle, brakes, handlebars, wheels and any part are securely installed.
NOTE
:
Never ride your bicycle while under the influence of alcohol, medicine or other substances.
This may impair your ability to react efficiently and to use your bike safely. Please always follow the
safety regulations in force in your area.
3

Version 1.1
3. Features
• Height-adjustable seatpost, suitable for different rider heights.
• The bike can be operated with or without the electrical assistance.
• Maximum weight of the rider: 136kg/300lb
• Ebike gross weight: approx.30kg
3.1 Electrical System
• Battery: 36 Volt lithium-ion (Li-ion) 10Ah
• Engine:36 V,350W, brushless
• The electrical assistance system is controlled by the speed sensor installed in the pedal system.
• Top speed: 32km/h (limited)
• Range: Up to 47km in ideal conditions
4. Parts of the Bicycle
4.1 Parts
1. Frame
2. Changeable battery
3. Seat lock lever
4. Brake lever
5. Tire
6.36V*350W motor
7. Pedal
8. Headlight
4.2 The saddle and seatpost
You may want to adjust the saddle
height.
Please note that the seatpost must not be raised above the limit inscription marked on the seatpost. Failure to
follow these instructions may lead to serious personal injury.
1. Open the seat lock lever.
2. Adjust the seatpost to the desired height. Do not exceed the safety limit indication.
3. Close the lock lever and make sure that the seatpost remains firmly in place.
Now get on your bike and place the ball of your foot directly on top of the pedal spindle, when the crank is at
the bottom of the rotation. Your leg should be just slightly bent. If your leg is too bent you will need to raise the
seatpost, and if your leg is too straight you should lower the post.
You can also adjust the angle of the saddle, loosen the screw below the saddle, then adjust the position, and
tighten the screw back in place. Ensure that the saddle remains firmly in place.
4

Version 1.1
5. General Terms of Use
5.1 IMPORTANT! Before riding your bicycle:
• Check that the seatpost and handlebars are tightened securely.
• Check that all bolts, nuts and fasteners are properly tightened. Pay special attention to the engine
mounts, the front fork, seatpost, saddle and handlebar.
• Check that the brakes and brake levers are working properly.
• Check that all reflectors and lights are in place and operating properly.
• Make sure that the battery is fully charged. Check the battery charge level of the control unit LED display.
5.2 Throttle
The bike is equipped with a throttle function and a pedal assist function. The throttle function is activated in a
similar way as on a motorcycle. Twist the right handlebar and the bike will accelerate. Make sure that you are
ready for the acceleration and that you are using the throttle in a secure way. For a safer use, you should
always turn off the bike after each use (by using the On/Off button on the control unit).
Please note that:
• When you release the throttle or when you brake, the power supply to the motor is shut off immediately.
• When you start moving, or you ascend a hill, you can use throttle and pedal assist at the same time. You
can also pedal without pedal assist. This means that you can save battery by pedaling more, or you can
still operate your bike even though the battery is empty.
• Tum off the ignition and remove the key whenever you stop using your bike.
• Please make sure that you turn off the power first from the control panel for preventing unintended
acceleration.
5.3 Battery and Charger
• Do not touch the battery terminals when the battery is charging. And, do not let the battery terminals
come in contact with metal or other conductive objects.
• When you charge the battery, position the battery in a safe place away from reach of children.
• Only use the supplied charger to recharge the battery.
• Never open, repair or modify the charger/battery by yourself.
• Prevent liquids, metal objects, or metal chips from entering the charger.
• Avoid shocks and dropping the charger.
• Do not cover the charger during the charging process. The charger heats up during charging.
• If you notice any strange odor or overheating during the charging, stop charging immediately.
• To maintain the health of your battery, recharge and drain the battery at least once a month. Do not use
the battery nearly empty, avoid driving the battery to 0% charge, and recharge the battery fully before
each use.
• Battery capacity may be reduced in cold weather. This is completely normal.
• Do not leave the charger connected to the battery and power source for more than 10 hours.
5.4 Removing the battery
To remove the battery, unlock the battery using the key. Insert the key into the lock and turn it
counterclockwise, then remove the battery. When you're done, put the battery back in place and lock.
5

Version 1.1
5.5 Charging the battery
You can charge the battery when it is on the bike, or you can remove the battery and charge it in a more
convenient place.
To charge the battery, first pull out the charging connector cover, then connect the AC charger to the
charging plug on the battery and then plug the charger into an AC outlet.
5.6 Battery level
You can easily check directly from the battery by pressing the button located on the battery
.
6

Version 1.1
5.7 Brakes
• Do not brake too sharply or abruptly. Otherwise, you may fall from the bicycle.
• The left brake lever controls the front wheel brake, and the right brake lever controls the rear wheel
brake.
• To reduce the effect of inertia, it is recommended to shift your weight backward while braking.
• If the brake pads are worn out, replace the brake pads as soon as possible.
• Before riding, always check the brakes
• Remember that the braking distance can be extended considerably in slippery conditions.
5.8 Button and Display
①
Headlight Button
②
Bell
③
Shifter
④
LED Control Unit
⑤
Throttle
5.9 Control Unit
The throttle and pedal assist will not work
when the display is just on.
The throttle is activated by twisting the right handlebar, while the pedal assist is activated when you set the
controller to step 1 (low), 2 (medium), or 3 (high).
6. Maintenance and repairs
IMPORTANT!
• Do not attempt to open the battery casing, motor or control unit. Failure to do so may result in
personal injury and will void the warranty.
• Your bike is equipped with a derailleur which tightens the chain automatically. If the chain starts
to look slack and/or jumps off the front plateau, you can manually tighten the chain by loosening
first the rear axle nuts slightly, adjusting the tension on the chain. Make sure that the chain is
rotating freely and tighten the rear axle nuts back on. Take the bike for service in a specialized
bike shop in your area if you are unsure about those steps.
7. Troubleshooting
Problem
Solution
Low top speed
Charge the battery fully and test again.
Power switched on but the engine does not work
Remove and reinstall the battery.
Low Range
Verify tire pressures.
Range can be affected by weather (especially
cold weather), road conditions, and charge on
the bike (weight of the rider for instance). Tire
7

Version 1.1
pressure.
Verify the pressure in both tires.
Perform a full battery charge and test again
Power switched on; the bike does not work
The control unit or the motor might need to be
replaced
Power switched on; the bike works only with throttle
The controller, the motor or pedal sensor might
need to be replaced
Throttle unresponsive
View battery charge level and recharge fully if
necessary
The control unit or the motor might need to be
replaced
The bike goes away by itself
Check that the throttle is not jammed. Lubricate
or replace the throttle grip
The bike does not start after stop
Check that the brake lever is released
completely
The charger is connected, the signal light does not
turn on
Make sure that the AC outlet is powered
correctly
The charger connected to the battery but the battery
is not charging
Check that the battery is not fully charged
already
Check that the charger is properly connected
7.1 Technical Specifications
Model
CINB2201
Type
Pedelec
Weight
24.3 kg
Permissible Gross Weight
Maximum 75 kg
Dimensions (W D H) mm
× ×
1770 640 1010
× ×
Maximum Speed
32 km/h (Limited)
Maximum Mileage
38-47 km
Control Unit
3 step, LED
Battery
36V, Li-ion,10Ah
Chargers
100V~240V/42V*2A
Charging time
3~4 hours
Brakes
Disc Brake
Motor
36V 350W, starting at about 32 km/h the motor
×
power supply is interrupted
Pedal sensor
Speed sensor
8. Assembly guide
8.1 Take out the bike from the original packaging
①
Remove all the parts from the original packaging. Check if the parts are damaged before assembly.
②
The seatpost, saddle and handlebars are tied to the Ebike, and the front wheel is tied to the front fork legs.
(Use scissors to cut the cable tie for assembling use) In addition, there are pedals, charger, charger cable
and assembly tools in the cardboard box.
8

Version 1.1
8.2 The front wheel
①
Tear off the front fork packaging and install the front wheel on the front fork.
②
Pay attention to the orientation of the front wheel: the front wheel disc is on the same side as the front fork
disc brake seat. Make sure that the axle is attached to the front fork on both sides.
③
Install the quick release, loosen the screw, the quick release handle should be on the same side as the
disc brake. On the other side, install the spring and nut.
④
Tighten the nut and turn the quick release handle upward tightly, Make sure that the quick release handle
is firmly in place and that the front wheel is locked.
⑤
After the front wheel is assembled, turn the front wheel manually to check whether the front wheel rotates
smoothly.
8.3 The handlebar and seatpost
①
Hold the seatpost upright and pre-lock the upper screws of the stem.
②
Loosen the 4 screws of the front cover of the stem, then take the handlebar and put it into the stem to lock
the handlebar, pay attention to the corresponding middle position of the handlebar (left and right hand side
should be at equal distance from the center of the stem), and correct rotation angle of the handlebars.
Tighten the screws of the front cover of the stem.
③
Rotate the handlebar to make sure that the handlebars are perpendicular to the direction of the front
wheel. This will ensure that the stem and direction column are well aligned. Tighten the upper screws of the
stem.
9

Version 1.1
8.4 The seatpost and saddle
①
Loosen the quick release and insert the saddle into the seatpost.
②
Straighten the angle of the saddle so that it is in line with the bike frame,
and adjust the height to a suitable height (be careful not to exceed the
seatpost safety line) and lock the quick release handle.
8.5 The pedals
①
Take out the pedals, pay attention to the left and right pedals. The letter R is printed on the right pedal
(drive side), and a letter L on the left pedal (non-drive side).
②
Place the right pedal on the drive side crank and thread the pedal spindle clockwise. Place the left pedal
on the non-drive side crank and thread the pedal spindle counterclockwise. Make sure both pedals are
locked into position using a 15 mm wrench.
10

Version 1.1
8.6 The front light and the front fender and rear fender
①
Position the light on the front fork. Insert the bolt and go through the front light and the front fork hole,
paying attention to the gasket on the bolt head.
②
Take the front fender and install it behind the front fork. Pass the fender bolt hole in the bolt installed in the
previous step. Then install the washer and nut on the bolt, and pre-lock the nut with a 5 mm hex key and a
10 mm wrench for the nut.
③
Attach the strut to front fork using the provided screws. Make sure that there is sufficient space between
the fender and the front wheel to let the wheel turn freely.
8.7 The rear fender support and luggage carrier
①
Take a 4 mm hex key, fix the front support of the rear fender.
②
Take the luggage carrier (the fender support matches the holes of the luggage carrier), and then tightens
the screws.
③
Take a 5 mm hex key, fix the front cup head screw, and tighten the nut with a 10 mm open end wrench,
note that the front light and mudguard need to be aligned.
11

Version 1.1
Please make sure to leave
enough of a gap between the
rear fender and the tire.
You can adjust the gap using
the rear fender bracket.
12
Table of contents
Other e-nova Bicycle manuals
