IMPORTANT: PLEASE KEEP THIS INSTRUCTION MANUAL FOR FUTURE REFERENCE !
Copyright © 2010 by E&G Classics, Inc. All right reserved. The reproduction or utilization of this work in any form or any electronic, mechanical, or other means, no known or hereafter invented,
including xerography, photocopying, and recording, and in any information storage retrieval system is forbidden without written permission of owners.
Part #: Complete 1398-0502-09
Notes to the Technician/Installer:
E&G is proud to present this package to you and reminds you that for technical information, contact Lynn Eash or Lee Clary at 410-381-4900. Do not attempt the installation of any
E&G product without first reading the detailed instructions. E&G Classics will not warrant
damaged parts or the vehicle due to altered installation instructions.
B 07 H1 P
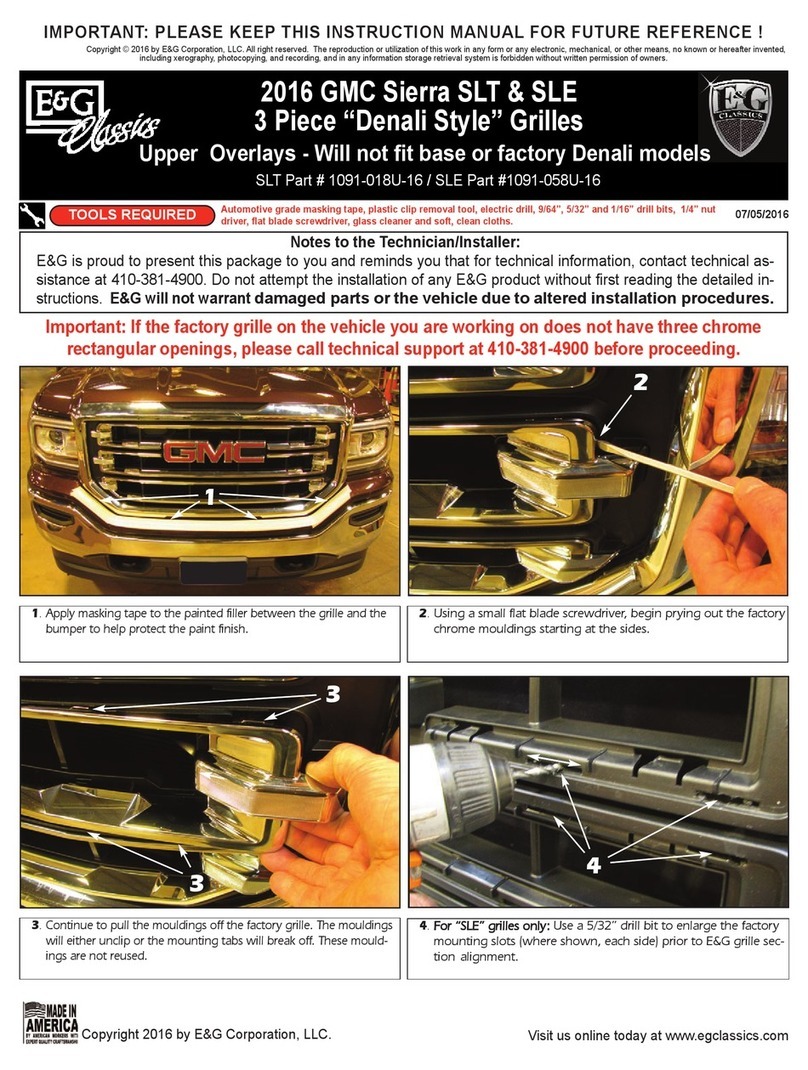
1. Open the hood and remove the plastic push fasteners retaining
the radiator support panel cover to the vehicle.
2. Remove the end of the factory weatherstrip attached to the radia-
tor support panel cover and reinstall the push pin back into the
weatherstrip if it comes out.
Copyright 2010 by E&G Classics, Inc. visit us online today at www.egclassics.com
2009-11 Chevrolet Traverse
TOOLS REQUIRED
Long flat blade screwdriver, #2 Phillips screwdriver, 2 - 6” sections of 2x4 wood, vice grips or long nosed
pliers, automotive grade masking tape.
Pro-Form Overlay Fine Mesh Grille
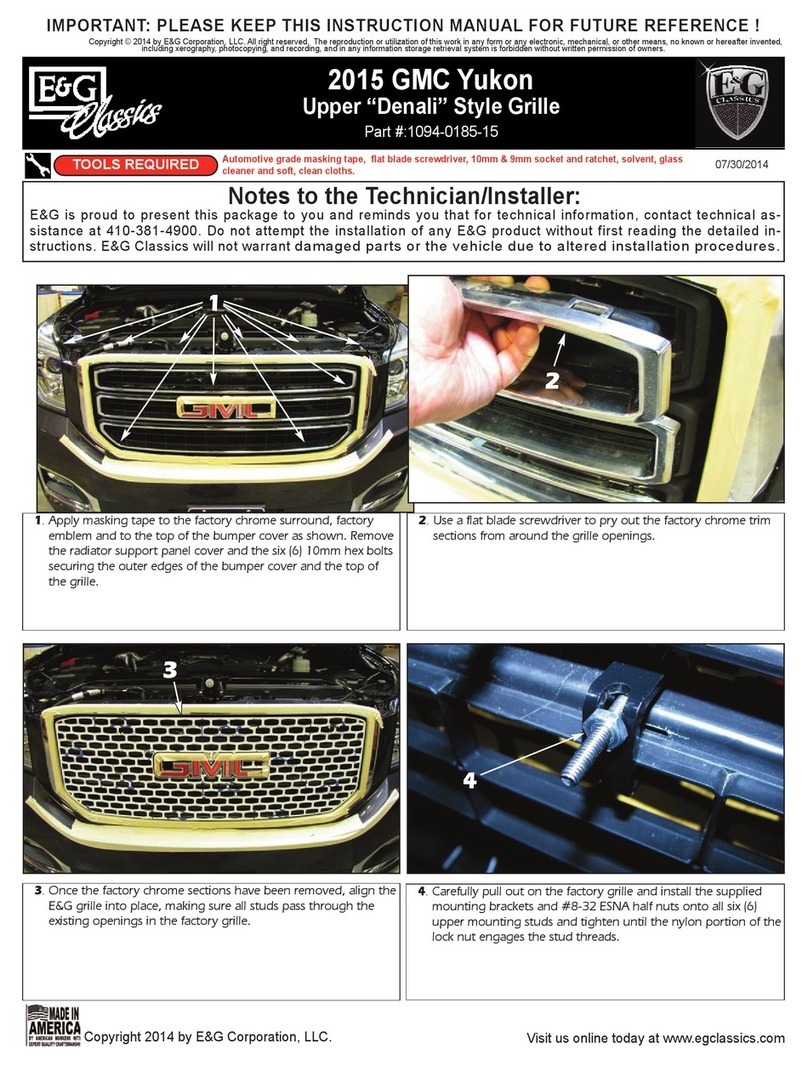
3. Remove the factory screws securing the top edge of the grille and
bumper cover to the mounting panel.
1
2
3
4. Apply several layers of masking tape to the factory grille sur-
rounds to protect the finish.
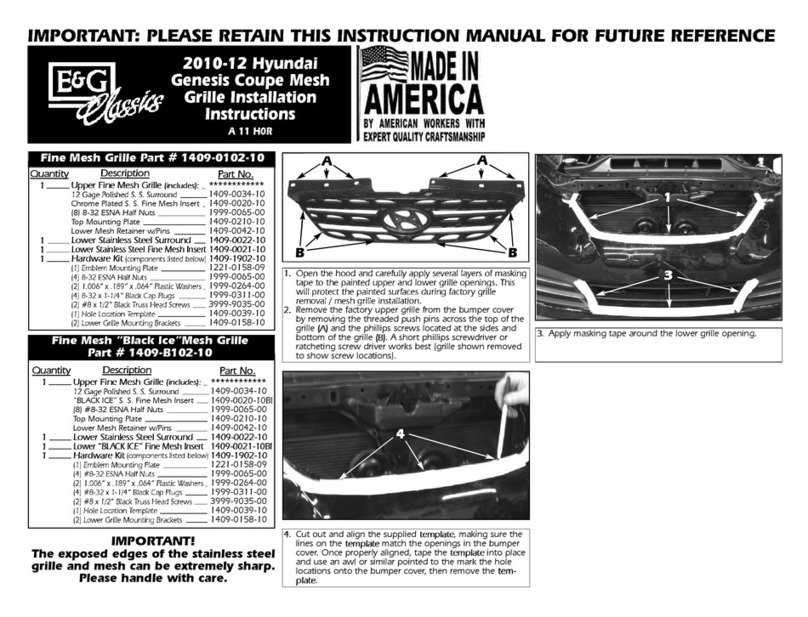
4a. Align the lower Pro-Formed mesh section over the factory grille
and use masking tape to hold it in place while aligning and in-
stalling the mounting pins.
4a
4
