R
R
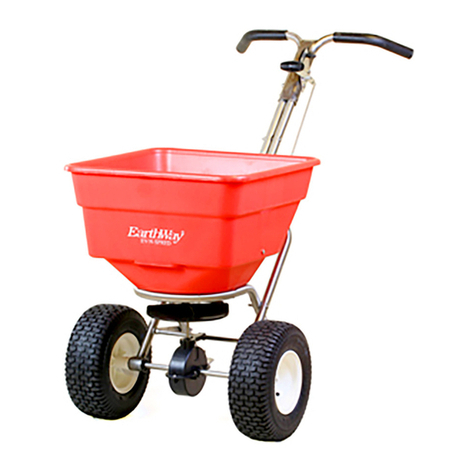
2040Pi-Plus HIGH-OUTPUT
ASSEMBLY and OPERATING INSTRUCTIONS
5-Year LIMITED WARRANTY
Earthway Products, Inc. warrants this product free of defects in original workmanship and materials for a period of 5-years to the end user
with the original purchase receipt for at home use. If used for business, the warranty is 90-days. If a manufacturing non-conformance
is found, Earthway Products, Inc. at its discretion will repair or replace the part(s) or product at no charge provided the failure is not the
result of incorrect installation, mishandling, misuse, tampering, or normal wear and tear as determined by Earthway. Earthway at its
discretion may require that the part(s) or product be returned along with the original purchase receipt at owners’ expense for examination
Inc. To seek remedy under this warranty, contact Earthway Products, Inc. at 574-848-7491, support@earthway.com or write to Earthway
Products, Inc. P.O. Box 547 Bristol, Indiana 46507 and describe the nature of the manufacturing defect. SPECIFIC LIMITATIONS: This
each use, as a preventative measure, coat all metal parts with a light oil or silicon spray.
or operation of this spreader. We can be reached via the telephone at 800-294-0671 or 574-848-7491 Monday—Friday
9:00am ~ 4:00pm or visit us online at www.earthway.com This spreader comes with lifetime technical support, email us at
support@earthway.com if you have any questions.
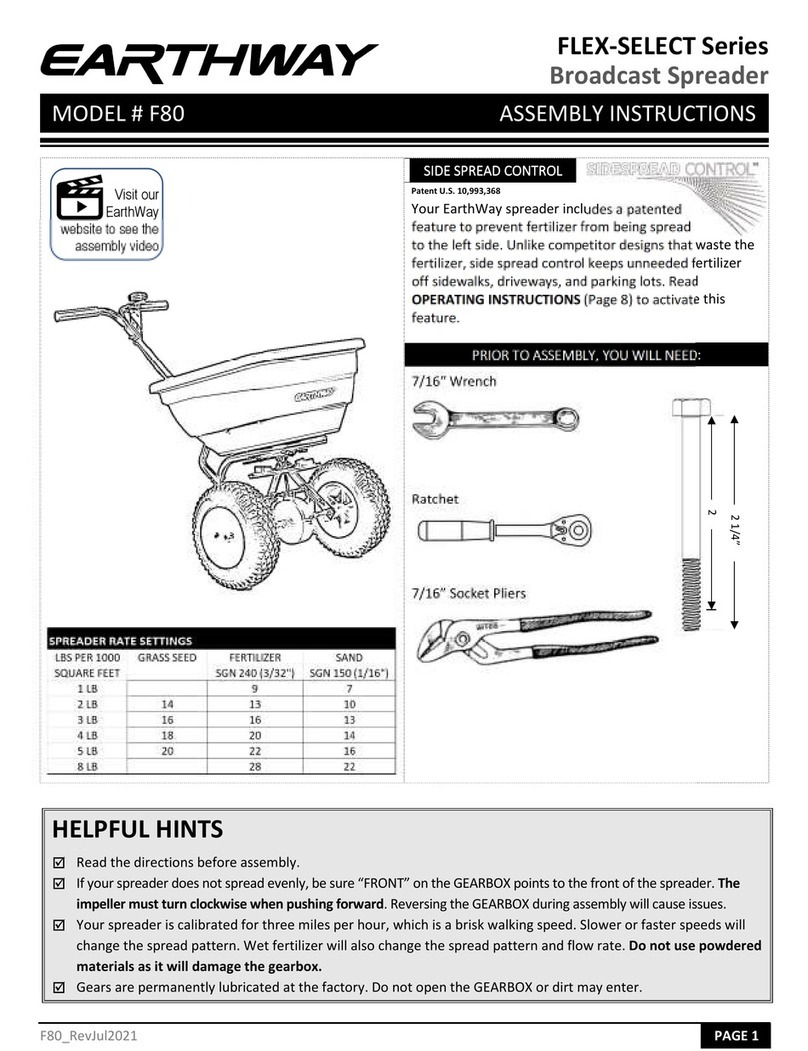
HELPFUL HINTS: READ THE DIRECTIONS BEFORE ASSEMBLY
5
the spread patterns.
5
5Wash with clean water and dry thoroughly and spray a light coating of oil on all
metal parts (inside all of the tubing) to help prevent corrosion.
5
STEP 2:
Install Control Rod into
handle as shown above.
TIP: Install the Control Rod
using pliers to squeeze into
Lever.
STEP 3:
Rotate forward.
STEP 4:
Insert Control
Rod into Pivot
and secure with
Hair Pin Clip.
STEP 1:
Remove spreader from carton and pull handle into
position shown at right. Tighten wingnuts to secure.
Assembly is complete. Set the stop on the Control
Assembly for the desired setting and your spreader
is ready to operate.
ASSEMBLY INSTRUCTIONS
11-2018 Pt. #52214PIR
