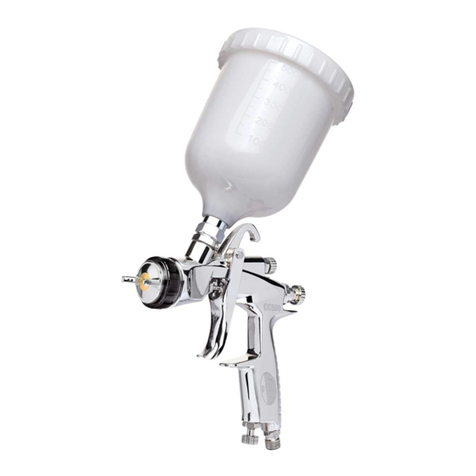
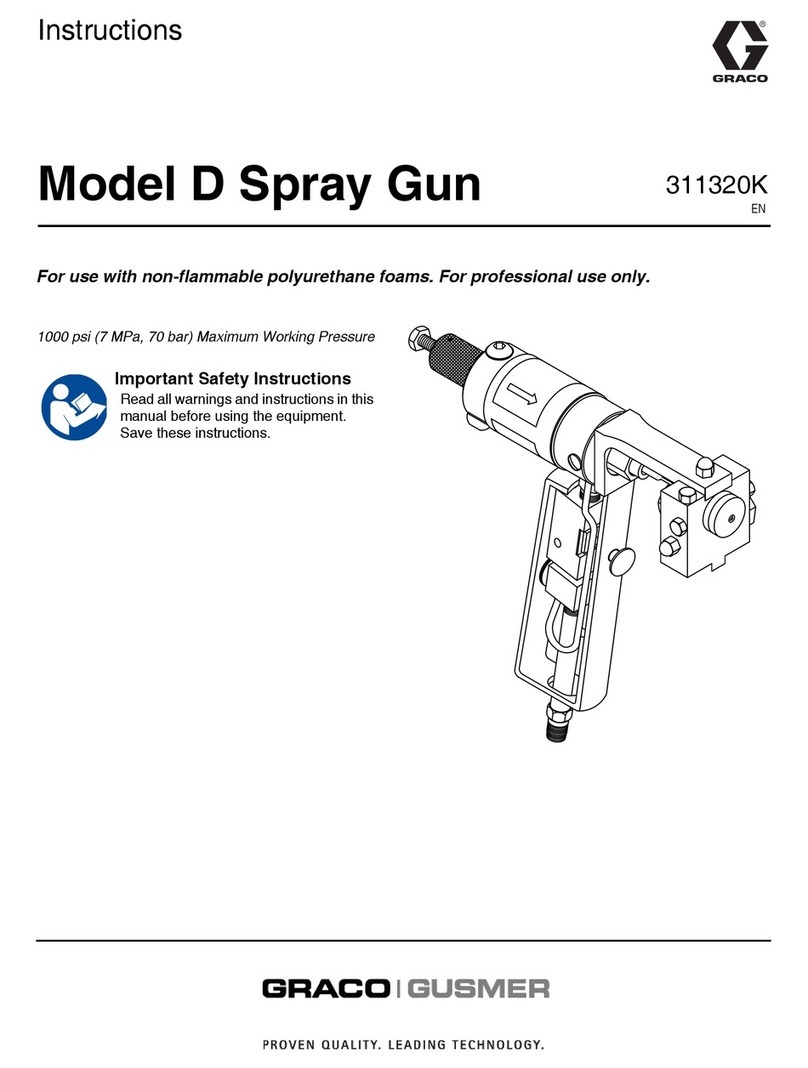
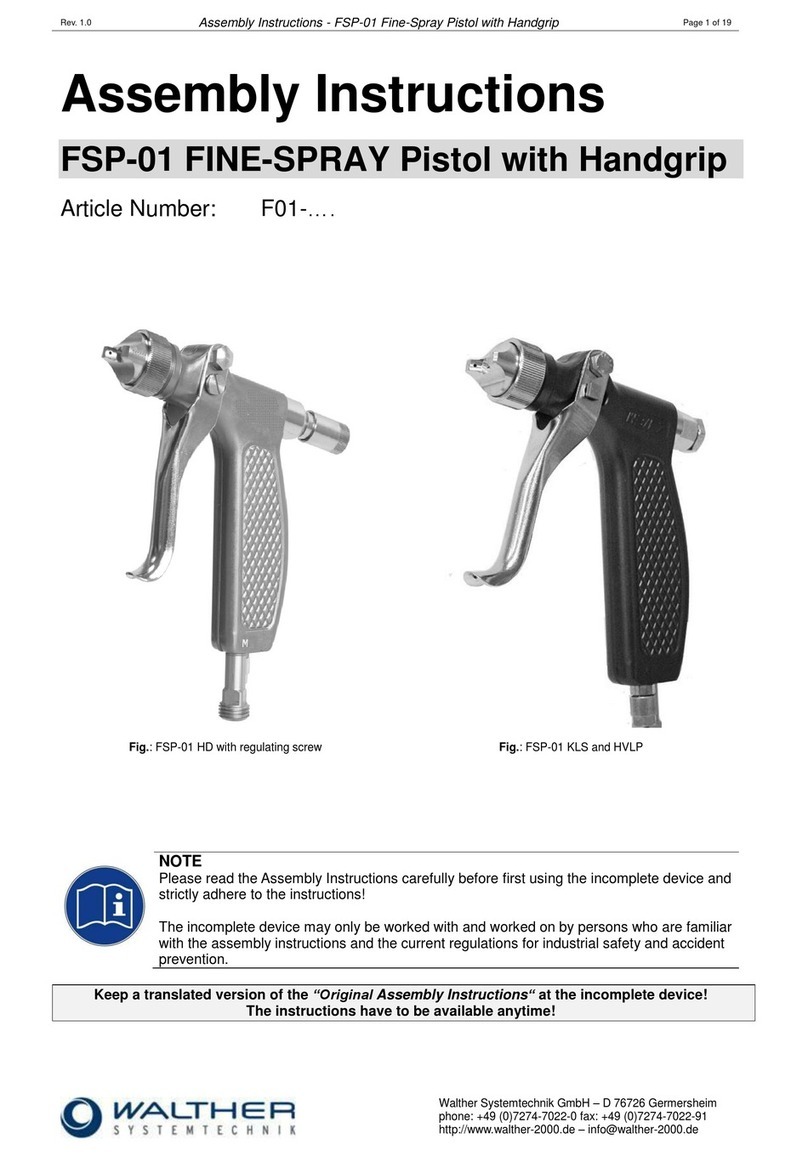
Eastwood Concours PRO User manual

Part #14772
© Copyright 2014 Easthill Group, Inc. Instruction part #14772Q Rev. 8/14
If you have any questions about the use of this product, please contact
The Eastwood Technical Assistance Service Department: 800.544.5118 >> email: techelp@eastwood.com
PDF version of this manual is available online >> eastwood.com/14772manual
The Eastwood Company 263 Shoemaker Road, Pottstown, PA 19464, USA
US and Canada: 800.345.1178 Outside US: 610.718.8335
Fax: 610.323.6268 eastwood.com
HVLP DETAIL PAINT GUN
INSTRUCTIONS

2Eastwood Technical Assistance: 800.544.5118 >> techelp@eastwood.com To order parts and supplies: 800.345.1178 >> eastwood.com 7
The Eastwood Professional Detail Gun is a top quality, true professional level paint gun specifically
designed for optimal internal paint and air flow. With high precision and excellent control, this detail
gun is fully capable of producing results equal or superior to other high-end HVLP detail guns.
INCLUDES
(1) HVLP Paint Gun with 1.0mm fluid nozzle
(1) 100ml. plastic Paint Cup
(1) Cleaning set
(1) Manifold removal tool
TROUBLE-SHOOTING
• Gun produces an uneven spray pattern or fan:
- Paint or film buildup on Air Cap blocking air holes.
Disconnect air supply and clean buildup from Air Cap.
• Gun “spits” or sputters; discharges large droplets:
- Paint or film buildup on Needle & Nozzle.
Disconnect air supply and clean buildup from Needle & Nozzle. Note: Use of solvent may be
helpful, removal of the Nozzle may be necessary.
• Gun draws only a small amount of paint or none at all:
- Clump or piece of paint film blocking Pickup Tube.
Disconnect air supply; remove Paint Cup and Pickup Tube. Remove blockage from Pickup
Tube then strain paint or coating to remove clumps or film.
ADDITIONAL AVAILABLE ITEMS
• #10041Z Eastwood PRE Painting Prep, Aerosol
• #12846Z Aerosol Injected Cleaner
• #11455-11456 Respirators
• #20403-20406 Coveralls
• #51687 150cc Aluminum Cup
• #12412 DeKups Adaptors
• #34113 60 psi Respirator
• #12569 Master Gun Cleaning Kit
SPECIFICATIONS
• 3 CFM @ 19 to 22 psi (1.5 to 2 Bar)
• 1/4" male NPT input threads
• M14 x 1.0 NPS paint cup attachment threads
• 1.0mm stainless steel needle/nozzle set

6Eastwood Technical Assistance: 800.544.5118 >> techelp@eastwood.com To order parts and supplies: 800.345.1178 >> eastwood.com 3
SAFETY INFORMATION
READ INSTRUCTIONS!
Read and understand all instructions thoroughly.
FIRE AND EXPLOSION HAZARD!
Do Not use near sparks, open flame or other potential ignition source.
HEALTH HAZARD!
• Avoid breathing vapors produced by Spray Gun. Always wear appropriate NIOSH
approved breathing apparatus and use in a well ventilated area.
• Wear appropriate eye protection.
• Wear solvent-resistant gloves.
• Remove Air Cap by removing Retaining Ring.
• Remove Nozzle with an 8mm wrench.
(Included)
• Unthread and remove Fluid Control Knob from
rear of Paint Gun body.
• Carefully remove Tension Coil Spring with
Bushing and Needle by firmly gripping rear of
Needle and pulling out through rear of Paint
Gun Body (Fig C).
• Remove brown plastic Air Manifold. (note
position of locating pin on manifold to bore
in Paint Gun body for re-assembly) with
special removal tool by placing hooks facing
downward, through manifold openings, under
spokes and pulling directly outward toward
front of Gun Body (Fig D & E ).
• Inspect and clean as required.
• Replace Air Manifold (be sure to correctly
position the locating pin on manifold into bore
in Paint Gun Body.
• Replace Needle by sliding into bore in rear of
Paint Gun Body until it seats.
• Slide Needle Tension Spring w/bushing over
the rear of the Needle (Fig F).
• Replace Nozzle by threading into front of Gun
Body and tighten firmly with included 8mm
wrench (Caution: do not-over tighten).
• Replace Air cap by threading Retaining Ring
onto Gun Body. Make sure the air horns of
the Air Cap are oriented properly.
Fig. C
Fig. D
Fig. E
Fig. F
PAINT GUN DISASSEMBLY
FOR ADDITIONAL
CLEANING OR REBUILDING
SET-UP
• Remove all components from carton, identify them and become familiar with their purpose.
• A 5/16" I.D. minimum air hose at a 25' maximum length is strongly recommended for best
results. Smaller I.D. hose and greater length may produce unsatisfactory results.
• A clean, dry, regulated air supply is required. The use of an additional “on the gun” regulator is
strongly recommended to accurately control gun pressure while painting.
• Clean out the paint cup as well as the paint gun air and paint passages with a solvent such
as Eastwood PRE or acetone to remove any residual manufacturing impurities before use
dry thoroughly.

4Eastwood Technical Assistance: 800.544.5118 >> techelp@eastwood.com To order parts and supplies: 800.345.1178 >> eastwood.com 5
GUN SETTINGS
• Air Cap – Make sure the Air Cap is properly oriented in a horizontal plane to produce a vertical
fan spray pattern by viewing the HVLP Paint Gun from the front. To adjust, loosen Retaining Ring
by rotating counter-clockwise slightly, adjust Air Cap then re-tighten Retaining Ring (Fig A).
• Fluid Control – The Fluid Control knob (located at top rear of gun body) regulates the distance
the Needle travels and the amount of paint flowing through the gun. Note: Generally for higher
viscosity coatings, a wider opening is desired while a closer opening is better suited for lower
viscosity fluids. To adjust, rotate the Fluid Control Knob outward (counter-clockwise as viewed
from the rear) to increase flow and turn inward to reduce flow (Fig A).
• Fan Control – The Fan Control knob (located at the upper left side of the paint gun body) con-
trols the size and shape of the spray pattern of “fan”. Rotating the knob counterclockwise will
produce a larger and softer spray pattern while result in a smaller, sharper pattern. For most
painting conditions, a larger, softer fan is desired (Fig A).
• Air Control – The Air Control knob (located at the bottom of the gun handle adjacent to the
air inlet) is opened by rotating in a counter-clockwise direction (as viewed form the bottom of
the gun). This is for “fine tuning” the airflow to the gun. You will generally want to set the inlet
pressure at the regulator, start with the Air Control in the full open position and decrease air as
needed (Fig A).
• When you have achieved your optimal knob settings, note their positions with the indicators on
the gun body and knobs. This will assist in quickly “tuning” the gun in future uses.
• With practice, you will quickly acquire a “feel” for the gun & will be producing professional results.
IMPORTANT NOTES BEFORE PAINTING
1. Please note that many variables affect the adjustment of a paint gun including paint viscosity
and type, atmospheric conditions, such as humidity, barometric pressure and temperature, as
well as air inlet pressure and operator preference. Always “tune” the gun before each use, as
prevailing conditions may not be the same as the previous use.
2. It is always best to test spray on sheets of cardboard or masking paper with the actual paint
you will be applying while making your adjustments to become familiar with the gun and
achieve the ideal Fluid Control Setting.
3. Remember that a small amount of product wasted at this point can avoid disappointment in
your results and the need to re-do your work later.
CLEAN-UP
• Disconnect air supply to gun.
• Remove Paint Cup and pour unused coating into proper container.
• Wipe out any excess coating, then thoroughly rinse the Paint Cup with a mild solvent compatible
with the coating being used.
• Pour a small amount of a solvent compatible with the paint being used in the Paint Cup then
attach Paint Cup, reconnect air supply then spray solvent through HVLP Gun in a safe area
until it flows clear. Note, as an alternative, #12846Z Eastwood Aerosol Injected Gun Cleaner is
excellent for this purpose.
• Remove air supply from HVLP Gun.
• Pour out any unused solvent and remove paint cup.
• Allow solvent to dry completely from all components.
Air Cap
Air Valve
Fluid Control Knob
Fan Control Knob
Fig. A

6Eastwood Technical Assistance: 800.544.5118 >> techelp@eastwood.com To order parts and supplies: 800.345.1178 >> eastwood.com 3
SAFETY INFORMATION
READ INSTRUCTIONS!
Read and understand all instructions thoroughly.
FIRE AND EXPLOSION HAZARD!
Do Not use near sparks, open flame or other potential ignition source.
HEALTH HAZARD!
• Avoid breathing vapors produced by Spray Gun. Always wear appropriate NIOSH
approved breathing apparatus and use in a well ventilated area.
• Wear appropriate eye protection.
• Wear solvent-resistant gloves.
• Remove Air Cap by removing Retaining Ring.
• Remove Nozzle with an 8mm wrench.
(Included)
• Unthread and remove Fluid Control Knob from
rear of Paint Gun body.
• Carefully remove Tension Coil Spring with
Bushing and Needle by firmly gripping rear of
Needle and pulling out through rear of Paint
Gun Body (Fig C).
• Remove brown plastic Air Manifold. (note
position of locating pin on manifold to bore
in Paint Gun body for re-assembly) with
special removal tool by placing hooks facing
downward, through manifold openings, under
spokes and pulling directly outward toward
front of Gun Body (Fig D & E ).
• Inspect and clean as required.
• Replace Air Manifold (be sure to correctly
position the locating pin on manifold into bore
in Paint Gun Body.
• Replace Needle by sliding into bore in rear of
Paint Gun Body until it seats.
• Slide Needle Tension Spring w/bushing over
the rear of the Needle (Fig F).
• Replace Nozzle by threading into front of Gun
Body and tighten firmly with included 8mm
wrench (Caution: do not-over tighten).
• Replace Air cap by threading Retaining Ring
onto Gun Body. Make sure the air horns of
the Air Cap are oriented properly.
Fig. C
Fig. D
Fig. E
Fig. F
PAINT GUN DISASSEMBLY
FOR ADDITIONAL
CLEANING OR REBUILDING
SET-UP
• Remove all components from carton, identify them and become familiar with their purpose.
• A 5/16" I.D. minimum air hose at a 25' maximum length is strongly recommended for best
results. Smaller I.D. hose and greater length may produce unsatisfactory results.
• A clean, dry, regulated air supply is required. The use of an additional “on the gun” regulator is
strongly recommended to accurately control gun pressure while painting.
• Clean out the paint cup as well as the paint gun air and paint passages with a solvent such
as Eastwood PRE or acetone to remove any residual manufacturing impurities before use
dry thoroughly.

2Eastwood Technical Assistance: 800.544.5118 >> techelp@eastwood.com To order parts and supplies: 800.345.1178 >> eastwood.com 7
The Eastwood Professional Detail Gun is a top quality, true professional level paint gun specifically
designed for optimal internal paint and air flow. With high precision and excellent control, this detail
gun is fully capable of producing results equal or superior to other high-end HVLP detail guns.
INCLUDES
(1) HVLP Paint Gun with 1.0mm fluid nozzle
(1) 100ml. plastic Paint Cup
(1) Cleaning set
(1) Manifold removal tool
TROUBLE-SHOOTING
• Gun produces an uneven spray pattern or fan:
- Paint or film buildup on Air Cap blocking air holes.
Disconnect air supply and clean buildup from Air Cap.
• Gun “spits” or sputters; discharges large droplets:
- Paint or film buildup on Needle & Nozzle.
Disconnect air supply and clean buildup from Needle & Nozzle. Note: Use of solvent may be
helpful, removal of the Nozzle may be necessary.
• Gun draws only a small amount of paint or none at all:
- Clump or piece of paint film blocking Pickup Tube.
Disconnect air supply; remove Paint Cup and Pickup Tube. Remove blockage from Pickup
Tube then strain paint or coating to remove clumps or film.
ADDITIONAL AVAILABLE ITEMS
• #10041Z Eastwood PRE Painting Prep, Aerosol
• #12846Z Aerosol Injected Cleaner
• #11455-11456 Respirators
• #20403-20406 Coveralls
• #51687 150cc Aluminum Cup
• #12412 DeKups Adaptors
• #34113 60 psi Respirator
• #12569 Master Gun Cleaning Kit
SPECIFICATIONS
• 3 CFM @ 19 to 22 psi (1.5 to 2 Bar)
• 1/4" male NPT input threads
• M14 x 1.0 NPS paint cup attachment threads
• 1.0mm stainless steel needle/nozzle set

Part #14772
© Copyright 2014 Easthill Group, Inc. Instruction part #14772Q Rev. 8/14
If you have any questions about the use of this product, please contact
The Eastwood Technical Assistance Service Department: 800.544.5118 >> email: techelp@eastwood.com
PDF version of this manual is available online >> eastwood.com/14772manual
The Eastwood Company 263 Shoemaker Road, Pottstown, PA 19464, USA
US and Canada: 800.345.1178 Outside US: 610.718.8335
Fax: 610.323.6268 eastwood.com
HVLP DETAIL PAINT GUN
INSTRUCTIONS
This manual suits for next models
1
Table of contents
Other Eastwood Paint Sprayer manuals

Eastwood
Eastwood Elite Concours CC500 User manual

Eastwood
Eastwood 51550 Manual

Eastwood
Eastwood CONCOURS LT100 User manual

Eastwood
Eastwood 20441 User manual

Eastwood
Eastwood Concours PRO User manual

Eastwood
Eastwood 16294 User manual

Eastwood
Eastwood 12854 User manual

Eastwood
Eastwood HotCoat User manual

Eastwood
Eastwood 19867 User manual

Eastwood
Eastwood CONCOURS 2 16287 User manual