QUESTIONS?
Call 1-888-991-1559 or
Instruction Guide
How To Use These Instructions
Thank you for your purchase! Please read each step of
this manual thoroughly to ensure proper installation of
your new EasyGarage storage solution.
These instructions assume that you are installing our
standard units in a standard wood frame construction
(i.e., 2˝ x 4˝ or 2˝ x 6˝ framing) preferably covered with
drywall. If any aspect of your installation does not apply
to these standard construction methods, contact
Customer Service (1-888-991-1559). Installation into
metal studs or masonry walls will require additional
hardware available from your local hardware store.
Our limited lifetime warranty is based on following
proper installation techniques. Installing your garage
storage solution in any manner other than the steps
outlined in this manual may lead to structural failure of
the storage solution.
Getting Started (continued)
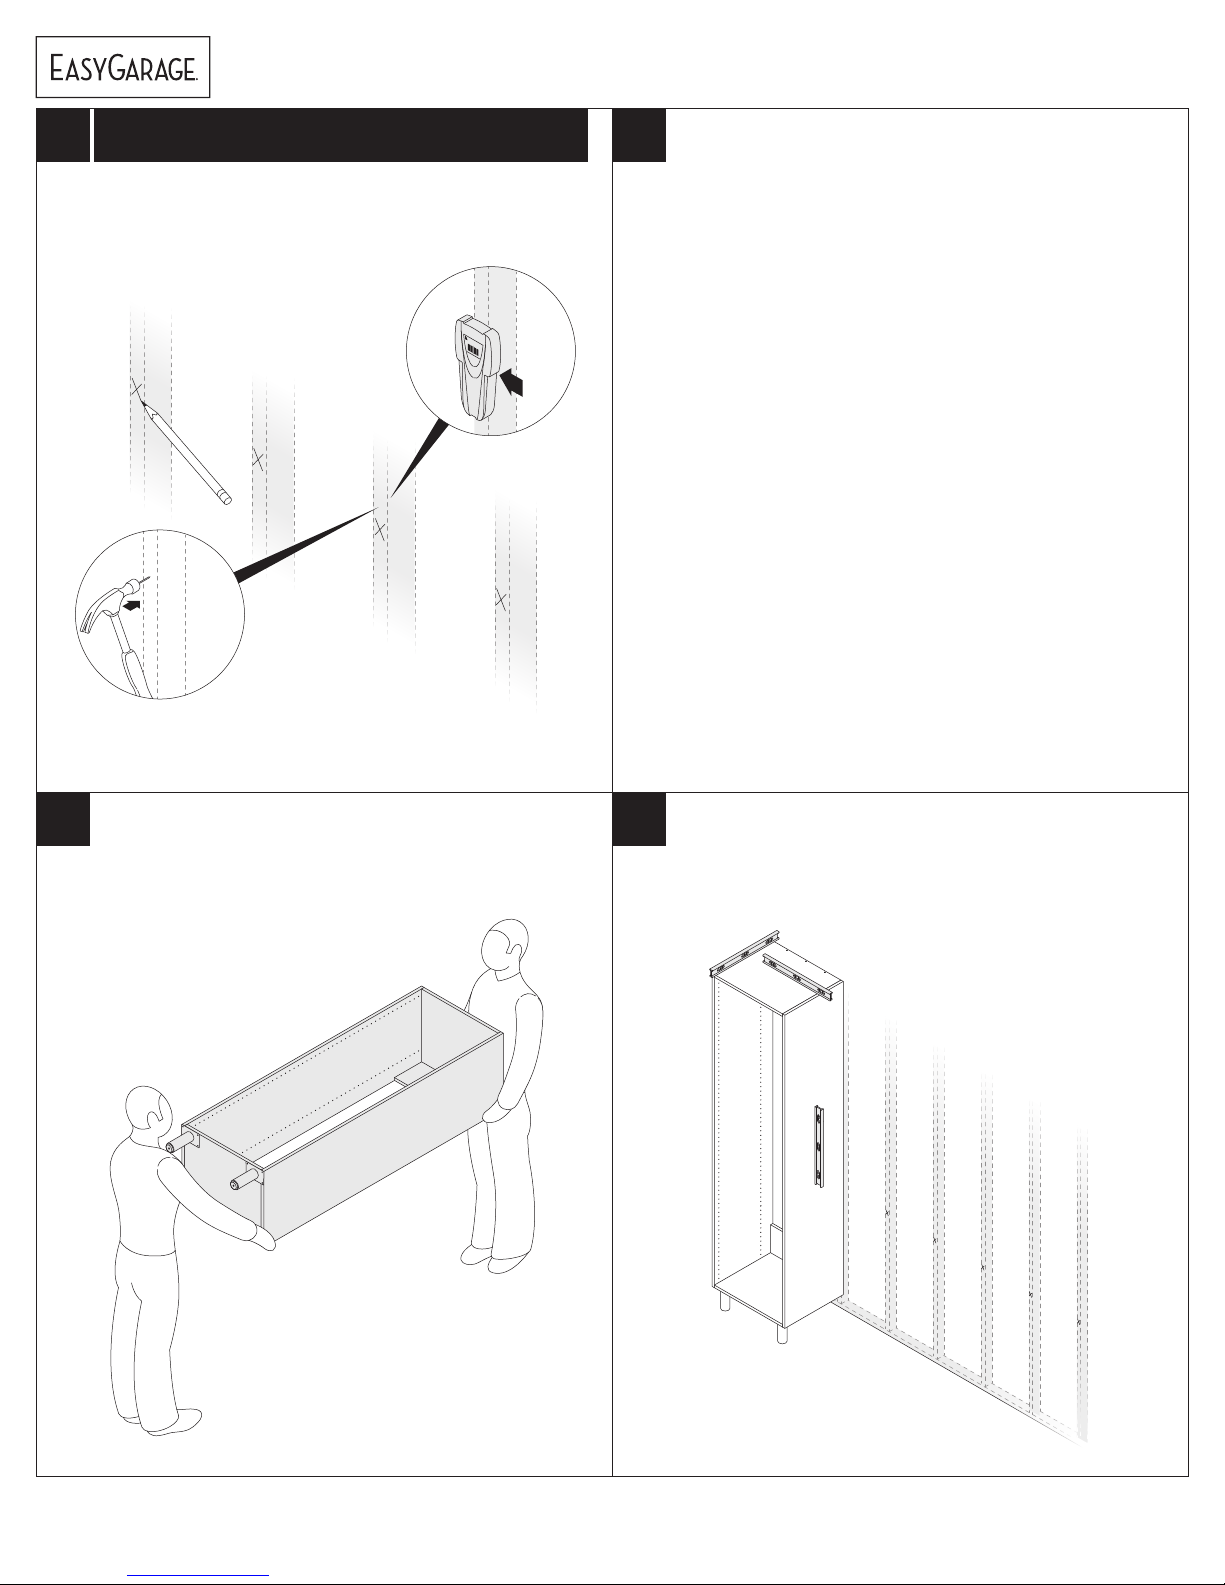
B. Remove existing storage.
C. Prepare walls.
1. Spackle and repaint: If desired, ll holes with
spackling and repaint wall(s). As you ll in the
holes, note these locations, as they often mark
the locations of the studs.
These instructions are for informational purposes only.
Your wall, any hidden wiring or plumbing, and overall
work conditions may not be the same as those shown
in the illustrations. It is your responsibility to ensure
proper installation and, if in doubt, contact Customer
Service. While our products are designed for
homeowner installation, you assume all risk associated
with the installation process.
Getting Started
A. Check your inventory before beginning installation!
1. Check boxes: Ensure that you have received all
boxes in your shipment. Each box is labeled with
a content label. Note each box as well as the total
number of boxes in the shipment.
2. Open each box and compare the contents
against the itemized list on the content label.
3. Organize material: Organize the material per
cabinet.
4. Take a full inventory of the contents using the
“Order Summary”as a checklist. Once all material has
been inventoried, if any pieces are damaged, missing,
or incorrect, please keep all packing material and
contact Customer Service (1-888-991-1559).
Index
Tools 2
Hardware 2-3
Components 3
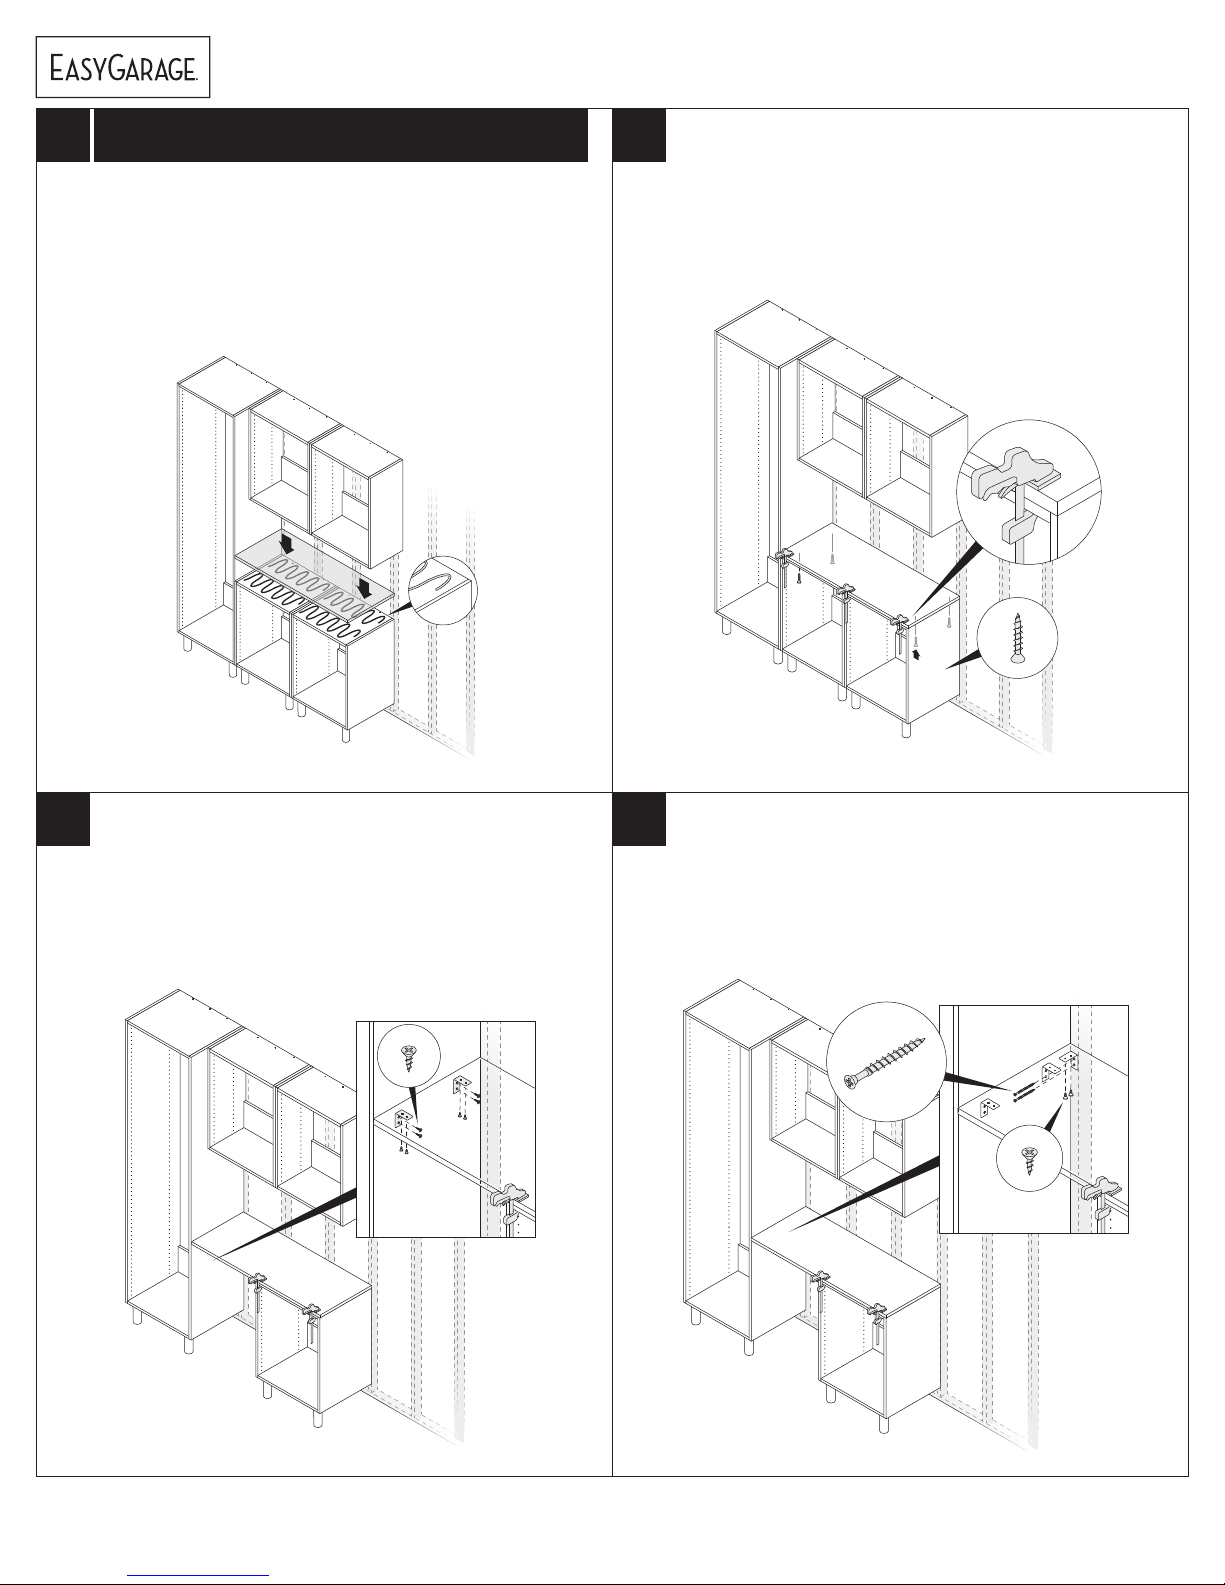
Cabinet Assembly 4
Cabinet Installation 7
Component Installation 8
Work Surface (Top) Installation 9
Fixed Shelf Installation 10
Drawer Assembly and Installation 11
Adjustable Shelf Installation 15
Door Assembly and Installation 15
Slatwall Installation with Molding 17
Slatwall Installation without Molding 19
Accessory Installation 21
1
This unit contains small parts which
could be a choking hazard for small
children. Children should be under
adult supervision at all times or
serious injury could occur.