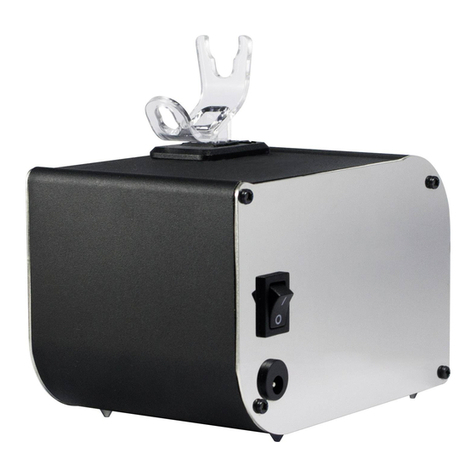
EasyPro Compact Aeration Series User manual
Other EasyPro Compressor manuals
Popular Compressor manuals by other brands
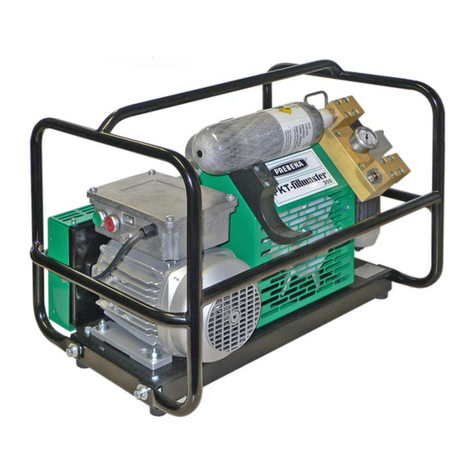
Prebena
Prebena PKT-fillmaster 350 Operating and maintenance instructions

Conrad
Conrad CE-70 operating instructions
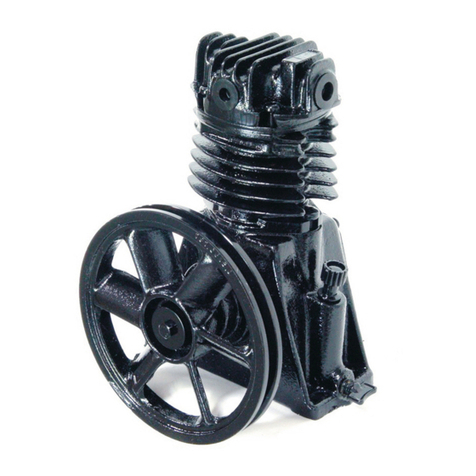
Schulz
Schulz MSI 5,2 ML quick start guide
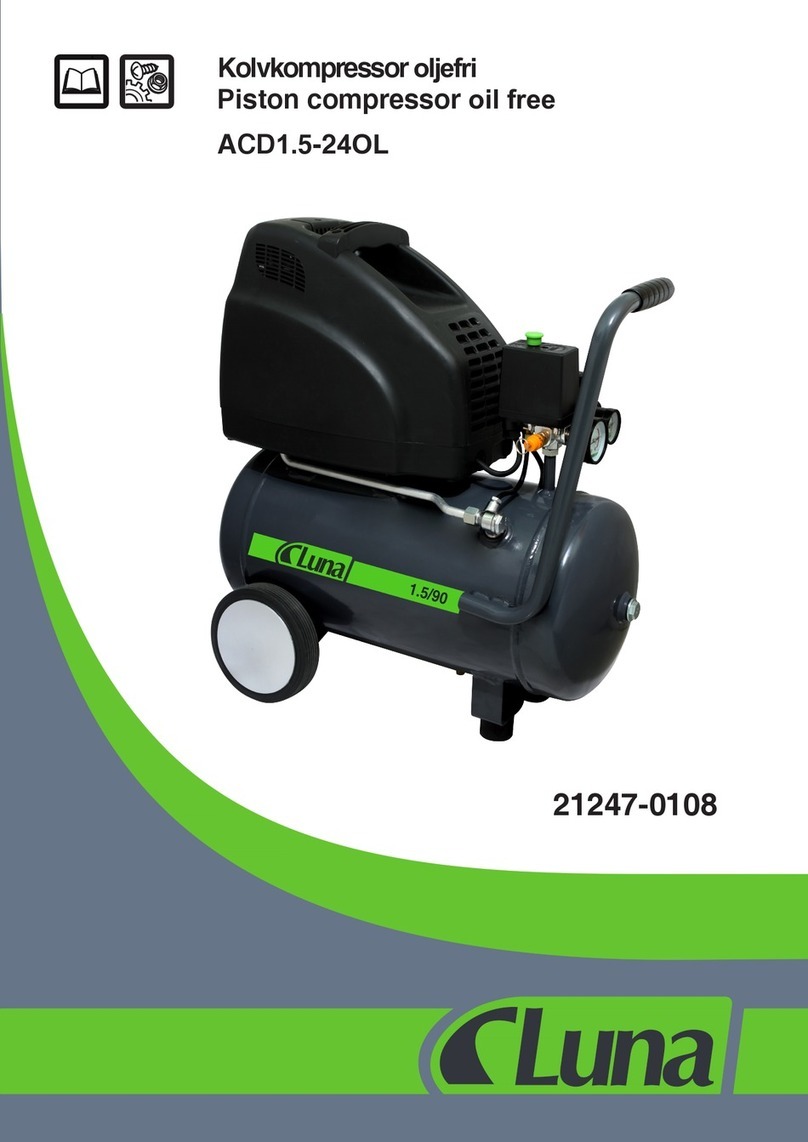
Luna
Luna ACD1.5-24OL manual
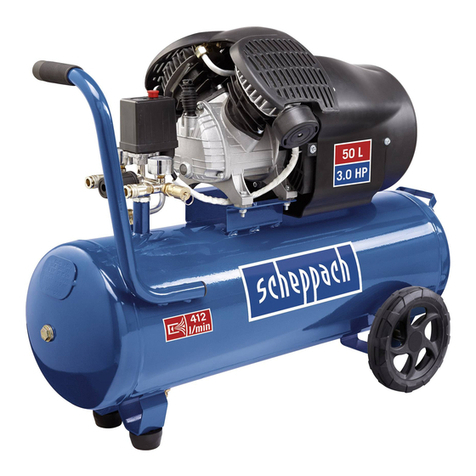
Scheppach
Scheppach HC 53dc Operating and safety instructions
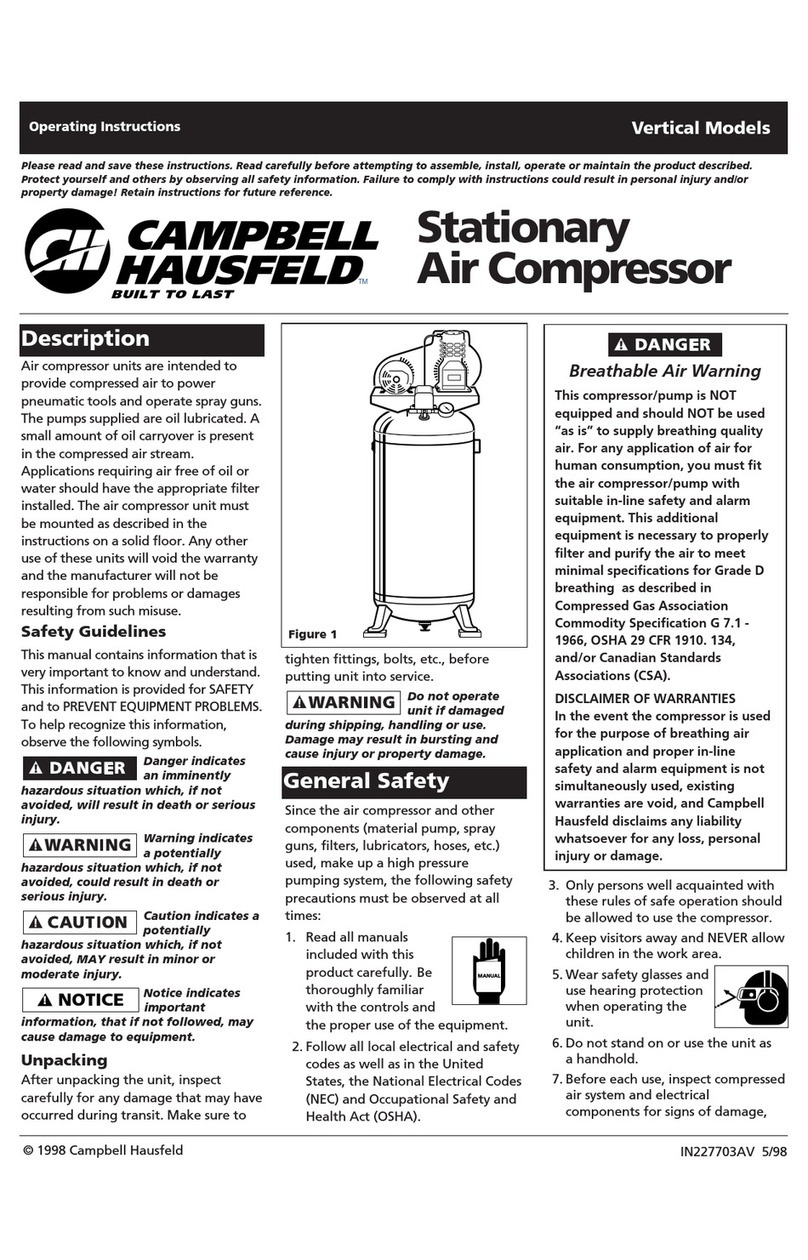
Campbell Hausfeld
Campbell Hausfeld VS260000KB operating instructions

Ingersoll-Rand
Ingersoll-Rand centac C950 Planning and installation manual
PRESONUS
PRESONUS Smart Compressor user manual
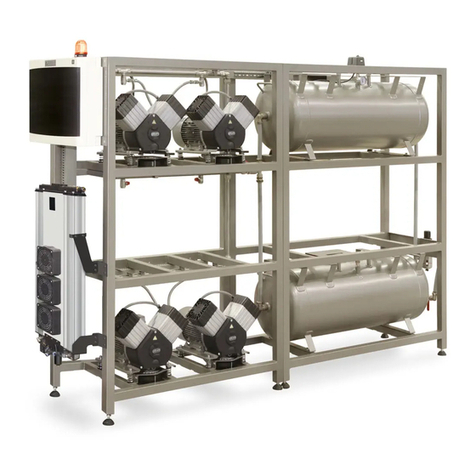
EKOM
EKOM DK50 4x2VT/M user manual
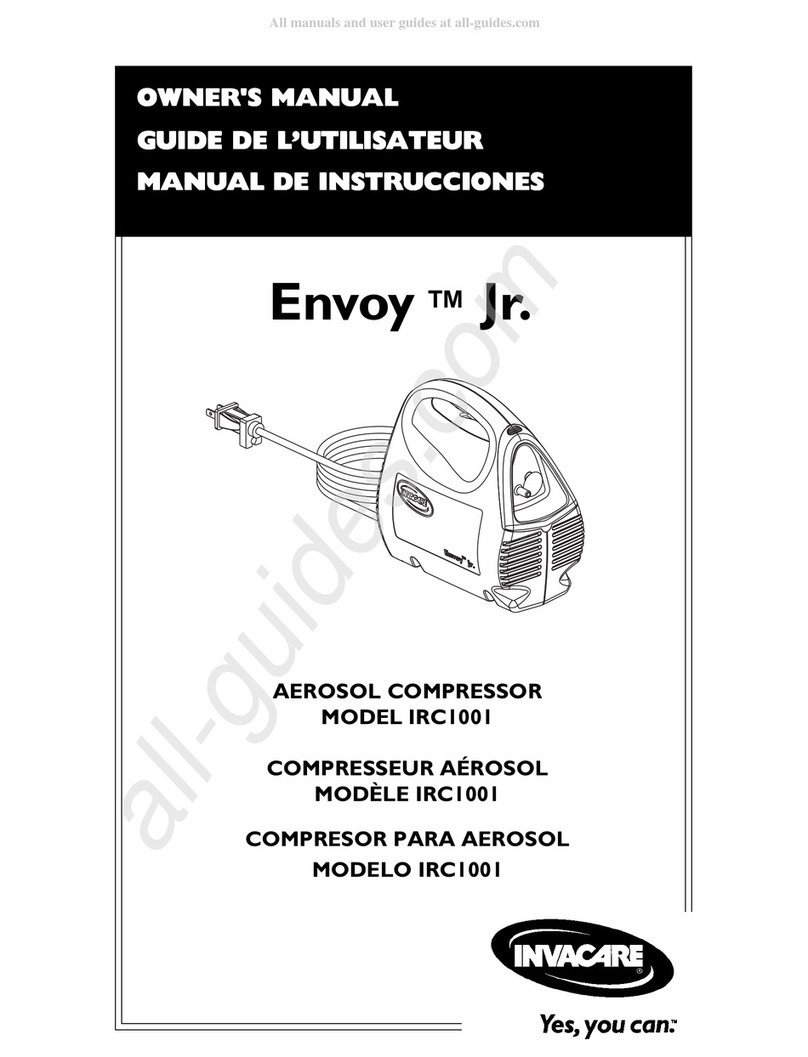
Invacare
Invacare Envoy Jr. IRC1001 owner's manual
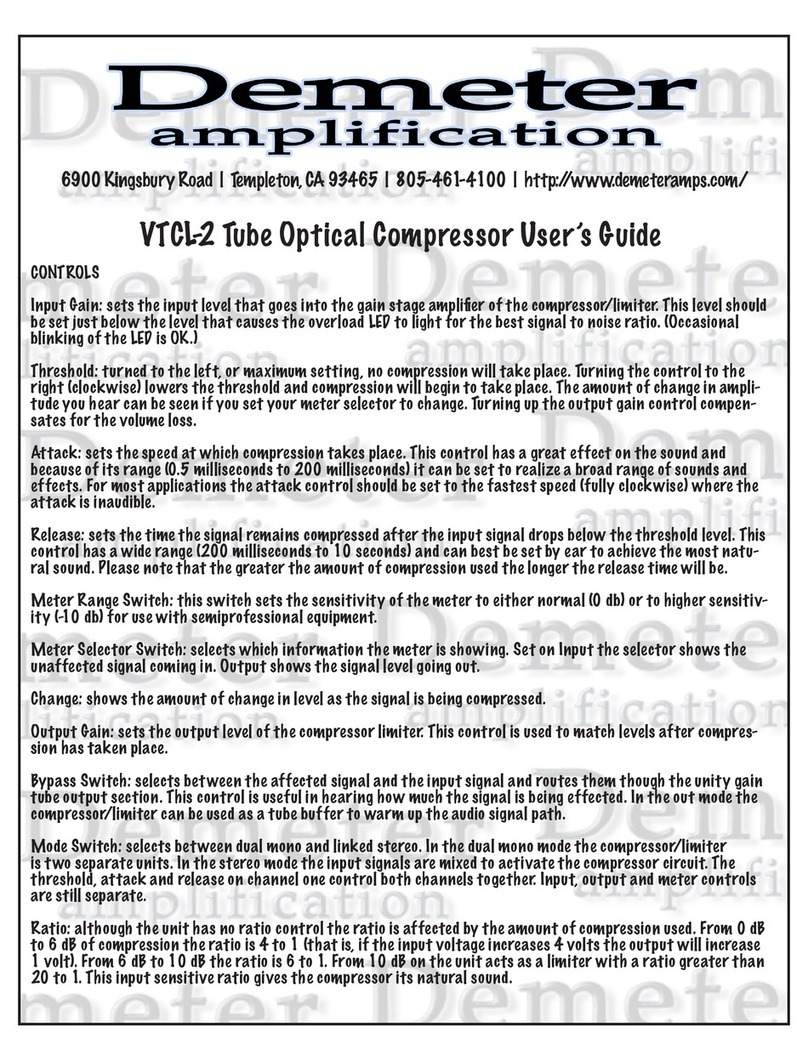
Demeter Amplification
Demeter Amplification VTCL-2 user guide
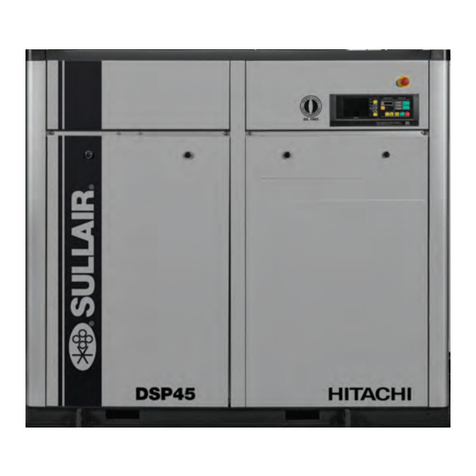
Hitachi
Hitachi NEXT Series Service manual

