(800)448-3873•Grant,MI49327
www.easypro.com
9336•4/19
6
6. To remove lid of internal housing,
squeeze longer sides tightly to create a
smallspaceforaatscrewdriver.Use
a slight twisting motion with the screw
driver to release the lid of the internal
housing.
4.
To remove the housing cover, squeeze
the back section while alternately
squeezing and pulling the front section
o.Useaatscrewdriverwitha
twisting motion (avoid prying) to loosen
frontcoverandthenpullfrontsectiono.
4 5
5. Remove the back cover section
while carefully guiding the electrical
connector through the rectangular hole.
7 8
9
9.Replacethelidofinternalhousing.7. Remove screws from side of internal
housing to remove diaphragm
assemblies from unit. Inspect magnets
and clean if needed.
8. Remove diaphragm assemblies from
unit. Remove the black seals shown in
the inset photo and press them into the
sides of the new diaphragm assemblies.
Install new diaphragm assembly by
holding it securely to the side while
tightening screw.
12. Reinstall bottom housing and secure
with four screws.
10. Guide electrical connection through the
hole in back housing cover and reinstall
front cover.
11, Reinstall outlet bushings and place
internal housing into base. Reconnect
electrical connection.
10 11 12
Troubleshooting
Loss of air output but unit is running:
• Checkthattheowcontrolisturnedup.
• Checktomakesurelinesarenotkinkedorplugged.
• Inspecttheairstonestoensuretheyareclean.Replaceor
clean as necessary.
• Inspectdiaphragms.Replaceasnecessary.
Unit is not running:
• TheGFCImayhavetripped.
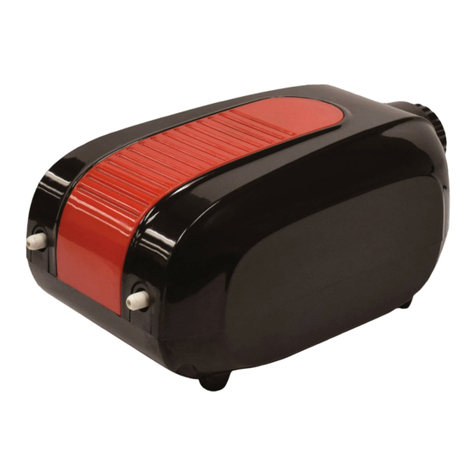
Replacement Parts
Airstone:part#CRAS1Checkvalve:part#CASCV
