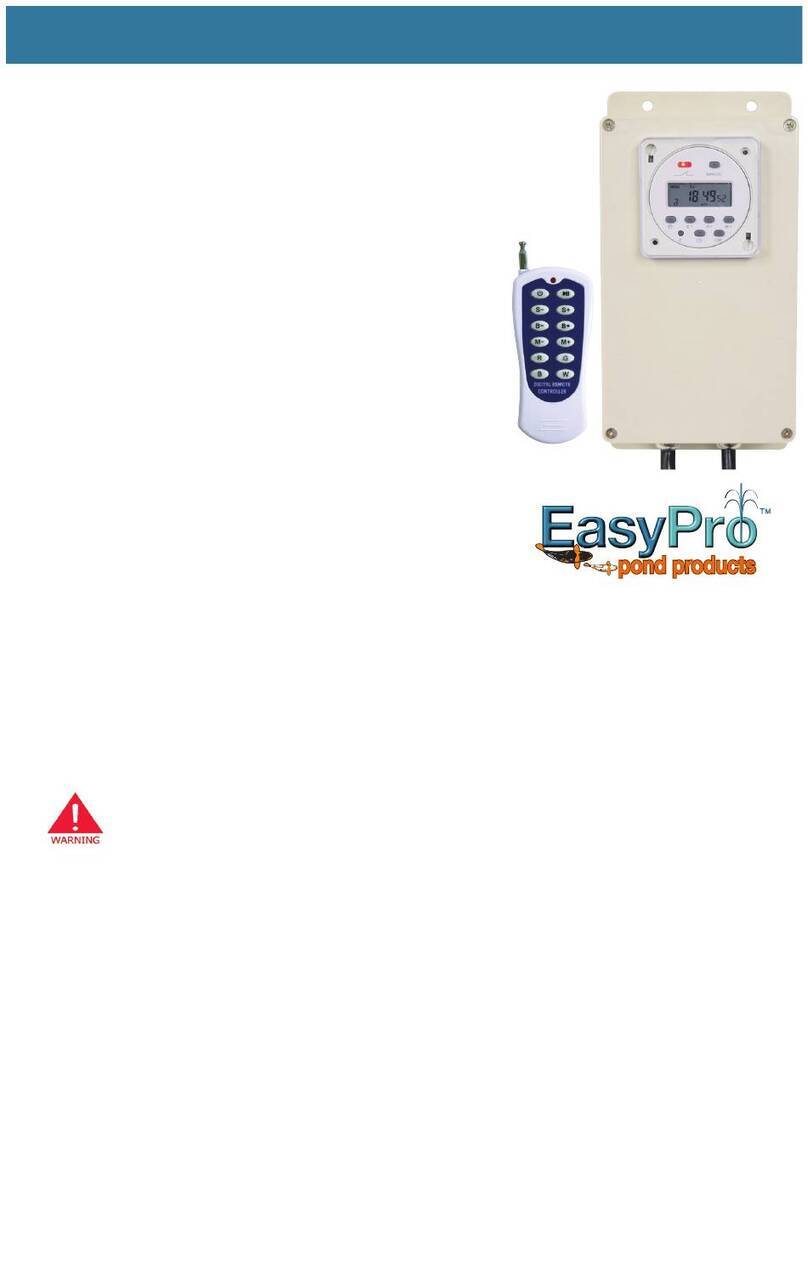
EasyPro WLC2 Use and care manual

Safety and Electrical Connections
1. Always disconnect the electrical supply before handling, maintaining,
repairing or installing any pond equipment.
2. Do not open the controller. There are no serviceable parts inside the
controller.
3. Connect the 110 volt plug of the controller/transformer to a 110 volt
receptacle that is protected by a Ground Fault Circuit Interrupter.
4. Do not modify wiring in any way, quick plug ends must stay intact to
function and should not be replaced with any other connections.
5. Do not use with swimming pools or spas.
6. Onlyconnecttomatching2pincords,splittersandlightingxtures.
7.
Allelectricalworkmustbeperformedbyaqualiedtechnician.Alwaysfollow
the National Electrical Code (NEC) or the Canadian Electrical Code as well as
all local, state and provincial codes. Failure to follow manufacturer’s installation
instructionsmayresultinelectricalshock,rehazard,personalinjuryor
death, damaged equipment, provide unsatisfactory performance and will void
manufacturer’s warranty.
WLC2 • WLC4 • WLC6
Controller Features and Includes
• Weatherproofwithmountingholes
• Builtindigitaltimer
• Builtinvoltageregulatorforadequatevoltageforlightsupto300’away
• 115voltinputwith12vACoutput
• Pigtailwith2pinreceptacleandquickconnectend.
Thank you for purchasing the controller for
warmwhitelightsfromEasyPro.
These controllers will power up to 2, 4 or 6
2 pin LED lights depending
on the model.
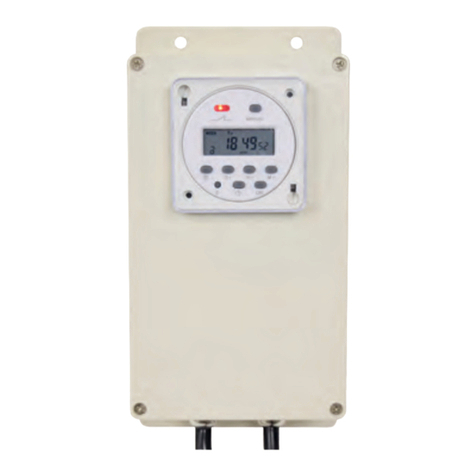
Controller
with Digital Timer
Instructions for Operation
Safety • Warranty

Programmable Timer Features
• Digitalelectronictimeswitchwithdailyprograms
• Repeatprogramswith16on/osettingsandmanualoverride
• Lithiumbatterypowerreservetokeeptimeandprogramseveninpoweroutage.
• Autotimeerrorcorrection+/-60sec.weekly
Operation Instructions for Automatic Program Function
1.Plugcontrollerinto110voltGFCIprotectedoutlet.Redlightontimerwillcomeontoindicate
power is being supplied to lights. After timer settings are made, the red light only comes on
during operation of programmed Auto “On” setting or when ON in Manual mode (see Manual
Mode section).
2.Removeclearplasticcoverfromtimer.Besurenottolosethiscover.
3.Unlockthetimerbypressingthe“C/R”buttonfourtimes.Thisremovesthe“a” character in
lower left corner of the display screen. If no keys are selected in 15 seconds, the time will
automaticallylock.Oronceprogrammingisnishedpress“C/R”buttontolock.
4.Toclearallprograms,presstheResetbutton(labeledas'c').Itisinsetandwillrequireapen
orsmallobjecttodepress.
5.Onceunlocked,setthetimebypressingthebuttonwiththeclockicon,thenuseD+toset
thedayoftheweek,H+tosetthehour(usesmilitarytimeonly)andM+tosettheminute.
6.Upto16on/osettingscanbeprogrammedusingthechartbelow.
Note: Set times in sequence as you may not cross set. System will auto lock
with no activity or data saved within 15 seconds.
Setting the Timer
Mounttheweatherproofcontrollerboxinasecurelocationnearapowersupply
and plug into 110 volt outlet. The controller is weatherproof and does not need
to be protected from the weather.
PROGRAM
Step Key Programming
1 P Setting1ONtime(display1on)
2 H+/M+ Settinghoursandminutestoturnon
3 D+ Dailyselectssametimeorseparatetimes
4 P Setting1OFFtime(display1o)
5 H+/M+ Settinghoursandminutestoturno
6 D+ Ifusingthesametimeeveryday,donotpress
7 Repeat2-6 Set2-16ON/OFFtime
8 End
If you do not require 16 settings, press clock icon to the end
ON OFFAUTO
Example
Program Functions
Example
Manual Functions

Service and Maintenance
1. Disconnect the transformer from the power supply before service.
2. All parts of the lighting system should be checked on a regular basis
to make sure the system is functioning properly.
3. All wires should be protected from possible damage from wildlife and other
causes. Damaged wires due to neglect are not covered under warranty.
4. Iflightoutputisdiminishedcheckthefaceofthelightxturefordebrisand
clean if necessary, or use remote control to increase brightness.
5. If lights are not working, be sure the timer on the controller is set to operate
lights when desired.
Operation Instructions for Manual Function
1.Besurethecontrollerispluggedinto110voltGFCIprotectedoutlet.
2.Removeclearplasticcoverfromtimer.Keepcoversafeandreplacewhennished.
3.Unlockthetimerbypressingthe“C/R”buttonfourtimes.Thisremovesthe“a” character in
lower left corner of the display screen.
4.Press“Manual”buttontoselectdesiredfunction.TheON function will tell controller to send
power to lights and OFF function will stop power from being supplied to lights.
5.Whenpressingthe“Manual”buttonitwillscrollthroughsettingsinthisorder:ON, AUTO,
OFF, AUTO.
Here is what happens at each setting and in this order
ON–Powerissuppliedtothelights.
AUTO-Whenusingthe“Manual”buttonandstoppingonAUTO right after the ON setting,
powertothelightswillremainonuntilnextprogrammedOFF setting.
OFF–Powersupplytothelightsisturnedo.
AUTO–WhenstoppingonAUTO after the OFFsetting,powertothelightswillbeoand
willturnbackonatnextprogrammed“On”setting.

800-448-3873•Grant,Michigan
www.easypro.com
9178•1/20
EasyPro Pond Products Limited Warranty
EasyProPondProducts(“EasyPro”)warrantstothepurchaserthatthisproduct("Product")willbefreefromany
mechanical or material defects for a period of one year fromthedateofpurchase.RemovalofQuickConnect
ends will void warranty. Do not open the controller. There are no serviceable parts inside the controller and
openingthecontrollerwillvoidwarranty.ThiswarrantyonlycoversproperlyinstalledandmaintainedProducts
soldbyauthorizedEasyProSellerswhoaresubjecttoandfollowEasyPro’squalitycontrolstandards.Please
notethatbecauseEasyProisunabletocontrolthequalityofProductssoldbyunauthorizedsellers,unless
otherwiseprohibitedbylaw,thiswarrantydoesnotcoverProductspurchasedfromunauthorizedsellers.
Thiswarrantydoesnotcovernormalwearandtear,noranydeteriorationsueredthroughoverloading,improper
use,negligence,improperinstallation,actsofGodoraccident.Similarly,anymodicationmadebythepurchaser
totheProductwillcausethewarrantytobenullandvoid.Thiswarrantydoesnotcoveranycostassociatedwith
theinstallationorremovaloftheProductsubjecttoawarrantyclaim.
All returned items will be inspected to determine cause of failure before a warranty claim is approved.
Theexclusiveremediesprovidedhereundershall,uponEasyPro’sinspectionandoption,beeitherrepairor
replacementoftheProductorpartscoveredunderthiswarranty.
Making a Claim:AReturnAuthorization(“RA”)numbermustrstbeobtainedbycallingEasyProat800-
448-3873orviaemailat[email protected].Itisthepurchaser’sresponsibilitytopaythereturnshipping
charges.BesuretoincludetheRAnumber,originalreceipt(intheformofaninvoiceorsalesreceipt),your
name, your return address and your phone number inside of the package. No warranty claims will be honored
withouttheoriginalreceiptthatshowsthatyourpurchasewasmadefromanAuthorizedEasyProSeller.
Ensure the product is properly packaged and insured for the replacement value. Damage due to improper
packaging is the responsibility of the sender.
ALLOTHEREXPRESSORIMPLIEDWARRANTIESINCLUDINGMERCHANTABILITYOFFITNESSFORAPARTICULAR
PURPOSEAREHEAREBYLIMITEDINDURATIONTOTHEDURATIONOFTHEWARRANTYASDESCRIBEDABOVE.
Some States do not allow limitations on how long an implied warranty lasts, so the above limitations may not apply to
you.
EasyProshallnotbeheldliableforanydamagescausedbydefectivecomponentsormaterialsofthisProduct;orfor
lossincurredbecauseoftheinterruptionofservice;oranyconsequential/incidentaldamagesandexpensesarisingfrom
theproduction,sale,useormisuseofthisProduct.SomeStatesdonotallowtheexclusionorlimitationofincidentalor
consequentialdamages,sotheabovelimitationorexclusionmaynotapplytoyou.
EasyProshallnotbeheldliableforanylossofsh,plantsoranyotherlivestockasaresultofanyfailureordefectofthis
Product.Thiswarrantygivesyouspeciclegalrights,andyoumayalsohaveotherrightsthatvaryfromStatetoState.
This manual suits for next models
2
Table of contents
Other EasyPro Controllers manuals