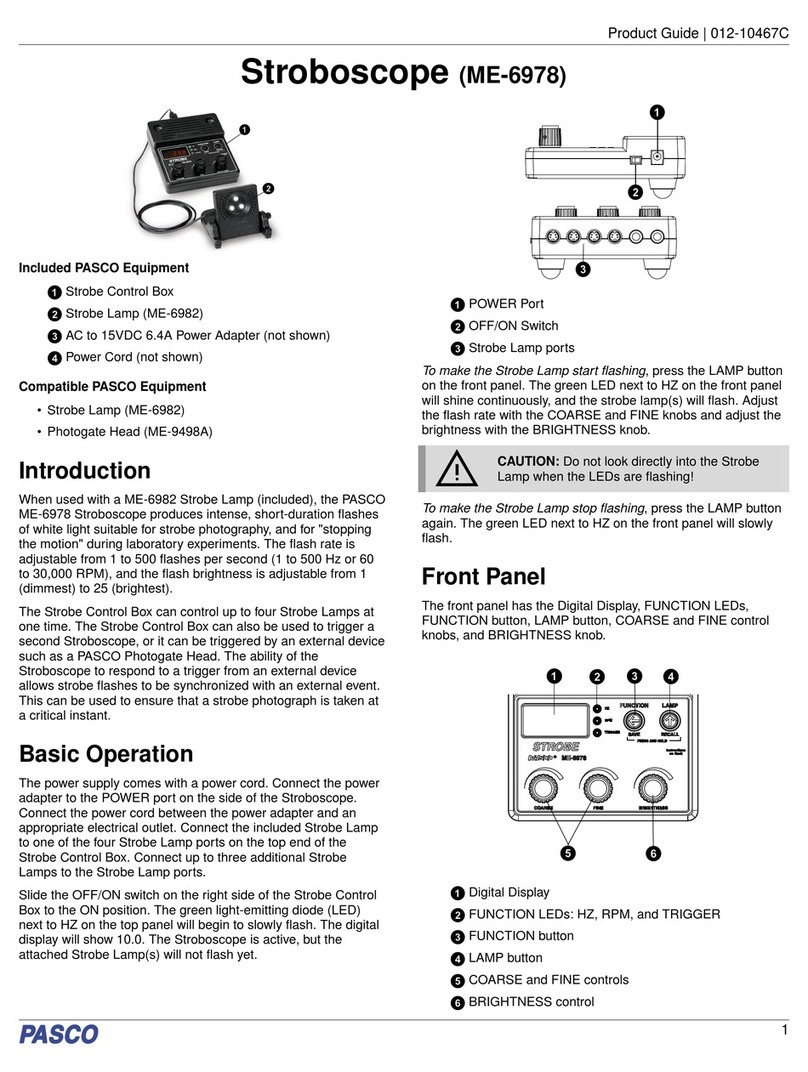
eccola H-MAN X 2 User manual

Operating instruction 04_2022
Page 1
Service Address: eccola GmbH - Im Alber 8 - D-73084 Salach - Phone.:0049-7162-948996
User Guide H-MAN X 2
Congratulations
H-MAN X 2 der Schnellhörtester. You have chosen the H-MAN X 2.
We thank you for the confidence shown to us and wish you a successful use of the
H-MAN
2
for many years.
Warranty
Warranty 1 year. Any faults/ defects arising during the warranty period will be repaired free of charge.
In case of any technical defect we kindly ask you to return us the complete H-MAN X 2
together with a
short description of the defect.
First Use
Components: The H-MAN X 2 includes the following parts:
–The head incl. electronic system, counter, reset magnet and headphones
–2 sets of LR6 batteries
–2 folder racks incl. screws and result cards
–Instruction card sized to fit the card bag on the folder rack
–1 ball pen holder self-adhesive
Start-up: You have received the H-MAN X 2 ready for immediate use. You only need to screw the
folder rack on the H-MAN X 2.
Put on the headphone and press the start button. As soon as a light emitting diode will light up you are
supposed to hear a tone. The frequencies are played alternately on either side of the headphone. The
test begins on the right at 0,5 kHz and ends on the left at 4 kHz.
In case the tones should be too soft or too loud (background noises) for your location, you may
readjust the sound level (see functional characteristics)
Functional Characteristics
Important to know: The hearing tester is operated by means of batteries ( 4 pcs. LR6 of 1,5 V each)
which allows its use in any location. The test frequencies are 4 tones on either side 0,5/1/2/4 kHz.
You only need to remove the back cover panel in order to customize the H-MAN X 2.
For this purpose gently remove the 2 screws at the back cover panel.
Before doing so it is recommended to put the head onto a soft pad in order to avoid damages. To fix
the back cover panel you should place it on the opening and insert the screws.
A. To change the batteries, the battery cover is removed from the back panel by means of a
screw driver. Please mind the correct polarity of the batteries.
B. The next page includes a diagram to facilitate finding the position of the pad trimmers
(adjustable resistors), DIP switches and contacts on the circuit board. You will have the
following options for your customized design:
The master volume level can be adjusted by means of the external pad trimmer at the back cover
panel. In addition, the volume levels of the different frequencies can be customized for either side
(0,5 kHz, 1 kHz, 2 kHz, 4 kHz).
Upon delivery the output level of the external pad trimmer is adjusted at about 35 dB . By means
of a screw driver it is possible to increase the volume level( turning clockwise) or to reduce it
(turning anti-clockwise). The volume level of the individual tones can be increased by means of a
screw driver (turning anti-clockwise) or reduced (turning clockwise).

Operating instruction 04_2022
Page 2
Service Address: eccola GmbH - Im Alber 8 - D-73084 Salach - Phone.:0049-7162-948996
Finding out of positions: This drawing shows the position of the DIP switch, pad trimmer and
contacts for the customized adjustment of your hearing tester.
Volume
Internal External DIP Switches
Master Master 1-5
Volume level Volume level
1
2
3
4
5
0,5 1 2 4
Sound level
kHz kHz kHz kHz
Frequencies
1 2 3 4 0,5, 1, 2 4 kHz
Headphone jack LEDs
Power supply jack Battery Start- Counter
9-12V 4x1,5V Button
In case of additionally using a counter, you will have the possibility to reset the same to 0 by
means of a magnet included in the delivery. For this purpose you only need to move a magnet
some mm from right to left, above resp. below the counter (green, red or blue point) - (magnet is
attached to the headphone cable).

Operating instruction 04_2022
Page 3
Service Address: eccola GmbH - Im Alber 8 - D-73084 Salach - Phone.:0049-7162-948996
DIP Switches, Pad Trimmers and Contacts
Adjustment on circuit board “H-MAN2” with software version “hearing tester V1-1a”
Five-way DIP switch
1. "off" 1 x cycle then stop, button without function during cycle see page 4 I.
"on" 1 x cycle, restart possible any time by pressing the “start button”.
2. Exchange headphone and Led’s left/right. Off start right 0,5kHz/on start left 0,5kHz
3. Ton / Pause "off" 2 sek., "on" 4 sek.
4. "off" function like 1., "on"-Hold-LED-function with "cycle continuing" function, by pressing the start
key during a hearable tone and lightning LED, switch-over to next tone, LED continues flashing.
After the last tone the start key remains without function during 4 sec.. As soon as the start key is
pressed again the display is deleted and the cycle starts anew. If the key is not
pressed the result will be shown during another 25 seconds – see page 4 II.
5. "on"- permanent operation durin 12 hours, activated by pressing the key.
Delivery status: DIP Switch: 1-5 “off”
“Signal battery dead” (signal undervoltage)
6 V battery operation:
In the event of a battery voltage of less than about 5,5 V, the red LED’s start running down once per
second from 4000 Hz to 500 Hz. Then the hearing test starts as usual at 500 Hz.
In the event of an under voltage signal, the operation of the hearing tester can be continued without
any problems. In the event of a battery voltage of less than 5 V, it is no longer possible to start the
hearing tester.
Power input during operation: about 11 mA.
After the automatic stop of the hearing tester, the power input is less than 1µA (multimeters normally
in use do not allow to realize any measurements).
We recommend alkaline-manganese batteries with the note “in case the equipment is not used during
a period of more than 3 months it is recommended to remove the batteries from the battery case.
Risk of leakage.
Calculated durability of the batteries (tone/pause 2 seconds without Hold LED Function).
About 20.000 test cycles with 4 x 1,5 V Mignon alkaline-manganese batteries of about 2.500 mA/h.
Note
- Pad trimmers are adjustable resistors allowing to change the sound level.
-.Please pay special attention to the functional capability of the hearing tester before using it.
-
Please clean the ear cushions of the headphone after each use. They can be removed and cleaned
by means of customary cleaning agents.
- The ear cushions can be reordered from eccola as spare part.
- It is recommended not to extend the headphone cable. Max. length 3 m.
- The spray for cleaning the headphone can be reordered.
- You may of course stick your logo on all free surfaces of the H-MAN.
- A card bag for the instruction card provided for 2 different operation modes (front and back side) is
attached to the folder rack
The H-MAN
2
is neither an audiometer nor a medical product, but rather a
marketing instrument for the subjective evaluation of the hearing, in
accordance with its intended use!

Operating instruction 04_2022
Page 4
Service Address: eccola GmbH - Im Alber 8 - D-73084 Salach - Phone.:0049-7162-948996
Different hearing test procedures
The different possibilities of the hearing test procedure
There are 2 different possibilites to run the hearing test.
I. The hearing test runs automatically until the end
Setting prerequisites: DIP switch 4 on “off” and DIP switch 1 on “off”
The hearing test is started by the test person pressing the start key. After this single
pressing of the start key the test runs automatically until the end – i.e. 500 Hz, 1000 Hz,
2000 Hz and 4000 Hz right and left. At the same the test person can enter the result in the
reply card. This means that the hearing test can be made without any assistant or
supervisor and is suitable for tests in front of the shop, in shopping malls, pharmacies and
during promotion days. The result is self-explanatory by means of the result card.
II. Interactive hearing test with confirmation by pressing the start
key
Setting prerequisites: DIP switch 4 on “on” HOLD-LED function with “cycle continuing”
function.
The hearing test is started by pressing the start key for the first time. As soon as a tone
will be heard and the corresponding LED display will flash, the repeated pressing of the
start key will allow to confirm that the test person has heard the tone. The LED of the
heard tone remains flashing, showing that the tone has been heard. Then follows the next
tone and the procedure is the same as described for the first tone.
After the last tone the start key will be without function during 4 seconds thus showing the
result by means of the flashing LEDs (tones heard).
Thereafter the result is shown during 25 seconds provided that the start key is not
pressed. This means that the “heard” result can be entered in the result card and/or
discussed wih the test person. The result will disappear after 25 seconds.
As soon as the start key is pressed again after 4 seconds, the current result will be
deleted and the test can start again from the very beginning.
This adjustment if particularly suitable for hearing test campaigns with promoters or
assistants. This facilitates initiating a conversation with a potential new customer.
This test can of course also be performed by the test person on its own by means of the
attached manual.
Table of contents
