3of 35
Feb. 2023
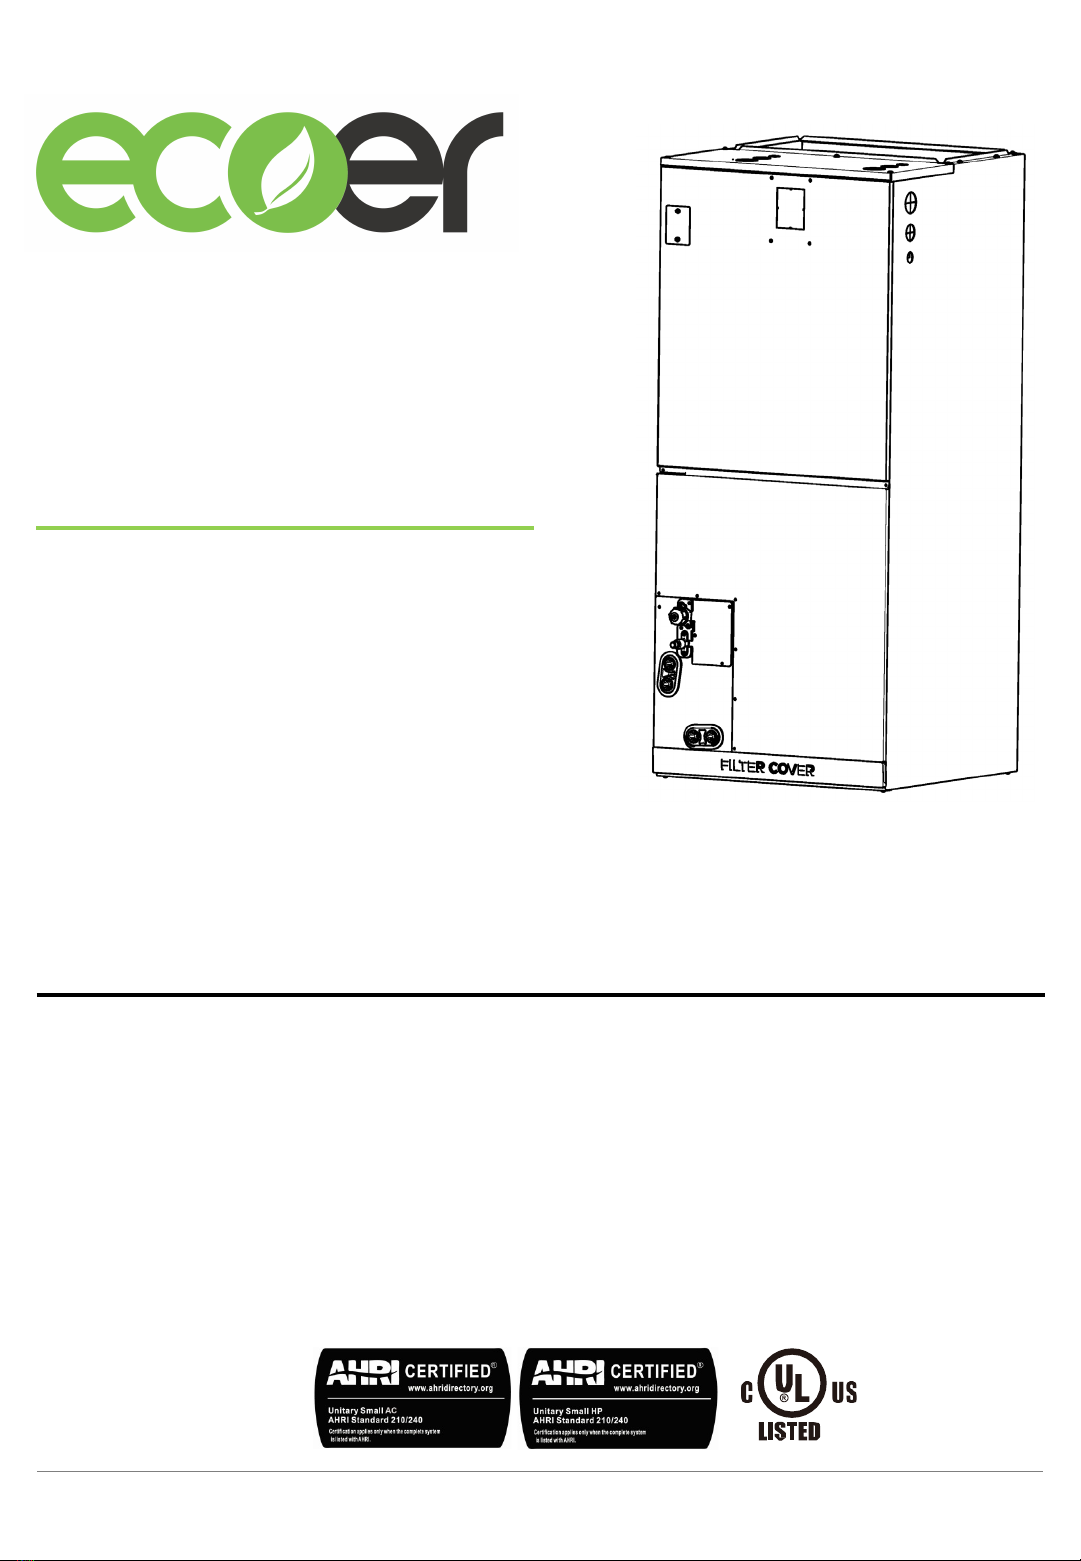
SDi Decades Extreme AHU IM
Manufacturer reserves the right to change specifications or designs without notice.
ECOER INC.
•In certain environments, such as kitchens, server rooms, etc., the use of specially designed air-
conditioning units is highly recommended.
•Improper installation, adjustment, alteration, service or maintenance can cause property damage,
personal injury or loss of life. Installation and service must be performed by alicensed professional
HVAC installer or equivalent, service agency, or the gas supplier.
ELECTRICAL WARNINGS
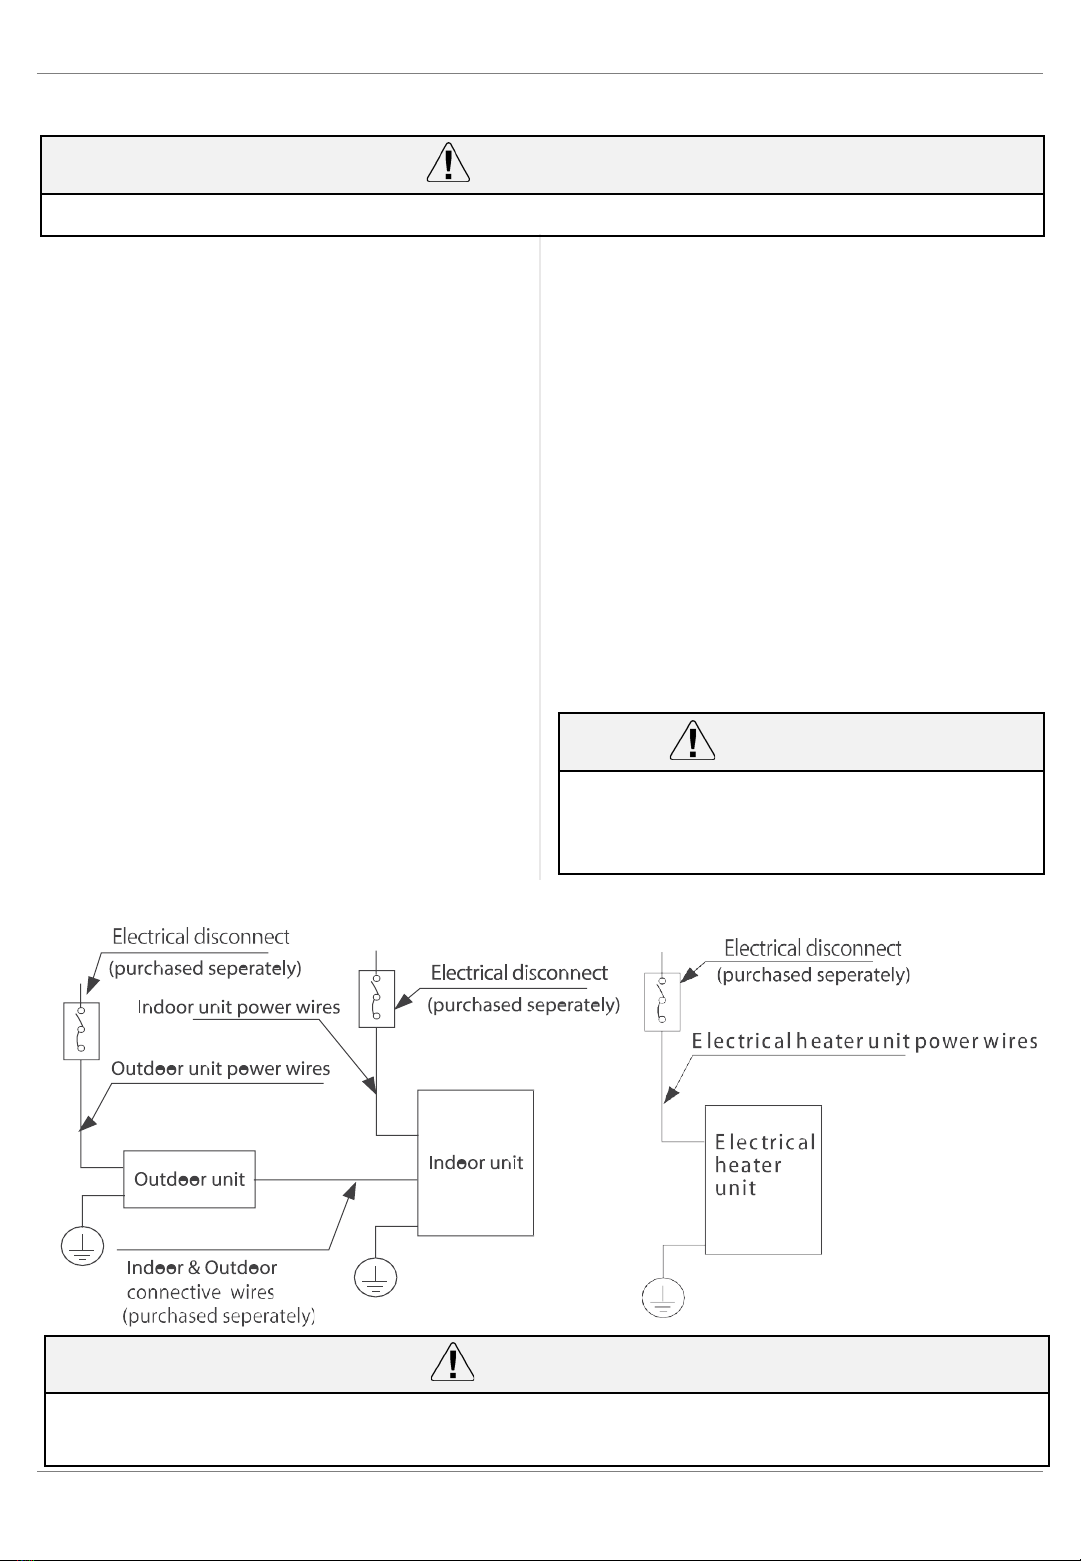
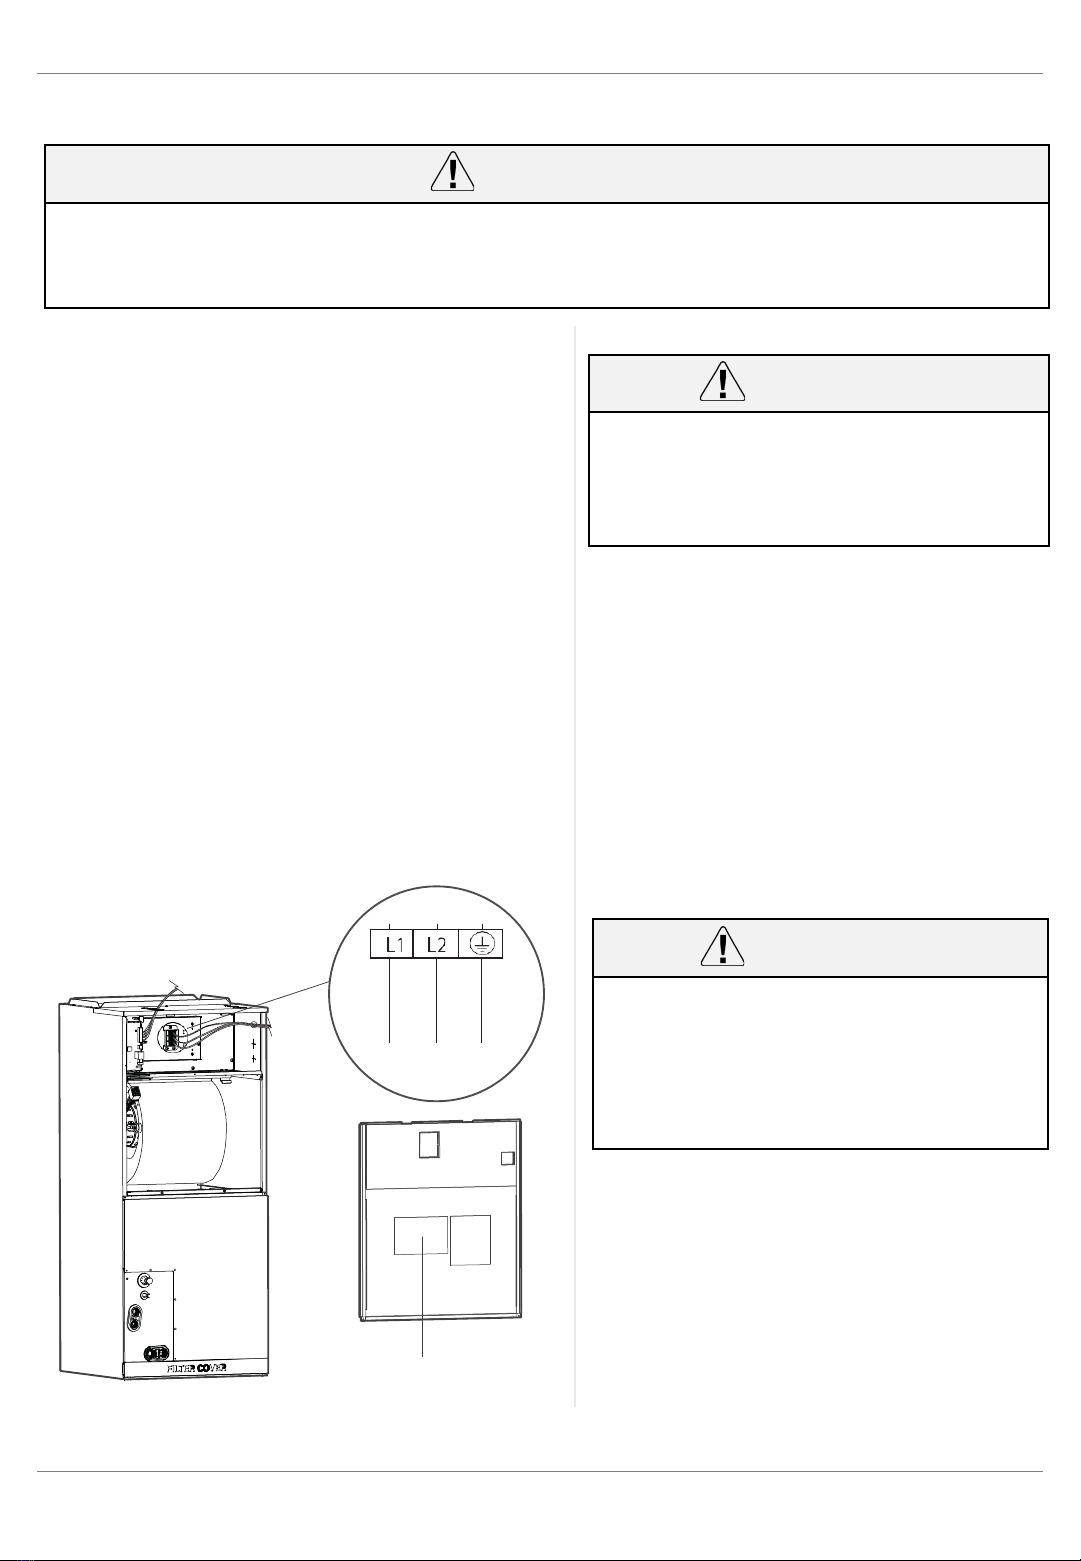
•The product must be properly grounded at the time of installation, or electrical shock may occur.
•For all electrical work, follow all local and national wiring standards, regulations, and the Installation
Manual.Connect cables tightly, and clamp them securely to prevent external forces from damaging
the terminal.Improper electrical connections can overheat and cause fire, and may also cause shock.
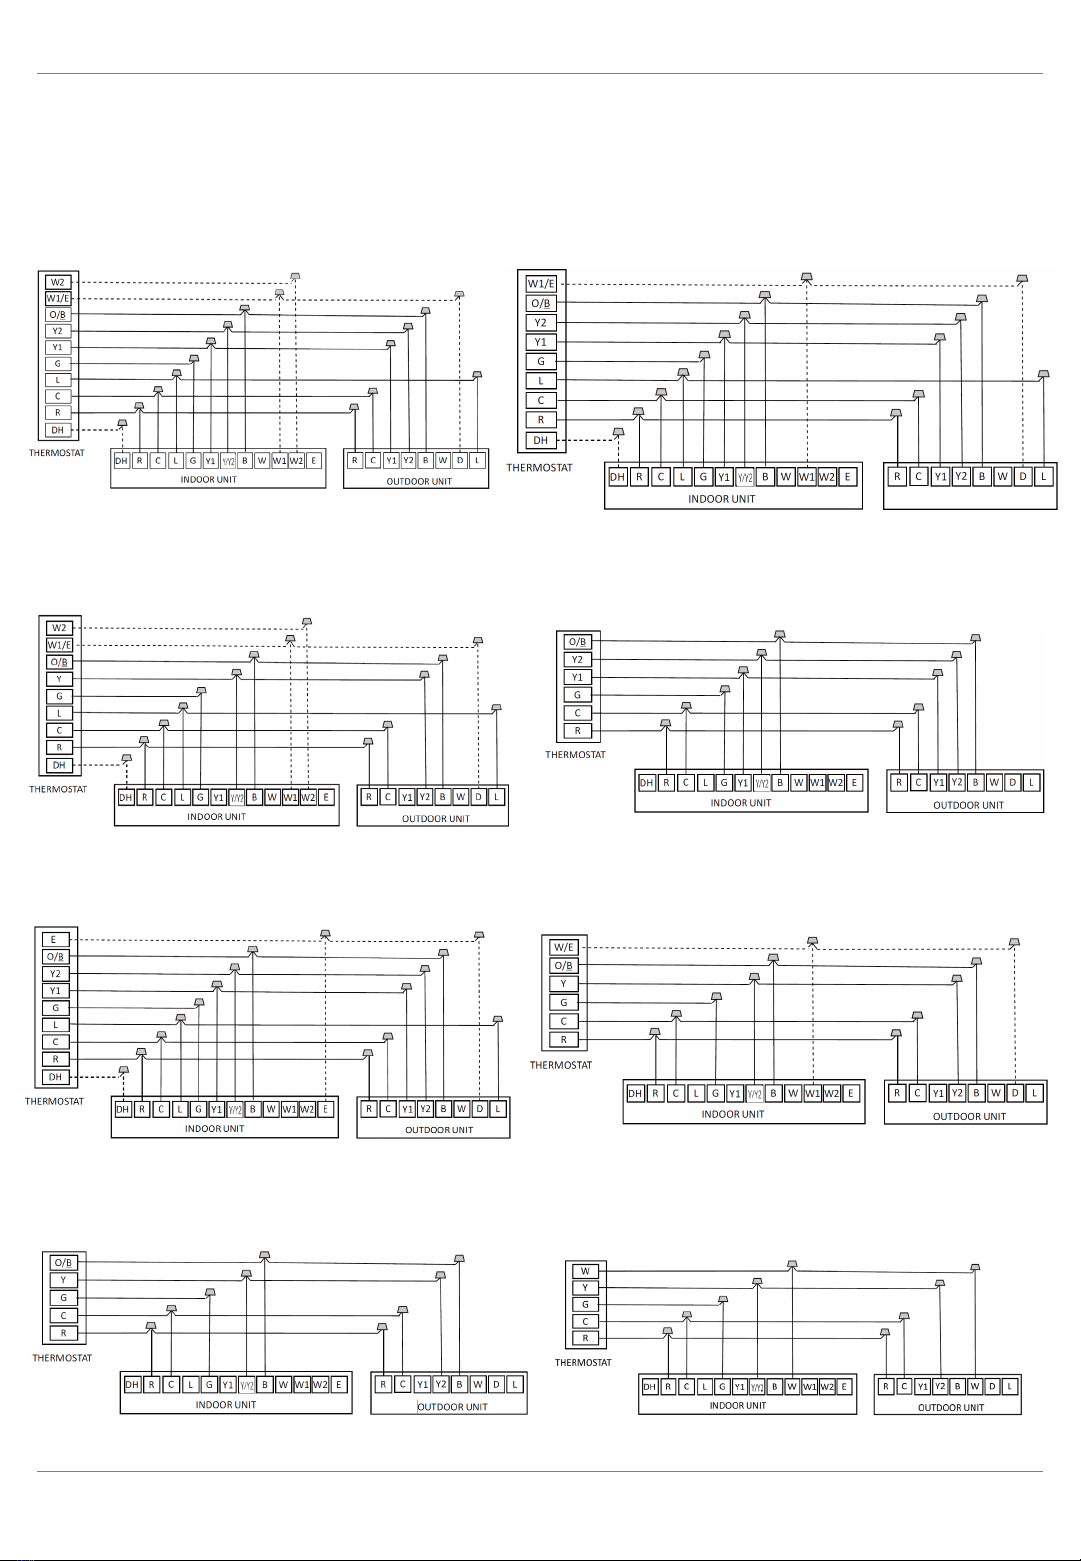
All electrical connections must be made according to the Electrical Connection Diagram located on
the panels of the indoor and outdoor units.
•All wiring must be properly arranged to ensure that the control board cover can close properly. If the
control board cover is not closed properly, it can lead to corrosion and cause the connection points
on the terminal to heat up, catch fire, or cause electrical shock.
•If connecting power to fixed wiring, an all-pole disconnection device which has at least 3mm
clearances in all poles, and have aleakage current that may exceed 10mA, the residual current
device(RCD) having arated residual operating current not exceeding 30mA, and disconnection must
be incorporated in the fixed wiring in accordance with the wiring rules.
WARNINGS FOR PRODUCT INSTALLATIONF
•Installation must be performed by an authorized dealer or specialist.Defective installation can cause
water leakage, electrical shock, or fire.
•Installation must be performed according to the installation instructions.Improper installation can
cause water leakage, electrical shock, or fire.
•(In North America, installation must be performed in accordance with the requirement of NEC and
CEC by authorized personnel only.)
•Contact an authorized service provider for repair or maintenance of this unit.This appliance shall be
installed in accordance with national wiring regulations.
•Only use the included accessories, parts, and specified parts for installation. Using non-standard
parts can cause water leakage, electrical shock, fire, and can cause the unit to fail.
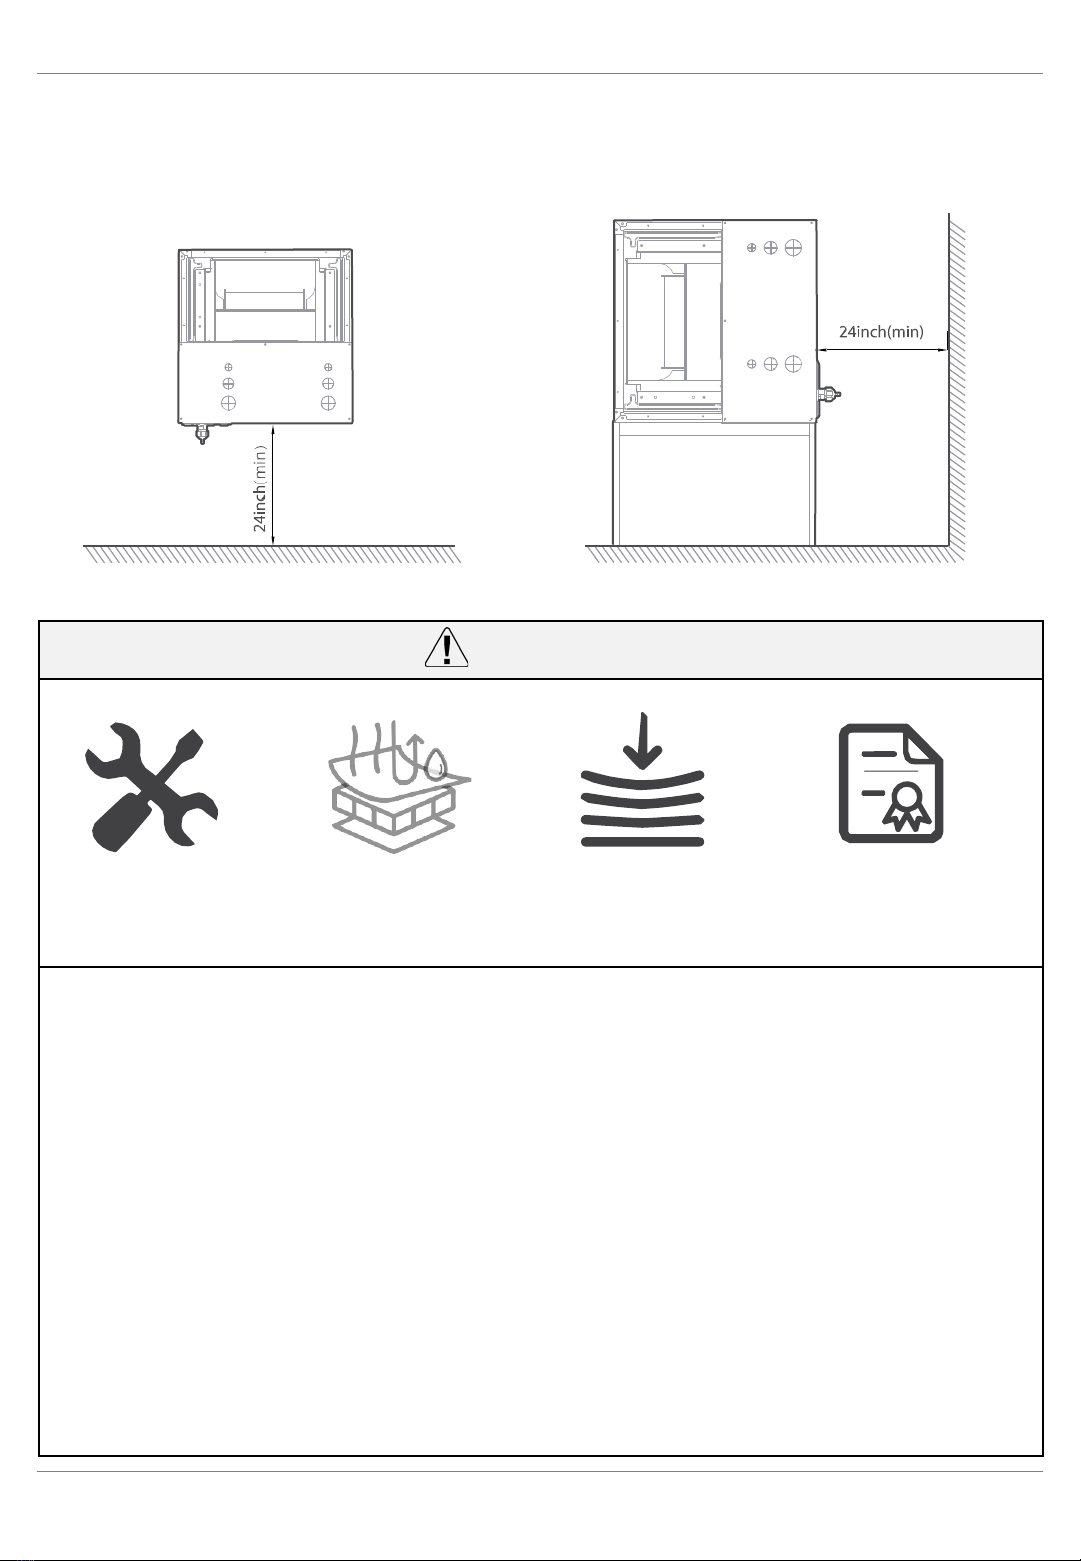
•Install the unit in afirm location that can support the unit’s weight.If the chosen location cannot
support the unit’s weight, or the installation is not done properly, the unit may fall and cause serious
injury and damage.
•Install drainage piping according to the instructions in this manual.Improper drainage may cause
water damage to your home and property.
•For units that have an auxiliary electric heater, do not install the unit within 1meter (3 feet) of any
combustible materials.
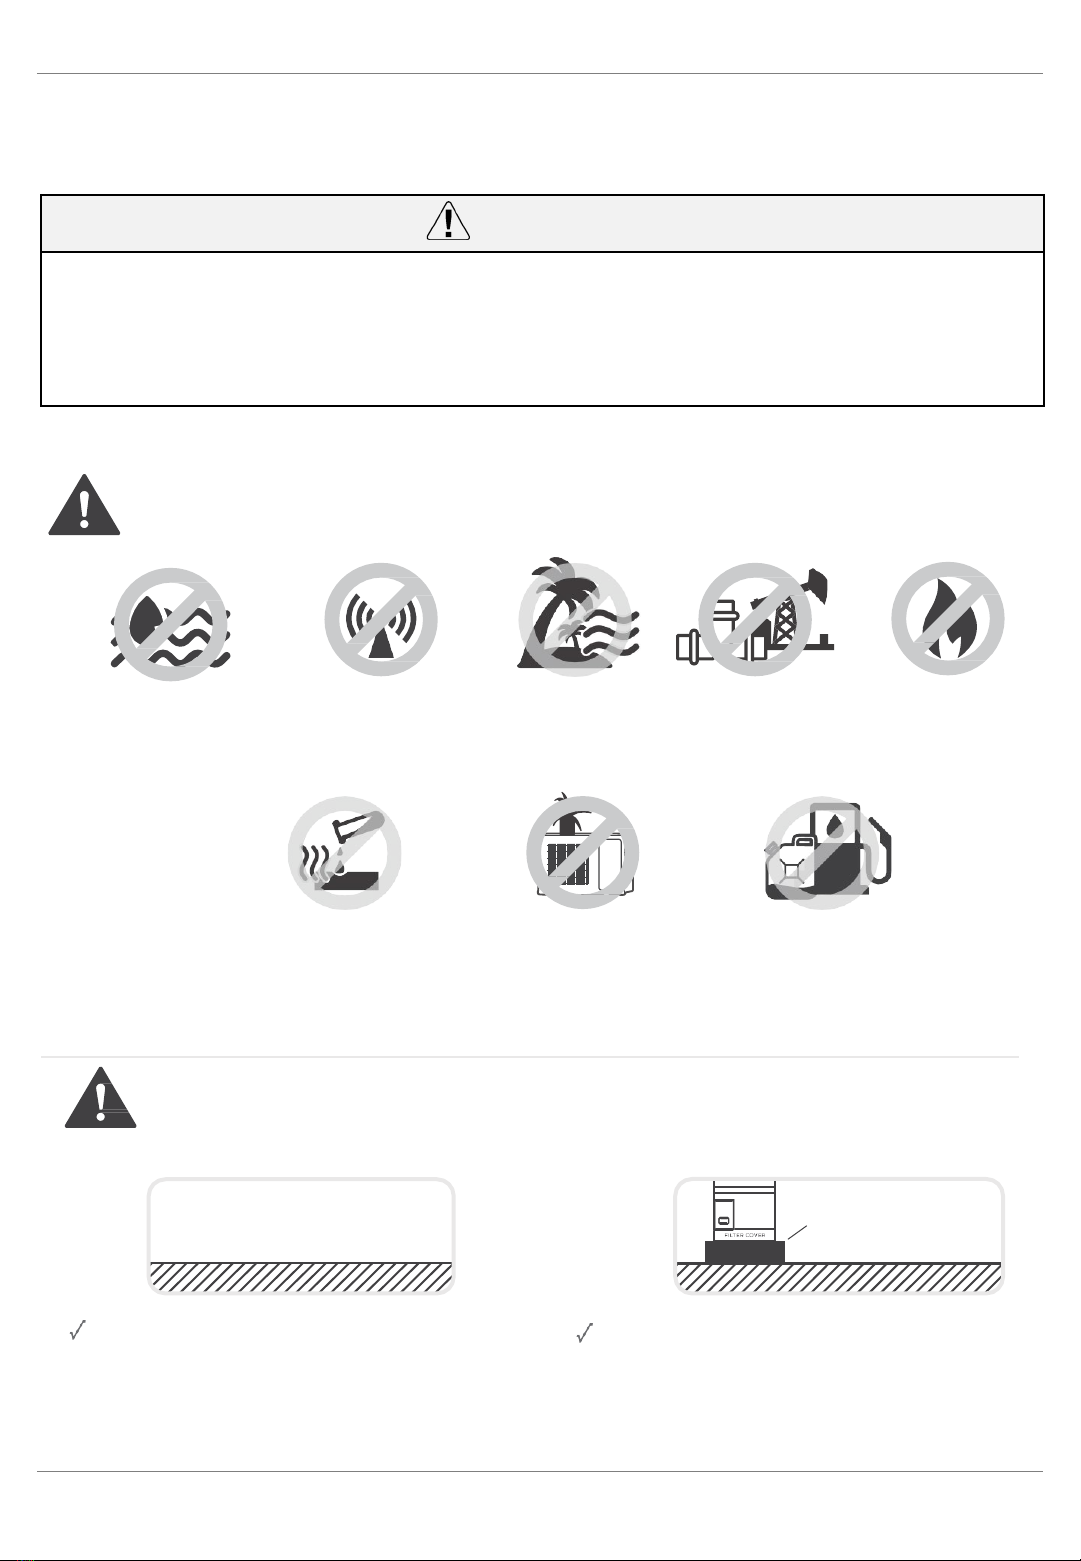
•Do not install the unit in alocation that may be exposed to combustible gas leaks.If combustible gas
accumulates around the unit, it may cause fire.
•Do not turn on the power until all work has been completed.
•When moving or relocating the air conditioner, consult experienced service technicians for
disconnection and reinstallation of the unit.