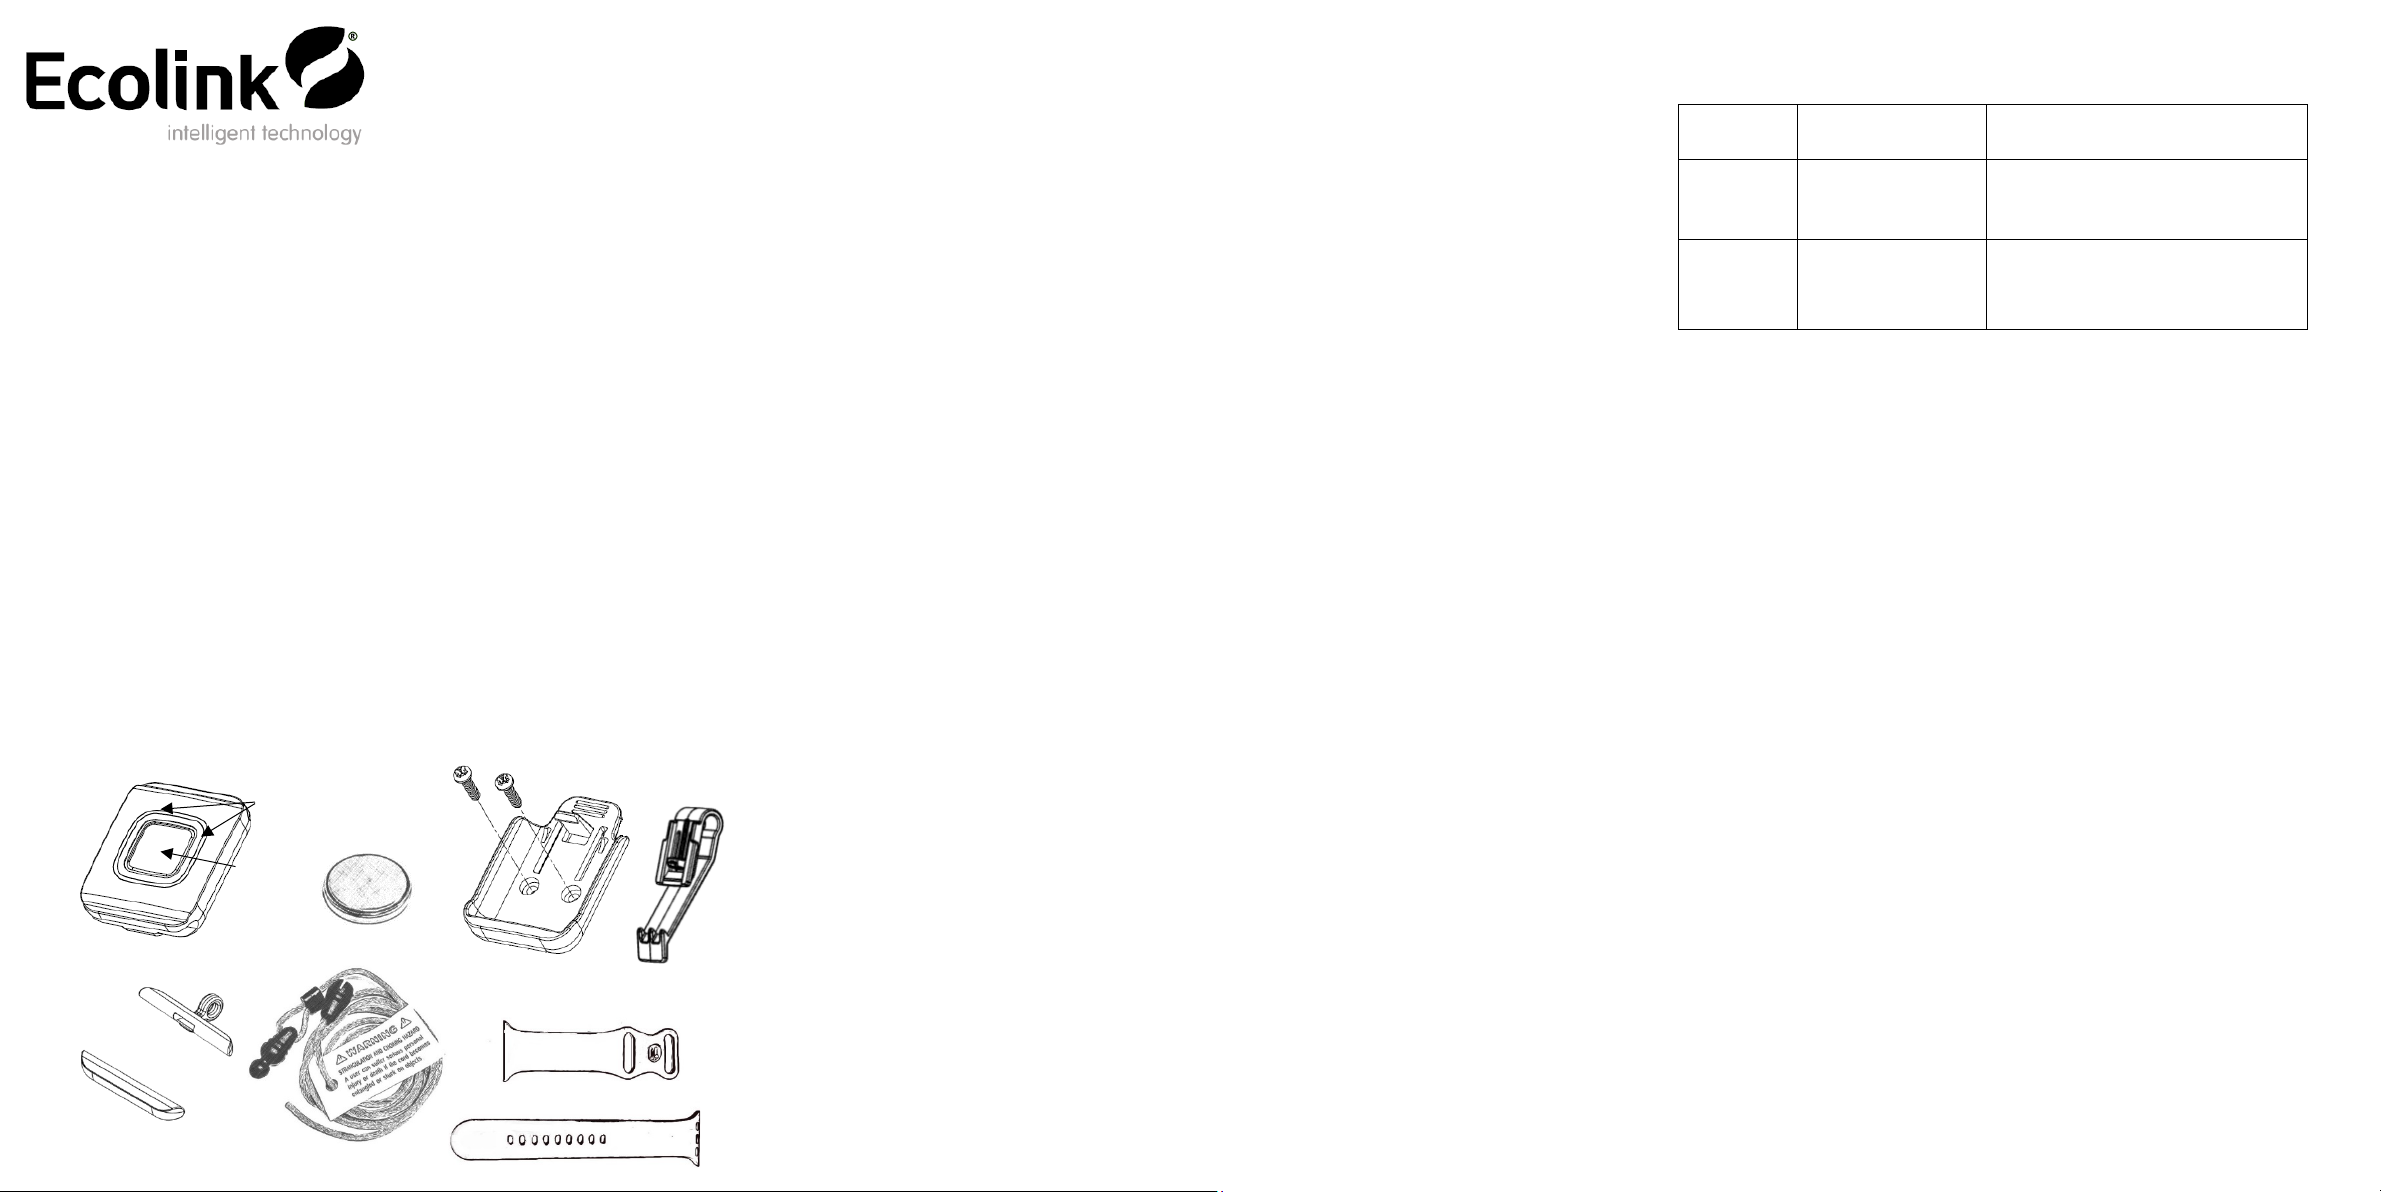
7. Product Operation
The WST-130 Wearable Action Button supports up to three (3) different
alerts or commands to be triggered through different button presses.
The button appears as three sensor zones, each with their own unique
serial number (ESN), as shown:
Press and Release (Twice,
<1 second apart)
illuminates (about 5 seconds),
then release.
The LED Ring blink patterns confirm each button press type detected:
On during transmission
On during transmission
On during transmission
The LED will remain on for approximately 3 seconds when transmitting.
Wait until the LED is OFF before attempting the next button press.
AZone event transmission is sent as an Open immediately followed by a
Restore. Depending on the security panel’s features, triggering each of
the Action Button’s Zones can be set up as the initiating action to trigger
a pre-configured automation or rule. Refer to your specific panel’s
instructions for more information.
8. Maintenance - Replacing the Battery
When the battery is low, a signal will be sent to the control panel.
To replace the battery:
•Insert a plastic pry tool, or a small flat blade screwdriver into one of the
notches on the back of the Action Button and gently pry to release the
back cover from the main housing.
•Set the back cover aside, and gently remove the circuit board from the
housing.
•Remove the old battery and insert a new Toshiba CR2032 or Panasonic
CR2032 battery with the positive side (+) of the battery touching the
battery holder marked with the (+) symbol.
•Re-assemble by placing the circuit board into the back case with the
battery side facing down. Align the small notch on the side of the circuit
board with the tallest plastic rib on the inside wall of the back case. When
properly inserted, the circuit board will sit level inside back case.
•Align the arrows of back cover and the main housing, then carefully snap
them together.
•Test the Action Button to ensure proper operation.
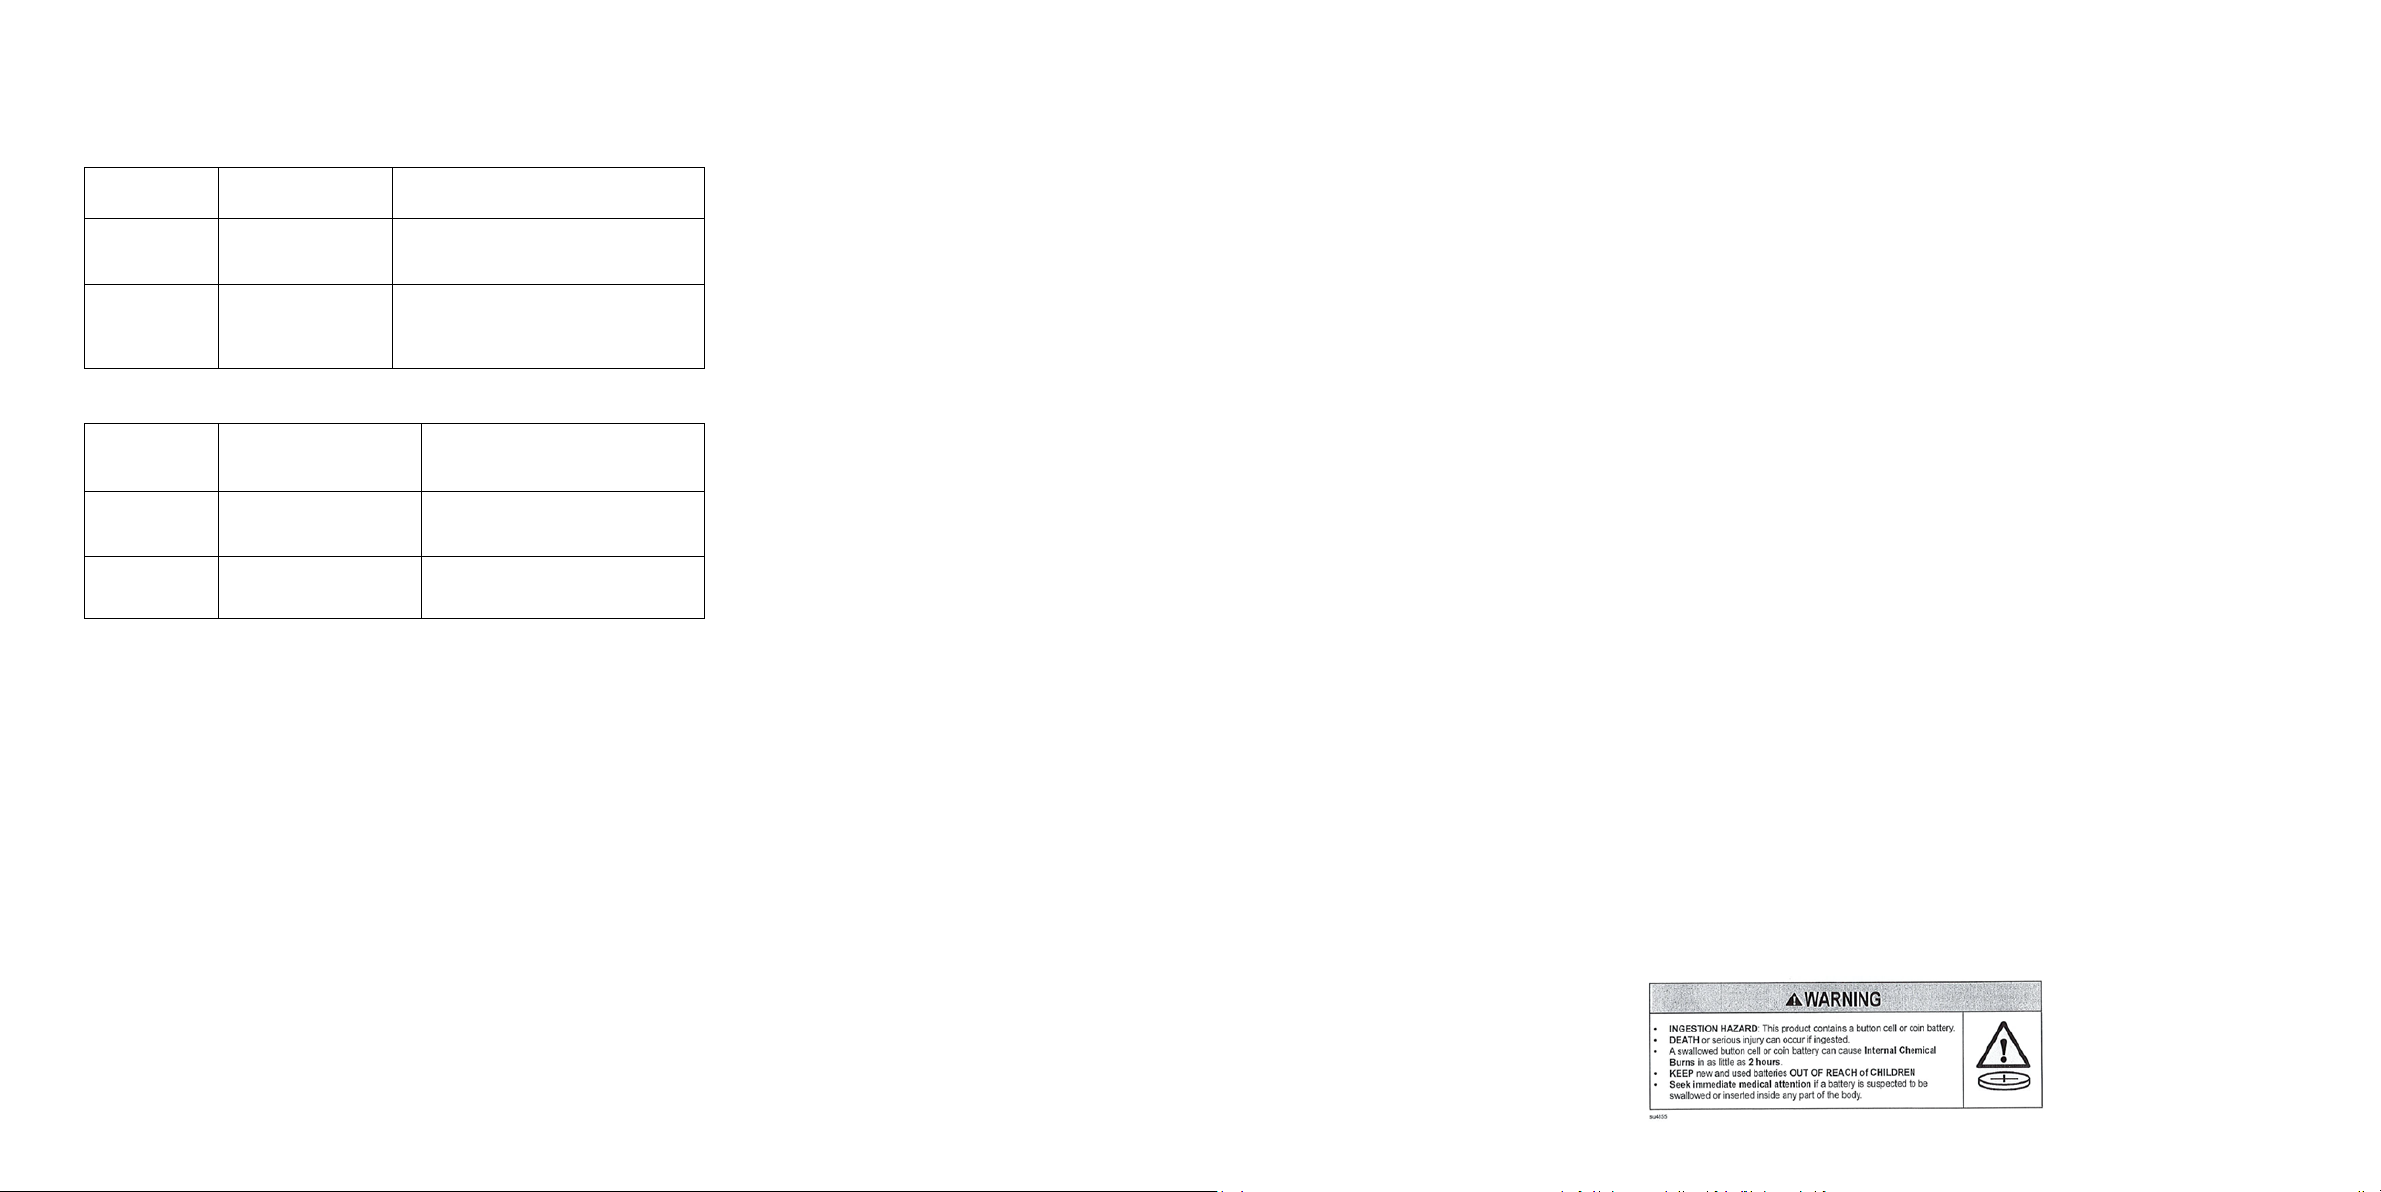
WARNING: Failure to follow these warnings and instructions can lead to heat generation,
rupture, leakage, explosion, fire, or other injury, or damage. Do not insert the battery into the
battery holder wrong side up. Always replace the battery with the same or equivalent type.
Never recharge or disassemble the battery. Never place the battery in fire or water. Always
keep batteries away from small children. If batteries are swallowed, promptly see a doctor.
Always dispose and/or recycle used batteries in accordance with the hazardous waste
recovery and recycling regulations for your location. Your city, state, or country may also
require you to comply with additional handling, recycling, and disposal requirements.
Product Warnings and Disclaimers
WARNING: CHOKING HAZARD - Small parts. Keep away from children.
WARNING: STRANGULATION AND CHOKING HAZARD – A user can suffer serious
personal injury or death if the cord becomes entangled or stuck on objects.
FCC Compliance Statement
This device complies with part 15 of the FCC Rules. Operation is subject to the following two conditions: (1)
This device may not cause harmful interference, and (2) this device must accept any interference received,
including interference that may cause undesired operation.
This equipment has been tested and found to comply with the limits for Class B digital devices, pursuant to
Part 15 of the FCC Rules. These limits are designed to provide reasonable protection against harmful
interference in a residential installation. This equipment generates, uses and can radiate radio frequency
energy and, if not installed and used in accordance with the instruction manual, may cause harmful
interference to radio communications. However, there is no guarantee that interference will not occur in a
particular installation. If this equipment does cause harmful interference to radio or television reception,
which can be determined by turning the equipment off and on, the user is encouraged to try to correct the
interference by one or more of the following measures:
• Re-orient or relocate the receiving antenna
• Increase the separation between the equipment and receiver
• Connect the equipment to an outlet on a different circuit from the receiver
• Consult the dealer or an experienced radio/TV contractor for help.
Warning: Changes or modifications not expressly approved by the party responsible for compliance
could void the user’s authority to operate the equipment.
This device complies with Industry Canada licence-exempt RSS standard(s). Operation is subject to the
following two conditions: (1) this device may not cause interference, and (2) this device must accept any
interference, including interference that may cause undesired operation of the device.
C’et appareil est conforme la norme d'Industrie Canada exempts de licence RSS. Son fonctionnement est
soumis aux deux conditions suivantes: (1) c’et appareil ne peut pas provoquer d'interférences, et (2) c’et
appareil doit accepter toute interférence, y compris les interférences qui peuvent causer un mauvais
fonctionnement de la dispositif.
FCC (U.S.) Radiation Exposure Statement: This equipment complies with FCC radiation exposure limits set
forth for an uncontrolled environment. This equipment should be installed and operated with minimum
distance 20 cm (7.9 in) between the radiator and your body.
IC (Canada) Radiation Exposure Statement: This equipment complies with ISED radiation exposure limits set
forth for an uncontrolled environment. This equipment should be installed and operated with greater than
20 cm (7.9 in) between the radiator and your body. Déclaration d'exposition aux radiations: Cet équipement
est conforme aux limites d'exposition aux rayonnements ISED établies pour un environnement non
contrôlé. Cet équipement doit être installé et utilisé à plus de 20 cm entre le radiateur et votre corps.
FCC ID: XQC-WST130 IC: 9863B-WST130
Trademarks
Apple Watch is a registered trademark of Apple Inc.
All trademarks, logos and brand names are the property of their respective owners. All company,
product and service names used in this document are for identification purposes only. Use of these
names, trademarks and brands does not imply endorsement.
Warranty
Ecolink Intelligent Technology Inc. warrants that for a period of 2 years from the date of purchase
that this product is free from defects in material and workmanship. This warranty does not apply to
damage caused by shipping or handling, or damage caused by accident, abuse, misuse,
misapplication, ordinary wear, improper maintenance, failure to follow instructions or as a result of
any unauthorized modifications. If there is a defect in materials and workmanship under normal use
within the warranty period Ecolink Intelligent Technology Inc. shall, at its option, repair or replace the
defective equipment upon return of the equipment to the original point of purchase. The foregoing
warranty shall apply only to the original buyer, and is and shall be in lieu of any and all other
warranties, whether expressed or implied and of all other obligations or liabilities on the part of
Ecolink Intelligent Technology Inc. neither assumes responsibility for, nor authorizes any other person
purporting to act on its behalf to modify or to change this warranty, nor to assume for it any other
warranty or liability concerning this product. The maximum liability for Ecolink Intelligent Technology
Inc. under all circumstances for any warranty issue shall be limited to a replacement of the defective
product. It is recommended that the customer check their equipment on a regular basis for proper
operation.
REV &REV Date: A0201/12/2023
2055 Corte Del Nogal
Carlsbad, CA 92011
-855-632-6546
© 2023 Ecolink Intelligent Technology Inc.