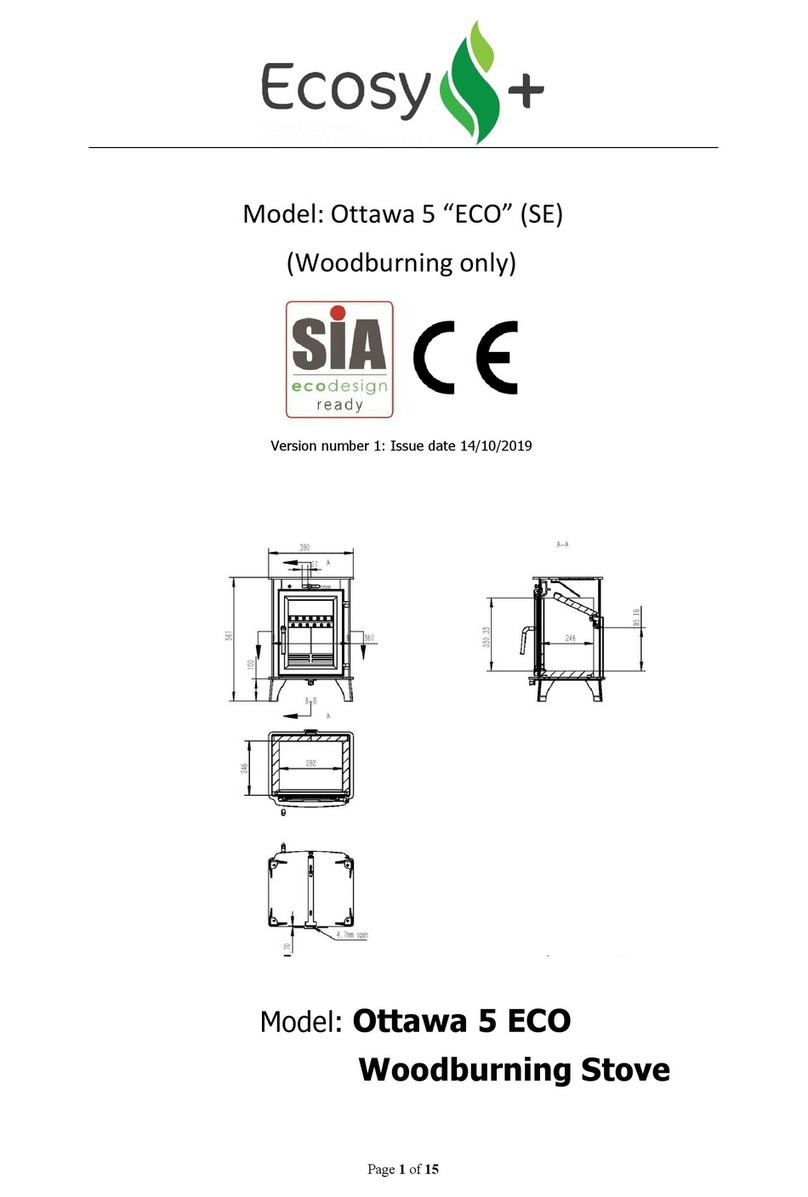
Ecosy+ Ottawa 5kw User manual

1
Installation and Operating
Instructions
Wood-burning Stove
Model: Ottawa 5kw
Size: W390XD430XH560MM

2
INTRODUCTION
Wood-burning Stove
Item No.: Ottawa 5kw
Size: W390XD330XH560MM
SAFETY
Safety is the most important consideration when using and installing your stove. If not installed
and used correctly, a house fire could result. Installation must comply with relevant national
and local Building Regulations and fire safety standards.
IN THE EVENT OF A CHIMNEY FIRE, EVACUATE THE PROPERTY AND CALL THE EMERGENCY
SERVICES.
Your stove will be heavy and care needs to be taken when lifting - 2 people will normally be
required to lift.
UNPACKING
Your stove will have several of its components stored inside the stove itself for transportation.
Take the legs out “cast iron stove only” and attach them one at a time to the underside of the
stove –it may help to sit the stove on some sturdy blocks of wood or bricks whilst you do this.
Do NOT use a wrench to tighten any bolts, they should be hand tight
only –cast iron is relatively brittle and can crack if over-tightened.
Do NOT drag the stove on its legs –it must be carefully lifted into place.
The flue spigot can also be bolted to the flue outlet –the stove has two options for flue outlet –
one on the top and one at the rear. - Most people use the top outlet –in this case, remove the
blanking plate at the top and secure to the rear outlet instead, but depending on where you
intend to position the stove in relation to your chimney, you may wish to use the rear outlet.
Inside the stove will also be an ash-pan which sits underneath the grate, and will require
regular emptying. You will also find a detachable tool for removal of the ash-pan.
You will also find a glove which must be used when opening the door or when adjusting air
vents when the fire is hot.
Baffle Plate
The baffle plate sits above the rear cast iron fire brick and comes to rest just above the top air
flow control. The end of the plate with rectangle holes cut in the end sits towards the front of
the unit.

3
INSTALLATION
Installation of your stove must comply with relevant local and national Building Regulations and
fire safety standards.
TECHNICAL
Ottawa 5 kW - Performance Test Results.
All efficiencies in table are Net values
Wood Results, 1 hour refuels
Parameter Mean
Test Duration h 1.05
Total Efficiency 80.2 %
Nominal heat output kW 4.8
Mean CO emission (at 13 % O2) 0.35%
Mean flue gas temperature ºC 278
Flue gas mass flowg/s 3.3
Mean CnHm (at 13 % O2) 314
Mean NOx (at 13 % O2) 66
DIN Plus dust (at 13 % O2)s 13.3
Manufacturer’s declarations Refuelling period 1 hour
Nominal output 4.8 kW
Temperature Safety Test
Distances to combustibles: Back Wall 700 mm
Side Wall 600 mm
Max Hearth Temperatures
Nominal output 61°C
Temperature safety 77°C
76kg
Your stove will require a constant air supply, and should not be used at the same time and in
the same room/space as extractor fans or any device which may draw air supply away from the
stove. The stove should be installed on a level floor with adequate load bearing capacity.
The stove needs to stand on a hearth of non-combustible materials not less than 12mm thick
conforming to Building Regulations.
Normally for most houses in the UK no extra ventilation is required when installing a stove rated
at 5kW or less.
Note: The requirements regarding ventilation have been updated in the most recent version of
the Building
Regulations and are now based on the air permeability of the house.
NOT suitable for installation in a shared flue system.

4
If installed in a standard type chimney, a register plate needs to be fitted inside the chimney.
When purchasing flue pipe, 5” diameter is required. The flue pipe must be fitted INSIDE the
flue spigot, and sealed with a generous amount of Fire Cement.
Access should be provided for cleaning the flue to ensure that the passageways for exhaust
gases remain free from obstruction. We recommend that you have a qualified fitter install your
stove. The British recognised standard for solid fuel installations is HETAS. You can find a
HETAS qualified installer in your area by going to the HETAS website –www.hetas.co.uk.
OPERATING INSTRUCTIONS
The Clean Air Act 1993 and Smoke Control Areas
Under the Clean Air Act local authorities may declare the whole or part of the district of the
authority to be a smoke
control area. It is an offence to emit smoke from a chimney of a building, from a furnace or
from any fixed boiler if
located in a designated smoke control area. It is also an offence to acquire an “unauthorised
fuel” for use within a
smoke control area unless it is used in an “exempt” appliance (“exempted” from the controls
which generally apply in the smoke control area).
The Secretary of State for Environment, Food and Rural Affairs has powers under the Act to
authorise smokeless fuels or exempt appliances for use in smoke control areas in England. In
Scotland and Wales this power rests with Ministers in the devolved administrations for those
countries. Separate legislation, the Clean Air (Northern Ireland) Order 1981, applies in Northern
Ireland. Therefore it is a requirement that fuels burnt or obtained for use in smoke
control areas have been “authorised” in Regulations and that appliances used to burn solid fuel
in those areas (other than “authorised” fuels) have been exempted by an Order made and
signed by the Secretary of State or Minister in the devolved administrations.
The Ecosy+ 5 has been recommended as suitable for use in smoke control areas when burning
seasoned wood. Further information on the requirements of the Clean Air Act can be found
here: http://smokecontrol.defra.gov.uk/ . Your local authority is responsible for implementing
the Clean Air Act 1993 including designation and supervision of smoke control areas and you
can contact them for details of Clean Air Act requirements.
Regulations
All national and local regulations, including those referring to national and European
standards, need to be complied with when installing the stove.
FUEL
Wood- All types of wood are suitable provided they are well seasoned, UNTREATED, and have
a moisture level between 12% and 20%. For soft woods, typically they will need to have been
left in suitable storage for 9+ months in order for the moisture to evaporate. For hardwoods,

5
this will usually be 18 months+. It is recommended that logs should be no more than 5” or
125mm in diameter. If you are unsure of the moisture content of your fuel, then you can
buy a moisture meter which will indicate the moisture levels in your fuel. Liquid fuels must
NEVER be used.
WARNING: Wet timber should not be used as this will create excess tar deposits in the chimney
and stove and could increase the risk of chimney fire. Timber which is not of a suitable moisture
content will also create more smoke and harmful emissions, and will damage the stove and flue
system.
AIR INLET CONTROLS
Your stove has three air inlet areas. The upper vent provides air supply for the air-wash system
and allows air into the higher areas of the fire box –this is called the Secondary air –when this
vent is open, the door glass is kept clean by high speed air rushing downwards across the inside
of the glass. By moving the Secondary vent knob to the right, airflow into the stove is increased.
The secondary air vent is set such that the closure plate does not seal fully, thus allowing some
constant air supply into the stove.
The lower vent knob on the bottom of the door controls the provision of Primary air –this is the
primary source of air supply for combustion. Sliding the knob to the right increases the amount
of Primary airflow into the stove. The third (Tertiary) vent control is located underneath the
stove and controlled by a lever/ knob tucked under the
bottom shelf. Moving the lever towards you increases the airflow into the stove. The air is then
channelled through a
chamber on the rear of the stove and to the rear of the firebox, and enters the firebox via a
series of small holes in the throat plate. The closure plate mechanism on the rear of the stove
incorporates a ‘stop-bolt’ – a physical stop to ensure the Tertiary air inlet vent cannot be fully
closed. This is required to ensure the stove maintains a level of combustion not likely to create
excessive smoke.
TOOLS
The glove is provided for adjusting the air inlets and for opening the door when the stove is hot,
as these knobs will heat up when in use. The tool handle provided is for removing the ash-pan.
NOTE –all parts of the stove will become hot during use and care needs to be taken to avoid
injury through burning.
LIGHTING THE FIRE AND RE-FUELING
-
Table of contents
Other Ecosy+ Wood Stove manuals
Popular Wood Stove manuals by other brands

RAIS
RAIS attika NEXO 100 GAS installation guide

WoodPro
WoodPro WS-TS-1500 owner's manual
Contura
Contura C 586W installation instructions
Palazzetti
Palazzetti EVA GENERAL INFORMATION - WARNINGS - INSTALLATION - MAINTENANCE

Lopi
Lopi 1250 Republic owner's manual
Panadero
Panadero CAPRI 3V Usage and maintenance instructions


