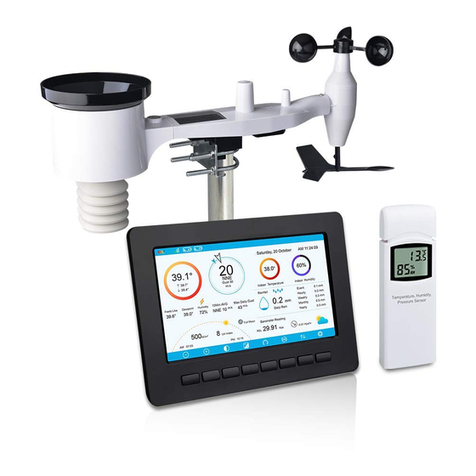
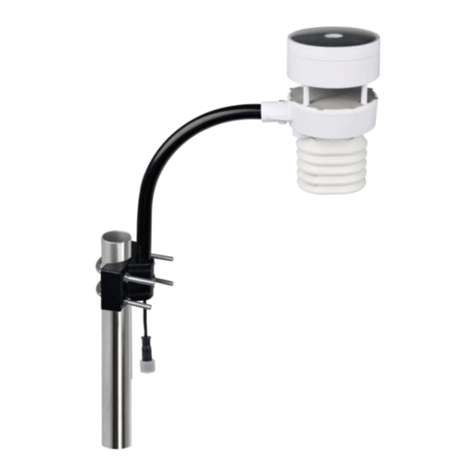
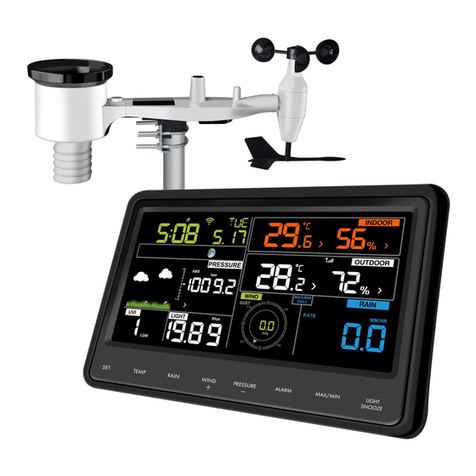
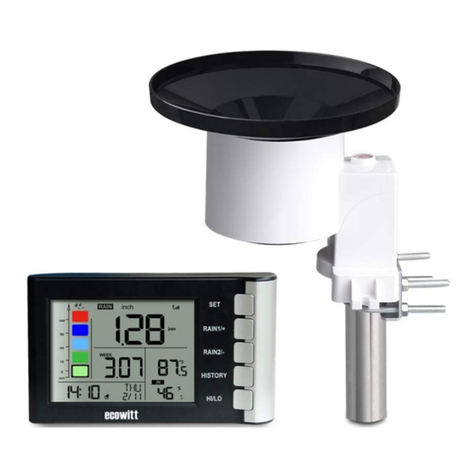
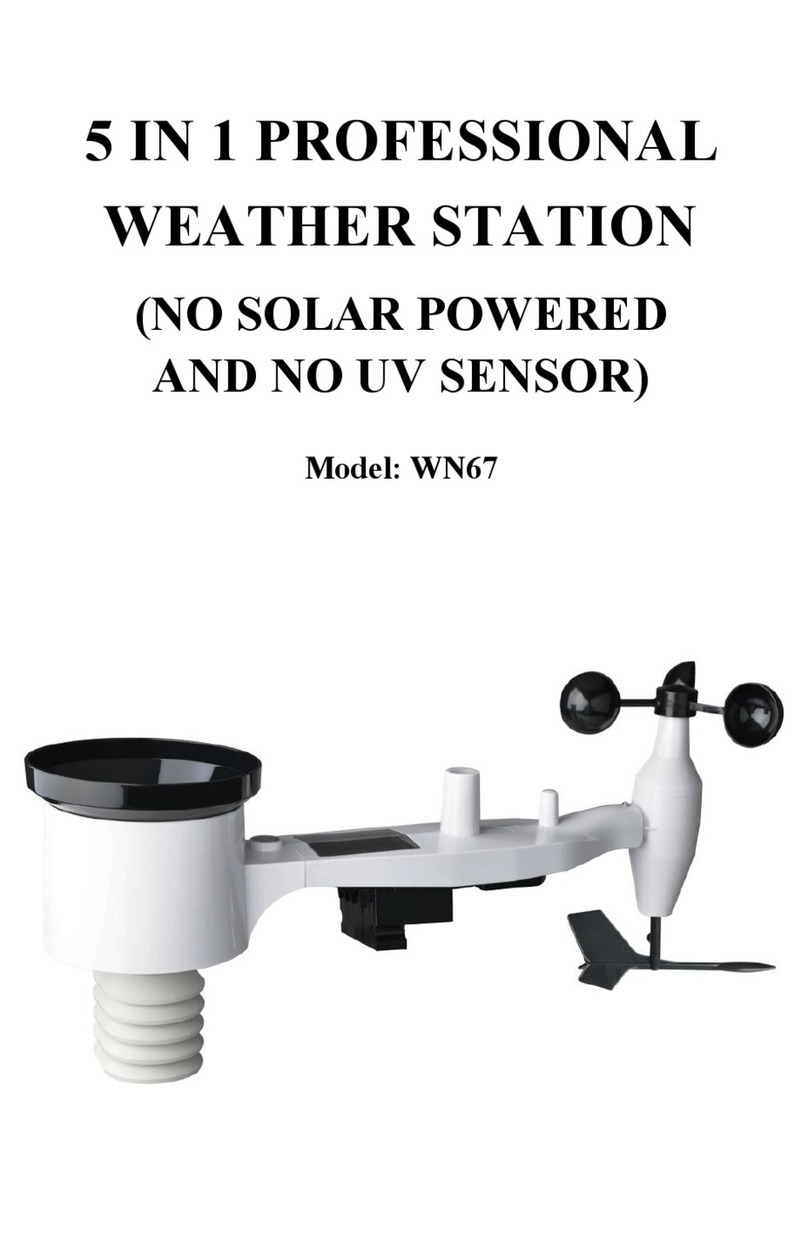
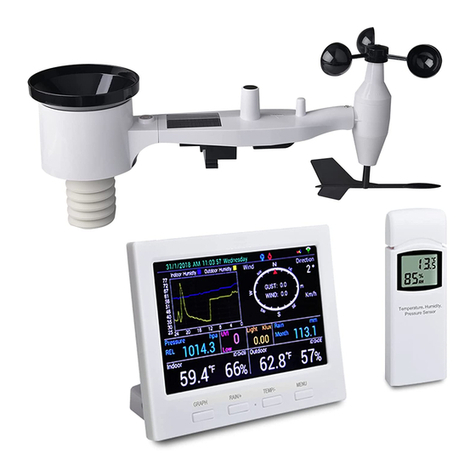
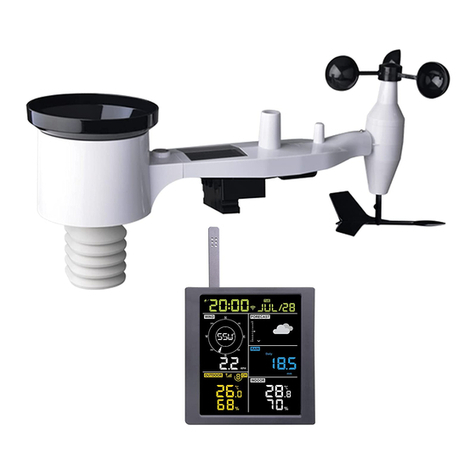
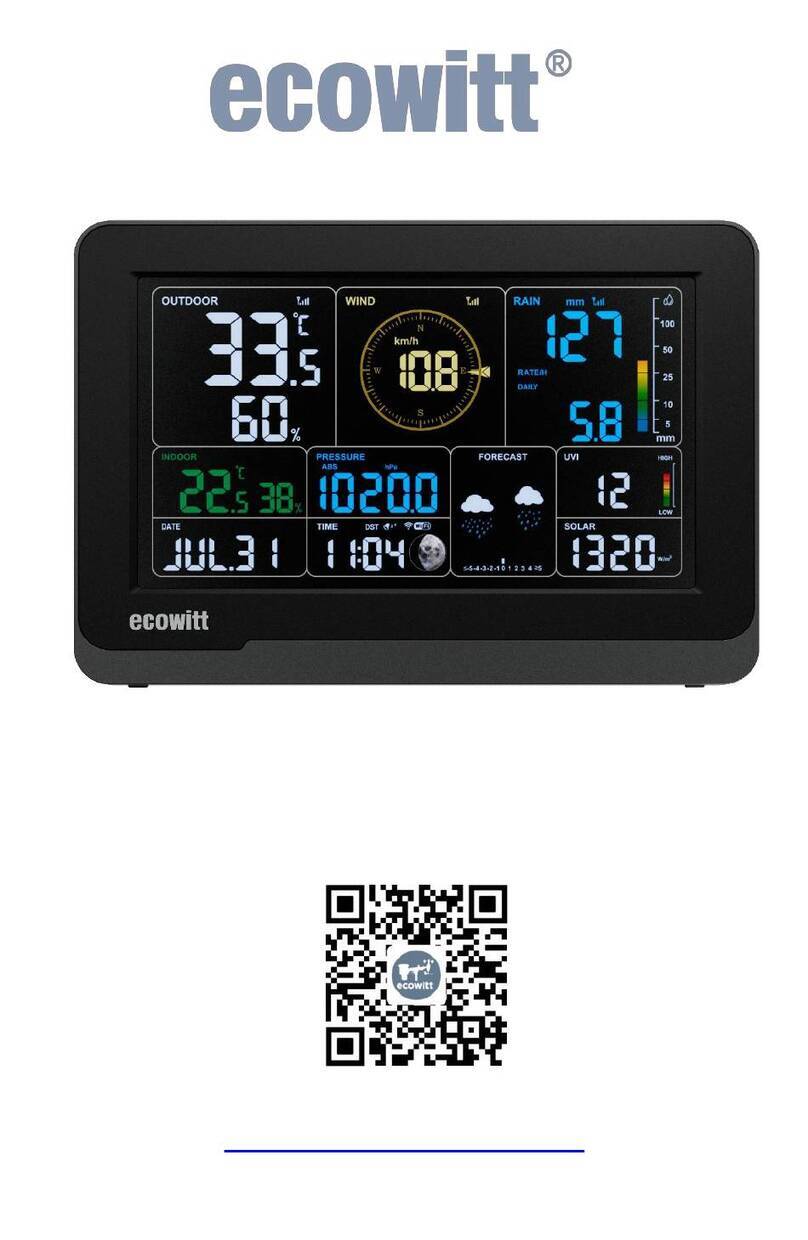
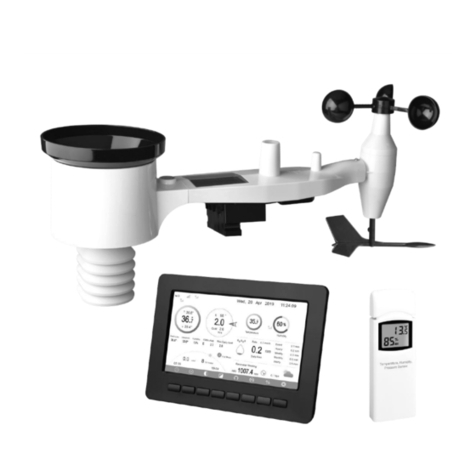
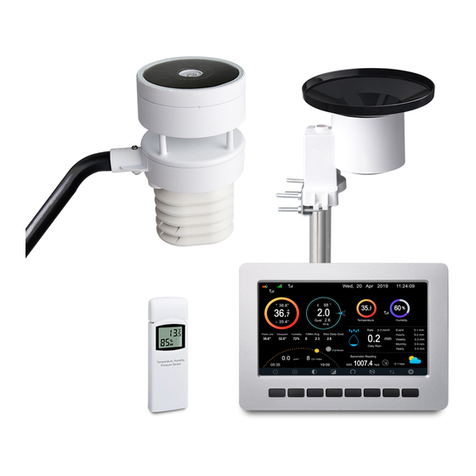
ECOWITT WN1980 User manual

1
PROFESSIONAL WEATHER STATION
Operation Manual
Model: WN1980
Table of Contents
1. Introduction ........................................................................................ 3
2. Warnings and Cautions........................................................................ 3
3. Quick Start Guide................................................................................ 3
4. Pre-Installation Checkout and Site Survey............................................. 4
4.1 Pre Installation Checkout.................................................................. 4
4.2 Site Survey...................................................................................... 4
5. Setting Started .................................................................................... 4
5.1 Contents.......................................................................................... 5
5.2 Sensor Array Set Up......................................................................... 5
5.2.1 Install U-bolts and mounting pole............................................... 6
5.2.2 Install wind vane ....................................................................... 7
5.2.3 Install wind speed...................................................................... 7
5.2.4 Install Rain Gauge..................................................................... 7
5.2.5 Install Batteries ......................................................................... 8
5.2.6 Mount assembled outdoor sensor package ................................ 9
5.2.6.1 Before you mount ................................................. 9
5.2.6.2 Mounting ............................................................. 9
5.2.7 Reset Button and Transmitter LED ........................................... 10
5.3 Optional sensors............................................................................ 10
5.4 Indoor/Outdoor Thermo-Hygrometer, 8 Channel (optional)............... 12
5.5 Best Practices for Wireless Communication..................................... 14
5.6 Display console ............................................................................. 15
6. Display Console Operation ................................................................ 17
6.1 Screen Display .............................................................................. 17
6.2 Initial Display Console Set Up........................................................ 18
6.2.1 Key function........................................................................... 18
6.3 Setting mode ................................................................................. 19
6.4 Barometric Pressure Display........................................................... 21
6.4.1 Viewing Absolute vs. Relative Pressure..................................... 21
6.4.2 Rate of Change of Pressure Graph ............................................ 22
6.4.3 Relative Pressure Calibration Discussion................................... 22
6.5 Rain Display ................................................................................. 23
6.5.1 Rain Increments of Measure..................................................... 23
6.5.2 Increments of Rain Definitions................................................. 23

2
6.6 Wind Display ................................................................................ 23
6.7 Temperature Display...................................................................... 24
6.7.1 Wind Chill, Dew Point and Heat Index Display ......................... 24
6.8 Alarms.......................................................................................... 24
6.8.1 Viewing High and Low Alarms................................................. 24
6.8.2 Setting High and Low Alarms................................................... 25
6.9 Max/Min Mode ............................................................................. 29
6.9.1 Viewing Max/Min Values......................................................... 29
6.9.1.1 Display Wind Chill, Heat Index vs. Dew Point
Max/Min Values ............................................................ 29
6.9.1.2 Display Wind Speed vs. Wind Gust Max Values.... 29
6.9.1.3 Display Hourly Rain, Rain Rate........................... 30
6.9.1.4 DisplayAbsolute and Relative Pressure Min and Max
Values........................................................................... 30
6.10 Resynchronize Wireless Sensor..................................................... 30
6.11 Backlight Operation ..................................................................... 30
6.11.1 With USB cable (included)..................................................... 31
6.11.2 Without USB Power supplied ................................................. 31
6.12 TendencyArrows......................................................................... 31
6.13 Wireless Signal Quality Indicator.................................................. 31
6.14 Weather Forecasting..................................................................... 32
6.14.1 Storm Alert ........................................................................... 32
6.14.2 Weather Forecasting Description and Limitations..................... 32
7 Specification:..................................................................................... 33
8 Live Internet Publishing...................................................................... 35
8.1 Configure Wi-Fi via BLE to connect the Weather Station Console错误!未定义书签。
8.1.1 Download mobile application................................................... 36
8.1.2 Configure Wi-Fi via BLE.............................错误!未定义书签。
8.1.2.1Apple iOS user........................错误!未定义书签。
8.1.2.2Android user:..........................错误!未定义书签。
8.2 Ecowitt Weather ........................................................................ 41
9.Registering WeatherUnderground.com through the PC or Mac .............. 45
10. Other functions on WS View Plus..................................................... 52
10.1 WU Dashboard vs Live Data ........................................................ 52
10.2 Manage Wunderground................................................................ 52
10.3 Settings....................................................................................... 53
10.4 Manage Ecowitt........................................................................... 53
10.5 Direct Connection & Test Mode.................................................... 54
10.6 Calibration .................................................................................. 56
10.7 Editing Rain totals ....................................................................... 56
10.8 Device Settings............................................................................ 57
10.9 Sensor ID.................................................................................... 57
11 Maintenance .................................................................................... 57

3
12. Troubleshooting Guide .................................................................... 59
1. Introduction
Thank you for your purchase of the Wireless Wi-Fi Weather Station. The
following user guide provides step by step instructions for installation,
operation and troubleshooting.
2. Warnings and Cautions
Warning: Any metal object may attract a lightning strike, including your
weather station mounting pole. Never install the weather station in a storm.
Warning: Installing your weather station in a high location may result
in injury or death. Perform as much of the initial check and operation on the
ground and inside a building or home. Only install the weather station on a
clear, dry day.
3. Quick Start Guide
Although the manual is comprehensive, much of the information contained
may be intuitive. In addition, the manual does not flow properly because the
sections are organized by components.
The following Quick Start Guide provides only the necessary steps to install,
operate the weather station, and upload to the internet, along with references
to the pertinent sections.
Table 1: Quick Start Guide
Required
Step
Description
Section
1
Assemble and power up the integrated sensor
array
5.2.1–5.2.3
2
Power up the display console and synchronize
with sensor array
5.6
3
Set date and time on console
6.4.5
4
Calibrate the relative pressure to sea-level
conditions (local airport) on console
6.4.3
5
Mount the sensor array
5.2.6
6
Reset the rain to zero on console
6.4.8
Optional
7
Configure Wi-Fi connection
8.1
8
Register and upload to Weather Server
9

4
4. Pre-Installation Checkout and Site Survey
4.1 Pre Installation Checkout
Before installing your weather station in the permanent location, we
recommend operating the weather station for one week in a temporary location
with easy access. This will allow you to check out all of the functions, insure
proper operation, and familiarize you with the weather station and calibration
procedures. This will also allow you to test the wireless range of the weather
station.
4.2 Site Survey
Perform a site survey before installing the weather station. Consider the
following:
1. Clean the rain gauge every few months and change the batteries every
2-3 years. Provide easy access to the weather station.
2. Avoid radiant heat transfer from buildings and structures. Install the
sensor array at least 2 meter from any building, structure, ground, or
roof top.
3. Avoid wind and rain obstructions. The rule of thumb is to install the
sensor array at least four times the distance of the height of the tallest
obstruction. For example, if the building is 20’ tall, and the mounting
pole is 6’ tall, install 4 x (20 – 6)’ = 56’ away.
4. Wireless Range. The radio communication between receiver and
transmitter in an open field can reach a distance of up to 100 meters,
providing there are no interfering obstacles such as buildings, trees,
vehicles, high voltage lines. Wireless signals will not penetrate metal
buildings. Under most conditions, the maximum wireless range is
30m.
5. Radio interference such as PCs, radios or TV sets can, in the worst
case, entirely cut off radio communication. Please take this into
consideration when choosing console or mounting locations. Make
sure your display console is at least five feet away from any electronic
device to avoid interference.
5. Setting Started
Item need to be powered by DC power!

5
5.1 Contents
QT
Y
Item Description
1
Display Console
1
Outdoor Sensor with built-in: Thermo-hygrometer / Rain Gauge /
Wind Speed Sensor/ Wind Direction Sensor
1
Wind speed cups (to be attached to outdoor sensor body)
1
Wind vane (to be attached to outdoor sensor body)
2
U-Bolts for mounting on a pole
4
Threaded nuts for U-Bolts (M6 size)
1
Metal mounting plate to be used with U-Bolts
1
Wrench for M6 bolts
1
USB to 2.5*0.7mm DC 5V power plug connector cable
1
User manual (this manual)
Table 2: Package content
5.2 SensorArray Set Up
Figure 1: Sensor assembly components

6
1 Wind speed cups
6 Antenna
2 Wind vane
7 U-Bolts
3 Thermo- and hygro-meter sensors
8 Battery compartment door
4 Rain collector
9 Reset button
5 Bubble level
10 LED (red) to indicate data
transmission
Table 3: Sensor assembly detailed items
5.2.1 Install U-bolts and mounting pole
Installation of the U-bolts, which are in turn used to mount the sensor package
on a pole, requires installation of an included metal plate to receive the U-bolt
ends. The metal plate, visible in Figure 2, has four holes through which the
ends of the two U-Bolts will fit. The plate itself is inserted in a groove on the
bottom of the unit. Note that one side of the plate has a straight edge (which
goes into the groove), the other side is bent at a 90-degree angle and has a
curved profile (which will end up “hugging” the mounting pole). Once the
metal plate is inserted, remove nuts from the U-Bolts and insert both U-bolts
through the respective holes of the metal plate as shown in Figure 2.
Figure 2: U-Bolt installation
Loosely screw on the nuts on the ends of the U-bolts. You will tighten these
later during final mounting. Final assembly is shown in Figure 3.
Figure 3: U-Bolts and nuts installed
The plate and U-Bolts are not yet needed at this stage but doing this now may

7
help avoid damaging wind vane and wind speed cups later on.
5.2.2 Install wind vane
Push the wind vane onto the shaft on the bottom of the sensor, until it stops
moving further, as shown in figure 4.
Tighten the set screw, with a Philips screw driver (size PH0), until the wind
vane cannot be removed from the axle, as shown in figure 4. Make sure the
wind vane spin freely. The wind vane’s movement has a small amount of
friction, which is helpful in providing steady wind direction measurements.
Figure 4: Wind vane installation diagram
5.2.3 Install wind speed
Push the wind speed cups into the shaft as shown in figure 5.
Tighten the set screw with screw driver. Make sure the wind speed cups can
spin freely.
Figure 5: Wind speed cup installation diagram
5.2.4 Install Rain Gauge
Install the rain gauge funnel. Rotate clockwise to attach the funnel to the

8
outdoor sensor.
Figure 6: Rain gauge installation and maintenance
5.2.5 Install Batteries
Insert 2XAA batteries in the battery compartment. The LED indicator on the
back of the transmitter will turn on for four seconds and normally flash once
every 16 seconds (the sensor transmission update period).
Figure 7: Battery installation diagram

9
Note: If no LED light up or is permanently on, make sure the batteries are
inserted the correct way or a proper reset has happened. Do not install the
batteries backwards. You can permanently damage the outdoor sensor.
Note: We recommend 1.5V lithium batteries for cold weather climates, but
alkaline batteries are enough for most climates. We do not recommend
rechargeable batteries. They have lower voltages, they do not operate well at
wide temperature ranges, and do not last as long, resulting in poorer reception.
5.2.6 Mount assembled outdoor sensor package
5.2.6.1 Before you mount
Before proceeding with the outdoor mounting detailed in this section, you may
want to skip to setup instructions in section 6 and onwards first, while you
keep the assembled outdoor sensor package nearby (although preferably not
closer than 5 ft. from the console). This will make any troubleshooting and
adjustments easier and avoids any distance or interference related issues from
the setup.
After setup is complete and everything is working, return here for outdoor
mounting. If issues show up after outdoor mounting they are almost certainly
related to distance, obstacles etc.
5.2.6.2 Mounting
You can attach a pipe to a permanent structure and then attach the sensor
package to it (see Figure 8). The U-Bolts will accommodate a pipe diameter of
1-2 inches (pipe not included).
Figure 8: Sensor package mounting diagram
Finally, place the sensor package on top of the prepared mounting pipe.The U-
Bolts should be loose enough to allow this but loosen the nuts as necessary.
Once placed, hand tightens all four nuts, taking care to do so evenly.
Now you will need to align the whole package in the proper direction by
Figure 9

10
rotating it on top of the mounting pipe as needed. Locate the arrow
labeled “WEST” that you will find on top of the sensor package right next
to the antena. You must rotate the whole sensor package until this arrow
points due West. To achieve proper alignment, it is helpful to use
a compass (many cell phones have a compass application).
Once rotated in the correct orientation, lightly tighten the bolts a little more
(use a wrench) to prevent further rotation.
Note: Use the bubble level next to the rain sensor to make sure the sensor
array is completely level. If the sensor is not level then the rain gauge will
measure inaccurately.
5.2.7 Reset Button and Transmitter LED
In the event that the sensor array is not transmitting, reset the sensor array.
With an open ended paperclip, press and hold the RESET BUTTON for three
seconds and resynchronize with console by powering down and up the console.
Please put the console with the sensor array about 3 meters away.
Figure 9: Reset button and Transmitter LED location
5.3 Optional sensors
Important: When more sensors, excluding the original sensor array, to be
paired with the display, DC power supply must be applied as console will turn
on its RF receiver permanently, this increases the current consumption
significantly.
Optional sensor data can be viewed by WS View Plus APP on its live data
page. Console LCD is reserved for integrated sensor array data hosting only!!
The following optional sensors (sold separately) can be used with console
display.

11
If you have purchased extra sensors, just simply power them up, the display
console will receive the data automatically and send the data directly to
Ecowitt.net (requires to set the console uploading to ecowitt.net first). The
data will not display on the console (pass through only) and sensor
management and calibration can only be realized via WS View PlusAPP.
Note: When optional sensor (s) added, it requires that the console must be
powered by USB connection.
Item
Number
Number of
Channels
Description
Image
WH31
8*
WN36 and
WH31 share
the same 8-
channels
WH31 Multi-channel
temperature and humidity
sensor
WN36
WN36 Wireless Floating
Pool thermometer
WH41
4*
WH41 and
WH43 share
the same
4-channels.
PM2.5 Wireless Outdoor
Particulate Monitor
WH43
PM2.5 Wireless Indoor
Particulate Monitor
WH45
1
PM2.5, PM10 and CO2
Wireless Indoor Particulate
Monitor
WN51
8*
WN51 and
WH51 share
the same
8-channels.
Soil Moisture Sensor
WH51
Soil Moisture Sensor

12
WH57
1
Lightning Detector
WH55
4
Leak Detector
WH40
1
Rain sensor
WN34
8*
The WN34S
and WN34L
share the same
8-channels.
WN34S stainless-steel prob
e thermometer for soil
WN34L wire probe thermo
meter for water
WN35
8
Leaf wetness sensor
Table 4: Optional sensors list
5.4 Indoor/Outdoor Thermo-Hygrometer, 8 Channel (optional)
This device supports up to 8 additional thermo-hygrometer sensors (WH31),
the data will scroll display on the console and sends the data to Ecowitt.net
(requires to set the console uploading to ecowitt.net first).
Note: Do not use rechargeable batteries. We recommend fresh alkaline

13
batteries for outdoor temperature ranges between -4 °F and 140 °F and fresh
lithium batteries for outdoor temperature ranges between -40 °C and 60 °C.
1. Remove the battery door on the back of the transmitter(s) by sliding
down the battery door, as shown in Figure 错误!未找到引用源。
10.
Figure 10: Battery installation for Multi-channel sensor
2. BEFORE inserting the batteries, locate the dip switches on the inside
cover of the lid of the transmitter.
3. Channel Number: This item supports up to eight transmitters. To set
each channel number (the default is Channel 1), change Dip Switches 1,
2 and 3, as referenced in Figure .
4. Temperature Units of Measure: To change the transmitter display units
of measure (°F vs. °C), change Dip Switch 4, as referenced in Figure .
Switch in down position. Switch in up position.

14
Figure 11: Dip Switch diagram
5. Insert two AA batteries.
6. Verify the correct channel number (CH) and temperature units of
measure (°F / °C) are on the display, as shown in Figure 12 错误!未
找到引用源。.
Figure 12: sensor LCD display
1.Temperature units (°C/°F )
3. Channel number
2.Temperature
4. Relative humidity
7. Close the battery door.
8. Repeat for the additional remote transmitters, verifying each remote is
on a different channel.
5.5 Best Practices for Wireless Communication
Note: To insure proper communication, mount the remote sensor(s)
upright on a vertical surface, such as a wall. Do not lay the sensorflat.
Wireless communication is susceptible to interference, distance, walls and
metal barriers. We recommend the following best practices for trouble free
wireless communication.
Electro-Magnetic Interference (EMI). Keep the console several feet away
from computer monitors and TVs.

15
Radio Frequency Interference (RFI). If you have other devices operating on
the same frequency band as your indoor and/or outdoor sensors and
experience intermittent communication between sensor and console, try
turning off these other devices for troubleshooting purposes. You may need to
relocate the transmitters or receivers to avoid the interference and establish
reliable communication. The frequencies used by the sensors are one of
(depending on your location): 433, 868, or 915 MHz (915 MHz for United
States).
1. Line of Sight Rating. This device is rated at 300 feet line of sight (no
interference, barriers or walls) but typically you will get 100 feet
maximum under most real-world installations, which include passing
through barriers or walls.
2. Metal Barriers. Radio frequency will not pass through metal barriers
such as aluminum siding. If you have metal siding, align the remote
and console through a window to get a clear line of sight.
The following is a table of reception loss vs. the transmission medium.
Each “wall” or obstruction decreases the transmission range by the factor
shown below.
Medium
RF Signal Strength Reduction
Glass (untreated)
5-15%
Plastics
10-15%
Wood
10-40%
Brick
10-40%
Concrete
40-80%
Metal
90-100%
Table 5: RF Signal Strength reduction
5.6 Display console
The front and back of the display console is shown in Figure13.

16
Figure 13: Display console front and back
Power on the console as show on Figure 14.
(1) Insert the 5VAC adaptor into the back of the display console
Note: Place the outdoor sensor array about 5 to 10 feet from the display
console and wait several minutes for the remote sensors to synchronize
with the display console.
(2) Insert 2 x AA good qualityAlkaline or Lithium batteries per Figure 14.
(3) Wait several minutes for the remote sensors to synchronize with the
display console.
(4) In order to prevent the display console's own temperature rising from
affecting the accurate reading of temperature and humidity, the
temperature and humidity sensor is placed at the antenna end, away from
the station body. Orient the console antenna straight up for accurate
indoor temperature and humidity reading.
Figure 14: Battery or USB for display console

17
6. Display Console Operation
6.1 Screen Display
Figure 15: Display Console Screen Layout
1.Wind direction
9. Rainfall
2. Wind speed
10. Barometric Pressure graphic
3. RF signal icon
11. Weather forecast
4. 8 Channel Indoor/Outdoor
Thermo-Hygrometer recycle icon
(optional)
12. Date
5. Outdoor temperature
13. WIFI signal icon
6. Outdoor humidity
14. Time
7. Indoor humidity
15. Daylight Savings Time (DST)
8. Indoor temperature
Table 6: Display console detailed items

18
6.2 Initial Display Console Set Up
Insert the batteries to power up the display console.
The unit will show software version and frequency information 2 seconds after
power reset.
The unit will turn on all segments of the LCD for 3 seconds after power reset,
then the unit will start to register the outdoor channel for 3 minutes.
Figure 16
6.2.1 Key function
The console has five keys for easy operation
Figure 17
Key
Description
MODE
Press and hold for two seconds to enter the Set Mode.
Press to switch between Normal Mode, Max Mode, Min
Mode, High Alarm Mode, Low Alarm Mode, MAC
address display Mode

19
TEMP+
TEMP(+2s)
While the console using battery supply only, press this
button to switch display between Outdoor Temperature,
Wind Chill, Dew Point, Heat Index. While using DC
supply, press the button to switch display between
Outdoor Temperature, Chill, Dew Point, Heat Index, 8
channel temperature and humidity (optional), Circle Mode.
Press and hold 2s will force console to search sensor
manually
WIND -
Press to switch between average wind speed and, wind
gust.
Press and hold for two seconds to switch the wind
direction to display in degrees or in letters.
RAIN/PRE
Press and hold for two seconds switch between Rain and
Pressure.
While in Rain mode, press to switch between Rain Rate,
Rain Events, Hourly Rain, Daily Rain, Weekly Rain,
Monthly Rain and Yearly Rain
While in Pressure mode, press to switch between Relative
pressure and Absolute pressure
LIGHT
LIGHT(+2S)
Press to adjust the LCD backlight brightness (high, medium,
low and off) when powered by USB connection
Press to exit the SET mode at any time.
Wake up WiFi listening when battery powered only
TEMP+
(and)
RAIN PRE
Press this two buttons at the same time for 4 seconds to
activate BLE function for Wi-Fi configuration (refer to
section 8.1.2)
[MODE] +
[LIGHT] + 5s
Press Mode and Light button for 5s to make factory
default reset.
Table 7: Key function
6.3 Setting mode
Note: DST, Time Zone setting can only be programmed via WS View Plus
APP. You will need to set time zone info properly if you have the console
connected to internet and these setting need to be adjusted for your setup,
otherwise console will be synchronized to default setting if you don’t setup
these parameters on theAPP properly.
Press and hold the MODE button for two seconds to enter the Set Mode. To
proceed to the next setting, press (do not hold) the MODE button.
To exit the SET mode at any time, press the LIGHT button.

20
Command
Mode
Settings
Image
[MODE] +
2 seconds
Enter Set
Mode,
Beep On
or Off
Press [TEMP +] or [WIND -]
to switch OFF and ON.
This will prevent the beep
from sounding when pressing
any button.
[MODE]
Clear
Max/Min
Press [TEMP +] or [WIND -]
to switch OFF and ON.
When set to ON, the
minimum and maximum
values reset every day at
midnight (00:00).
When set to OFF, the
minimum and maximum
values must be reset
manually.
[MODE]
12 hour /
24 Hour
Format
Press [TEMP +] or [WIND -]
to switch hour format
between 12 hour and 24-hour
format.
[MODE]
Hour
Press [TEMP +] or [WIND -]
to adjust hour up or down.
[MODE]
Minute
Press [TEMP +] or [WIND -]
to adjust minute up or down.
[MODE]
Year
Press [TEMP +] or [WIND -]
to adjust year up or down
[MODE]
Month
Press [TEMP +] or [WIND -]
to adjust month up or down
[MODE]
Day
Press [TEMP +] or [WIND -]
to adjust day up or down
[MODE]
Pressure
Units of
Measure
Press [TEMP +] or [WIND -]
to change units of measure
between hap, mmHg or inHg.
Other manuals for WN1980
1
Table of contents
Other ECOWITT Weather Station manuals

ECOWITT
ECOWITT GW1000 User manual

ECOWITT
ECOWITT WN1980 User manual

ECOWITT
ECOWITT HP2553 User manual

ECOWITT
ECOWITT WH5360B User manual

ECOWITT
ECOWITT WN1900 User manual

ECOWITT
ECOWITT HP1000SE PRO User manual

ECOWITT
ECOWITT WS3800 User manual

ECOWITT
ECOWITT WS2910 User manual

ECOWITT
ECOWITT WN190 User manual

ECOWITT
ECOWITT WH0290 User manual

ECOWITT
ECOWITT GW1100 User manual

ECOWITT
ECOWITT WN67 User manual

ECOWITT
ECOWITT WH2910 User manual

ECOWITT
ECOWITT HP2551 User manual

ECOWITT
ECOWITT WH31 User manual

ECOWITT
ECOWITT HP3501 User manual

ECOWITT
ECOWITT GW1001 User manual

ECOWITT
ECOWITT GW1002 User manual

ECOWITT
ECOWITT HP2553 User manual

ECOWITT
ECOWITT WS3900 User manual