EDIFIER R501 User manual

R501
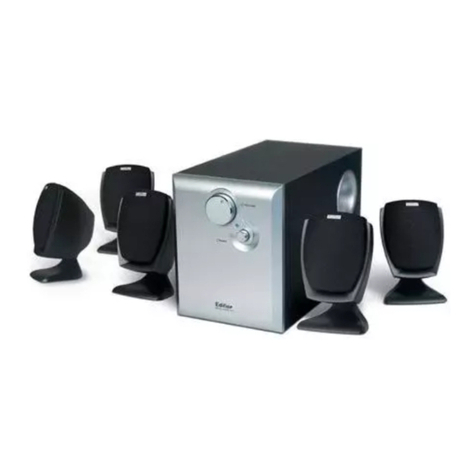
Multimedia Desktop Theater
Made in China
Edifier Enterprises Canada Inc.
R501
User's Manual

Welcome !
Very thanks for choosing Edifier multimedia speaker,it can provide good sound formultimedia Computer and home
theater. Before operating the system, please read this manual thoroughly and retain it for future reference.
IMPORTANT SAFETY INFORMATION
CAUTION
RISK OF ELECTRIC SHOCK
DO NOT OPEN
The lightning flashwith arrowhead, withinan equilateral
triangle, is intendedto alert theuser to thepresence of
Uninsulated "dangerous voltage"within the product's
Enclosure that maybe of sufficientmagnitude to constitute
a risk ofelectric shock topersons.
CAUTION: TOPREVENT THE RISK OF
ELECTRIC SHOCK, DONOT REMOVE COVER
(OR BACK). NOUSER-SERVICEABLE PARTS
INSIDE. REFER SERVICINGTO QUALIFIED
SERVICE PERSONNEL.
The exclamation pointwithin an equilateral
triangle is intendedto alert theuser to thepresence
of important operatingand maintenance (servicing)
instructions in theliterature accompanying the
Appliance.
SAFETY INSTRUCTIONS
Read these instructions.
Keep these instructions.
Heed all warnings.
Follow all instructions.
Install in accordancewith the manufacturer's
Instructions.
Do not usethe speakers nearwater, anddo not
immerse them inany liquid orpour any liquidon them.
Do not blockthe openings inthe speaker cabinets,
never push objectsinto speaker ventsor slots
because of fireor electric shockhazards, and provide
sufficient space around the speakersfor proper
ventilation.
The apparatus shallnot be exposedto dripping
or splashing andthat no objectsfilled with liquids,
such as vases,shall be placedon the apparatus.
Do not installnear any heatsources such asradiators,
heat registers, stoves,or other apparatus(including
amplifiers) that produceheat.
Do not defeatthe safety purposeof the polarizedplug.
A polarizedplug has twoblades with onewider than
the other.The wide blade is providedfor your safety. If
the provided plugdoes not fitinto your outlet,consult
an electrician forreplacement of theobsolete outlet.
Protect the powercord from beingwalked on or
pinched particularly atplugs, convenience receptacles,
and the pointwhere they exitfrom the apparatus.
For added protectionduring lightning storms,unplug
the speakers fromthe electrical outletand turn off the
computer.
Unplug this apparatuswhen unused forlong periods
of time.
Water and moisture ----Do not use the speakers near
water, anddo not immersethem in any liquid or pour
any liquid onthem.
Heat---- Place thespeakers away fromall heat sources.
Ventilation ----Do not blockthe openings inthe
speaker cabinets, neverpush objects intospeaker
vents or slotsbecause of fireor electric shock
hazards, and providesufficient space around the
speakers for properventilation.
Location ---- Placethe speakers ina stable location
so they willnot fall causingdamage to thespeakers or
bodily harm.
Cleaning ---- Unplugthe speakers fromthe computer
and from theelectrical outlet beforecleaning them
with a dampcloth.
Lightning ----For addedprotection during lightning
storms, unplug thespeakers from theelectrical outlet
and turn off the computer.
Servicing is requiredwhen the apparatushas been
damaged in anyway, such as power-supplycord or
plug is damaged,liquid has beenspilled or objectshave
fallen into theapparatus, the apparatushas been
exposed to rainor moisture, doesnot operate normally,
or has beendropped. Refer allservicing to qualified
service personnel.
Please adjust theaudio to propervolume to avoid
damaging your healthand the system.
One Year Limited Warranty
Edifier warrants tothe end userthat all ofits computer speakersystems are freefrom defects inmaterial and workmanshipin
the course ofnormal and reasonableuse for aterm of oneyear from thedate of purchase.
This warranty isthe exclusive andonly warranty ineffect relative to Edifier multimedia speaker systems and any other
warranties, either expressedor implied, areinvalid. Neither Edifiernor any authorizedEdifier reseller isresponsible for any
incidental damages incurredin the useof the speakers.(This limitation ofincidental or consequentialdamage is not
applicable where prohibited.)
Edifier obligation underthis warranty doesnot apply toany defect, malfunctionor failure asa result ofmisuse, abuse, improper
installation, use withfaulty or improperequipment or theuse of thespeaker systems withany equipment forwhich they werenot
intended.
The terms ofthis warranty applyonly to speakersystems when suchspeakers are returnedto the respectiveauthorized Edifier
reseller where theywere purchased.
Under the termsof this warrantythe original consumerpurchaser has certainlegal rights andmay have otherrights which vary
worldwide.
WARNING:
TO REDUCE THE RISK OF ELECTRIC SHOCK,
DO NOT EXPOSE THIS APPARATUS TO RAIN
OR MOISTURE.
Notice
Edifier and Edifier logo are owned by Edifier Enterprises Canada Inc. and may be registered. And other
brand names and trademarks are the property of their owners. Edifier assumes no responsibility for any
errors that may appear in this manual. Information contained herein is subject to change without notice.
Copyright 2005
All Rights Reserved.
Manual Edition 1.2, Jun 2005
Printed in CHINA

Open the packing
1 x Sub-woofer
5 x Satellite Speakers
3 x Audio connecting cables(3.5 stereo to 3.5 stereo)
3 x Audio connecting cables(3.5 stereo to RCA)
3 x
2 x
speaker connecting cords for Left, Right
and Center channels (about 2.5m)
speaker connecting cords for surround
channels (about 5m)
1xremote controller (Model: RC15A)
2 xAAAbatteries
1xUser s manual
Overview
R501 packing list
Back panel Connections
All of the speaker connections, audio inputs, power switch and power cord are concentrated on the back
panel of the subwoofer. Use the diagrams below to help you identify these connections and get the system
up and running quickly and smoothly.
Diagram 1
Diagram 2
Complete wooden MDF cabinet .
8" Long-throw subwoofer driver.
Micro-Computer controlled ,digital volume IC.
LED digital display the volume value and other status.
Volume fade-in and fade-out when power on/off.
Full function infrared remote controller.
5.1 channels inputs, Dolby Digital(AC-3) and DTS ready.
Magnetically shielded design.
Features
Connected
RIGHT
SR SL
LEFT
Input of left & rightaudio signal
Input of surround audio signal
Input of central and heavy-bass audio signal.
Center
with AC power
VCR
2-way satellite speakers.
Please check the speaker Model number marked on the packing carton. Please contact the seller as soon as
possible if you find the speaker is the incorrect model or has sustained shipping damage.

Operating instructions
Surround sound speaker systems using the 5.1 format are designed to connect to compatible audio devices offering
5.1 output. Many PC`s and DVD players already offer this type of output. If you only have a 2 channel stereo output it
may be possible to purchase a Dolby digital 5.1 decoder which will convert this into a 5.1 format. This is not included
with these speakers. If you must use a 2 channel input then this should be connected to the front L and front R input.
This will result in a stereo output only.
1.POSITIONING
If you have the 5.1 surround sound input then you can experience the full performance of this system. You will
have the individual outputs for the subwoofer, front stereo, rear stereo and front centre speakers. Position the
front stereo speakers in front of the listening position with an equal distance to the left and right sides. Ideally the
speakers should be about ear height(when sitting to listen) if possible and slightly away from a rear wall, or they
can be hooded onto a wall if necessary. If they are placed on a slippery surface, a little blue-tack may help hold
them in place. These speakers contribute a lot to the overall audio so careful placement is crucial to your
enjoyment of the music.
The centre speaker should be placed on the top of your TV set or your computer monitor(if applicable) as this
speaker is used for vocal content. The voices in a movie need to sound as though they are coming from the TV
set so try positioning this on top of the set.
The rear speakers are used for special effects and are not as crucial in their placement. Agood position for these
is high up on the wall behind the listening position, perhaps pointing downward a little.
The subwoofer houses a powerful bass driver and the positioning of this unit can have an effect on the quality of
the bass. If the unit is placed in a corner, the bass will be amplified by the reflection from the walls. This position
will give maximum bass but can sound quite boomy. Aposition near a rear wall but away from the corner is best as
this will give a little boost to the bass without being too much. Experiment with the position to achieve best results.
Also note that the unit recives the signals from the remote control. The range of transmission from the remote is
not too great so don`t position the bass unit too far from the listening position.
2. CONNECTING
(1). Switch off the power first before connecting any part of the system.
(2). Connect all 5 satellite speakers to their relative speaker output spring clips on the rear panel of the Sub-
woofer. Please note to match the colour, red to red and black to black. Note that the cable for the rear speakers is
longer than the front.
(3). Connect the inputs to your PC or DVD player as shown in .
(4). Plug the AC power plug into the wall outlet, as shown in .
Diagram 2
Diagram 2
3. REMOTE CONTROLLER
The remote controller is shown in Diagram 3:
F1: Reserved button
Power:Power ON/OFF
SURR+/-: Rear Surround channels volume relative control. This adjusts the relative
volume of the rear speakers when compared with the master volume level. It can be
changed from 0-9 with"5" being the equilibrium level.
".": Resets the SURR/CENTER/SW volume levels to the factory default level.
MUTE: Mute ON/OFF
CENTER +/-: Centre channel volume relative control. This adjusts the relative volume
of the centre speaker when compared with the master volume level. It can be changed
from 0-9 with "5"being the equilibrium level.
SW +/-: SW channel volume relative control. This adjusts the relative volume of the
subwoofer when compared with the master volume level. It can be changed from 0-9
with "5" being the equilibrium level.
VOL +/-:The master volume control. It can be changed from 0-9. "9"is the maximum.
The volume ranks in 32 levels, so every indicating number from 0 to 9 includes 3-4
levels of volume.
For best performance aim the front part of the controller at the infrared detector
behind the remote indicator. The remote indicator will change or flash after receiving
the signal from the remote controller. Please note that the range of the remote
controller is limited so don`t position the subwoofer too far from the listening position.
Diagram 3

Specifications
No sound:
Are power, input, speaker cables and connectors all attached and seated?
Is soundcard properlyinstalled and functioning?
Is appropriate software properly installed and operating?
Is computer's sound (control panel) volume turned up?
One or more speakers have no or lowsound level:
Are cablesall connected properly?
Are connectorsfully seated in soundcard, speakers or Y-adapter (for two-channel cards)?
Are surround,Mainand subwoofer level controls properly adjusted on Control Pod?
Are computersoftware settings adjusted for proper use?
Is computer system's sound (control panel) volume turned up?
Distortion or buzzing quality to total sound or subwoofer:
Turn downcomputer's sound (control panel) volume,and increase ControlPod volume.
Turn downSubwoofer volume, as program signal may be too strong.
Noise or hiss;signal not loud enough with Main Volume turnedup :
Turn upcomputer's sound (control panel) volume.
Turn downMain Volume on control Pod to compensate.
Appropriate softwareor hardware installed and operating?
Is this sound part of the program material being played?
Is software adjustedand set properly?
Computer Video Monitor Interference:
Is this Subwoofertoo close to the computer monitor? Try 10 distance.
Are oneor some of the satellite speakers too close tothe computer monitor?
Total Power Output :
Input Impedance:
Input Sensitive:
Frequency Response:
Dimension(Subwoofer):
Dimension(Satellite):
Gross Weight:
RMS 6 W x 4 + 8 W +30 W
20K Ohm
450 mV
35 Hz ~ 20 KHz
292(W) x 295(H) x 410(D)mm
105(W) x 193(H) x 130(D)mm
About 17 Kg
Troubleshooting
Table of contents
Other EDIFIER Speakers System manuals
EDIFIER
EDIFIER R351 User manual
EDIFIER
EDIFIER S5.1 User manual
EDIFIER
EDIFIER B700 User manual
EDIFIER
EDIFIER MP300 User manual
EDIFIER
EDIFIER E25HD User manual

EDIFIER
EDIFIER e255 User manual
EDIFIER
EDIFIER R451 User manual
EDIFIER
EDIFIER M3200 User manual

EDIFIER
EDIFIER MP300 User manual

EDIFIER
EDIFIER MP300 User manual
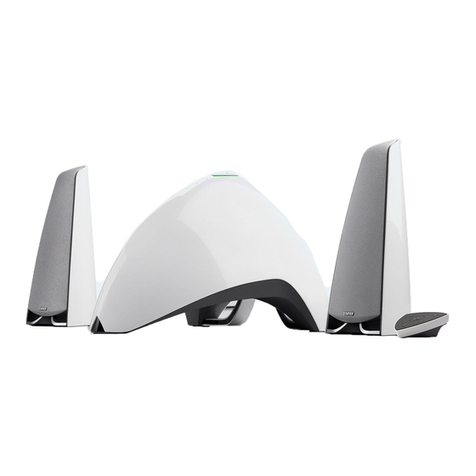
EDIFIER
EDIFIER e3360BT User manual
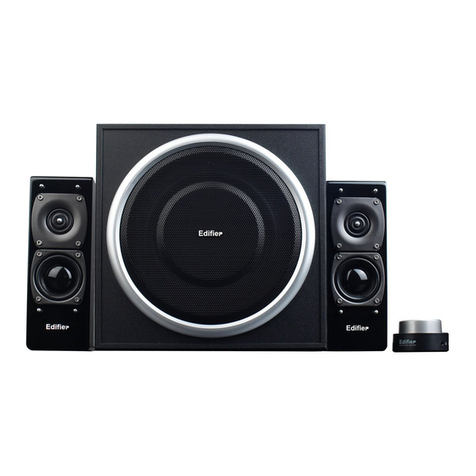
EDIFIER
EDIFIER S330D User manual
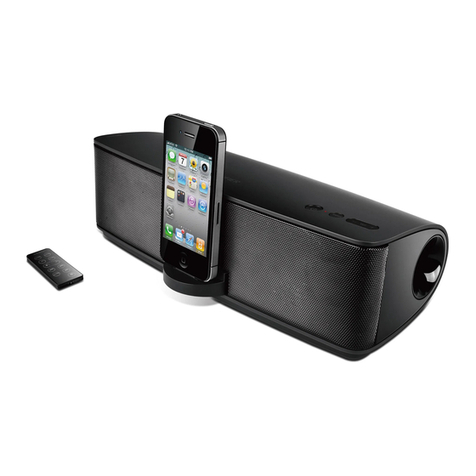
EDIFIER
EDIFIER iF330BT User manual

EDIFIER
EDIFIER E25HD User manual
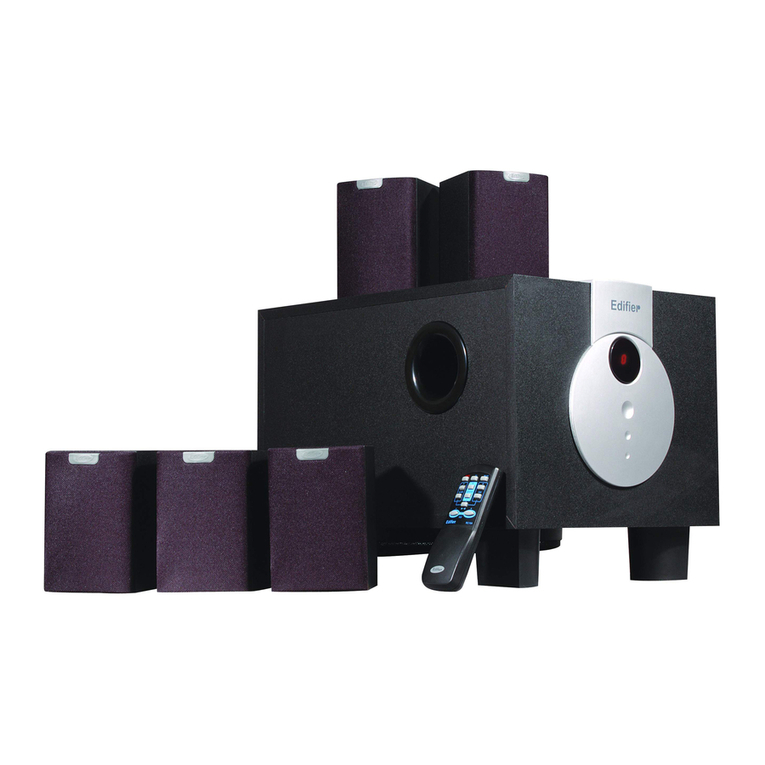
EDIFIER
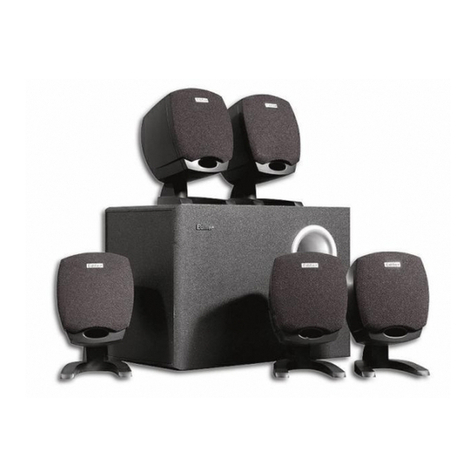
EDIFIER R501 User manual
EDIFIER
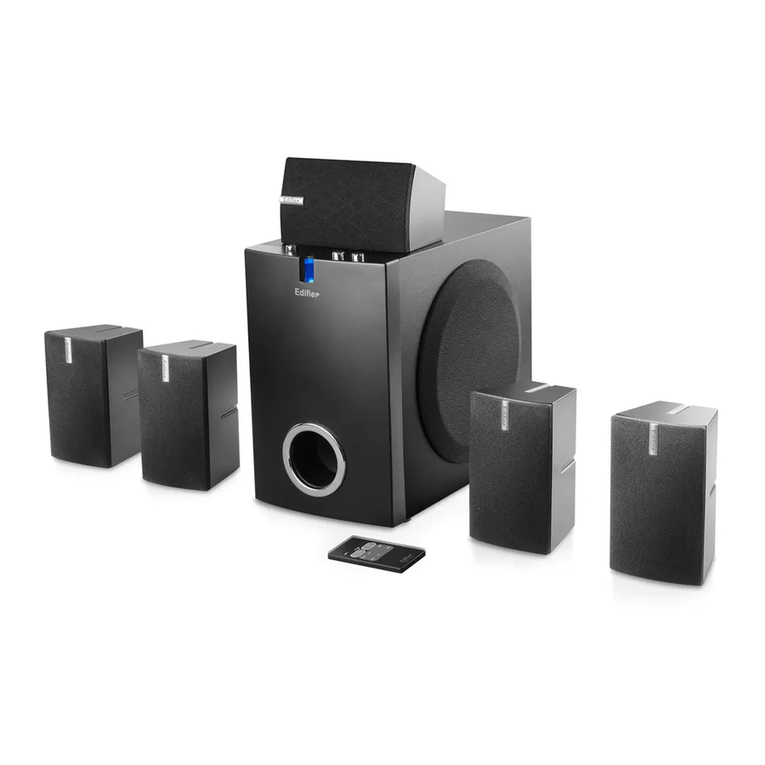
EDIFIER R251 User manual
EDIFIER
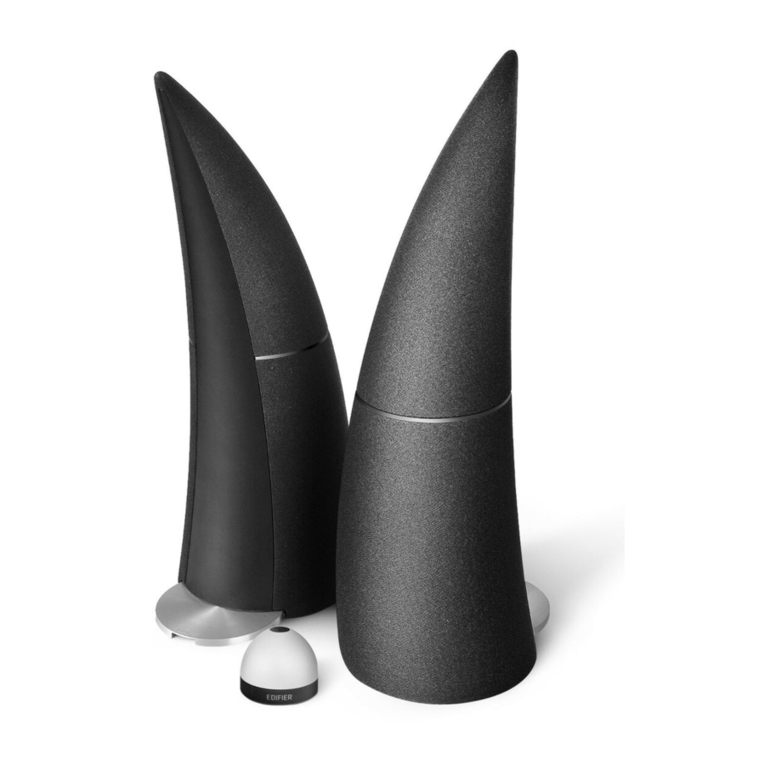
EDIFIER Edifier R351 User manual
EDIFIER
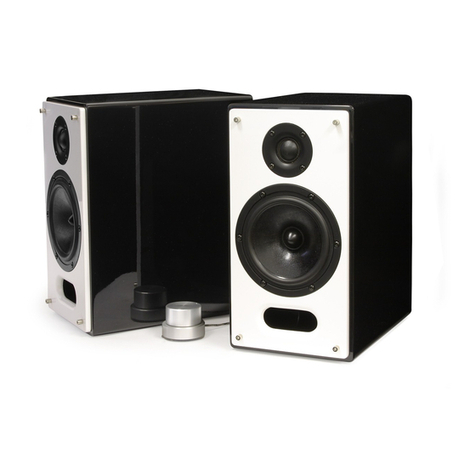
EDIFIER Spinnaker e30 User manual
EDIFIER
EDIFIER S2000v User manual
EDIFIER
EDIFIER M1500 User manual
