manuals.online logo
Brands
  1. Home
  2. •
  3. Brands
  4. •
  5. Tektronix
  6. •
  7. Speakers System
  8. •
  9. Tektronix WFM6120/7020/7120 & WVR6020/7020/7120 Administrator Guide

Tektronix WFM6120/7020/7120 & WVR6020/7020/7120 Administrator Guide

This manual suits for next models

2

Other Tektronix Speakers System manuals

Tektronix 760A User manual

Tektronix

Tektronix 760A User manual

Tektronix 070-8811-08 User manual

Tektronix

Tektronix 070-8811-08 User manual

Popular Speakers System manuals by other brands

Monster MT-SB21 user manual

Monster

Monster MT-SB21 user manual

Monacor ESP-76AB/ WS manual

Monacor

Monacor ESP-76AB/ WS manual

Samsung HW-J430 user manual

Samsung

Samsung HW-J430 user manual

WILSON AUDIO WATT owner's manual

WILSON AUDIO

WILSON AUDIO WATT owner's manual

Hisense AX3125H user manual

Hisense

Hisense AX3125H user manual

EisSound KBSound iSelect user manual

EisSound

EisSound KBSound iSelect user manual

Boston Acoustics VRi793 manual

Boston Acoustics

Boston Acoustics VRi793 manual

Sven SPS-707bL Operation manual

Sven

Sven SPS-707bL Operation manual

Monacor DSM-26LAN instruction manual

Monacor

Monacor DSM-26LAN instruction manual

JVC CS-SR100 instructions

JVC

JVC CS-SR100 instructions

Samsung HW-C450 user manual

Samsung

Samsung HW-C450 user manual

TaoTronics evatronic ET-SK011 user guide

TaoTronics

TaoTronics evatronic ET-SK011 user guide

JVC HX-D7C instructions

JVC

JVC HX-D7C instructions

Pyle PBMSPG190 user manual

Pyle

Pyle PBMSPG190 user manual

Sven SPS-607 Operation manual

Sven

Sven SPS-607 Operation manual

iSP Technologies LT2 series owner's manual

iSP Technologies

iSP Technologies LT2 series owner's manual

Samsung Crystal Surround Air Track HW-F550 user manual

Samsung

Samsung Crystal Surround Air Track HW-F550 user manual

Bose Acoustimass 6 Series II owner's guide

Bose

Bose Acoustimass 6 Series II owner's guide

manuals.online logo
manuals.online logoBrands
  • About & Mission
  • Contact us
  • Privacy Policy
  • Terms and Conditions

Copyright 2025 Manuals.Online. All Rights Reserved.

How to Guide
Audio Loudness Monitoring
WFM8300/8200 & WVR8300/8200
WFM6120/7020/7120 & WVR6020/7020/7120
WFM5200 & WVR5200
How to Guide Audio Loudness Monitoring
2 www.tektronix.com\wfm8000 www.tektronix.com\wfm7100 www.tektronix.com\wfm5200
WFM6120/7020/7120 & WVR6020/7020/7120 Version 6.1.4 Software
This release version 6.1.4 adds support for Audio Loudness measurements to the
ITU-R BS.1770 standard with support for ATSC A/85 recommended practice and
EBU R128. The ALOG option is required to support Loudness Session chart of
the loudness data and the ability to save the loudness measurements to USB or
via network connection.
Version 6.1.4 also supports Dolby Digital Plus when the DPE or DDP option is
installed within the instrument.
WFM8300/8200 & WVR8300/8200 Version 2.5.x
This release version 2.5.x adds support for Audio Loudness measurements to the
ITU-R BS.1770 standard with support for ATSC A/85 recommended practice and
EBU R128. Version 2.5.x also supports Dolby Digital Plus when the DPE or DDP
option is installed within the instrument.
WFM5200 & WVR 5200 Version 2.6.2
This release version 2.6.2 adds an update for Audio Loudness measurements to
ITU-R BS. 1770 standard with support for ATSC A/85 recommended practice and
EBU R128. Version 2.6.2 also supports Simple SIM, Timecode Discontinuity and
Dolby Guardband Meter.
How to Guide Audio Loudness Monitoring
3 www.tektronix.com\wfm8000 www.tektronix.com\wfm7100 www.tektronix.com\wfm5200
What is Loudness?
Overall loudness of a program needs to be maintained within the listening environment. If
there are significant variations between programs or between channels, the user will
invariably have to reach for the remote control to change the volume to a suitable listening
level. This can lead to user frustration as they have to constantly change the volume control
between programs and between channels. The broadcast chain needs to maintain a
suitable average loudness for the various programs they are transmitting.
Loudness is a subjective measurement and is primarily a psychological correlation with the
physical intensity of the audio signal. Different people will perceive the loudness of the
signal differently and therefore a variety of techniques have been used to characterize the
overall loudness of the signal. The ITU-R BS.1770 standard (algorithms to measure audio
program loudness and true-peak audio levels) is one method for measuring loudness within
broadcast environments. The ITU-R BS 1770 standard has been adopted by ATSC within
recommend practice A85 Techniques for Establishing and Maintaining Audio Loudness for
Digital Television and EBU recommendation R128 Loudness normalisation and permitted
maximum level of audio signals.
How to Guide Audio Loudness Monitoring
4 www.tektronix.com\wfm8000 www.tektronix.com\wfm7100 www.tektronix.com\wfm5200
How to Configure the Audio Loudness Monitoring
1. Select one of the tiles (1,2,3,4) and press the Audio button
2. Select FULL to make the display full screen, pressing FULL again will toggle back to
FlexVu™.
On WFM/WVR5200 series use the Thumbnail button to cycle through the tiles and push
and hold the Thumbnail button to toggle between Full and four tile modes.
3. Press and hold the Audio button to display the menu.
4. Move up and down the menu using the Arrow Keys or General Knob to the Loudness
Meter menu.
5. Enter the sub menu by pressing SEL and navigate to the Program selection. (Figure 1)
Figure 1. Audio Display with Audio Loudness Meter.
How to Guide Audio Loudness Monitoring
5 www.tektronix.com\wfm8000 www.tektronix.com\wfm7100 www.tektronix.com\wfm5200
Note:-The Audio Loudness meter is available for Analog, AES, Embedded and
Dolby inputs depending on options installed within the instrument. The Loudness
meter is not available in Embedded 16-Ch mode.
How to Quickly Configure the Loudness Measurements Presets for ATSC or EBU
Standards.
Within the Config menu of the instrument there are a variety of settings for the Loudness
measurements within the Loudness Settings menu.
To simplify the operation of the instrument Loudness Presets are available to quickly
configure the unit to the appropriate standard recommendations.
1. Press the Config button to enter the configuration menu.
2. Move up and down the menu using the Arrow Keys or General Knob to the Loudness
Settings menu
3. Press SEL to enter the sub menu and navigate to the Loudness Preset menu.
4. Depending on the user requirements you can select ATSC A/85, EBU R128 (+9 scale),
EBU R128 (+18 scale), IEC61672 or ARIB TR-B.32. Navigate to the appropriate
selection and press SEL to enable this preset.
Figure 2. Loudness Preset Configuration menu.
How to Guide Audio Loudness Monitoring
6 www.tektronix.com\wfm8000 www.tektronix.com\wfm7100 www.tektronix.com\wfm5200
Note:- When the Loudness preset is selected within the Loudness Settings
menu. Settings that are changed within the Loudness Settings menu by the
loading of the Loudness preset will be shown in yellow text. Information
regarding the settings of the Loudness presets can be obtained by pressing the
HELP button on the front of the instrument.
Elements of Audio Display with Loudness Measurements.
Figure 3. Audio Tile Display.
1. Loudness Meter is enabled from within the Audio Tile menu and can be selected to
show the Loudness for the program, a channel pair or disabled and not displayed within
the audio tile. The Program Loudness (PL) is a summation of a number of audio
channels. The channels that are included in the summation are indicated within the
audio display by green channel labels. The channels that are not included in the
program loudness and are indicated by white channel labels.
How to Guide Audio Loudness Monitoring
7 www.tektronix.com\wfm8000 www.tektronix.com\wfm7100 www.tektronix.com\wfm5200
The Loudness meter scale is configured by the user within the Config menu of the
Loudness Settings.
Target Loudness is indicated by the White Diamond shape at the side of the meter.
Yellow and Blue Diamond shapes indicates the allowed high and low user defined
loudness thresholds.
Too Loud threshold is indicated by the Red Diamond shape.
Too Quiet threshold is indicated by the Grey Diamond shape.
2. Short Duration – Applies the variable time duration to the integration window of the
loudness measurement. The Average Integration Time defines the duration of the
integration window and is configured within the Loudness Settings menu. The value can
range from 1 to 60 seconds.
3. Infinite Duration - Integrates the loudness measurement continuously over the audio
session duration. The audio session can be started, stopped or reset by the user. If
gating is applied then some measurement results may be excluded from the loudness
measurements.
4. Dialnorm – An AC-3 metadata parameter, numerically equal to the absolute value of the
Dialog Level, carried in the AC-3 bit stream. Valid values are 1 – 31. The value of 0 is
reserved. The values of 1 to 31 are interpreted as –1 to –31. This display shows the
current metadata value decode from the Dolby stream or from the SMPTE 2020
ancillary data packet.
5. True Peak – Shows the current maximum True peak value and indicates the channel
that has recorded the maximum true peak level. The audio level is four times
oversampled per ITU-R BS 1771 for each audio channel and shows actual signal peaks
regardless of their duration. An in-bar peak indicator will persist at the peak level for the
"Peak Hold Time". For the ATSC standard a maximum True Peak value of -2dBFS is
allowed and the EBU recommends a value of -1dBFS.
6. Audio Session Duration – The duration of the audio session is show in time and
indicates how long the audio session has been running since the last reset. The session
can be started and stop using the Up or Down arrows and can be reset by using the
SEL button within the audio tile.
How to Guide Audio Loudness Monitoring
8 www.tektronix.com\wfm8000 www.tektronix.com\wfm7100 www.tektronix.com\wfm5200
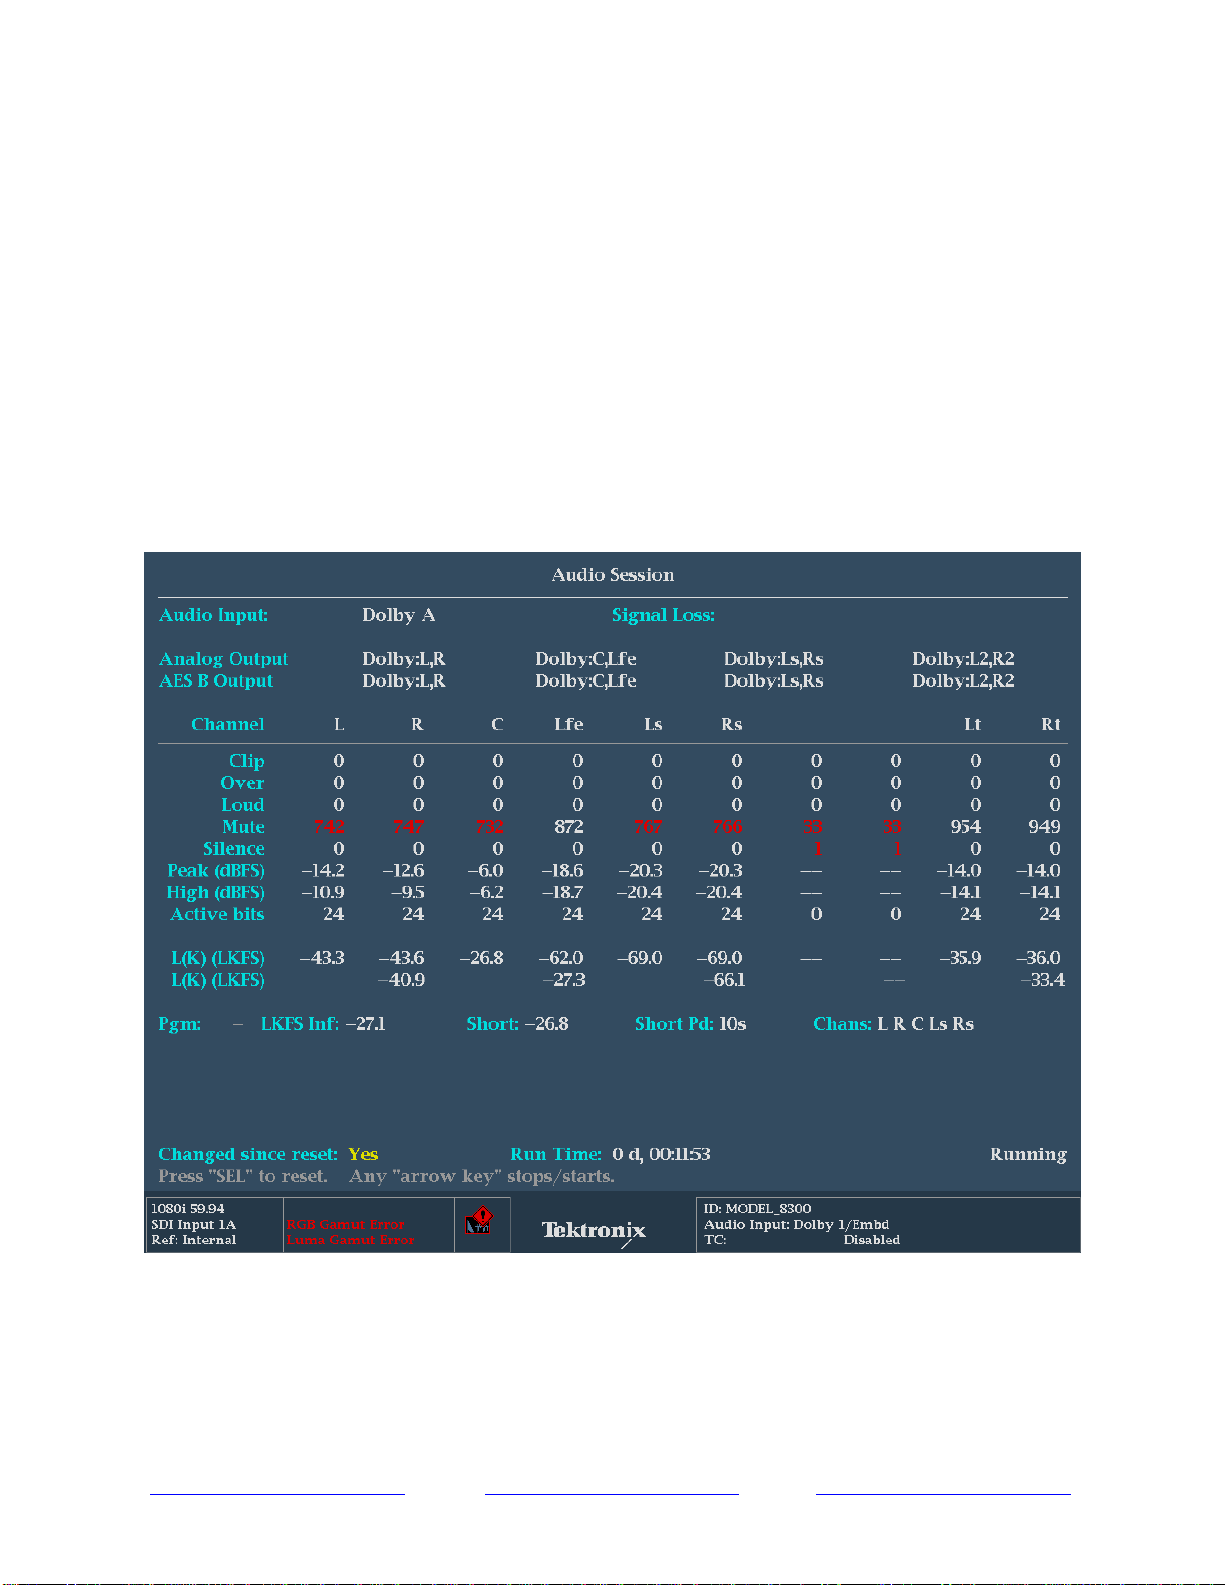
7. Audio Channel Labels – The audio channel labels can be numbered in channel pairs
(1,2,3…) or can be configured to show the surround channel labels (L, C, R, Ls, Rs,
Lfe..). The audio program config within the audio input/outputs configuration menu
defines the audio mappings ( 8x1 (Mono), 4x2 (Stereo), 2x3 (LCRS), 2x2 2 (Quad),
2x3.1 (LCRLfe), 5.1 + 2 (Surr + Stereo), 7.1, 2 + 5.1 (Stereo + Surr). These audio
program configuration define the number of programs present within the audio bars and
how to sum the audio channels within the program. The audio channel labels below the
audio bars indicate whether this channel is included within the audio Loudness
summation. A Green channel label indicates that the audio channel is included in the
Loudness summation. Whereas a White channel label indicates that the audio channel
is not included in the Loudness summation. The summation of the number of channels
can be configured by the user within the Loudness Settings menu.
8. Audio Program number - Specifies the audio program currently being used for the
program loudness. Within the Config menu the audio program can be configured by the
user for AES or Embedded inputs and configured automatically for Dolby streams
based on metadata. For instance stereo would use a Audio Program Config of 4x2
(Stereo) providing 4 different stereo program (1-4) for the 8 audio bars.
9. Audio Ballistic - Specifies the response characteristics of the level meters. Choices are
True Peak, PPM (Peak Program Meter) Type 1, PPM Type 2, VU, and Loudness.
10.Loudness Ballistic - Specifies the response characteristics of the Loudness meters.
Choices are Short Average, Long Average, Ungated Long, IEC 61672 F, IEC 61672 S
and EBU R128 M (Momentary).
How to Guide Audio Loudness Monitoring
9 www.tektronix.com\wfm8000 www.tektronix.com\wfm7100 www.tektronix.com\wfm5200
How to Configure Loudness Readouts within Audio Display
A user may specifically be interested in the Loudness measurements made by the
instruments and to be able to quickly read the values within the audio display. To configure
this display as shown in Figure 4 perform the following operations.
1. Select one of the tiles (1,2,3,4) and press the Audio button
2. Select FULL to make the display full screen, pressing FULL again will toggle back to
FlexVu™.
On WFM/WVR5200 series use the Thumbnail button to cycle through the tiles and push
and hold the Thumbnail button to toggle between Full and four tile modes.
3. Press and hold the Audio button to display the menu.
4. Move up and down the menu using the Arrow Keys or General Knob to the Aux
Display menu.
5. Enter the sub menu by pressing SEL and navigate to the Loudness selection (Figure 4)
Figure 4. Loudness Readouts within Audio Display.
Figure 4 provides large number readouts for the Short Loudness Duration and Infinite
Loudness measurement, along with values for maximum True Peak and Loudness
Range measurement, based on the statistical distribution of loudness as defined within
EBU R128 and EBU Tech 3342. Loudness Range which is defined within EBU R128
and quantifies the variation of the loudness measurement. The Loudness Range
measurement is based on the statistical distribution of loudness within a program.
How to Guide Audio Loudness Monitoring
10 www.tektronix.com\wfm8000 www.tektronix.com\wfm7100 www.tektronix.com\wfm5200
Audio Session Display
How to Configure the Audio Session Display
1. Select one of the tiles (1,2,3,4) and press the Status button
2. Select FULL to make the display full screen, pressing FULL again will toggle back to
FlexVu™.
On WFM/WVR5200 series use the Thumbnail button to cycle through the tiles and push
and hold the Thumbnail button to toggle between Full and four tile modes.
3. Press and hold the Status button to display the menu.
4. Move up and down the menu using the Arrow Keys or General Knob to the Display
Type menu.
5. Enter the sub menu by pressing SEL and navigate to the Audio Session selection.
(Figure 5)
Figure 5. Audio Session Display