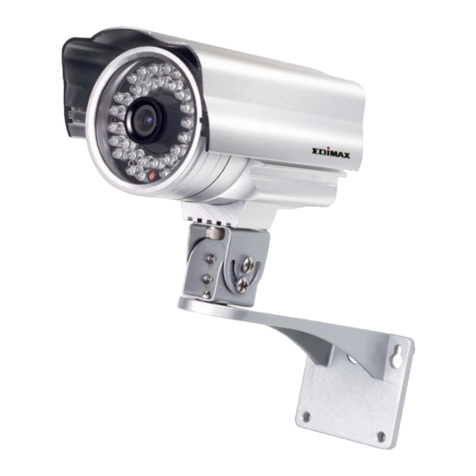
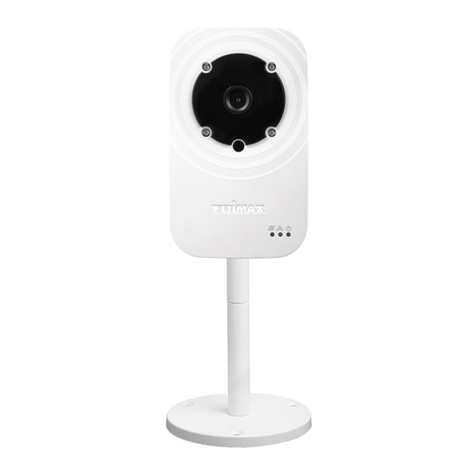
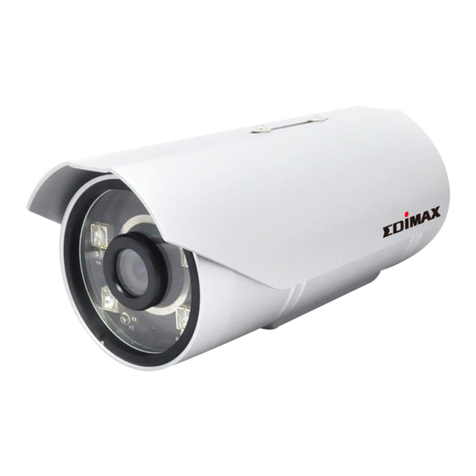
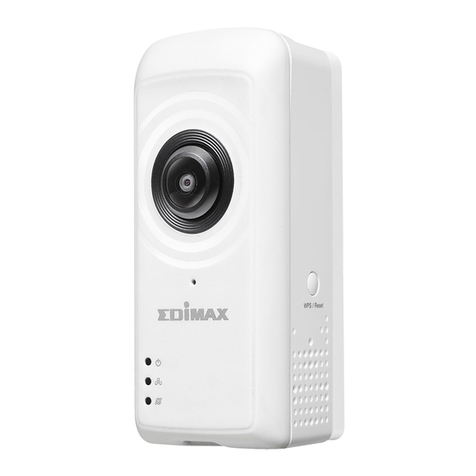
Edimax IC-9110W V2 User manual

IC-9110W V2
User Manual
03-2018 / v1.0

1
Copyright© Edimax Technology Co., Ltd. all rights reserved. No part of this publication
may be reproduced, transmitted, transcribed, stored in a retrieval system, or translated
into any language or computer language, in any form or by any means, electronic,
mechanical, magnetic, optical, chemical, manual or otherwise, without the prior written
permission from Edimax Technology Co., Ltd.
Edimax Technology Co., Ltd. makes no representations or warranties, either expressed or
implied, with respect to the contents hereof and specifically disclaims any warranties,
merchantability, or fitness for any particular purpose. Any software described in this
manual is sold or licensed as is. Should the programs prove defective following their
purchase, the buyer (and not this company, its distributor, or its dealer) assumes the
entire cost of all necessary servicing, repair, and any incidental or consequential damages
resulting from any defect in the software. Edimax Technology Co., Ltd. reserves the right
to revise this publication and to make changes from time to time in the contents hereof
without the obligation to notify any person of such revision or changes.
The product you have purchased and the setup screen may appear slightly different from
those shown in this QIG. For more information about this product, please refer to the
user manual on the CD-ROM. The software and specifications are subject to change
without notice. Please visit our website www.edimax.com for updates. All brand and
product names mentioned in this manual are trademarks and/or registered trademarks
of their respective holders.
Edimax Technology Co., Ltd.
Add: No. 278, Xinhu 1st Rd., Neihu Dist., Taipei City, Taiwan
Tel: +886-2-77396888
Email: sales@edimax.com.tw
Notice According to GNU General Public License Version 2
Certain Edimax products include software code developed by third parties, software code is subject to
the GNU General Public License ("GPL") or GNU Lesser General Public License ("LGPL"). Please see the
GNU (www.gnu.org) and LPGL(www.gnu.org) Websites to view the terms of each license.
The GPL Code and LGPL Code used in Edimax products are distributed without any warranty and are
subject to the copyrights of their authors. For details, see the GPL Code and LGPL Code licenses. You
can download the firmware-files at http://www.edimax.com under "Download" page.

CONTENTS
IProduct Information .............................................................................. 5
I-1 Package Contents .......................................................................................... 5
I-2 System Requirements ...................................................................................6
I-3 LED Status...................................................................................................... 6
I-4 Product Label................................................................................................. 7
I-5 Reset.............................................................................................................. 7
II Camera Setup........................................................................................ 9
II-1 Hardware Setup ............................................................................................ 9
II-2 Connecting to EdiLife App ........................................................................... 12
II-2-1 Android OS............................................................................................ 13
II-2-2 Apple iOS .............................................................................................. 16
II-3 EdiView Finder ............................................................................................ 18
II-3-1 Windows............................................................................................... 19
II-3-2 Mac ....................................................................................................... 24
II-3-3 Using EdiView Finder ............................................................................ 27
II-4 WPS (Wi-Fi Protected Setup)....................................................................... 29
III Outdoor Installation .............................................................................30
IV Using the EdiLife App............................................................................35
IV-1 Snapshot...................................................................................................... 37
IV-2 Video Settings ............................................................................................. 38
IV-3 Event............................................................................................................ 39
IV-4 Connection Information .............................................................................. 40
IV-5 Push Notification On / Off........................................................................... 41
IV-6 Resolution ................................................................................................... 42
IV-7 Camera Settings .......................................................................................... 43
IV-7-1 Camera Name ....................................................................................... 44
IV-7-2 Change Password.................................................................................. 44
IV-7-3 Flip Image ............................................................................................. 44
IV-7-4 Push Notification Settings .................................................................... 44
IV-7-5 Advance Settings .................................................................................. 45
IV-7-5-1 Date & Time............................................................................. 46
IV-7-5-2 Email Account.......................................................................... 47
IV-7-5-3 Generate QR code to share ..................................................... 52
VWeb-Based Management Interface ......................................................53

V-1 Basic ............................................................................................................ 57
V-1-1 Network................................................................................................ 58
V-1-2 Wireless ................................................................................................ 59
V-1-2-1 Smartphone............................................................................. 60
V-1-2-2 Computer................................................................................. 62
V-1-2-3 WPS ......................................................................................... 63
V-1-3 Dynamic DNS ........................................................................................ 64
V-1-4 RTSP ...................................................................................................... 65
V-1-5 Date & Time.......................................................................................... 66
V-1-6 Users ..................................................................................................... 67
V-1-7 UPnP ..................................................................................................... 69
V-1-8 Bonjour ................................................................................................. 70
V-2 Video ........................................................................................................... 71
V-2-1 Video Settings....................................................................................... 72
V-2-2 Image Appearance................................................................................ 74
V-2-3 Night Vision .......................................................................................... 75
V-3 Events .......................................................................................................... 76
V-3-1 Motion Detection ................................................................................. 77
V-3-1-1 Motion Detection .................................................................... 77
V-3-1-2 Detection Region..................................................................... 79
V-3-1-3 Schedule Settings .................................................................... 81
V-3-2 Notification........................................................................................... 83
V-3-2-1 Mail Settings............................................................................ 83
V-3-2-2 FTP........................................................................................... 85
V-3-2-3 Push......................................................................................... 86
V-4 Storage Settings .......................................................................................... 87
V-4-1 Storage Directory.................................................................................. 88
V-4-2 Schedule Settings.................................................................................. 89
V-4-3 NAS Settings ......................................................................................... 91
V-4-4 SD Card Settings.................................................................................... 92
V-4-5 File Management.................................................................................. 93
V-5 System......................................................................................................... 94
V-5-1 Basic...................................................................................................... 95
V-5-2 Advanced .............................................................................................. 96
V-6 Status........................................................................................................... 98
V-6-1 System Information .............................................................................. 99
V-6-2 System Log............................................................................................ 99
VI 16 Channel Viewer for Windows .........................................................101
VI-1 Installation ................................................................................................ 101
VI-2 Using the 16 Channel Viewer .................................................................... 105
VI-3 Configuring the 16 Channel Viewer........................................................... 107
VI-3-1 Add Camera/Camera Configuration ................................................... 107
VI-3-1-1 Camera .................................................................................. 108
VI-3-1-2 Scheduled Recording............................................................. 110
VI-3-1-3 Audio ..................................................................................... 112
VI-3-1-4 Motion Recording.................................................................. 113
VI-3-2 General Options.................................................................................. 114
VI-3-2-1 General.................................................................................. 114
VI-3-2-2 Email Settings ........................................................................ 116
VI-3-2-3 Security.................................................................................. 118
VI-3-2-4 About..................................................................................... 120
VI-4 Changing the Display Layout ..................................................................... 121
VI-5 Full Screen Mode....................................................................................... 124
VI-6 Scan ........................................................................................................... 125
VI-7 Zoom In/Out.............................................................................................. 126
VI-8 Pan & Tilt ................................................................................................... 127
VI-9 Snapshot.................................................................................................... 128
VI-10 Recording .................................................................................................. 129
VI-11 Video Playback .......................................................................................... 130
VII Troubleshooting .................................................................................131

IProduct Information
I-1 Package Contents
Outdoor Image Unit
Ethernet Cable
Indoor Main Unit
Outdoor Image Unit
Screws
Indoor Main Unit Screws
Adhesive Pad
Wall Template
CD
Quick Installation Guide
Power Adapter
Antenna

I-2 System Requirements
-Intel Pentium 4 2.4GHz (above or similar)
-VGA card (1024*768 or above)
-CD-ROM Drive
-At least 128MB hard disk space (256 MB recommended)
-Windows XP, Vista, 7 or 8/8.1
-Web browser (Internet Explorer 7.0, Firefox 3.6, Chrome 10, Opera 11,
Safari 5 or above)
I-3 LED Status
LED
LED Color
LED Status
Description
Power
Green
On
Network camera is on and
connected to cloud server.
Quick Flashes
Network camera is restarting.
Slow Flashes
(1 x per second)
Network camera is starting up OR
network camera is not connected to
cloud server.
LAN
Green
On
Network camera is connected to the
local network.
Quick Flashes
LAN activity (transferring data).
Slow Flashes
(1 x per second)
WPS is active.
Internet
Orange
On
Connected to Internet.
Slow Flashes
(1 x per second)
Not connected to Internet.

I-4 Product Label
The product label located on the indoor main unit displays the MAC address,
cloud ID and setup SSID of your network camera.
The MAC address and cloud ID are the same for easy reference.
I-5 Reset
If you experience problems with your network camera, you can reset the
camera back to its factory default settings. This resets all settings back to
default.
1. Press and hold the WPS/Reset button found on the back panel for at
least 10 seconds.
2. Release the button when the green power LED is flashing quickly.

3. Wait for the network camera to restart. The camera is ready when the
green power LED is flashing slowly.
After setup, the green power LED will display on to indicate a
successful connection to the cloud server.

II Camera Setup
It is recommended that you setup your network camera as shown below and
establish a working connection before you install the camera to its outdoor
location.
Your network camera’s unique SSID is displayed on the product label
on the product’s indoor main unit and consits of “EdiView.Setup**”
where ** are the last two characters of your camera’s unique MAC
address.
II-1 Hardware Setup
1. Screw on the included antenna to the product’s indoor main unit.
2. Connect the outdoor image unit cable to the indoor main unit.

3. Connect the power adapter to the indoor main unit and to a power
supply.
4. Wait a moment for the camera to power on. The green power LED will
flash slowly when it’s ready.
Now you need to connect your network camera to your network. There are
three easy ways:
A. With the free EdiLife app on Android or iPhone: Refer to II-2 Connecting to
EdiLife App.
B. Using a computer and EdiView Finder: II-3 EdiView Finder.
C. Using WPS (Wi-Fi Protected Setup), a simple method to connect your
camera to your wireless network. Refer to II-4 WPS (Wi-Fi Protected
Setup).

After connecting your camera to your network using one of the methods
above, you can view your camera’s live image or configure its settings:
Local network:
A. Using the web based management interface (see V Web-Based
Management Interface).
B. Using the 16 channel viewer software (see VI 16 Channel Viewer for
Windows).
Remotely (from any Internet connection):
Using the EdiLife app.
Follow the instructions in III Outdoor Installation if you need help installing
your camera outside.

II-2 Connecting to EdiLife App
Follow the instructions below to connect your network camera to your Wi-Fi
using the EdiLife smart phone app.
Your network camera’s unique SSID is displayed on the product label
on the network camera and consists of “EdiView.Setup **” where **
are the last two characters of your camera’s unique MAC address.

II-2-1 Android OS
Please make sure the network camera is within the
Wi-Fi range of a Wi-Fi router that has internet
connectivity.
1. Search and download “EdiLife”in Google Play.
2. Open the EdiLife app and tap the icon to see
the available wireless device list.
3. Identify and tap the network camera
Your network camera’s unique SSID is displayed on
the product label on the network camera and
consists of “EdiView.Setup **” where ** are the last
two characters of your camera’s unique MAC
address.

4. Once connected, the app will prompt you to enter a
device name, new password and the password
confirmation. Tap icon to continue.
5. The app will display your local Wi-Fi network list.
Tap your selection to continue.
6. Enter the Wi-Fi password of the selected network
and tap icon to continue.

Please wait patiently for the camera to connect to the
selected Wi-Fi network...
A Setup complete screen will be displayed on the app
when completed.
Congratulations! Your camera is up and running!
The camera’s green power LED and orange Internet LED
should be on.
As shown on the left, your camera should be listed on
the home screen. Tap your camera to see a live stream.
Use the app to view the stream anytime you are
connected to the Internet.
7. If you have a microSD card, insert the card into the microSD slot on the
back on the network camera.

II-2-2 Apple iOS
Please make sure the network camera is within the
Wi-Fi range of a Wi-Fi router that has internet
connectivity.
1. On your iOS device, go to Settings.
2. Tap the “Wi-Fi”(outlined in red) option.
3. Find and connect to the network camera by
tapping the camera’s Wi-Fi name.
Your network camera’s unique SSID is displayed on
the product label on the network camera and
consists of “EdiView.Setup **” where ** are the
last two characters of your camera’s unique MAC
address.
When connected, the blue tick should be
shown.
4. Search and download “EdiLife”in App.

5. Open the EdiLife app and tap the icon.
6. Once connected, the app will prompt you to enter a
device name, new password and the password
confirmation. Tap “OK”to continue.
7. The app will display your local Wi-Fi network list.
Tap your selection to continue.

8. Enter the Wi-Fi password of the selected network
and tap “OK”icon to continue.
Please wait patiently for the camera to connect to the
selected Wi-Fi network...
A Setup complete screen will be displayed on the app
when completed.
Congratulations! Your camera is up and running!
The camera’s green power LED and orange Internet LED
should be on.
As shown on the left, your camera should be listed on
the home screen. Tap your camera to see a live stream.
Use the app to view the stream anytime you are
connected to the Internet.
8. If you have a microSD card, insert the card into the microSD slot on the
back on the network camera.
II-3 EdiView Finder

Ensure your computer is connected to the same router as the
network camera using an Ethernet cable.
II-3-1 Windows
1. Insert the included CD into your CD-ROM drive and if the setup utility
does not automatically open, please locate and open the “Autorun.exe”
file in the “Autorun” folder.
2. Click “Setup Utility” to install the EdiView Finder software utility.
3. Click “Next” and follow the on-screen instructions to install the EdiView
Finder software utility.
Table of contents
Other Edimax Security Camera manuals

Edimax
Edimax IC-1520DP User manual

Edimax
Edimax IC-3116W User manual

Edimax
Edimax IC-3140W User manual

Edimax
Edimax IC-7010PTn Setup guide

Edimax
Edimax IC-9110W User manual

Edimax
Edimax IC-3116W User manual

Edimax
Edimax IC-7113W User manual

Edimax
Edimax NS-120 User manual

Edimax
Edimax NC-203 User manual

Edimax
Edimax PT-112E User manual

Edimax
Edimax PT-31E User manual

Edimax
Edimax Pan/Tilt IP Surveillance Camera IC-7000 User manual

Edimax
Edimax IC-9110W User manual

Edimax
Edimax ND-233E User manual

Edimax
Edimax IC-7010 Series User manual

Edimax
Edimax IC-3115W User manual

Edimax
Edimax IC-1520POE User manual

Edimax
Edimax 3Mpx PoE User manual

Edimax
Edimax PT-31 User manual

Edimax
Edimax ND-233E User manual