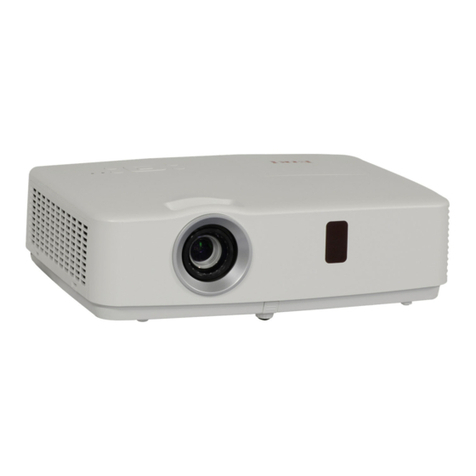
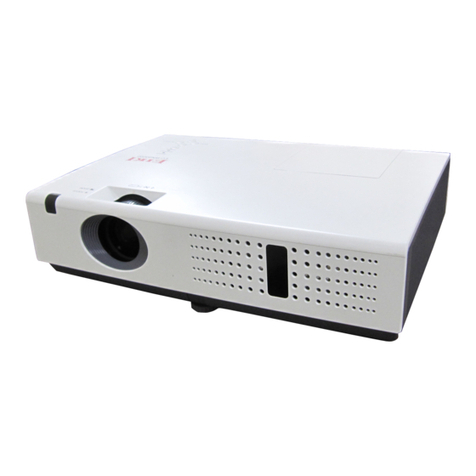
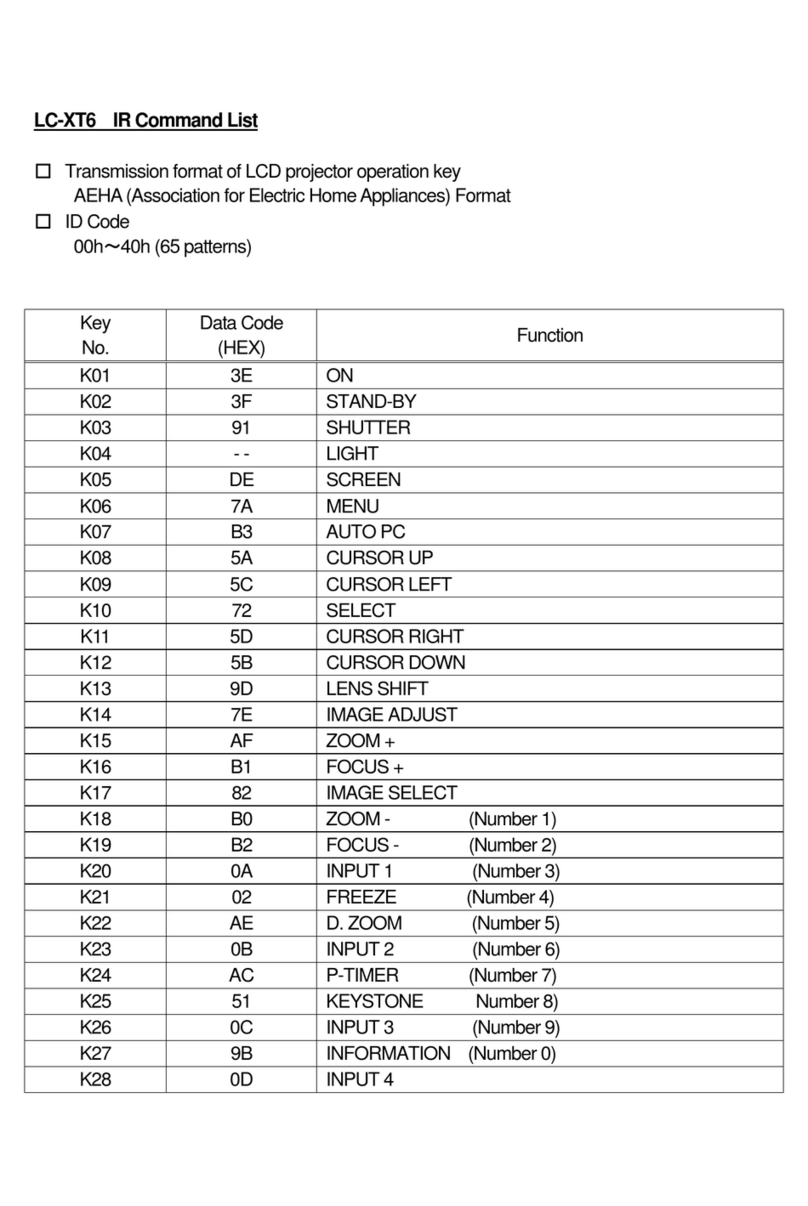
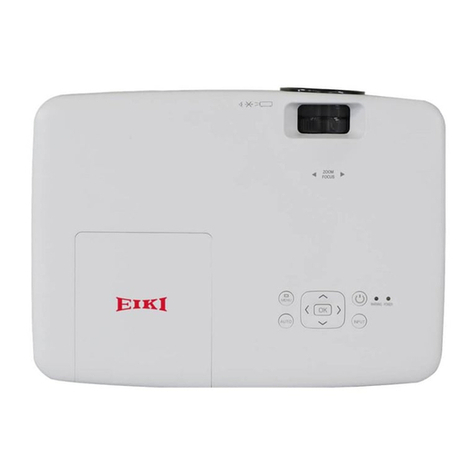
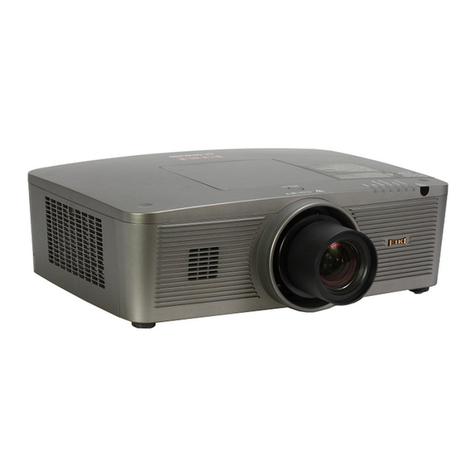
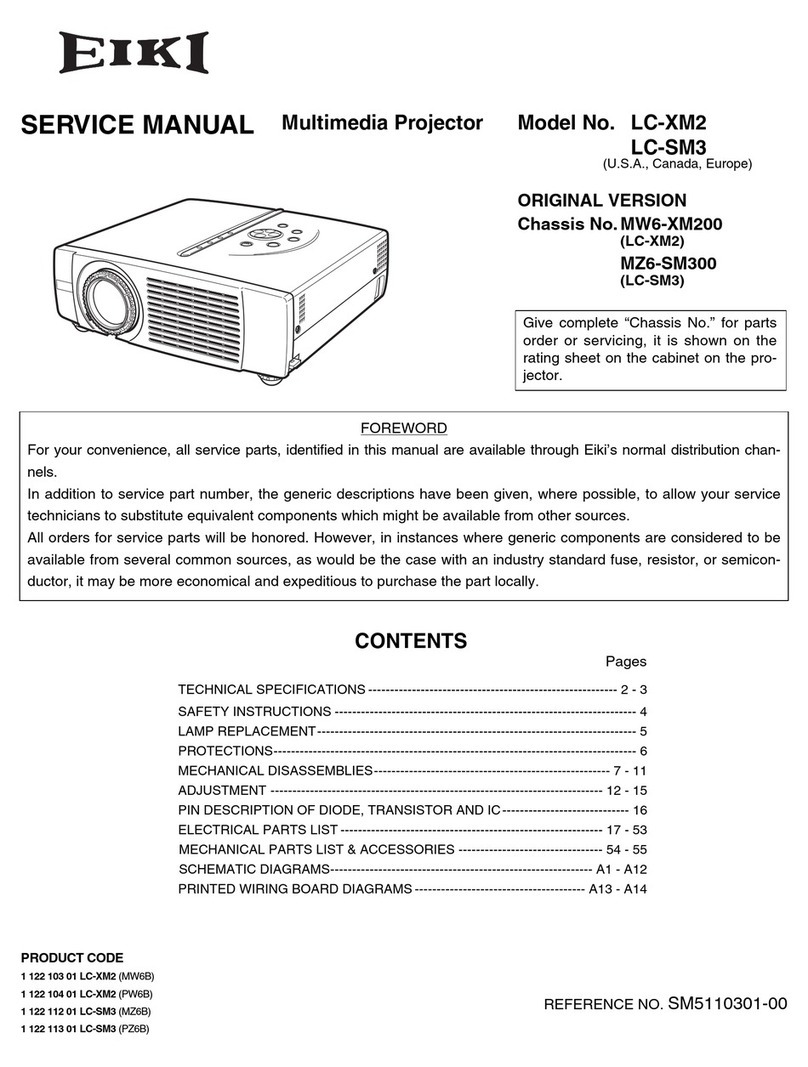
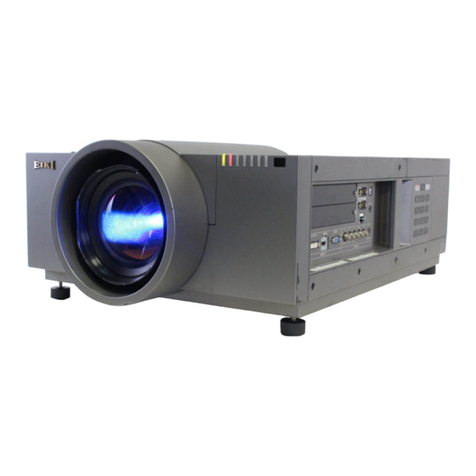
Eiki LC-HDT700 User manual

* Projection lens is optional.
PRODUCT CODE
1 122 571 21 (KY2BL)
1 122 572 21 (LY2BL)
1 122 572 26 (LY2GL)
Multimedia Projector
SERVICE MANUAL
REFERENCE NO. SM5111372-00
Model No. LC-HDT700
U.S.A., Canada,
Europe, H.G.
Give complete “Chassis No.” for parts
order or servicing, it is shown on the
rating sheet on the cabinet on the pro-
jector.
FOREWORD
For your convenience, all service parts, identified in this manual are available through Eiki’s normal distribution channels.
In addition to service part number, the generic descriptions have been given, where possible, to allow your service
technicians to substitute equivalent components which might be available from other sources.
All orders for service parts will be honored. However, in instances where generic components are considered to be
available from several common sources, as would be the case with an industry standard fuse, resistor, or semicon-
ductor, it may be more economical and expeditious to purchase the part locally.
ORIGINAL VERSION
Chassis No. KY2-HDT70000

-2-
Contents
SERVICE MANUAL ................................................... 1
Contents ........................................................................ 2
Safety Instructions......................................................... 3
Safety Precautions ..................................................... 3
Product Safety Notice................................................. 3
Service Personnel Warning........................................ 3
Specifications ................................................................ 4
Circuit Protections ......................................................... 5
Fuse............................................................................ 5
Thermal protector (SW905)........................................ 5
Mechanical sensor switches (SW1891,SW1861)........ 6
Temperature sensors, wind sensors .......................... 7
Power failure and fan lock detection .......................... 8
Maintenance.................................................................. 9
Replacing the filter cartridge ...................................... 9
Resetting the filter counter ....................................... 10
Resetting the scroll counter...................................... 10
Lamp Replacement .................................................. 11
Resetting the lamp counter ...................................... 12
How to check lamp used time .................................. 12
Cleaning ................................................................... 13
Quick maintenance................................................... 14
Security Function Notice ............................................. 15
Mechanical Disassembly............................................. 16
Mechanical disassembly flow chart.......................... 16
Mechanical disassembly .......................................... 17
Optical Parts Disassembly .......................................... 29
Adjustments................................................................. 39
Adjustments after parts replacement ....................... 39
Note on main board replacement ............................. 39
Optical Adjustments .................................................... 40
Contrast adjustment ................................................. 40
Electrical Adjustments................................................. 41
Service Adjustment Menu Operation ....................... 41
Memory IC (IC1387) Replacement........................... 41
Circuit Adjustments .................................................. 42
Test Points and Locations ........................................ 46
Service Adjustment Data Table................................ 47
Chassis Description .................................................... 72
Chassis over view..................................................... 72
Input & signal processing stage ............................... 73
LCD drive stage........................................................ 74
Lamp control stage................................................... 75
Fan control stage...................................................... 76
Motor control stage................................................... 77
Bus control stage...................................................... 78
LED drive & RC control stage................................... 79
Power supply & power failure circuit......................... 80
Indicators and Projector Condition ........................... 81
Power failure detection system ................................ 84
Error information table .............................................. 84
Power failure detection tree...................................... 85
Error History Log ...................................................... 87
Diagnosis of Power Failure with RS-232C port ........ 88
Diagnosis procedure ................................................ 88
Serial Control Interface............................................. 89
Control Port Functions................................................. 91
System Control I/O Port Functions (PW392, IC301) 91
I/O Expander (TE7783, IC4801) .............................. 92
FPGA (XC3S50A, IC5201) ....................................... 93
IIC Bus D/A Converter (M62393FP Fan Control,
IC7801) ..................................................................... 93
IC Block Diagrams....................................................... 94
Mechanical Parts List ................................................ 101
Cabinet Parts Location ........................................... 101
Mechanical Parts List ............................................. 108
Electrical Parts List.....................................................110
Electrical Parts Location..........................................111
Electrical Parts List..................................................112
Diagrams & Drawings.................................................. A1
Parts description and reading in schematic diagram ..A2
Pin description of diode, transistor and IC ................ A17
Note on Soldering...................................................... A18
Schematic Diagrams ...................................................A3
Printed Wiring Board Drawings ................................. A13
-3-
Safety Instructions
WARNING:
The chassis of this projector is isolated (COLD) from AC line by using the converter transformer. Primary side
of the converter and lamp power supply unit circuit is connected to the AC line and it is hot, which hot circuit is
identified with the line ( ) in the schematic diagram. For continued product safety and protection of per-
sonnel injury, servicing should be made with qualified personnel.
The following precautions must be observed.
Safety Precautions
1: An isolation transformer should be connected in
the power line between the projector and the AC
line before any service is performed on the projec-
tor.
2: Comply with all caution and safety-related notes
provided on the cabinet back, cabinet bottom, inside
the cabinet or on the chassis.
3: When replacing a chassis in the cabinet, always
be certain that all the protective devices are
installed properly, such as, control knobs, adjust-
ment covers or shields, barriers, etc.
DO NOT OPERATE THIS PROJECTOR WITHOUT
THE PROTECTIVE SHIELD IN POSITION AND PR
OPERLY SECURED.
4: Before replacing the cabinet cover, thoroughly
inspect the inside of the cabinet to see that no stray
parts or tools have been left inside.
Before returning any projector to the customer, the
service personnel must be sure it is completely safe
to operate without danger of electric shock.
Service Personnel Warning
Eye damage may result from directly viewing the light produced by the Lamp used in this equipment. Always
turn off Lamp before opening cover. The Ultraviolet radiation eye protection required during this servicing.
Never turn the power on without the lamp to avoid electric-shock or damage of the devices since the stabilizer
generates high voltages (15kV - 25kV) at its starts.
Since the lamp is very high temperature during units operation replacement of the lamp should be done at least
45 minutes after the power has been turned off, to allow the lamp cool-off.
Product Safety Notice
Product safety should be considered when a component replacement is made in any area of the projector.
Components indicated by mark !in the parts list and the schematic diagram designate components in which
safety can be of special significance. It is, therefore, particularly recommended that the replacement of there
parts must be made by exactly the same parts.

-4-
Specifications
This symbol on the nameplate means the product is Listed by Underwriters
Laboratories Inc. It is designed and manufactured to meet rigid U.L. safety stan-
dards against risk of fire, casualty and electrical hazards.
Mechanical Information
Projector Type Multi-media Projector
Dimensions (W x H x D) 14.56” x 7.36” x 17.32” (370.0 mm x 187.0 mm x 439.9 mm)
Net Weight 25.6 lbs (11.6 kg)
Feet Adjustment 0˚ to 6.5˚
Panel Resolution
LCD Panel System 1.2” TFT Active Matrix type, 3 panels
Panel Resolution 1,920 x 1080 dots
Number of Pixels 6,220,800 (1,920 x 1080 x 3 panels)
Signal Compatibility
Color System
PAL, SECAM, NTSC, NTSC4.43, PAL-M, and PAL-N
High Definition TV Signal 480i, 480p, 575i, 575p, 720p, 1035i, 1080i and 1080p
Scanning Frequency H-sync. 15 kHz–120 kHz, V-sync. 48 Hz–100 Hz
Optical Information
Projection Lamp 380 W lamp
Interface
Input 1 DVI [RGB(PC digital), RGB(AV HDCP)] / HDMI (1.3 with Deepcolor) / Mini D-sub 15pin [RGB,
RGB (Scart)]
Input 2 BNC Type x 5 (G or Video/Y, B or Cb-Pb, R or Cr-Pr, H/HV and V)
Input 3 RCA Type x 3 (Video/Y, Pb/Cb, Pr/Cr), Mini DIN 4 pin x 1 (S-video)
Monitor Out
Analog RGB (Mini D-sub 15 pin) Terminal x 1
R/C Jack Mini jack (Wired Remote) x 1
Control Port D-sub 9 pin x 1
USB Connector USB Series B x 1
Option Network box Terminal x 1
LAN Connection Terminal RJ-45
Power
Voltage and Power Consumption AC 100–120 V (5.9A Max.), 50/60 Hz (The U.S.A and Canada)
AC 100–240 V (5.9A-2.4A Max.), 50/60 Hz (For other countries)
Operating Environment
Operating Temperature 41˚F–104˚F (5˚C–40˚C)
Storage Temperature 14˚F–140˚F (-10˚C–60˚C)
Remote Control
Battery AAA or LR03 Type x 2
Operating Range 16.4’ (5 m/±30˚)
Dimensions 1.9” (W) x 1.1” (H) x 5.7” (D) (48 mm x 27 mm x 145 mm)
Net Weight 3.6 oz (102 g) (including batteries)
Accessories
Owner’s Manual (CD-ROM) Lens Attachment (For option lens)
Quick Reference Guide Light-block sheet (For option lens)
AC Power Cord Spacer (For option lens)
Remote Control and Batteries VGA Cable
PIN Code Label
●The specifications are subject to change without notice.
●LCD panels are manufactured to the highest possible standards. Even though 99.99% of the pixels are effective, a tiny
fraction of the pixels (0.01% or less) may be ineffective by the characteristics of the LCD panels.

-5-
This projector provides the following circuit protections to operate in safety. If the abnormality occurs inside the pro-
jector, it will automatically turn off by operating one of the following protection circuits.
Circuit Protections
Fuse
A fuse is located inside of the projector. When the POWER
indicator is not lightning, the fuse may be opened. Check
the fuse as following steps.
The fuse should be used with the following type;
Fuse Part No. : 323 027 2605
TYPE T10AH 250V
LITTEL FUSE INC. TYPE 215010
How to replace the fuse
1. Turn the projector up and down.
2. Remove 1 screw and take the fuse cover off.
3. Remove the fuse from fuse holder on the power board.
To install the fuse, take reversed step in the above.
Fuse
Fuse cover
Screw
Thermal protector
(SW905)
Thermal protector (SW905)
There is the thermal protector (SW905) inside of the pro-
jector to detect the internal temperature rising abnormally.
When the internal temperature reaches near 115˚C, the ther-
mal protector cuts off the current supplied to the power sup-
ply circuit.
To reset the thermostat, disconnect the AC cord and leave
the projector at the normal surrounding temperature for
about 45 minutes. The thermostat will automatically reset
when the internal temperature becomes less than 75
˚C
.

-6-
Circuit Protections
Mechanical sensor switches (SW1891,SW1861)
This projector provides 2 mechanical sensor switches, the one is for
filter cartridge sensor switch (SW1891) and the other one is for lamp
cover sensor switch (SW1861). The filter cartridge sensor switch
detects whether the filter cartridge is installed correctly. If the filter
cartridge is not installed correctly, the projector cannot turn on.
The lamp cover sensor switch detects whether the lamp cover is
closed securely. If lamp cover is opened or not closed completely,
the drive signal to the lamp circuit is cut off. After opening the lamp
cover for replacing the lamp ass’y, place the lamp cover correctly
otherwise the projector cannot turn on.
Filter cartridge sensor
switch (SW1891)
Lamp cover sensor
switch (SW1861)
Filter cartridge

-7-
The projector provides 3 temperature sensor ICs, 2 sensors on the Main board and 1 sensor on the RC front board,
and 1 wind sensor on the intake duct. The sensor ICs monitor surrounding temperature of the lamp house and pan-
els/prism, and room temperature, and the wind sensor monitors airflow passed through the air filter in the intake
duct.
- Internal temperature sensor B (IC1816) (around the lamp house)
- Internal temperature sensor C (IC1814) (around the panels/prism)
- Room temperature sensor A (IC1692) (around the front cabinet)
- Wind sensor D (S901) (intake duct)
Circuit Protections
IC1814
(Behind)
S901
WARNING TEMP.
blinking red
LED indicators
Temperature sensors, wind sensors
IC1692
IC1816
(Behind)
The projector is shut down and the WARNING TEMP. indica-
tor is blinking red.
When the temperature inside the projector reaches a certain level, the WARN-
ING TEMP. indicator starts blinking. If the temperature rises moreover, the
projector will be automatically shut down to protect the inside of the projector,
and the WARNING TEMP. indicator is blinking fast and the POWER indicator
turns off. When the projector has cooled down enough (to its normal operat-
ing temperature), the POWER indicator turns on and the projector can be
turned on again by pressing the ON/STAND-BY button.
✔Note:
• The WARNING TEMP. indicator continues to blink even after the tempera-
ture inside the projector returns to normal. When the projector is turned on
again, the WARNING TEMP. indicator stops blinking.
Check the items below
- Remove dust around the air filter.
- Ventilation slots of the projector are blocked. In such an event, reposition the
projector so that ventilation slots are not obstructed.
- Check if projector is used at higher temperature place (Norma; operating
temperature is 5 to 40 ºC or 41 to 104 ºF).

-8-
The projector provides the detection circuits of the power failure and the fan lock. When the detection circuit detects
an error at the power supply line or at the fan operation circuit, the projector will turn into the standby mode to protect
the other circuits defective.
Circuit Protections
LAMP/SHUTTER indi-
cator lights on and other
four indicators blink
LED indicators
Power failure and fan lock detection
CAUTION
DO NOT LEAVE THE PROJECTOR WITH THE AC POWER CORD
CONNECTED UNDER AN ABNORMAL CONDITION. IT MAY RE-
SULT IN FIRE OR ELECTRIC SHOCK.
The projector is shut down; and the LAMP/SHUTTER indi-
cator is lighting and other indicators are blinking.
When the projector detects an abnormal condition (Power supply lines failure
or fans failure), it will be automatically shut down to protect the inside of the
projector and the LAMP/SHUTTER indicator lights on and other indicators
blink. In this case, unplug the AC power cord and plug it, and then turn on the
projector once again to verify operation. If the projector cannot be turned on
and these indicators are still lighting and blinking, unplug the AC power cord.
See the troubleshooting chapter.

-9-
Maintenance
Turn off the projector, and unplug the AC power cord
from the AC outlet.
First, clean up the dust on the projector and around the
air vents.
1
2
Press don the filter cover to release the latch and open
the filter cover.
3
Put the new one back into the position and close the
filter cover. Make sure that the filter cartridge is properly
and fully inserted.
5
CAUTION
Do not operate the projector with the filter removed.
Dust may accumulate on the optical elements de-
grading the picture quality.
Do not put anything into the air vents. Doing so may
result in malfunction of the projector.
4
Reset the filter counter and the scroll counter.
6
Replacing the filter cartridge
Pull out the filter cartridge. When taking out the filter
cartridge, put your finger on the filter cartridge’s tab and
then pull.
RECOMMENDATION
We recommend avoiding dusty/smoky environments
when operating the projector. Usage in these environ-
ments may cause a poor image quality.
When using the projector under dusty or smoky conditions,
dust may accumulate on a lens, liquid crystal panels, or op-
tical elements inside the projector. Such condition may de-
grade the quality of the projected image.
When the symptoms above are noticed, contact your autho-
rized dealer or service station for proper cleaning.
ORDER REPLACEMENT FILTER CARTRIDGE
Service Parts No.: 610 342 9571
Connect the AC power cord to the projector and turn
on the projector.
7
Filter prevents dust from accumulating on the optical elements inside the projector. Should the filter becomes clogged
with dust particles, it will reduce cooling fans’ effectiveness and may result in internal heat buildup and adversely
affect the life of the projector. This projector has an electrically operated filter which helps you to replace the filter
easily. The projector monitors the condition of the filter at all time and replaces a filter with a new one automatically
when it detects the clogging.
If the projector detects that the filter is clogged and no scroll is left in the filter cartridge, a Filter cartridge replacement
icon appears on the screen and the WARNING FILTER indicator on the top panel lights up. When you see this icon,
replace the filter cartridge and reset the Filter counter and the Scroll counter.
Filter cover
Latch
Filter cartridge
Tab

-10-
Be sure to reset the scroll counter after replacing the filter
cartridge.
Resetting the scroll counter
Scroll counter
Be sure to reset the filter counter after replacing the filter and
the filter cartridge.
Press the MENU button to display the on-screen menu.
Use the point ed buttons to select Setting and then
press the point 8button or the SELECT button.
Use the point ed buttons to select the Filter coun-
ter and then press the SELECT button. Use the Point
ed buttons to select the Filter counter reset and then
press the SELECT button. Filter counter Reset? ap-
pears. Select Yes to continue.
1
2
Resetting the filter counter Filter counter
Filter counter Reset? appears.
Select [Yes], then another confirmation box appears.
Select [Yes] again to reset the Filter counter.
Another confirmation dialog box appears, select Yes to
reset the filter counter.
3
Scroll counter Reset? appears.
Select [Yes], then another confirmation box appears.
Select [Yes] again to reset the Scroll counter.
Press the MENU button to display the on-screen menu.
Use the point ed buttons to select Setting and then
press the point 8button or the SELECT button.
Use the point ed buttons to select the Scroll counter
and then press the SELECT button. Use the Point ed
buttons to select the Scroll counter reset and then
press the SELECT button. Scroll counter Reset? ap-
pears. Select Yes to continue.
1
2
Another confirmation dialog box appears, select Yes to
reset the scroll counter.
3

-11-
Maintenance
Turn off the projector and unplug the AC power cord.
Let the projector to cool for at least 45 minutes.
Loosen the screw and open the lamp cover and pull
out the lamp by using the built in handle.
1
3
Replace the lamp with a new one. Make sure that
the lamp is properly and fully inserted.
4
Open the filter cover.
2
Connect the AC power cord to the projector and turn
on the projector.
6
Follow these steps to replace the lamp.
Reset the lamp replacement counter
5
Note:
• Be sure to insert the lamp in the correct direction.
• Do not reset the Lamp replacement counter when the pro-
jection lamp is not replaced.
Lamp Replacement
For continued safety, replace with a lamp of the
same type. Do not drop the lamp or touch the glass
bulb! The glass can shatter and may cause injury.
Allow a projector to cool for at least 45 minutes
before you open the lamp cover. The inside of the
projector can become very hot.
CAUTION
CAUTION
When the projection lamp of the projector reaches its end of life, the lamp replacement icon appears on the screen
and LAMP REPLACE indicator lights orange. Replace the lamp with a new one promptly. The timing when the LAMP
REPLACE indicator should light is depending on the lamp mode.
Top Panel
LAMP REPLACE indicator
Lamp replacement icon
7
Close the lamp cover and secure the screw, and
close the filter cover.
ORDER REPLACEMENT LAMP
Type No. POA-LMP149
Service Parts No. 610 357 0464
Lamp Handle
Lamp cover
Filter cover
Screw

-12-
Counter
Projector 500 H
Lamp
Normal 200 H
Eco 300 H
Corresponding value 600 H
Total lamp used time
Projector used time
How to check lamp used time
Maintenance
Resetting the lamp counter
Be sure to reset the lamp counter after the lamp is replaced. When the lamp counter is reset, the LAMP RE-
PLACE indicator stops lighting and the lamp replacement icon disappears.
Note:
• Do not reset the lamp counter without replacing the lamp. Be
sure to reset the lamp replacement counter only after replacing
the lamp.
1
2
Lamp counter
3
Lamp mode
Press the MENU button to display the on-screen menu.
Use the point ed buttons to select Setting and then
press the point 8button or the SELECT button.
Use the point ed buttons to select the Lamp coun-
ter and then press the SELECT button. Use the Point
ed buttons to select the Lamp counter reset and then
press the SELECT button. Lamp replacement coun-
ter Reset? appears. Select Yes to continue.
Another confirmation dialog box appears, select Yes to
reset the lamp counter.
The LAMP REPLACE indicator will light yellow when the total lamp used time (Corresponding value) reaches 3,000
hours. This is to indicate that lamp replacement is required.
The total lamp used time is calculated by using the below expression,
Total lamp used time (Corresponding value) = Teco + (Tnormal x 1.5)
Teco: used time in the Eco1 and Eco2 mode
Tnormal : used time in the normal mode and auto mode
You can check the lamp used time following to the below procedure.
1Press and hold the ON/STAND-BY button on the projector or the ON button on the remote control for more than
20 seconds.
2The projector used time and lamp used time will be displayed on the screen briefly as follows.

-13-
Cleaning
Cleaning with air spray
1. Remove the cabinet top following to “Mechanical Dis-
assembly”.
2. Clean up the LCD panel and polarizing plate by using
the air spray from the cabinet top opening.
Caution:
Use a commercial (inert gas) air spray designed for
cleaning camera and computer equipment. Use a resin-
based nozzle only. Be vary careful not to damage optical
parts with the nozzle tip. Never use any kind of cleanser
on the unit. Also, never use abrasive materials on the
unit as this may cause irreparable damage.
After long periods of use, dust and other particles will accumulate on the LCD panel, prism, mirror, polarized glass,
lens, etc., causing the picture to darken or color to blur. If this occurs, clean the inside of optical unit.
Remove dust and other particles using air spray. If dirt cannot be removed by air spray, disassemble and clean the
optical unit.
Disassembly Cleaning
Disassembly cleaning method should only be performed
when the unit is considerable dirty and cannot be suf-
ficiently cleaned by air spraying alone.
Be sure to readjust the optical system after perform-
ing disassembly cleaning.
1. Remove the cabinet top and main units following to
“Mechanical Disassembly”.
2. Remove the optical base top following to “Optical
Unit Disassembly”. If the LCD panel needs cleaning,
remove the LCD panel unit following to “LCD panel
replacement”.
3. Clean the optical parts with a soft cloth. Clean ex-
tremely dirty areas using a cloth moistened with al-
cohol.
Caution:
The surface of the optical components consists of mul-
tiple dielectric layers with varying degrees of refraction.
Never use organic solvents (thinner, etc.) or any kind of
cleanser on these components.
Since the LCD panel is equipped with an electronic cir-
cuit, never use any liquids (water, etc.) to clean the unit.
Use of liquid may cause the unit to malfunction.
Maintenance

-14-
This projector provides a cabinet front cover on the cabinet top to enhance the service maintenance. This enables
service personnel to align the optical adjustment or replace the optical parts without disassembly the cabinet top.
1. Press and hold the release button on the cabinet front cover and slide the cover frontward to take it off (Fig. 1).
2. Remove 2 screws A on the prism shield cover and take prism shield cover off (Fig. 2).
3. Remove 2 screws B and take the shutter assembly off (Fig. 3).
4. Loosen 4 screws C and take the LCD Panel/Prism assy upward off.
5. Remove 1 screw D on each stopper of the polarized glass assy and take the optical filter assy upward off.
See chapter "Optical Parts Disassembly" for further information of optical parts disassembly.
Maintenance
Quick maintenance
Release button
Prism shield cover
A
A
C
C
D
Fig. 3
Fig. 4
BB
Shutter assembly
Fig. 1 Fig. 2

-15-
This projector provides security functions such as "Key lock", "PIN code lock" and "Logo PIN code lock". When the
projector has set these security function on, you are required to enter correct PIN code to use the projector. If you
do not know the correct PIN code to the projector, the projector can no longer be operated or started. In this case,
you must reset those function first according to the resetting procedure described below and then check up on the
projector.
Security Function Notice
Resetting procedure
1Disconnect the AC power cord from the AC outlet.
2As pressing the SELECT button, connect the AC power cord into an AC outlet again.
3Keep pressing the SELECT button and then press the ON/STAND-BY button for more than 5 seconds.
4Release the ON/STAND-BY button first and then release the SELECT button.
- The PIN code lock and Logo PIN code lock will be reset as the initial PIN code at the factory and the Key
lock function is disabled.
Please refer to the owner's manual for further information of the security functions.
Function Description
Key lock
Locks operation of the side control or the remote con-
trol.
If the Key lock is enabled with side control lock, the
projector can no longer be started.
Initial setting: Key lock function is disabled
PIN code lock
Prevents the projector from being operated by an un-
authorized person.
Initial code: “1234”
Logo PIN code lock
Prevents an unauthorized person for changing the
start-up logo on the screen.
Initial code: “4321”

-16-
Mechanical disassembly flow chart
1 Cabinet front cover removal
2 Cabinet top removal
3 Control assy and filter cover removal
4 Main board removal
5 Cabinet back & lamp cover removal
6 Power box removal
8 Optical unit removal
9 Cabinet front removal
10 Filter box removal
11 Fan (FN902, FN903, FN908) & duct removal
1-1 Cabinet front disassembly
2-1 LED board removal
3-1 Control board fan (FN907) disassembly
5-1 AV board removal
5-2 Fans (FN904, FN905, FN906) removal
6-1 Power box disassembly
8-1 Lens shift motor assy removal
10-1 Filter box and fan(FN901) disassembly-1
10-2 Filter box disassembly-2
Mechanical disassembly should be made by following procedures chart.
Following steps show the basic procedures, therefore unnecessary step may
be ignored.
Caution:
The parts and screws should be placed exactly the same position as the origi-
nal otherwise it may cause loss of performance and product safety.
The wiring method of the leads and ferrite cores should be returned exactly the
same state as the original, otherwise it may cause lose of performance and
product safety.
Screws Expression
(Type Diameter x Length) mm
T type M Type
Mechanical Disassembly
7 Ballast box removal 7-1 Ballast box disassembly
12 Lens shift cover and shield base removal

-17-
Mechanical Disassembly
Fig. 1-1
Mechanical disassembly
1-1 Cabinet front cover disassembly
1 Remove 2 screws A (T3x8) and take the release but-
ton, button holder and spring off.
Release Button
1 Cabinet front cover removal
1 Press the release button and slide the lamp cover to
the arrow direction and remove it.
Spring
Release button
Button holder
A
A
Shutter assy disassembly
1 Remove 2 screws A (M3x6) and take the prism shield cover off.
2 Remove 2 screws B (M2.5x5) and take the shutter assembly off.
A
A
Prism shield cover
B
B
Shutter assy

-18-
Mechanical Disassembly
A
Fig. 1-2
2 Cabinet top removal
1 Open the filter cover and remove 1 screw A (M3x8).
2 Remove 1 screw B (M3x8) and open the lamp cover
and remove 1 screw C (M3x8).
3 Remove 4 screws D (M3x8) on the cabinet top and 2
screws E (M3x8) on the cabinet back.
4 Release the hooks by pressing the side part of cabinet
bottom indicated with the arrows and take the cabinet
top off.
B
D
D D
D
E
E
F
F
Cabinet top
LED board
Press here to unhook
2-1 LED board removal
1 Remove 2 screws F (T3x8) and take the LED board
and LED holder off.
C

-19-
Mechanical Disassembly
3 Control board assy and cover removal
1 Remove 2 screws A (T3x8) and take the control board &
fan assy upward off.
2 Open the filter cover and take the filter cartridge off.
3 Remove the filter cover off by using a flat screw driver as
shown in the figure.
Control board &
fan(FN907) assy
Flat screwdriver
Filter cover
Turn the flat screwdriver in the arrow
direction to unhook the filter cover's
hinges.
Note: Be careful not to scratch the filter
cover and holder.
Filter cartridge
A
A

-20-
Mechanical Disassembly
3-1 Control board and fan (FN907) disassembly
1 Remove 2 screws B (M3x6) and take the control board/
button holder off
2 Unhook 2 hooks C on the button holder and take the con-
trol board off.
3 Remove 2 screws D (M3x10) and take fan (FN907) off.
4 Main board removal
1 Remove 2 screws A (M3x6) and take the prism shield
cover top off.
2 Remove 6 screws B (M3x6) and take the main shield cover
top off.
3 Remove 2 screws C (M3x6) and 1 screw D (M3x6) and
take the main board off.
4 Remove 2 screws E (M3x6) and take the main shield cover
bottom off.
B
B
D
C
C
Control buttons
Control board FN907
D
A
C
A
B
B
B
B
B
E
E
B
C
D
Main
board
Other manuals for LC-HDT700
2
Table of contents
Other Eiki Projector manuals

Eiki
Eiki LC-WB42N User manual

Eiki
Eiki EK-500U User manual

Eiki
Eiki LC-WB42NA Installation and operation manual

Eiki
Eiki LC-XB200A User manual

Eiki
Eiki EK-850LU User manual

Eiki
Eiki LC-XM2 User manual

Eiki
Eiki LC-NB1U Setup guide

Eiki
Eiki LC-SD10 User manual

Eiki
Eiki Eiki 3960A User manual

Eiki
Eiki LC-X4L Setup guide
Popular Projector manuals by other brands

Barco
Barco CINE VERSUM 60 owner's manual

Panasonic
Panasonic PT-DZ870U operating instructions

Mitsubishi Electric
Mitsubishi Electric EX53U Specification sheet

Epson
Epson 755c - PowerLite XGA LCD Projector Product support bulletin

Philips
Philips cBright I Series user guide

BenQ
BenQ Home Entertainment Series user manual