ELBRO SMSB-M1-V2 User manual

User manual
SMSB-M1-V2
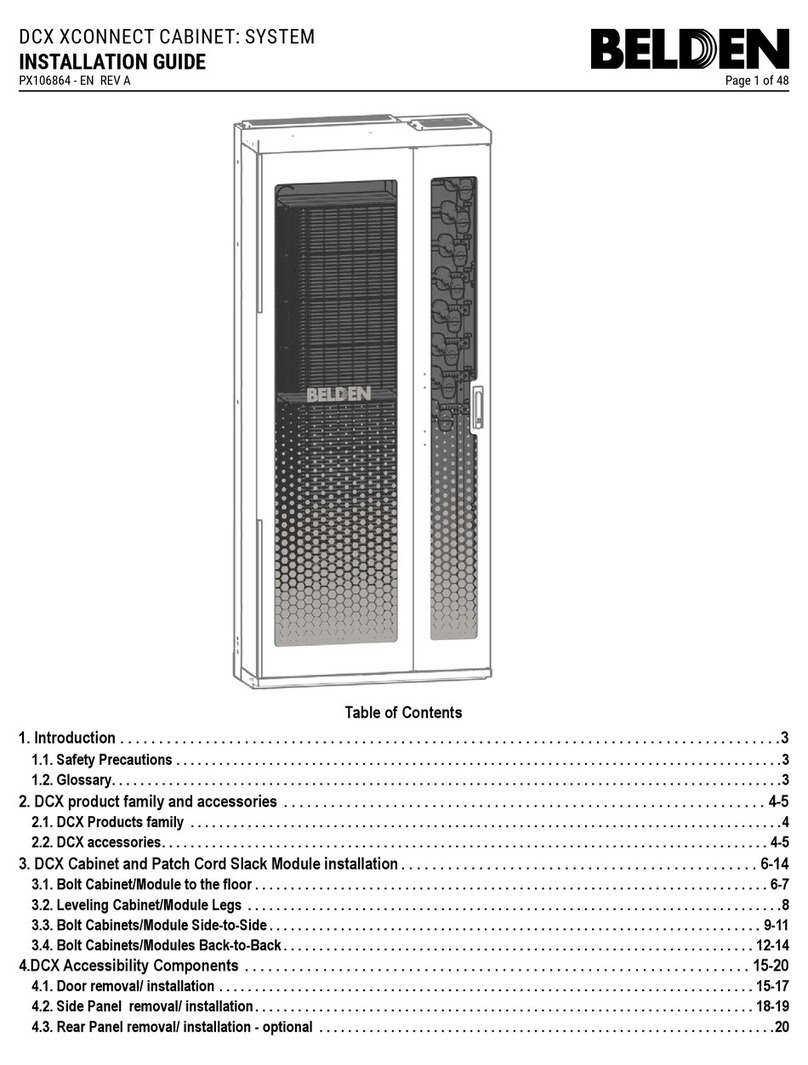
GENERAL OVERVIEW........................................................................................................................................ 2
STARTUP ................................................................................................FEHLER! TEXTMARKE NICHT DEFINIERT.
BEFORE USE :.................................................................................................................................................... 3
INSERTING THE SIM CARD....................................................................................................................................3
GSM SIGNAL QUALITY ..........................................................................................................................................4
TROUBLESHOOTING ............................................................................................................................................4
RESET THE SMS BUTLER.................................................................................................................................... 4
CONTROL BY SMS............................................................................................................................................. 5
CONTROL COMMANDS .................................................................................................................................... 5
COMMANDS FOR TIME CONTROL (HOUR COUNTDOWN) ................................................................................ 6
ADVANCED COMMANDS.................................................................................................................................. 6
TECHNICAL SPECIFICATIONS: ............................................................................................................................ 7
WARRANTY: ..................................................................................................................................................... 7
RECYCLING ....................................................................................................................................................... 8

GENERAL OVERVIEW
Introduction
Thank you for purchasing this SMS Butler.It will bring you comfort, pleasure, safety and opportunities
for energy savings!
SMS Butler M1 allows you to control remotely all kinds of electrical appliances with its integrated
230V switch like heating, lighting, automation -, IT - and telecommunication devices.
The SMS Butler communicates through a GSM-Signal. It is equipped with a Quadband GSM module
enabling a worldwide communication. SMS Butler is controlled by traditional exchange of SMS
messages.
Before using SMS Butler M1 check for GSM signal indicator LED to ensure optimal coverage in your
home/office environment.
Relay status
GSM signal
strength
SIM-Card slot
ON/OFF switch
230V remote
controlled socket

SETUP
BEFORE USE:
SMS Butler M1 requires the SIM card PIN code deactivated. This is carried out by temporarily
inserting the SIM card into a common GSM mobile phone which allows to disable the PIN code
(please refer to the manual of your mobile phone or contact your mobile phone provider).
All remote communication with the SMS Butler takes place through the GSM network. In order to
receive SMS command messages (e.g. for controlling a heating appliance), SMS Butler needs to have
a SIM card installed, just like any standard mobile phone.
Both pre-paid and subscription based SIM cards will work from any provider. Ensure that SMS
messaging is enabled.
Please keep in mind that common pre-paid offers have a limited validity before losing charged
credits. De-activation of such may vary depending on the mobile provider chosen. Please ensure the
use of at least one credit within the period.
INSERTING THE SIM CARD
Always ensure that the SMS Butler is powered off (i.e., it is not plugged into a
socket) when manipulating the SIM card.
Insert the SIM-card into the SMS Butler as shown in the picture, with the clipped
corner to the top left and the gold contacts down. Push the SIM-card inwards until
you hear a "click". Similarly, to take the card out, gently push until you hear a "click".
CONNECTIONS
1. Plug the SMS Butler into a wall outlet. The initial setup takes one to two minutes. Meanwhile, the
push button is ineffective to turn on/off the integrated 230V outlet.
2. Connect the electrical device you want to turn on/off remotely to the 230V socket of the SMS
Butler
The Power-LED is indicating the status of the 230V socket:
- green = 230V output on
- red = 230V output off

GSM SIGNAL QUALITY
The GSM LED is indicating the strength of GSM signal in the network to which the SMS Butler is
connected.
- (1) LED green = good signal
- (2) LED red = weak signal
- (3) LED off = GSM network unreachable
In cases of (2) or (3) it is recommended to move the unit to get better coverage.
To achieve satisfactorily functionality the SMS Butler requires a good GSM network coverage. Elbro is
not responsible for network malfunction.
TROUBLESHOOTING
No light from any LED:
•Check your power supply, circuit breakers and fuses. Try another power socket.
Signal LED flashes green:
•Check validity of your SIM card subscription.
•SIM card PIN code must be deactivated.
Signal LED flashes red:
•Wait about 2-3 minutes for SMS Butler to restart.
•If it’s still blinking: pull SMS Butler out of the wall socket and wait 1 minute before you put it
back into the wall socket.
•Red blinking can indicate a faulty SMS Butler: Contact your dealer.
SMS Butler does not respond to status requests:
•Check validity of your SIM card subscription and credits.
RESET THE SMS BUTLER
The SMS Butler is factory set with “1234” as personal access code.
Should you lose or forget your code, the following procedure will reset it to “1234”:
1. Pull SMS Butler out of the wall socket
2. Press and hold the on/off switch on the bottom faceplate
3. Plug the SMS Butler into the wall socket and continue to hold the switch for another 10
seconds before releasing it.
Signal LED will now blink 5 times, and code is reset to “1234”.

CONTROL BY SMS
It is possible to operate the Butler SMS through SMS messages sent from an ordinary mobile phone.
The SMS commands must respect the principles described below. Each message must begin with the
personal 4-digit code, otherwise it will be silently ignored by the Butler.
Each command consists of a keyword followed by a single letter parameter.
The most common is 1for "on" and 0for "off".
The commands are not case sensitive, that is to say, Smeans the same as s.
Examples are placed in quotation marks (""). These quotes should not be transcribed in the message.
1234 is the personal code used in the following examples.
Multiple commands can be combined in a single text message
(In this case the personal code only appears once, at the beginning of the message).
Proceed as follows to send a SMS command to SMS Butler:
1. Open the message application on your mobile phone and create a new message.
2. Write the personal code.
3. Write command.
4. Send the message to the mobile phone number corresponding to the SIM card located inside the
Butler.
Introductory example: send SMS to activate the output (socket) of your Butler.
The integrated power socket can be activated with the transmission of "1234" password and "R" for
the relay and control to turn on the switch "1"
(The colors are only for a better understanding of statements)
R11234 Comment:
The message contains two blocks, which are separated by a space (no more space to enter)
The default password is 1234 and to switch off the socket you use R0
Principle: one (1) to turn on and 0(zero) to turn off.
You can activate the Butler and check the status ("S" command) in an SMS. The return message
serves as a confirmation that the order has been received and executed. In addition,
you can send a message like this:
1234 R1S
Multiple commands are simply executed in the textual order, from left to right. The return status is
the one that results from previous commands.
CONTROL COMMANDS
To use the SMS Butler you can use the following commands:
- 1234 R1 switches on the 230V socket of the SMS Butler
- 1234 R0switches off the 230V socket of the SMS Butler
- 1234 S inquiry of the socket status
- T, M, P, U commands to switch on/off for a certain time

COMMANDS FOR TIME CONTROL (HOUR COUNTDOWN)
”T” – SWITCH FOR HOURS
The SMS Butler can be turned on for a programmable duration, between 1 and 99 hours.
Tfollowed by the desired number of hours. Always a 2-digit value: 01 = 1 hour, 05 = 5 hours.
E.g.: “1234 T01” switches relay on for 1 hour.
E.g.: “1234 T22” switches relay on for 22 hours.
If necessary, use the Rcommand to interrupt before the end of the countdown.
”M” – SWITCH FOR MINUTES
The SMS Butler can be turned on for a programmable duration, between 1 and 99 minutes.
Mfollowed by the desired number of minutes. Always a 2-digit value: 01 = 1 minute, 05 = 5 minutes.
E.g.: “1234 M01” switches relay on for 1 minute.
E.g.: “1234 M22” switches relay on for 22 minutes.
If necessary, use the Rcommand to interrupt before the end of the countdown.
”P” – “PULSE” FUNCTION (Inverted reset function)
The Pcommand will turn the SMS Butler on and keep it on for a number of seconds.
Pfollowed by the desired number of seconds. 1-9 seconds possible
E.g.: “1234 P3” switches the SMS Butler on for 3 seconds and then off again.
”U” – RESET FUNCTION
The SMS Butler can be used to reset other equipment.
The U command will turn the SMS Butler off and keep it off for a number of seconds.
Ufollowed by the desired number of seconds. 1-9 seconds possible
E.g.: “1234 U3” switches the SMS Butler off for 3 seconds and then on again.
ADVANCED COMMANDS
”C” – CHANGE THE PERSONAL ACCESS CODE
Change the current personal access code to a new 4-digit value.
E.g.: “1234 C9898” changes the code from 1234 to 9898.
Note: Remember the new code!

TECHNICAL SPECIFICATIONS:
Type/ Model: SMSB-M1-V2
GSM Standard: Quadband (850, 900, 1800, 1900 MHz)
Operating Voltage: 230VAC
Max. load: 2300W (230V/10A)
Power consumption: Max. 10W
Operating temperature: -20°C to +50°C
Dimensions: 130 x 65 x 42 mm (80mm deep)
Weight: approx. 290g
Approval: CE
ELBRO AG hereby declares that the product is compliant with the basic demands and other specific demands
according to directive 1999/5/EF. For more information kindly contact ELBRO AG, Gewerbestrasse 4, 8162
Steinmaur CH.
WARRANTY:
ELBRO AG products are covered by a two years warranty against any faults due to material flaws or
manufacturing errors, which limit or render useless certain functions described for the product. The
warranty requires the customer to present the original bill, with date of purchase and type of
equipment clearly readable.
What is covered by the warranty?
During the warranty period, Elbro reserves the right to repair the product or to replace defective
parts with functionally equivalent parts. If, after several attempts, Elbro is unable to correct the
problem, and the product does not work as described in the manual, Elbro may elect to refund the
purchase price or to replace the product with a functionally equivalent one. All replaced parts and
products become the property of Elbro AG.
What is not covered by the warranty?
•Indirect damage to life, health, property, revenue and environment caused by circuits and
appliances connected to the units (install and use this product responsibly).
•Costs related to (re)installing, transporting and dismantling units; recycling may be governed
by special rules (see the relevant chapter below).
•Damages caused by use outside of the operating conditions specified in the manual.
•Malfunctions caused by transport damages.
•Any unauthorized repair, modification or disassembly.
•Use of non-original parts.
•External factors, such as lightning, power supply issues, mobile network issues, flood damage
or fire.
•Units with modified, removed or unreadable serial number.

RECYCLING
(WEEE: Waste Electrical and Electronic Equipment):
The WEEE symbol indicates that this product must not be disposed along with other household
waste. It is the customer's responsibility to dispose the product properly by taking it to a designated
site for recycling. To locate a recycling/disposal site near you, contact your local city recycling
program, your regular waste disposal service or the agent from whom you purchased this product.
For Switzerland: the purchase price includes a contribution (the advance fee recycling, TAR) to the SWICO
Recycling Warranty, which means that used equipment can be returned free, for recycling, at any point of sale
of electronic devices, or directly to an official retailer listed under www.swicorecycling.ch.
Elbro AG assumes no responsibility for any errors that may appear in this manual. Information
contained herein is subject to change without notice
Table of contents
