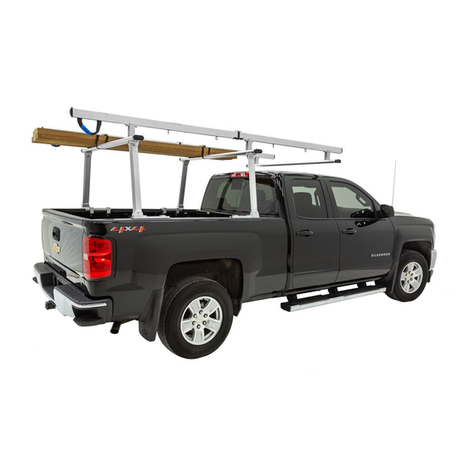
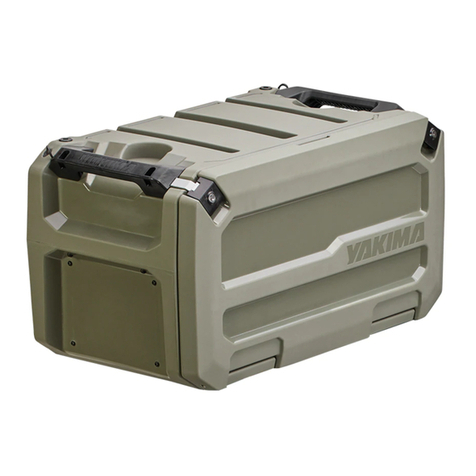
ELEVATE CS RACK SYSTEMS User manual

2209 Kellen Gross Dr., Yankton SD 57078 • 877-878-9336
NOTE:
It is important that all
areas where the rack system
mounts are clean and free of
debris prior to installing.
OWNER’S MANUAL
Any damaged or missing parts?
Parts will be shipped to you directly.
Call 877-878-9336, Mon - Fri, 8:00 a.m. - 5:00 p.m. CT
ELEVATE FS AND CS RACK SYSTEMS
PARTS INCLUDED
IN YOUR KIT
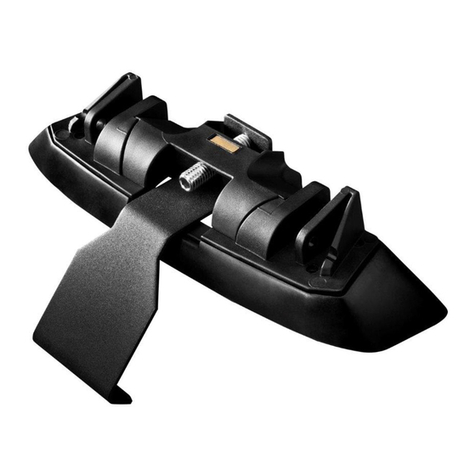
4x Elevate upright assembly
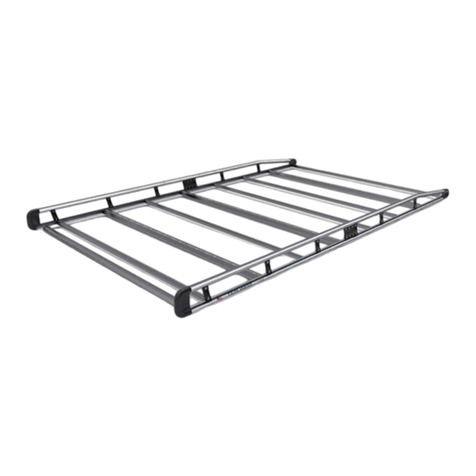
2x Crossbars
4x Crossbar end plugs
8x Set screws 1/4”-20 x .25”
16x 5/16” washers
16x Cap nuts 5/16”-18
16x T-bolts (1” bolt)
8x T-bolts (1.25” bolt)
Only used when installing on
attoprailsystem
2x Channel guards
4x Support base inserts
StandardSupportbaseinsert.
Usedwheninstalledwithraised
t-slotrails.
4x Support base inserts
FlushmountSupportbaseinsert.
Usedonushmountrails/covers.
TOOLS REQUIRED
•1/2” wrench or socket
•Scissors or cutting tool
TOOLS PROVIDED
•3/16” Allen key
•1/8” Allen key
P/N 1118569 Rev. A Rev. 1-7-22
A
E
C
G
I
J
K
B
F
D
H
DCEFGH
JIK
A
B

Install upright assemblies (A) onto t-slot compatible rails.
Remove t-slot compatible rail end plug. Slide two T-bolts
(G) into each adapter rail. Space the T-bolts (G) so they
align with the holes on the base on the upright assembly
(A). Place support base insert (J or K) in between the
upright assembly and the rail.
Use T-bolts (H) if installing
on a ush mount rail.
Reinstall the rail end plugs. Install washers (E) and cap nuts
(F) for the upright assemblies (A). Finger tighten for now.
12
Screw heads
should be to
the outside of
the bed.
End plugs may vary
depending on t-slot
rail manufacturer.
2209 Kellen Gross Dr., Yankton SD 57078 • 877-878-9336
After installation is complete, upright assemblies (A) in the correct position will lean slightly to the inside of the truck bed.
However, at this time they should move freely. Position upright assembly in the desired location and hand tighten the
washers (E) and cap nuts (F). Space front and rear upright assemblies as far apart as possible to support the load.
3
Screw heads
should be to
the outside of
the bed.
Nuts should be
to the inside of
the bed.
Uprights lean
approximately
2º inward as
shown.
P/N 1118569 Rev. A Rev. 1-7-22
E
F
A
G
G
J
A

Bottom
Top
7
Align the T-bolts (G) with the holes in the upright assembly (A) support, carefully set the crossbar (B) down and adjust as
needed. Center the crossbar (B) left to right with the two upright assemblies (A). Repeat step with other crossbar (B).
2209 Kellen Gross Dr., Yankton SD 57078 • 877-878-9336
Install any t-slot compatible accessories. Then install all 4 crossbar end plugs (C) with set screws (D).
Start the channel guard at one end of crossbar, once started you should be able to press the channel guard down the channel
to the other end plug. Install channel guard (I) into the t-slot channel of both crossbars (B). Cut off any excess channel guard (I).
If no accessories are installed, the channel guard can reduce wind noise.
5
6
Use the provided 1/8” Allen key
to tighten set screws (D), do
not overtighten.
Insert two T-bolts (G) into the bottom t-slot of each end of the crossbar (B). Repeat on the second crossbar.
4
Insert into
bottom t-slot
P/N 1118569 Rev. A Rev. 1-7-22
The serial number for the rack is located on
top of the crossbar. For future reference write
the serial number here.
________________________________
Bottom
Top
A
B
C
B
D
D
I
G
G
G
G
B
B
G
G
GGGG

8
Once you have centered the crossbars (B) with the assemblies (A), use the washers (E) and cap nuts (F) to secure the crossbars
(B) to the upright assemblies (A). Try to make sure the crossbars (B) move as little as possible left to right when securing the
hardware. Do not overtighten.
TORQUE
7-10 FT LBS.
10.5-13.5 NM
To reposition the rack on the t-slot rail, loosen the four cap nuts (F) on each upright assembly (A) to assist in moving the rack.
Once repositioned, retighten the nuts. To adjust the height of the rack remove the center hardware, adjust as needed, then
replace center hardware.
ADJUSTING AND MOVING THE ELEVATE RACK SYSTEM
Loosen
Loosen
Loosen
Loosen
Center
hardware
TORQUE
7-10 FT LBS.
10.5-13.5 NM
ELEVATE RACK SYSTEM GUIDELINES
n Review all instructions, guidelines, and warranty information before installing or using the Elevate Rack System.
n Contact your dealer with any questions regarding proper operations of the Elevate Rack System.
n Check state and local laws for compliance with oversized loads.
n Adapt speed and care of the vehicle to the load being carried.
n Be conscious of load weight, a high center of gravity is a rollover risk.
n All loads change the vehicle’s driving behavior and responsiveness.
n Do not use the Elevate Rack System for anything other than its intended purpose.
n Do not exceed the maximum load capacity (load capacity does change by terrain).
n Do not drive without rack properly installed and fasteners torqued to specication.
n Know the overall height of every load. Be vigilant of low clearances.
n Remove Elevate Rack System before entering automatic car washes.
n Do not use Elevate Rack System if any parts are worn, missing, or broken.
Any questions call 1-877-878-9336
2209 Kellen Gross Dr., Yankton SD 57078 • 877-878-9336 P/N 1118569 Rev. A Rev. 1-7-22
E
F
A
B
F
F
F
F

LIMITED LIFETIME WARRANTY
This product carries a limited lifetime warranty for the benet of the original purchaser. This warranty terminates when the
original purchaser sells or otherwise transfers the product to any other person. Proof of purchase may be required to enforce
these warranty rights.
Subject to the limitations and exclusions described herein as well as the manufacturer’s inspection of the product, the
manufacturer will remedy any defects in materials and/or workmanship by either making the necessary repairs, replacing
the product, refunding the purchase price paid for the product, substituting a newer model or product having similar form and
function, offering a warranty discount on an entire replacement system, and/or providing remedies other than those mentioned
herein at the manufacturer’s sole discretion.
This warranty does not cover problems caused by normal wear and tear (including, but not limited to, scratches, dents, tears,
or aesthetic oxidation of surfaces, or natural breakdown of colors and materials over extended time and use), commercial
use, accidents, unlawful vehicle operation, failure to follow the care instructions, or modications or repairs not performed
or authorized by the manufacturer. In addition, this warranty does not cover problems resulting from conditions beyond the
manufacturer’s control including, but not limited to, theft, misuse, overloading, or failure to assemble, mount or use the product
in accordance with its written instructions or guidelines included with the product or made available to the original purchaser.
This warranty does not cover any damage to products transported using this product or products used
in conjunction with this product.
If a product is believed to be defective, the original purchaser must obtain a Return Material Authorization (RMA) number must
from our Customer Service Department by calling 877-878-9336 prior to returning any product. We may require the original
item to be returned postage prepaid for nal determination of warranty coverage. Shipping charges will apply for any repair or
replacement. Other than postage or shipping charges, no charge will be made for repair or replacement under this warranty.
Disclaimer of Liability: The manufacturer’s sole liability to any purchaser is limited to the remedies set forth above. Damage
to a purchaser’s property or other person is excluded. This warranty is expressly made in lieu of any and all other warranties,
express or implied, including the warranties of merchantability and tness for a particular purpose, but excepting the warran-
ties which are expressly provided by law. In no event will the manufacturer be liable for any lost prots, lost sales, or for any
consequential, direct, indirect, incidental, special, exemplary, or punitive damages or for any other damages which were not
directly and clearly caused by a defecting product.
This warranty gives you specic legal rights. As a consumer, you may also have additional rights and remedies under the
laws of your jurisdiction.
SAFETY INSTRUCTIONS
n All mounting fasteners must be securely tightened before operation.
n The Elevate Rack System does NOT increase the load rating of the vehicle.
n Caution must be taken before entering low-hanging structures.
OWNER/USER RESPONSIBILITIES
n It is the responsibility of the owner/user to read this manual and comply with the operating procedures. The owner/user is
also responsible for inspecting the Elevate Rack System, and for having parts repaired or replaced when worn or damaged.
n Failure to follow safety instructions and warning labels could result in failure of your Elevate Rack System and/or personal
injury.
CARE & MAINTENANCE
The Elevate Rack System can be hand washed with soap and water. Remove the Elevate Rack System before entering
an automatic car wash.
ELEVATE RACK SYSTEM LOAD RATING
Rack System is rated for 750 lbs. static weight capacity (max. load in a xed or stationary position), 500 lbs. on-road weight
capacity, 250 lbs. off-road weight capacity.
WARRANTY REGISTRATION
Warranty registration must be on le and/or proof of original purchase
(detailed and dated receipt) required for warranty to be effective.
Register online at https://truxedo.com/warranty
2209 Kellen Gross Dr., Yankton SD 57078 • 877-878-9336 P/N 1118569 Rev. A Rev. 1-7-22
REGISTER
YOUR
WARRANTY
ONLINE
This manual suits for next models
1
Table of contents
Other ELEVATE Automobile Accessories manuals
