manuals.online logo
Brands
  1. Home
  2. •
  3. Brands
  4. •
  5. Elite Industries
  6. •
  7. Indoor Furnishing
  8. •
  9. Elite Industries EL-469 User manual

Elite Industries EL-469 User manual

PLEASE DO NOT RETURN UNIT TO STORE
FOR PARTS & CUSTOMER SERVICE. PLEASE CALL 1-800-ELITE-48
CUSTOMER SERVICE HOURS EASTERN TIME 8:45 AM - 4:45 PM M-F
EL-469/EL-479 Hardware
Thank you for purchasing this ELITE product.
You will need the following tools:
• Regular straight blade screw driver
• Phillips head screwdriver
• Rubber or padded hammer
In order to protect the finish, we recommend
working on a padded or carpeted surface.
Before discarding the box, be sure that no parts
are left inside.
PLEASE NOTE: The following letters correspond
to the sketches in this instruction booklet.
A. Top Panel (1)
B. Left Side Panel (1)*
C. Right Side Panel (1)*
D. Glass Shelf (7-identical)
E. Front Metal Top Molding (1)
F. Back Metal Post (2)
G. Back Post Pins (2)
H. Back Panel (acrylic) (1)
ASSEMBLY INSTRUCTIONS EL-469/EL-479
Fully Adjustable Media Storage Unit
EL-469 – Genuine Natural Cherry Wood Veneer.
EL-479 – Durable Metallic Grey Matte Lacquer.
7 adjustable shelves can house 252 CD’s or 112 DVD’s + 36 CD’s combined.
Overall Dimensions: H - 44", W - 18 5/8", D - 10 1/8".
F
B
H
C
D
E
G
F
G
A
*IMPORTANT: Make sure shelf pin holes on Side Panels B & C face inside during assembly.
FRONT EDGES of Side Panels B & C do NOT have holes. Curved Molding (Front Metal
Molding - E) will be inserted into Front Edge of Side Panels B & C with metal tabs
facing the back of unit.
BACK EDGES of Side Panels B & C DO have holes for installation of Back Panel (H). Back
Metal Posts (F) with Pins (G) will be inserted into Top Back Edges of Side Panels B & C.
J
Screw • 1/4" x 2-3/8" • 2 pcs.
K
L
Screw • 9/64" x 13/16" • 4 pcs.
M
N
Screw • 5/16" x 5/8" • 2 pcs.
Shelf Pins
(28 pcs.)
and
Plastic Screws
(28 pcs.)
O
Hex Key
for securing
Back Post & Pins
1 piece
PLASTIC SCREWS MUST BE INSTALLED
INTO THE SHELF PINS
Screw • 3/16" x 13/16" • 2 pcs.
Adjustable
Floor Levellers
4 pcs.
ALREADY
FACTORY
INSTALLED
Plastic Covers
for “L” Screws
4 pcs.
U
T
1 INSTALL FRONT MOLDING
B. Insert Back Panel (H) into slots at back
inside edges of Side Panels B and C.
C. Using 4
screws (L),
secure Back
Panel and 2
Side Panels.
2 INSERT BACK PANEL
H
H
L
C
C
E
E
B
B
D. Add Plastic
Covers (T) to
each of the 4
screw locations.
H
T
CE
B
*IMPORTANT: Make sure shelf pin holes on Side Panels
B & C face inside during assembly.
FRONT EDGES of Side Panels B & C do NOT have
holes. Curved Molding (Front Metal Molding - E) will be
inserted into Front Edge of Side Panels B & C with
metal tabs facing the back of unit.
BACK EDGES of Side Panels B & C DO have holes for
installation of Back Panel (H). Back Metal Posts (F) with
Pins (G) will be inserted into Top Back Edges of Side
Panels B & C.
Use a padded hammer or a regular hammer with a
block of wood when tapping molding into place.
Tap left and right sides of molding alternately to make
sure that molding is inserted evenly into both side
panels. Do not fully tap in one side of molding before
tapping in the opposite side. This may cause damage to
side panels.
Install Front
Molding (E) by
slotting peg
ends into holes
provided on
Right Side Panel
(C) and Left
Side Panel (B).
CORRECT
MOLDING IS PARALLEL WITH
EVEN INSERTION OF PEGS.
INCORRECT
UNEVEN INSERTION OF PEGS
MAY DAMAGE SIDE PANELS OR
BEND PEGS.
REGULAR HAMMER
WITH BLOCK OF WOOD.
PADDED HAMMER
E
BC
Front Edges of Panels
C & B do not have any holes.
FRONT
Metal Tabs of Front
(Curved) Molding “E”
face the back of
the unit.
Tap right and left
sides of molding
alternately to
insure even
insertion of pegs.
C
B
E
A. Remove protective foil from both
sides of Back Panel (H).
Using 2 screws (J), secure Front Metal Top
Molding (E) to side panels.
3 SCREW IN FRONT MOLDING
H
J
C
E
B
4 PREPARE TOP PANEL
Using a Padded Hammer,
Tap in 2 Post Pins (G) at
top back edges of Side
Panels B and C.
5 INSERT BACK POST PINS
J
M
M
F
F
A
A
CB
H
C
G
E
B
Using 2 screws (M) attach Back Metal
Posts (F) to back straight edge on underside
of Top Panel (A).
IMPORTANT
Be sure to position Back Metal Posts (F) so
that screw holes for hex key face inside.
G
Adjustable floor-
levelers are provided
under your unit.
Make sure to adjust
unit so that it may
firmly be positioned
for support while
staying parallel to
ground. Avoid any
forward tilt which may cause
TV to lean off balance. Do not
to over-extend levelers beyond
their supporting housing. They
need to firmly remain within
the grip of their threaded bushings.
Maximum extension = 1/4".
6 ATTACH TOP PANEL
CLEANING Glass Surfaces and Matte Lacquer Surfaces (EL-479): Apply window cleaner with soft. tissue. This will
also eliminate slight surface abrasions or scratches that may have occurred in shipping or handling.
Wood Veneer Surfaces (EL-469) should only be cleaned with non-coloring or non-staining fine quality wood fur-
niture polish. Distributed by: Elite Industries 77 Gould Street • Bayonne, NJ 07002
Elite Industries ensures complete satisfaction with this product. In the event of missing or damaged parts call toll free,
Customer service hours: 8:45-4:45, Monday-Friday, EST.
1-800 ELITE-48 • Tel.: 201-436-1120 • Fax: 201-436-6960
Congratulations and enjoy your new ELITE product!
7 ADD GLASS SHELVES
Adjust plastic
screws on
undersides of
all shelf pins.
Position Back Metal
Posts of Top Panel
(A) over Post Pins
and align holes on
underside of Top
Panel (A) with metal
tabs of Top Front
Metal Molding (E).
Using Hex Key (O)
tighten hex lock
mechanisms on Back
Metal Posts to
secure position.
Using 2 screws (K),
secure Metal Front
Molding to underside
of Top Panel (A).
Insert Shelf Pins (N) at desired heights on both Side Panels B and C.
NOTE: Before adding glass shelves, check plastic screw adjustment on ALL shelf pins to be
sure glass will slide smoothly into slots from front to back.
Slide glass shelves into shelf pins. Make sure to secure all shelves in place, using all plastic
adjustment screws on undersides of shelf pins, turning them clockwise to lock.
A
A
AA
D
N
N
H
B
C
B
K
C
H
O
A
B,C
F
UNDERSIDE A
K

This manual suits for next models

1

Other Elite Industries Indoor Furnishing manuals

Elite Industries EL-250 User manual

Elite Industries

Elite Industries EL-250 User manual
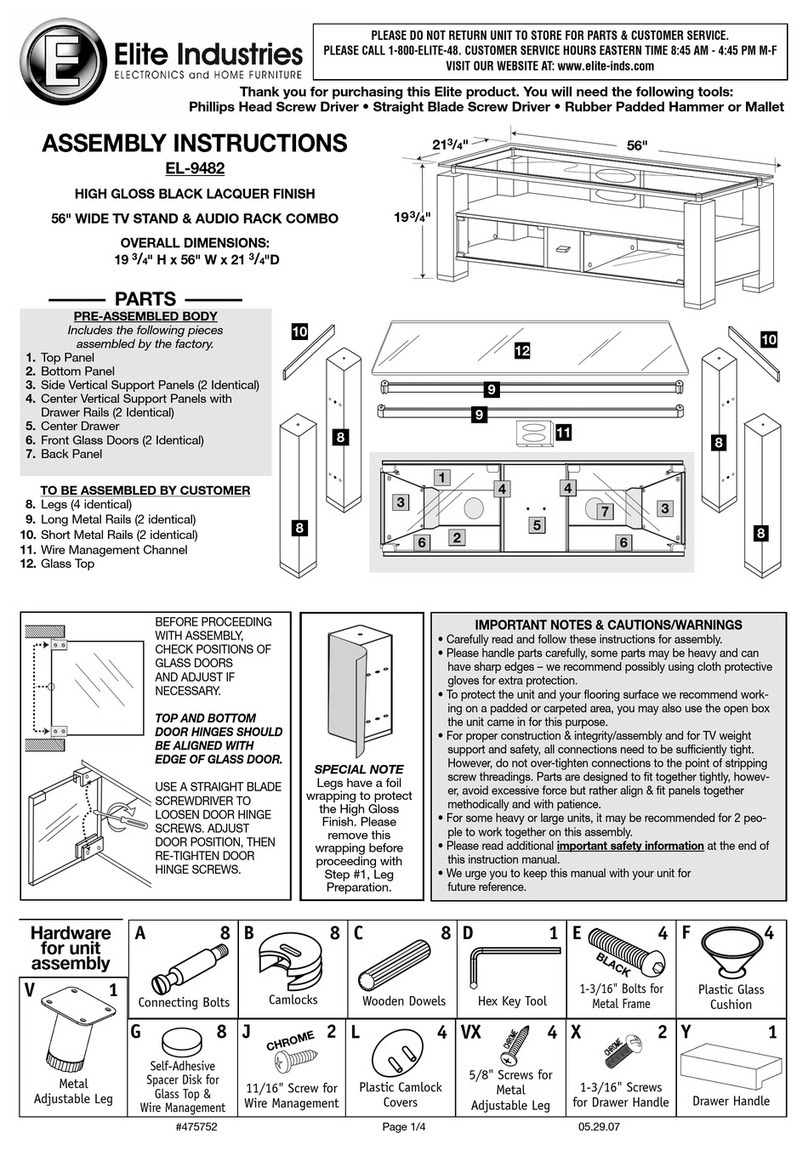
Elite Industries EL-9482 User manual

Elite Industries

Elite Industries EL-9482 User manual
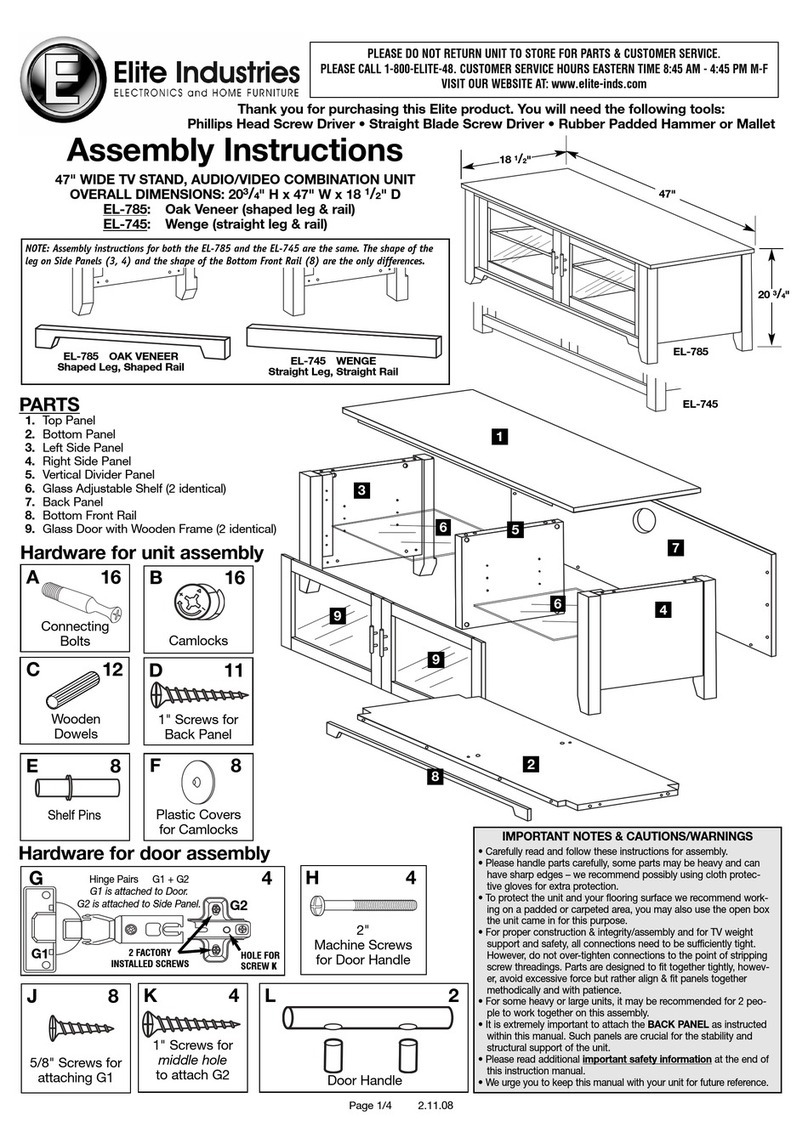
Elite Industries EL-785 User manual

Elite Industries

Elite Industries EL-785 User manual

Elite Industries EL-786 User manual

Elite Industries

Elite Industries EL-786 User manual
Elite Industries EL-905 User manual

Elite Industries

Elite Industries EL-905 User manual

Elite Industries EL-221 User manual

Elite Industries

Elite Industries EL-221 User manual
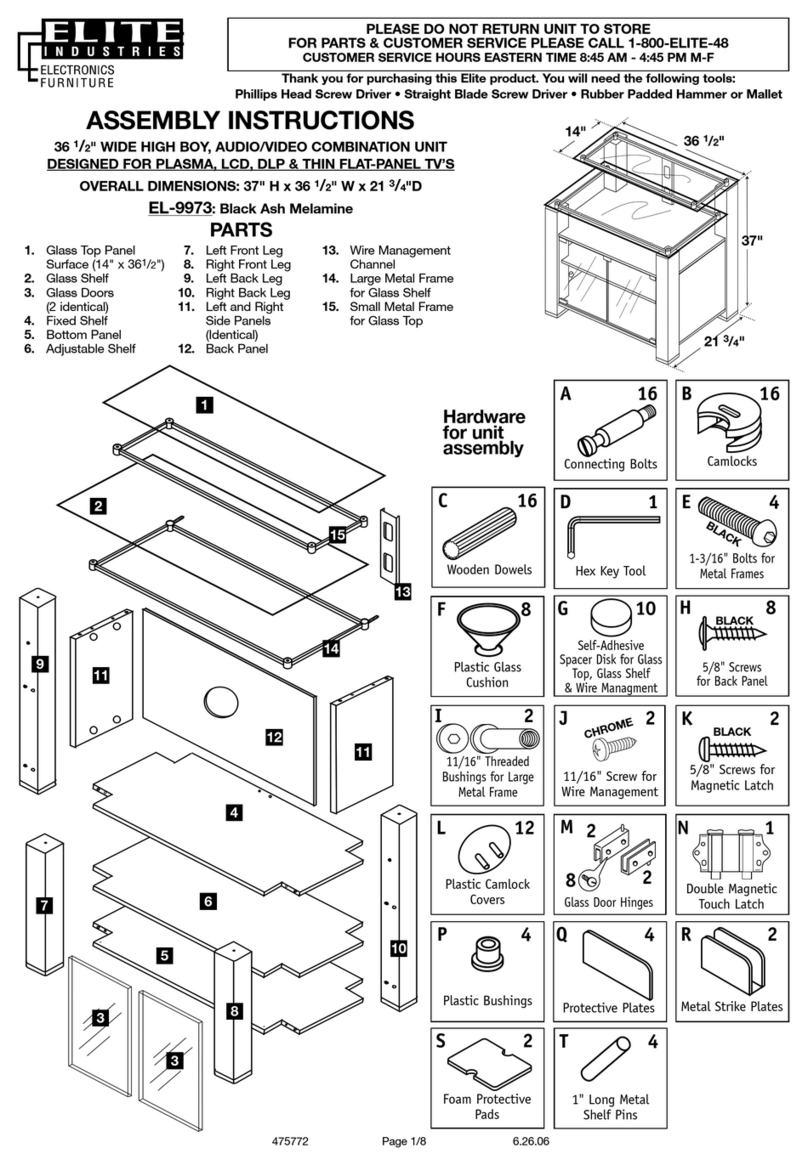
Elite Industries EL-9973 User manual

Elite Industries

Elite Industries EL-9973 User manual

Elite Industries EL-907 User manual

Elite Industries

Elite Industries EL-907 User manual
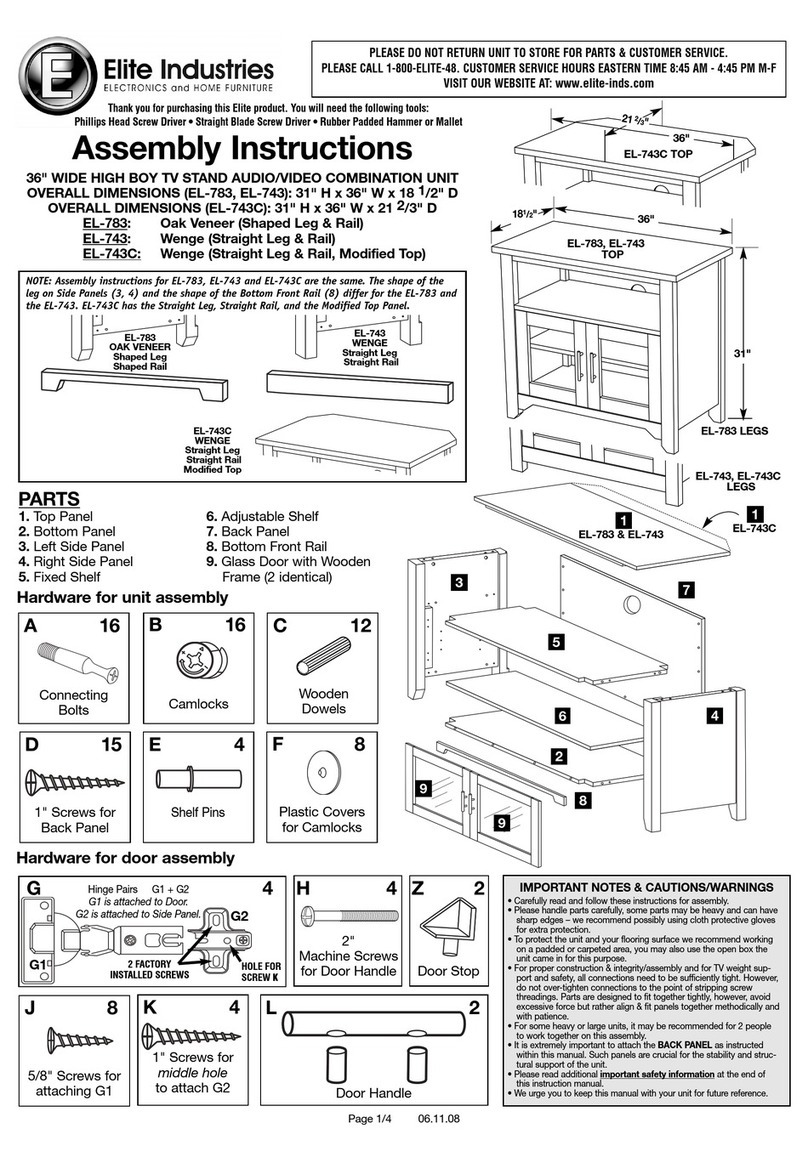
Elite Industries EL-783 User manual

Elite Industries

Elite Industries EL-783 User manual
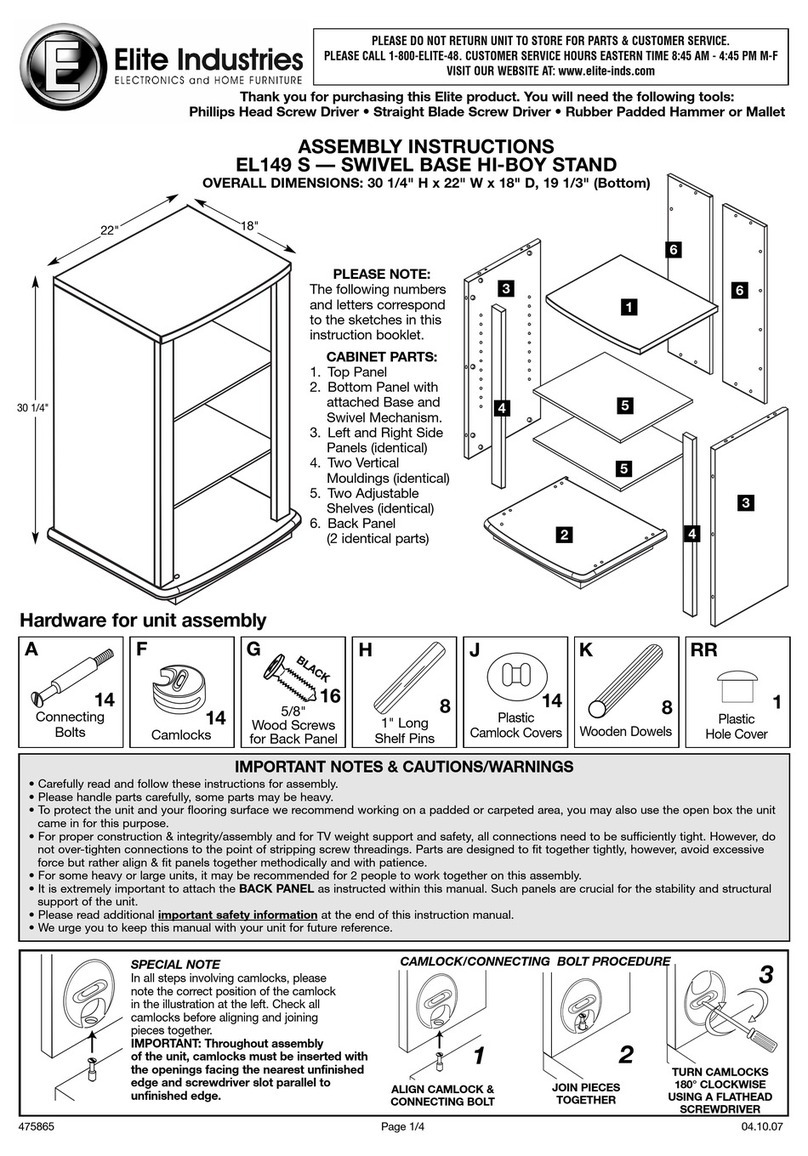
Elite Industries EL149 S User manual

Elite Industries

Elite Industries EL149 S User manual

Elite Industries CREDENZA EL-1195 User manual

Elite Industries

Elite Industries CREDENZA EL-1195 User manual

Elite Industries EL-147N User manual

Elite Industries

Elite Industries EL-147N User manual

Elite Industries EL-906 User manual

Elite Industries

Elite Industries EL-906 User manual

Popular Indoor Furnishing manuals by other brands

Regency LWMS3015 Assembly instructions

Regency

Regency LWMS3015 Assembly instructions

Furniture of America CM7751C Assembly instructions

Furniture of America

Furniture of America CM7751C Assembly instructions

Safavieh Furniture Estella CNS5731 manual

Safavieh Furniture

Safavieh Furniture Estella CNS5731 manual

PLACES OF STYLE Ovalfuss Assembly instruction

PLACES OF STYLE

PLACES OF STYLE Ovalfuss Assembly instruction

Trasman 1138 Bo1 Assembly manual

Trasman

Trasman 1138 Bo1 Assembly manual

Costway JV10856 manual

Costway

Costway JV10856 manual

moss DESIGN Caisson Credenza Assembly instructions

moss DESIGN

moss DESIGN Caisson Credenza Assembly instructions

Aquaglide FULL DECK 15.0 owner's manual

Aquaglide

Aquaglide FULL DECK 15.0 owner's manual

AREBOS AR-HE-SW30 user manual

AREBOS

AREBOS AR-HE-SW30 user manual

Till-Hilft Fulda 87005.330 Assembly instructions

Till-Hilft

Till-Hilft Fulda 87005.330 Assembly instructions

Twoey Outside 2010 quick start guide

Twoey Outside

Twoey Outside 2010 quick start guide

Hettich Easys 200 operating instructions

Hettich

Hettich Easys 200 operating instructions

The bedboss RELAX 404 Series owner's manual

The bedboss

The bedboss RELAX 404 Series owner's manual

Oeseder Möbelindustrie Bern 991 720 Assembly instructions

Oeseder Möbelindustrie

Oeseder Möbelindustrie Bern 991 720 Assembly instructions

Costway HW68469 user manual

Costway

Costway HW68469 user manual

Next ALIX A27743 Assembly instructions

Next

Next ALIX A27743 Assembly instructions

BROSA Hans Assembly guide

BROSA

BROSA Hans Assembly guide

Prodigg MINIKA PBA015T-FUR installation manual

Prodigg

Prodigg MINIKA PBA015T-FUR installation manual

manuals.online logo
manuals.online logoBrands
  • About & Mission
  • Contact us
  • Privacy Policy
  • Terms and Conditions

Copyright 2025 Manuals.Online. All Rights Reserved.