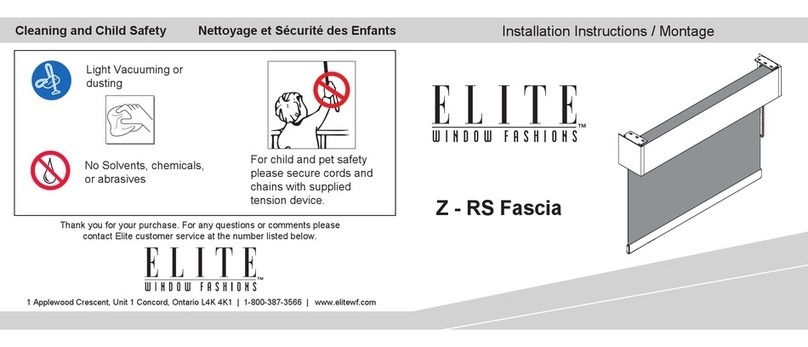
Elite Window Fashions Panel Track Shades Service manual
Other Elite Window Fashions Indoor Furnishing manuals
Popular Indoor Furnishing manuals by other brands
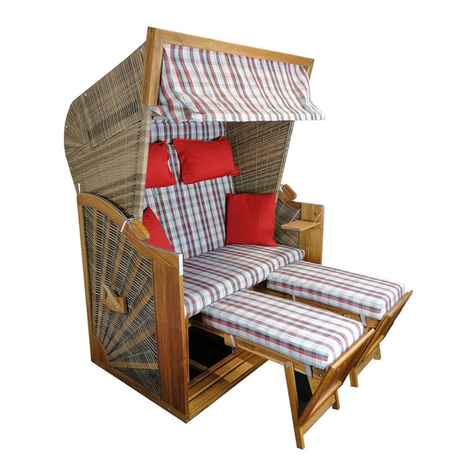
VRIES
VRIES TRENDY PURE Eco Assembly instructions
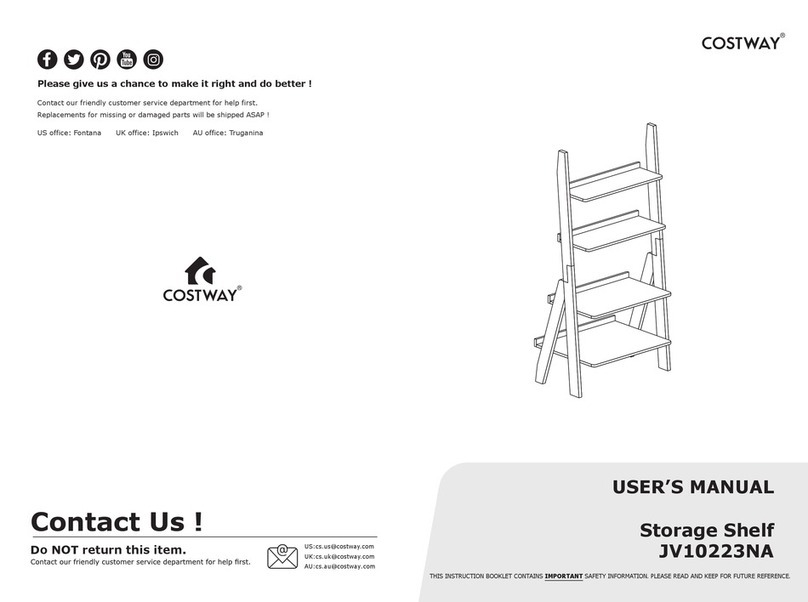
Costway
Costway JV10223NA user manual

VIPACK
VIPACK PISBMA17 Instructions for use
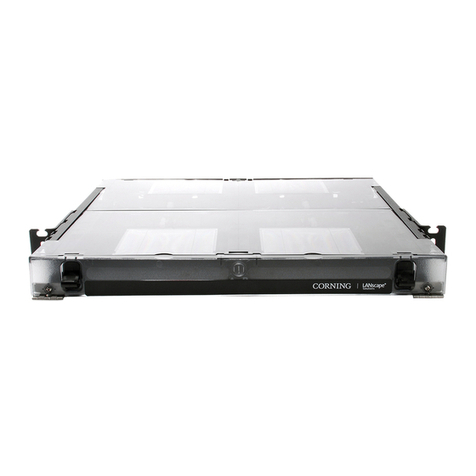
CORNING
CORNING CCS-01U quick start guide

Emerson
Emerson ClosetMaid Stackable 2 Drawer Organizer installation instructions

Bedkingdom
Bedkingdom Noomi Eino Assembling instructions

Furniture of America
Furniture of America CM4265-S Assembly instructions
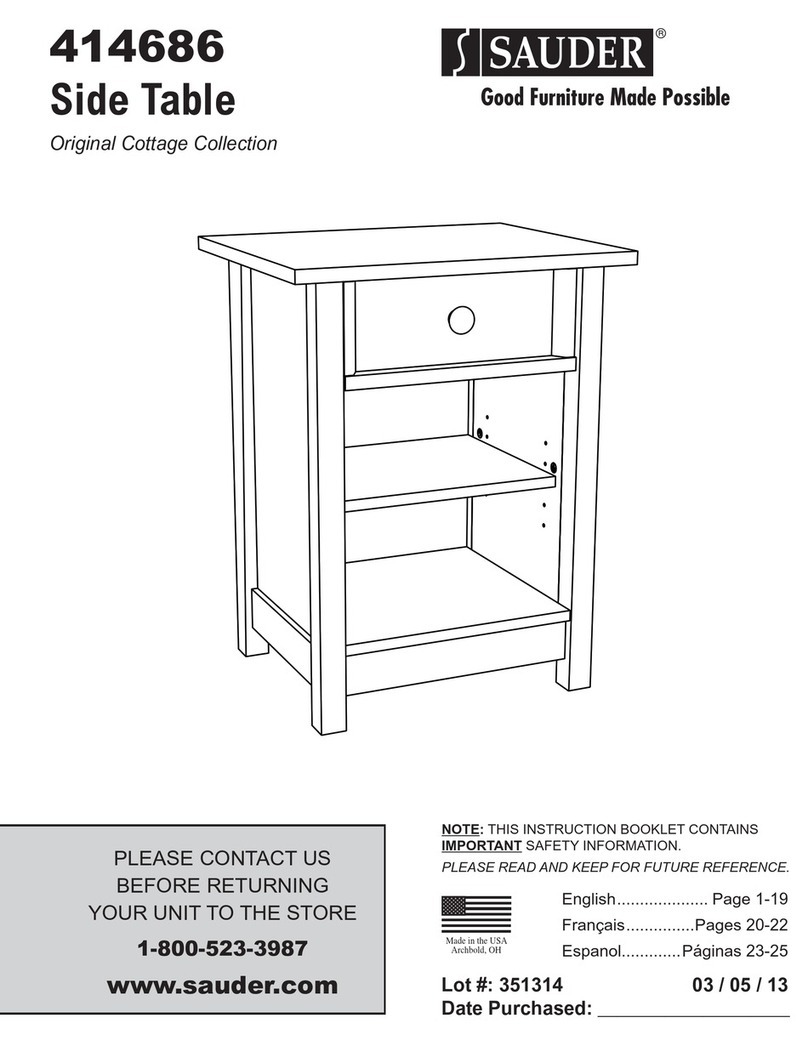
Sauder
Sauder 414686 manual

Country Living
Country Living Country Living D71 M80475 owner's manual
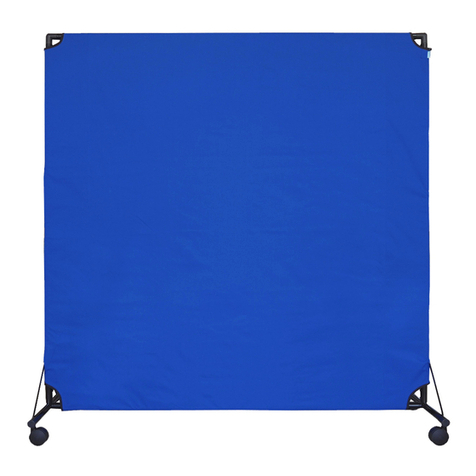
Portable Partitions
Portable Partitions VP6 Assembly instructions

Wren Kitchens
Wren Kitchens TOWER UNIT 2070 x 600 50/50 Assembly guide

Sauder
Sauder Hudson Court 425833 manual
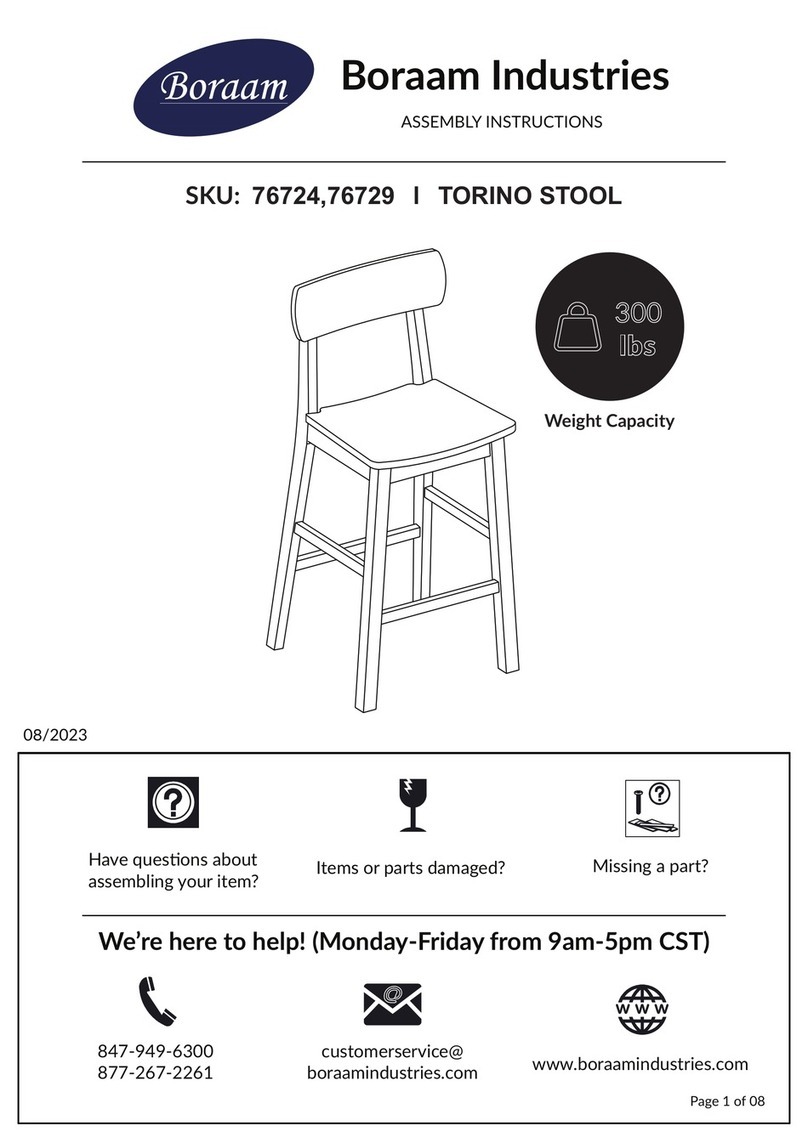
Boraam
Boraam TORINO 76724 Assembly instructions
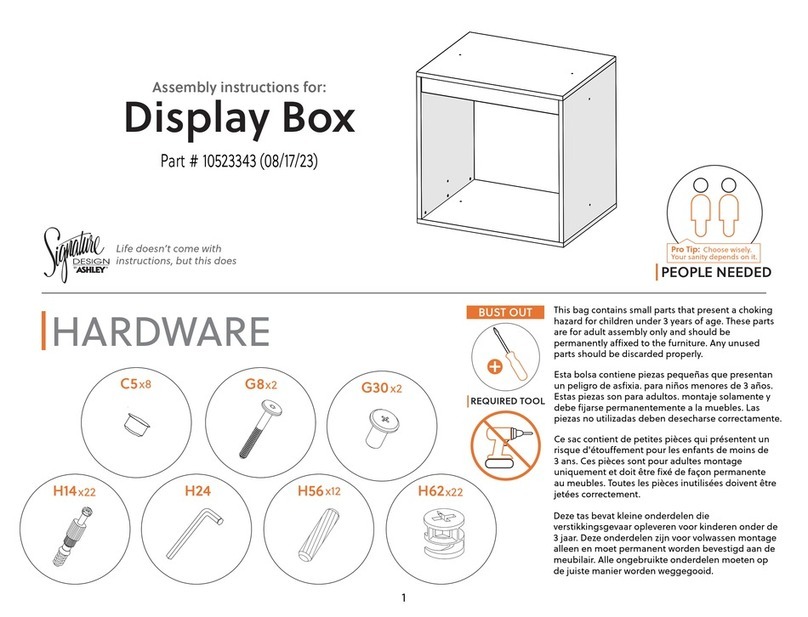
Ashley
Ashley SIGNATURE DESIGN 10523343 Assembly instructions
Dorel
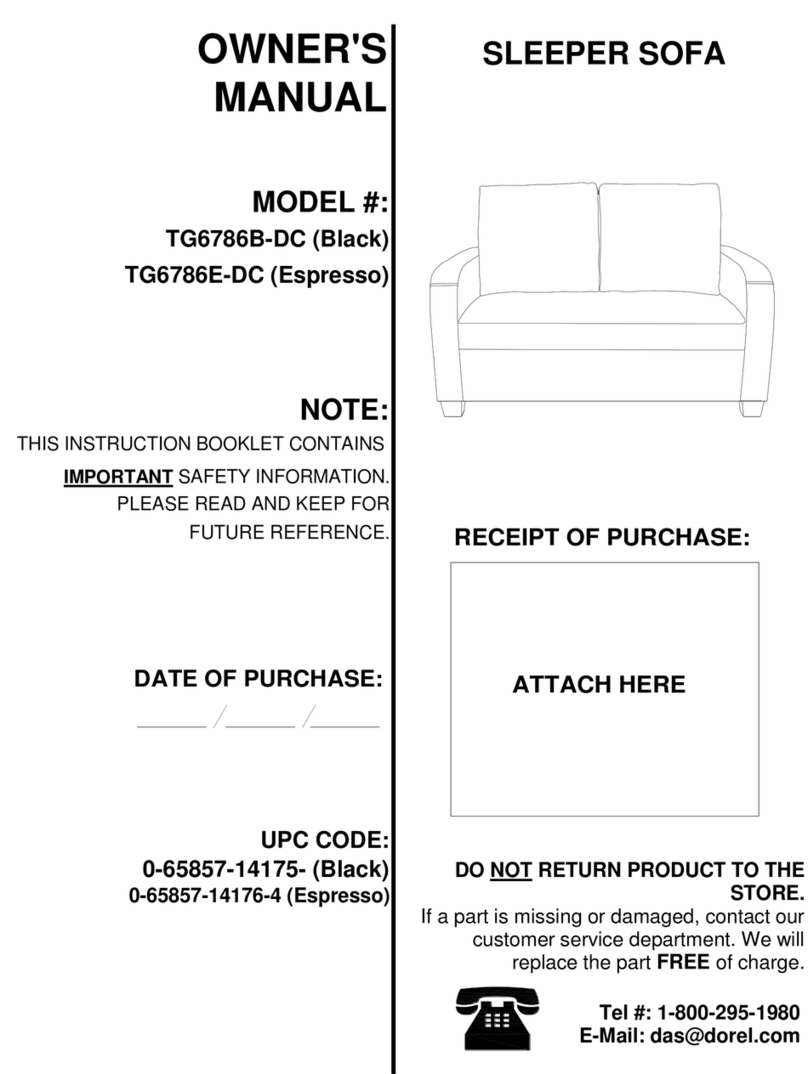
Dorel TG6786B-DC owner's manual

Childcare
Childcare Glider Rocking Chair & Ottoman "Sand" instructions

Nightingale
Nightingale CXO Extreme Comfort quick start guide

DRIFT
DRIFT DR250 RUBIUS Assembly instructions


