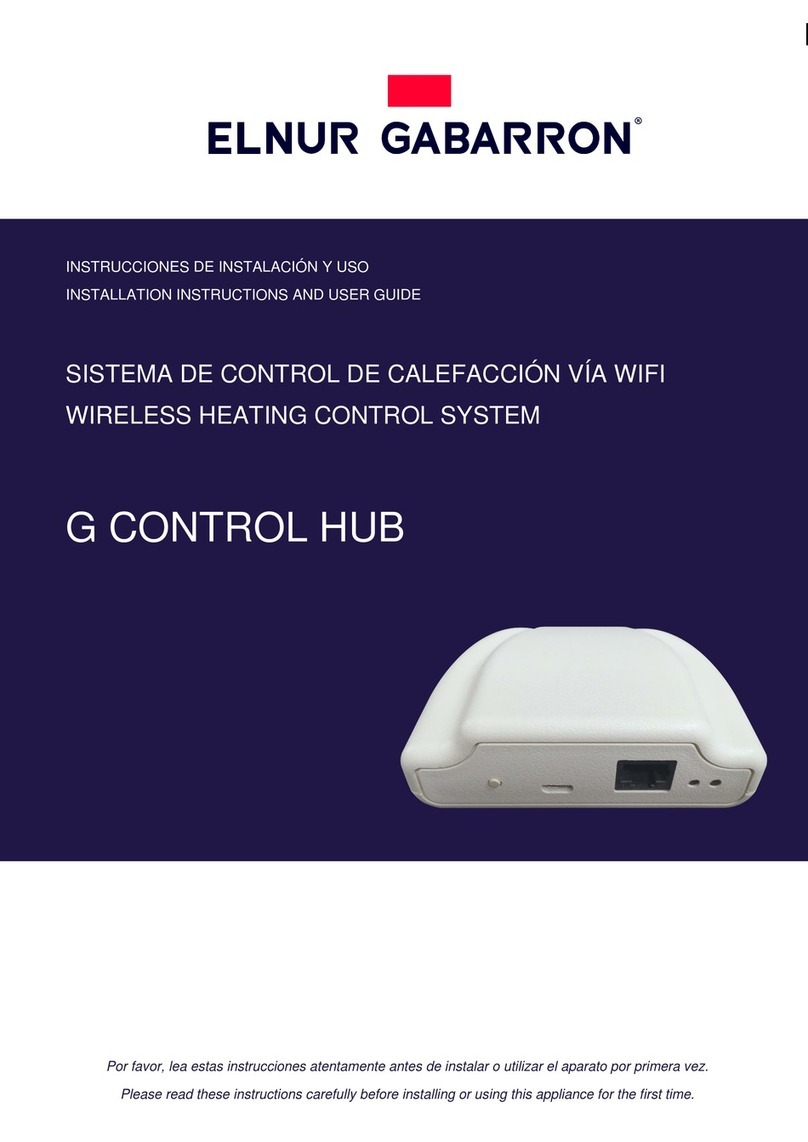
Elnur Gabarron G CONTROL HUB Instruction Manual

ES
Por favor, lea estas instrucciones atentamente antes de instalar o utilizar el aparato por primera vez.
Please read these instructions carefully before installing or using this appliance for the first time.
INSTRUCCIONES DE INSTALACIÓN Y USO
INSTALLATION INSTRUCTIONS AND USER GUIDE
SISTEMA DE CONTROL DE CALEFACCIÓN VÍA WIFI
WIRELESS HEATING CONTROL SYSTEM
G CONTROL HUB

1
ES
1. CONTENIDO
Centralita G Control Hub Adaptador de corriente Cable Ethernet
2. INSTALACION
2.1. Instalación Centralita
1. Conecte la centralita G Control Hub a internet utilizando el cable ethernet suministrado.
2. Conecte la centralita G Control Hub a la alimentación utilizando el adaptador de corriente
suministrado.
3. Espere y observe el estado de las luces LED hasta corroborar la correcta conexión de la
centralita con el router.
Estado LEDS
Descripción
Verde apagado, naranja intermitente
cada segundo.
Centralita en modo descubrimiento para
emparejamiento con dispositivos
Naranja encendido, verde intermitente
muy rápido
El router no asigna IP válida a la Centralita
Naranja encendido, verde parpadea cada
5 segundos
La centralita dispone de una IP asignada, pero
no hay comunicación con el servidor.
Naranja encendido, alterna con verde
cada 5 segundos
Centralita dispone de IP asignada y comunica
correctamente con el servidor.
2.2. Registro en app-web
El registro y creación de una cuenta
de usuario es necesario para el
control remoto de la instalación de
su vivienda a través de la red. Si no
dispone de una cuenta de usuario, el
primer paso es registrarse en el
portal a través de la web
https://remotecontrol.elnur.es o
desde la aplicación Elnur Wifi
Control disponible en App Store y
Play Store.
Introduzca una dirección de correo electrónico válida, que deberá verificar, y una contraseña de
acceso. Se enviará automáticamente un email a su bandeja de entrada para verificar la dirección de
correo solicitada.

2
ES
2.3. Vinculación con G Control Hub.
Para controlar la instalación de su vivienda, debe vincular su centralita G Control Hub con su cuenta
registrada, pudiendo tener asociadas para la misma cuenta registrada varias G Control Hub
correspondientes a las diferentes instalaciones de las que disponga.
Para asociar la centralita G Control a su cuenta, deberá ingresar en la aplicación web o app móviles y
seguir las instrucciones del asistente de instalación accediendo al apartado “Viviendas” del menú
desplegable lateral.
Introduzca el nombre de su nueva vivienda, así como la franja horaria. Si la red wifi a la que accede es
la misma en la que se encuentra conectada la centralita G Control Hub, utilizando el botón “Detectar
Smartbox” de la aplicación y siguiendo las instrucciones indicadas (Pulsar el botón de la parte
posterior de la Smartbox) se asociará automáticamente la cuenta registrada con el ID del dispositivo
G Control Hub.

3
ES
En caso de no estar conectado a la misma red wifi, después de varios segundos, se abortará la
detección automática, permitiendo al usuario la introducción manual del ID del dispositivo, código
alfanumérico de 18 posiciones, que podrá encontrar en la pegatina de la parte inferior del dispositivo
y en el embalaje original del mismo.
Una vez tenga vinculada su cuenta registrada con la centralita G Control Hub, podrá controlar los
diferentes dispositivos asociados con su centralita remotamente desde la aplicación Elnur Wifi
Control o desde la web app desde cualquier dispositivo conectado a internet.
2.4. Asociación dispositivos
Los equipos a controlar remotamente han de ser vinculados por radiofrecuencia con la centralita para
ser controlados remotamente a través de esta.
Atención La centralita G Control Hub únicamente es compatible con los dispositivos equipados con
el sistema G Control.
Modo descubrimiento
El primer paso para vincular los diferentes dispositivos a la Centralita G Control Hub es iniciar el
modo descubrimiento de ésta. El modo descubrimiento puede ser iniciado de dos maneras:
-Localmente en la Centralita.
Para iniciar el modo descubrimiento localmente desde la centralita, pulsar el botón situado en la
parte posterior de la misma durante 3 segundos, los LED indicadores del modo descubrimiento,
naranja intermitente cada segundo, deberían activarse.
-Vía app o app-web.
Una vez vinculada la cuenta de usuario registrada con la centralita, desde el menú inicial de la app,
pulse el botón “instalar” y siga las instrucciones del asistente, la centralita G Control Hub iniciará
el modo descubrimiento.
Una vez activado el modo descubrimiento, dispone de 1 minuto para añadir un nuevo dispositivo, la
cuenta se reinicia con cada dispositivo añadido.

4
ES
Vinculación de Equipos de Calefacción
Una vez la centralita se encuentra en modo descubrimiento:
-Emisores y Acumuladores: Pulsar durante 3 segundos la tecla OK del equipo de
calefacción compatible con el sistema G Control que desea vincular.
-Termostato: Pulsar simultáneamente durante 3 segundos las teclas Power y Link.
Vinculación de G Control PM (Medidor de potencia)
La instalación puede completarse con un medidor de consumo eléctrico instalado en la caja de
protecciones de la vivienda, que servirá tanto para conocer el consumo eléctrico de toda la vivienda e
histórico de consumos, como para limitar la potencia consumida coordinando el consumo de los
diferentes equipos de calefacción conectados a la red para no sobrepasar la potencia máxima fijada
por el usuario. (Racionalizador)
Para emparejar el medidor de potencia G Control PM con la centralita G Control Hub, una vez la
centralita se encuentra en modo descubrimiento, pulse con la ayuda de un clip o de un objeto
punzante el pulsador interior del dispositivo. La luz LED situada en el medidor de potencia indica el
estado del emparejamiento con la centralita.
Estado LEDS
Descripción
LED apagado
No emparejado
LED pardeando cada 2 segundos
Emparejado correctamente
LED parpadea cada medio segundo
Emparejado con la centralita, pero
perdida la conexión con la misma.
Desde la aplicación, podrá establecer un límite máximo de potencia total de la instalación. El sistema
desconectará los equipos de calefacción vinculados con la centralita G Control siguiendo el orden de
prioridad establecido para cada uno de ellos (Baja, Media, Alta) cuando se vaya a sobrepasar el
consumo establecido. En caso de varios equipos de calefacción con la misma prioridad, se
desconectará en primer lugar aquel que se encuentre más cerca de su consigna establecida.

5
ES
3. RESETEO G CONTROL HUB
El reseteo del dispositivo eliminará la red RF existente, eliminando la vinculación con los diferentes
dispositivos que tuviera asociado el equipo, así como el registro de datos históricos disponible de la
centralita G Control Hub. Para realizar el reseteo de la misma, pulsar durante 20 segundos el botón
situado en la parte posterior de la centralita.
20 segundos
Advertencia El reseteo de la centralita G Control Hub no elimina la vinculación entre el dispositivo
y la cuenta registrada que tuviera asociada, si desea cambiar de cuenta deberá realizarlo desde el
menú “Mi cuenta” disponible en el menú desplegable de la parte superior derecha de la app y de la
web, pudiendo modificar la cuenta de email de registro.

6
ES
4. RESOLUCIÓN DE PROBLEMAS
La Centralita no conecta
Revise el estado de conexión a través de los Leds indicadores
de la Centralita.
Revise que se encuentra alimentada y conectada correctamente
a internet a través de la toma Ethernet sin un proxy y con los
puertos 123UDP, 5000TCP y 5001 TCP abiertos. El router ha
de tener DHCP activado.
Los dispositivos no
comunican con la
Centralita G Control
Hub
Asegúrese de que los equipos están previamente conectados
con la Centralita. El icono de Link aparece fijo en la pantalla de
los mismos.
Si la distancia en interiores es mayor de 30m y 2-3 paredes,
asocie primero los dispositivos más cercanos que ejercerán de
repetidor aumentando el alcance de la señal de radiofrecuencia.
Si el icono de Link de su dispositivo parpadea, es debido a que
se encuentra asociado a la centralita, pero no consigue
comunicar con ella. Revise el estado de conexión de la
Centralita o si se han eliminado equipos que pudieran estar
ejerciendo de repetidor.
5. APLICACIONES MÓVILES –WEB APP
Descargue gratuitamente la aplicación Elnur Wifi Control para IOS y Android disponible en Google
play y App Store, o utilice la página web https://remotecontrol.elnur.es desde cualquier dispositivo
conectado a internet, para controlar su centralita G Control Hub, y los dispositivos vinculados a ésta.
Elnur Wifi Control
Dispone de ayuda en la parte inferior izquierda de su aplicación, que le guiarán en el manejo de la
misma y le ayudarán a controlar su calefacción de forma sencilla e intuitiva.

7
EN
1. CONTENTS
G Control Hub Power Adapter Ethernet Cable
2. INSTALLATION
2.1. G Control Hub Installation
1. Connect the G Control Hub to internet using the supplied ethernet cable.
2. Connect G Control Hub to the electricity supply using the supplied power adapter.
3. Wait and check the status of LED lights to confirm the correct connexion between the G
Control Hub and the router.
LEDS Status
Description
Green off, orange blinking every
second.
G Control Hub in discovery mode for devices
being associated.
Orange on, green blinking very fast
The router does not assign a valid IP to the G
Control Hub.
Orange on, green blinking every
5 seconds
A valid IP is assigned to G Control Hub, but there
is no communication with the server.
Orange on, green alternating every
5 seconds
A valid IP is assigned to G Control Hub and it
communicates successfully with the server.
2.2. Register in app-web
Registering and creating a user account is
required for remote control of your
installation via internet. If you do not have a
user account in Elnur Wifi Control, the
first step is to register in the portal using
the website https://remotecontrol.elnur.es
or using the app Elnur Wifi Control
available in App Store for IOS and Play
Store for Android.
Enter a valid mail address that must be
verified and a password. An email will be
automatically sent to your inbox to verify
the registered e-mail.

8
EN
2.3. Linking with G Control Hub.
To control remotely your installation, you must link your G Control Hub with your registered user
account. Several G Control Hub can be associated to a registered user account in order to control
different installations if necessary.
To associate G Control Hub with your user account, you must enter on the “Homes” menu available
on the right pop up menu of the website or the mobile app and follow the instructions of the
installation wizard.
Enter the name and the time zone of your new home. If you are connected to internet using the same
wireless network that G Control Hub is using, clicking the button “Detect Smartbox” on the app and
following the detailed instructions (press the button located on the back side of the device), the user
account will be associated with the G Control Hub device automatically.

9
EN
Automatic detection will be aborted after several seconds if you are not connected to the same
network that the G Control Hub device or if the connection has failed. A new menu will appear
where the user can introduce the Device ID Code, 18 position alphanumeric code, located on the
label on the bottom of the device to link manually the register account with the G Control Hub.
Once the link between your user account and the G Control Hub is established, the different devices
associated with the G Control Hub can be controlled remotely using Elnur Wifi Control app or the
website https://remotecontrol.elnur.es.
2.4. Heating devices association
It is required to link by radiofrequency the different devices with the G Control Hub to control them
remotely trough the website and mobile app.
Warning G Control Hub is only compatible with devices equipped with G Control system.
Discovery mode.
The first step to associate the different devices with the G Control Hub is to activate the discovery
mode of the hub. The discovery mode can be activated in two ways:
-Locally in the hub.
To activate the discovery mode locally in the hub, press the button located on the back side of the
device for 3 seconds, LED lights indicating discovery mode, orange light blinking every second,
should be activated.
-Using app o app-web.
Having the user account linked to the hub, from the main menu in the app, press “Install” button
and follow the instructions of the installation wizard, G Control Hub will activate the discovery
mode.
Once activated discovery mode, you have 1 minute to add a new device, the account time is reset
with each added device.

10
EN
Heaters association
With the hub in discovery mode
-Radiators and Storage Heaters: Press OK button of the heating device for 3 seconds to
link the heater with the G Control Hub.
-Thermostat: Keep press Power and Link buttons of the thermostat at the same time for 3
seconds to link the thermostat with the G Control Hub.
G Control PM association (Power meter)
The installation can be completed with a power meter installed in the electrical distribution box of
your home, which will be used both to know the current energy power and historical energy
consumption and to limit the consumed power coordinating the consumption of the different heaters
connected not to exceed the maximum power established by the user. (Energy manager).
To link the G Control PM with the G Control Hub, once the discovery mode in the hub is activated,
press with the help of a paperclip or a sharp object the interior button of the device. The LED light
placed on the power meter indicates the status of the linking.
LED Status
Description
LED off
Not associated
LED blinking every 2 seconds
Correctly associated
LED blinking every half a second
Associated with the hub, bur
currently lost the connection.
A maximum limit of total power installation can be set by the user using the web-app. The system
disconnects the heaters following the priority order previously set when the energy power is going to
exceed the maximum power established by the user. If several heaters have the same priority, the
system will first disconnect the one that is closer to its set point temperature.

11
EN
3. G CONTROL HUB RESET
The G Control hub reset will remove the existing RF network, removing the link with the different
devices associated with the hub and the previous historical data of the hub. To reset the hub, press
for 20 seconds the button located on the back side of the device.
20 seconds
Warning. The G Control Hub reset does not remove the link between the device and the
registered user account. To change the user account of the device, you must enter in the web-app
and change the user account trough the “My account” menu available on the right side pop up menu
of the web-app.

12
EN
4. TROUBLESHOOTING
G Control hub does not
connect
Check the LEDS light of the hub that indicates the connection
status.
Check the power supply and the internet connection. An
internet connection without a proxy and the ports 123UDP,
5000TCP and 5001 TCP opened are required. Router must have
DHCP option activated.
Associated devices do
not communicate with
G Control Hub
Check the devices are correctly linked to the G Control Hub.
Link icon must be displayed.
If the distance is greater than 30 meters and 2-3 walls, link first
the closest devices that will act as a signal relay increasing the
radiofrequency signal.
If link icon is blinking, your device is correctly associated with
your hub, but it cannot communicate with the hub. Check the
connection status of the hub or if any intermediate device that
could be acting as a signal relay has been removed.
5. MOBILES APP –WEB APP
Download free the app Elnur Wifi Control for IOS and Android available on Google play and App
Store, or use the website https://remotecontrol.elnur.es from any device connected to internet, to
control your G Control Hub and the devices associated.
Elnur Wifi Control
Help is available at the bottom left of the web-app, which will guide you in handling the app and will
help you to control your heating G Control system in an easy and intuitive way.

13
NOTAS / NOTES

14
NOTAS / NOTES

Como parte de la política de mejora continua, Elnur, s.a. se reserva el derecho a realizar modificaciones
técnicas sin previo aviso.
As a part of the policy of continuous product improvement Elnur, s.a. reserves the right to alter
specifications without notice.
ELNUR S.A.
Travesía de Villa Esther, 11
28110 Algete - Madrid
Tfno. Atención al Cliente:
+34 91 628 1440
www.elnurgabarron.es
www.elnurgabarron.com
30200091 R2
Other manuals for G CONTROL HUB
2
Table of contents
Languages:
Other Elnur Gabarron Switch manuals
Popular Switch manuals by other brands
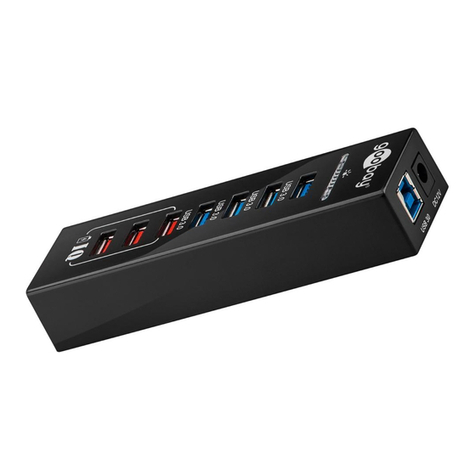
Goobay
Goobay 67836 user manual
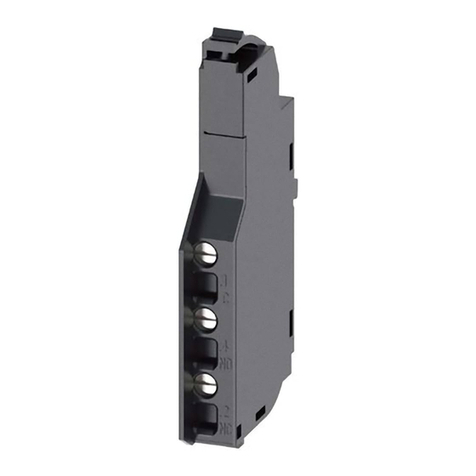
Siemens
Siemens 3VM9988-0AA1 Series operating instructions
Extreme Networks
Extreme Networks Summit X450a-24tDC Hardware installation guide
Wilo
Wilo SK 601N Installation and operating instructions
Hama
Hama USB 2.0 / Fire Wire Combo Operating instruction
Advantech
Advantech EKI-9226G Series user manual

