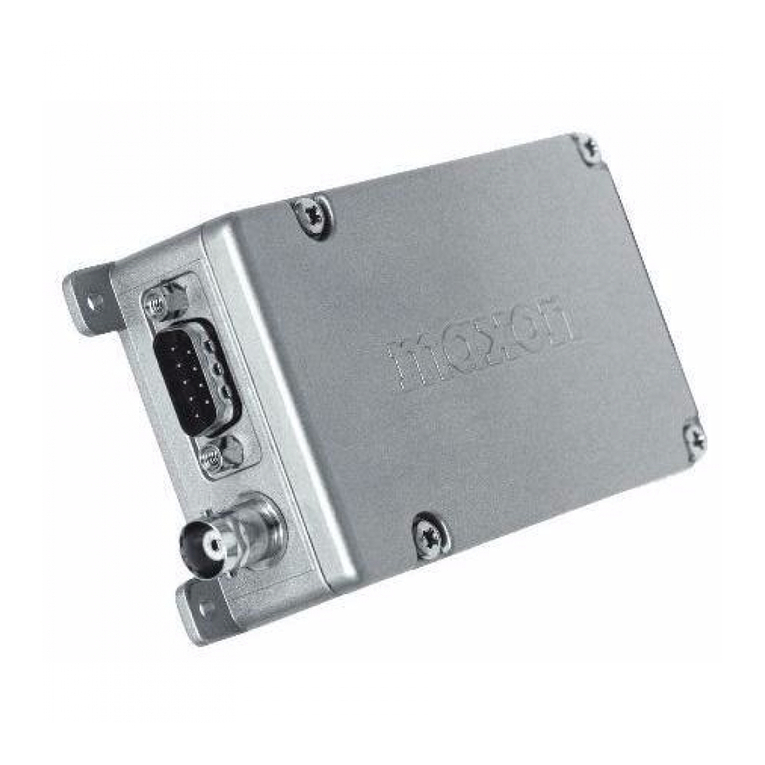
Elsys AMPLIMAX EPRL16 User manual

QUICK START GUIDE
AMPLIMAX
EPRL16

PACKAGE CONTENTS
Make sure that all items have been received.
1 Amplimax Modem
1 Metal Reflector
1 DC 24V Power Supply
1 PoE (Power Over Ethernet) Injector
1 Short (4.6ft) Ethernet Cable
1 Cat5E Ethernet Cable 50 ft Black
2 Nylon cable ties with UV protection (pole fixation)
1 Nylon cable tie with UV protection (cable organization)
2 Stripes of self-fusing tape

KNOW YOUR PRODUCT BETTER!
Amplimax® can improve the range of your 4G internet
signal, such as a signal booster does, but working in a
different way, with many advantages. It combines a
directional antenna with a built in 4G LTE modem,
avoiding the loss of RF cables. Just insert the SIM
card of your chosen 4G carrier, connect it to a Wi-Fi
router and enjoy the internet, even in locations far
away from the urban areas.
With a hassle-free installation, on the external side of
your place, Amplimax® avoids the signal losses of
your building walls. Its exclusive Easy Install feature
helps you finding out the best place to install it.

Wi-Fi
or
GENERAL CONNECTIONS MAP
Sim Card is
installed directly
on AMPLIMAX.
RJ-45
(Ethernet)
RJ-45
(Ethernet)
ROUTER
SMARTPHONE
NOTEBOOK
PC OR
NOTEBOOK
POE
TABLET
CHECK THE CONNECTION MAP BELOW!
DC: Power adapter input (24 V/ 0.75A).
POE: RJ-45 (Ethernet) cable, up to
100 meters, connects to Amplimax.
LAN: RJ-45 (Ethernet) cable, connects
to PC, AP, Wi-Fi router or switch.
LED: Power-on indication.
POE
LAN
DC
LED

CONNECTING THE POWER SUPPLY
1. Connect the 24V DC power adapter to the DC input
of the POE Injector.
2. Connect one end of the long network cable to the
POE port (POE Injector) and the other end to the
Amplimax Ethernet port.
3. Connect the DC power adapter to the AC
power outlet.
When the product is on, the display will show some
initialization messages as follows.
a. If no SIM CARD is inserted, “nSIM” will be displayed
once the initialization process ends.
b. If a SIM CARD is inserted, the information related to
the chosen carrier will be displayed, such as
frequency band, network technology and signal
level. In the case you have already chosen the
carrier of your SIM card you can skip the Step 1.
Then, go straight away to the Step 2.
CHECK THE CONNECTION MAP BELOW!
POWER
SUPPLY
POE
LONG NETWORK
CABLE (RJ45)
CELL
NETWORK EASY
INSTALL

STEP 1 – SCANNING THE BEST
SIGNAL. (BLIND SEARCH)
CELL
NETWORK EASY
INSTALL
Then, press the "Easy install” key (Instala Fácil) to
start the scanning.
After pressing the Easy install key (Instala Fácil) the
product will do a few beeps, and then the blind
search will run for around a minute.
Once it is finished, Amplimax display will show the
available carriers in 4G LTE frequency,
followed by the signal strength of each carrier.
After that, it will be displayed the same for 3G, .
That way you can choose the carrier with best
coverage in your location.
You can try the blind search in different places of
your outdoor environment.
Certify that your Amplimax is without the SIM card.
The message “nSIM” will be displayed as below.

Then, press the "Easy install” key (Instala Fácil) to
start the scanning.
After pressing the Easy install key (Instala Fácil) the
product will do a few beeps, and then the blind
search will run for around a minute.
Once it is finished, Amplimax display will show the
available carriers in 4G LTE frequency,
followed by the signal strength of each carrier.
After that, it will be displayed the same for 3G, .
That way you can choose the carrier with best
coverage in your location.
You can try the blind search in different places of
your outdoor environment.
.
Amplimax is designed to be
used outdoors. Scan for
available signal holding the
equipment above your head.
This way it’s possible to read
what the display shows.

STEP 2 - INSERTING THE SIM CARD
Insert the SIM card.
If the product identifies a network, it will show the
network name, followed by the frequency band, signal
level and technology.
Attention to the
correct position
of the SIM Card
nano
Insert the card until the
end, when you feel a
"Click '
EASY
INSTALL
CELL
NETWORK

Network list
Received level and frequency band
Cellular technologies
Messages
3G
3G
3G
4G
AT&T
Display
Technology (Mbps)
Carrier
Description
Description
No Sim Card (Sim Card)
HSPA +
Download up to 21.4 Mbps Upload up to 5.7 Mbps
With Sim Card but without registration Find for the carrier
Frequency band (MHz) in which the equipment is registered.
Displays the current signal level, where XX is the
percentage of the signal level. This value varies between
00 and 99. The higher the value, the better the signal.
Unidentified level.
Searching for inserted Sim Card network
Integrated Antenna enabled
Enabled External Antenna
Insert PIN on the Amplimax settings web page
Voltage at the RJ45 / POE connector in Volts (Ex: 9 Volts)
HSUPA
Download up to 7.2 Mbps Upload up to 5.7 Mbps
HSDPA
Download up to 7.2 Mbps Upload up to 384 Kbps
Download up to 384 Kbps Upload up to 384 Kbps
TMobile
Verizon
600
DISPLAY DISPLAY
Download up to 70 Mbps Upload up to 50 Mbps
3G
DISPLAY
Refer to the list below.

STEP 3 – INSTALLING THE METAL
REFLECTOR
The reflector is a fundamental element to guarantee
the level and stability of your connection.
It makes your antenna directional and increases
the gain.
1 2 3
Slide in the reflector into
the back of the device. It should slide until you
hear a “click”. The upper view should
be as this picture.

STEP 4 – ADJUSTING THE DIRECTION
To adjust the direction of your product, with the SIM
card inserted, press the “Easy Install” (Instala Fácil)
key again.
Amplimax will emit an audible signal (beep) to assist in
the correct direction to the chosen carrier’s tower.
CELL
NETWORK EASY
INSTALL

STEP 5 – INSTALLING THE PRODUCT
MAST
You can use the provided Nylon ties (2) to do this.
Pass them through the holes as shown on the
picture below.
You can install the product on either mast or wall.
WALL
Use two screws which may be sizes S6, S7 or S8.
Fasten the two screws with a 2.8in distance as
shown on the below illustration:
2.8 in

STEP 6 – CONNECTING YOUR WI-FI
ROUTER OR DIRECTLY TO YOUR COMPUTER
Now your connection is successfully done. Amplimax can be used
in one of the following ways:
1. Connect one end of the provided short RJ45 cable to the LAN
port of the POE injector and the other end to the WAN (or
Internet) port of your Wi-Fi Router – this way you can share the
internet with all the devices at your location.
2. You can also connect one end of the provided short RJ45 cable
to the LAN port of the POE injector and the other end directly
to the LAN port of your computer or laptop – this way you will
enjoy the internet in one device at a time.
USAGE APPLICATIONS
Wi-Fi
or
Sim Card is
installed directly
on AMPLIMAX.
RJ-45
(Ethernet)
ROUTER
SMARTPHONE
NOTEBOOK
PC OR
NOTEBOOK
POE
TABLET
RJ-45
(Ethernet)

STEP 7 – YOU ARE SET!
For more configuration and information, you can
access the set-up page of the product. If you are
connected to it directly through an Ethernet (RJ45)
cable or through WiFi network, type 192.168.10.254 in
your web browser as the below picture:
Note: You can also find the access information on the
product label, below the protection cover next to the
product physical connections.
ELSYS reserves the right to collect some technical
information to improve the users experience without
the possibility of any personal data identification.
192.168.10.254
SECURITY WARNING
• Install and use the product in accordance with the
manufacturer’s instructions.
• Inspect the product and the power supply regularly for cable,
plug, and casing damage.
• The power supply is for indoor use only.
• Only use the power supply included with your product.
• Do not attempt to repair or use a damaged product
or power supply.
• The socket-outlet shall be indoor and near the power adapter.
• Connect power adapter to a properly wired electrical outlet.
• Do not block any ventilation openings.
• Place apparatus in a stable location.
• Only use attachments/accessories specified by the
manufacturer.
• Unplug this apparatus during lightning storms or when unused
for long periods of time.
• The apparatus shall be disconnected from the mains by
unplugging the power cord of the apparatus from the AC mains
receptacle.
• Do not use the power supply or the POE near the water. Do not
expose them to rain or moisture.

FCC STATEMENT
This equipment has been tested and found to comply with the
limits for a Class A digital device pursuant to Part 15 of the FCC
Rules. These limits are designed to provide reasonable protection
against harmful interference when the equipment is operated in a
commercial environment. This equipment generates, uses, and can
radiate radio frequency energy and, if not installed and used in
accordance with the instruction manual, may cause harmful
interference to radio communications. Operation of this
equipment in a residential area is likely to cause harmful
interference in which case the user will be required to correct the
interference at his own expense.
The antenna(s) used for this transmitter must be installed to
provide a separation distance of at least 20 cm from all persons.
Changes or modifications not expressly approved by the part
responsible for compliance could void the user's authority to
operate the equipment.
• Install and use the product in accordance with the
manufacturer’s instructions.
• Inspect the product and the power supply regularly for cable,
plug, and casing damage.
• The power supply is for indoor use only.
• Only use the power supply included with your product.
• Do not attempt to repair or use a damaged product
or power supply.
• The socket-outlet shall be indoor and near the power adapter.
• Connect power adapter to a properly wired electrical outlet.
• Do not block any ventilation openings.
• Place apparatus in a stable location.
• Only use attachments/accessories specified by the
manufacturer.
• Unplug this apparatus during lightning storms or when unused
for long periods of time.
• The apparatus shall be disconnected from the mains by
unplugging the power cord of the apparatus from the AC mains
receptacle.
• Do not use the power supply or the POE near the water. Do not
expose them to rain or moisture.

Brazilian industry
www.elsys.com
ELSYS Equipamentos Eletrônicos Ltda.
Avenida Torquato Tapajós, 4.780
Bairro Colônia Santo Antônio
POSTAL CODE 69.093-018
Manaus - AM - Brasil
CNPJ: 34.484.188/0001-02
Manufactured by:
Made in Brazil.
YEAR
WARRANTY
AFTER SALES SERVICE: support@elsys.com
211014-A
Other manuals for AMPLIMAX EPRL16
1
Table of contents
