manuals.online logo
Brands
  1. Home
  2. •
  3. Brands
  4. •
  5. elv
  6. •
  7. Remote Control
  8. •
  9. elv IRC-B24 User manual

elv IRC-B24 User manual

1
IRC-B24 Infrared Remote Control
Specifications:
1. Power : Battery CR 2025, 3V
2. RANGE APPROX. : 6m
3. The default setting of this remote control is:
AUTO mode
LUX setting:
Maximum Sens
T1: 30”
T2: 30”
Safety Instructions:
Use this product only as intended. Changes or
modifications to the product or painting it will
result in loss of warranty.
Description:
The MODEL “IRC-B24” infrared remote control is compatible with motion detectors. It is used to
easily set different parameters and special functions. With a range of approx. 6m, quick and
precise programming can be done without tools or a ladder.
Initial operation:
A battery for the remote control is included in delivery.
Remove the protective foil between battery and contact before initial use.
For further information on programming, please refer to the operation
instructions for the device you are setting up.
Battery:
When battery is at normal status, press any key of the remote control, the indicator LED would
flash quickly for 0.2sec. (Note: Press T1 or T2 before choosing the desired delay time)
The setting of Lux/Sens/T1/T2 can be changed under any function mode, without switching the
mode to AUTO mode. That is, the latest selected function mode would remain unchanged while
adjusting those settings.
When battery is low, press any key of the remote control, the indicator LED would flash quickly
for 2 seconds max. This is to remind you of replacing battery. (Note: Press T1 or T2 before
choosing the desired delay time)
Make sure the polarity is correct when replacing battery.
Permanent ON or OFF for 10 hours.
The previous setting can be stored
and duplicated to other sensor
To read-in ambient light level
Short impulse of 1 sec ON and 9 sec
OFF; for T1/T2.
To start setting time value for Time 1.
To start setting time value for Time 2.
~Time value for T1/T2.
Dusk-to-dawn mode.
~Lux setting
Sensitivity setting
~
Auto mode Alarm mode
Holiday Mode Test mode
Battery: CR2025 , 3V
1. 2.
2
Key function:
Press this button once, to start 10-Hour-ON delay time; press it again, to switch to
10-Hour-OFF delay time. AUTO mode would resume after delay time is up.
PIR LED flashes twice upon receiving signal from remote control.
Press this button once, the latest setting of Time/Lux/Sens would be duplicated to
other sensors. After that, AUTO mode resumes. PIR LED flashes twice upon
receiving signal from remote control.
Press this button to enter Auto Mode.
Press this button to enter Alarm Mode. PIR LED flashes twice upon receiving
signal from remote control. LUX setting is inactivated. PIR LED flashes
continuously under this mode. When activated, lighting flashes for 30 sec; and in
the final 5 sec, even faster. If delay time is shorter than 30 sec, lighting flashes
to delay time. If delay time is longer than 30 sec, lighting remains ON to delay
time after the 30 sec.
Press this button to enter Holiday Mode. PIR LED flashes twice upon receiving
signal from remote control. When the ambient light level is lower than LUX
setting, lighting goes ON for 4 hours, and then enters Random mode (ON or OFF
for 5min~15min randomly) for 2 hours. After that, AUTO mode resumes. Such
cycle would repeat everyday until other function mode is selected.
Press this button to enter Test Mode. PIR LED flashes twice upon receiving signal
from remote control. Within 5 min, TIME and LUX are inactivated. At each
trigger, lighting goes ON for 3 sec. After the 5 min, AUTO mode resumes.
Press this button to learn and store the ambient light level (from 5 to 200 LUX)
Press this button to enter Dusk-to-dawn Mode. When ambient light level is
lower than LUX setting, lighting goes ON for 4 hours. After that, AUTO mode
resumes. Such cycle repeats everyday until other mode is selected.
~
Lux setting options; big size Sun for maximum Lux level, small size
Moon for minimum Lux level.
~
Sensitivity setting options, maximum, 75% and 50%.
Press this button to start setting time value for Time 1.
Press this button to start setting time value for Time 2.
~
Time value options for Time 1 and Time 2.
ress this button to choose Short Impulse as time setting for Time 1 and Time 2, and
only. At each trigger, the signal of 1-sec-ON and 9-sec-OFF would be sent to relay.
PIR is inactivated within the 10 sec.

Other elv Remote Control manuals

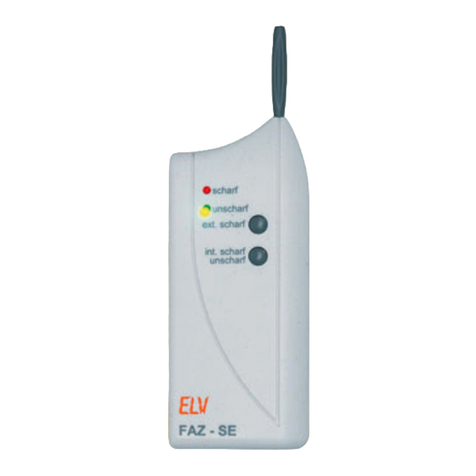
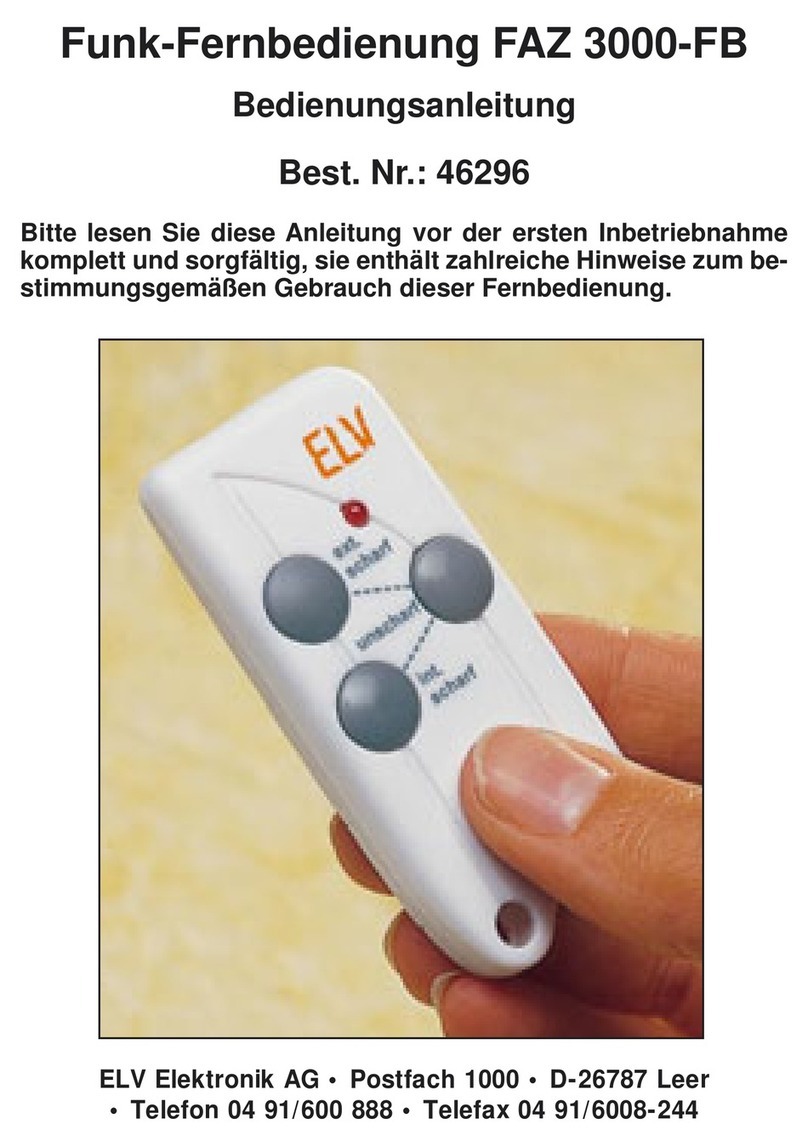
elv FAZ 3000-FB User manual

elv

elv FAZ 3000-FB User manual

elv FAZ 3000-SE User manual

elv

elv FAZ 3000-SE User manual

elv ETH comfort User manual

elv

elv ETH comfort User manual

Popular Remote Control manuals by other brands

Universal Remote MX-890 owner's manual

Universal Remote

Universal Remote MX-890 owner's manual

Philips Head Hall C13 user guide

Philips

Philips Head Hall C13 user guide

Hitachi PC-ARFG1-A Operation manual

Hitachi

Hitachi PC-ARFG1-A Operation manual

AMX MIO R-4 quick start guide

AMX

AMX MIO R-4 quick start guide

Philips Perfect replacement SRU5108/27 Code List

Philips

Philips Perfect replacement SRU5108/27 Code List

ProSum KLEv2 Series user manual

ProSum

ProSum KLEv2 Series user manual

FPI FireGenie operating instructions

FPI

FPI FireGenie operating instructions

ITRON ECW-1700-002 installation guide

ITRON

ITRON ECW-1700-002 installation guide

RCA SystemLink 6 AV RCU600RS owner's manual

RCA

RCA SystemLink 6 AV RCU600RS owner's manual

GUARDIAN ALERT 911 PLUS User's quick start guide

GUARDIAN ALERT

GUARDIAN ALERT 911 PLUS User's quick start guide

Ecler WPa Series user manual

Ecler

Ecler WPa Series user manual

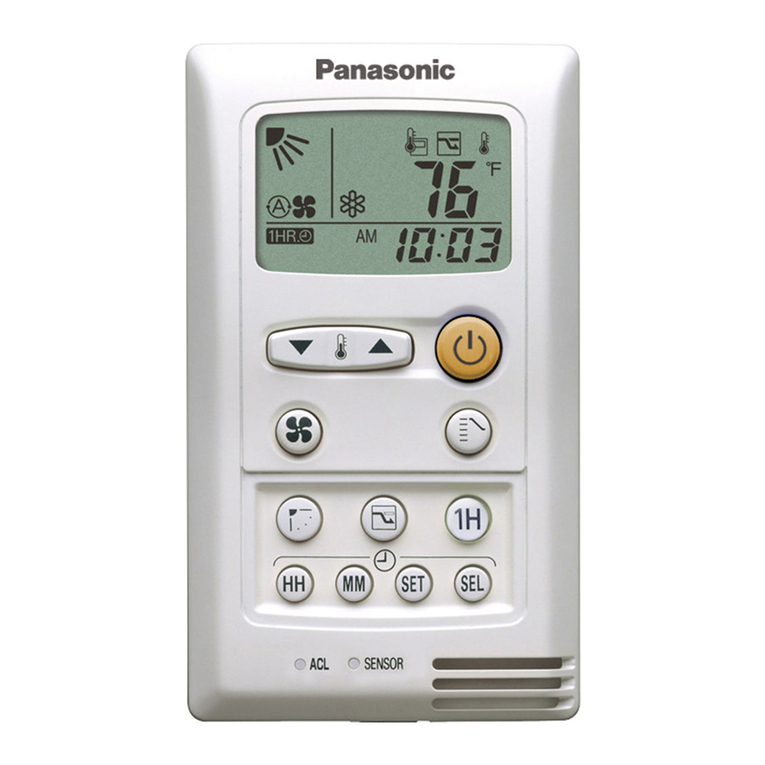
Panasonic CZ-RD52CP user manual

Panasonic

Panasonic CZ-RD52CP user manual

HFX Senza PTRC1000 quick start guide

HFX

HFX Senza PTRC1000 quick start guide

Universal Remote Control URC-A6 owner's manual

Universal Remote Control

Universal Remote Control URC-A6 owner's manual

Philips SBCRU640 Specifications

Philips

Philips SBCRU640 Specifications

Canon TIMER REMOTE CONTROLLER TC-80N3 quick start guide

Canon

Canon TIMER REMOTE CONTROLLER TC-80N3 quick start guide

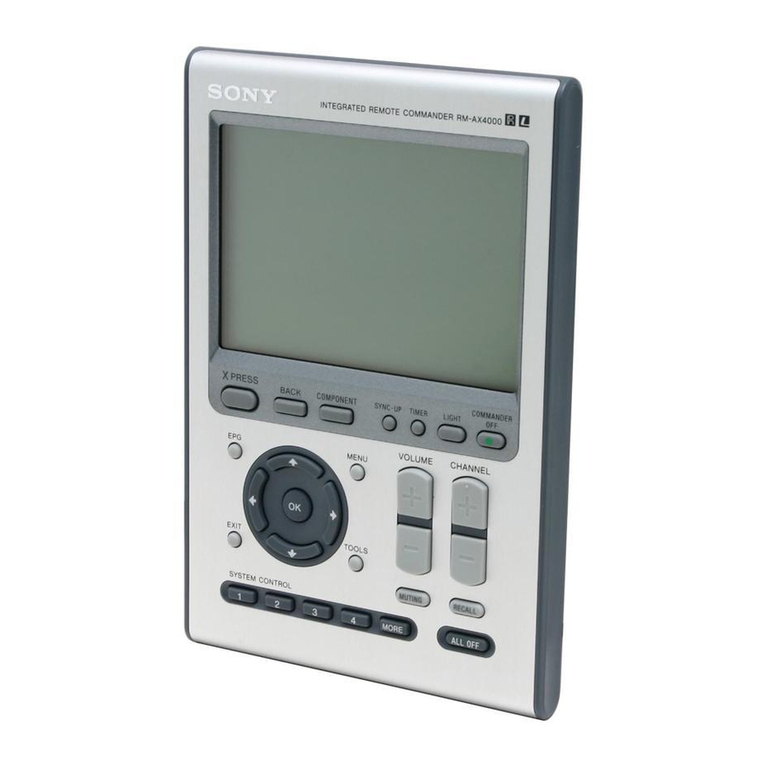
Sony RM-LJ304 operating instructions

Sony

Sony RM-LJ304 operating instructions

Carrier HDB installation manual

Carrier

Carrier HDB installation manual

manuals.online logo
manuals.online logoBrands
  • About & Mission
  • Contact us
  • Privacy Policy
  • Terms and Conditions

Copyright 2025 Manuals.Online. All Rights Reserved.