elvita CIS5623V User manual

User manual
Induction cooker
CIS5623V

Thank you
for your trust and the purchase of our product. This user manual is
supplied to help you use this product. The instructions should allow you
to learn about your new product as quickly as possible.
Make sure you have received an undamaged product. If you do find
transport damage, please contact the seller from which you purchased
the product, or the regional warehouse from which it was supplied.
Language: en-GB, Publication date: 2020-09-07
This document and its content, including written material and images, are the property of Elon Group AB. You may not
copy, reproduce, modify, republish or distribute this document or any of its content without express written permission
from Elon Group AB. © 2020, Elon Group AB. All rights reserved.

Contents 3
© 2020, Elon Group AB. All rights reserved.
CONTENTS
SAFETY 6
Admonitions .............................................................................................................................. 6
Safety for children and people with disabilities........................................................................ 6
General safety........................................................................................................................... 6
Safety labels.............................................................................................................................. 7
Disposal..................................................................................................................................... 7
GETTING STARTED 8
Installation................................................................................................................................. 8
Before you use the cooker ........................................................................................................ 8
Hob overview ............................................................................................................................ 8
Hob control panel ..................................................................................................................... 8
Oven controls ............................................................................................................................ 9
Open the door lock ................................................................................................................... 9
Accessories................................................................................................................................ 9
COOKING WITH THE HOB 11
Hob overview ............................................................................................................................ 11
Hob surface ......................................................................................................................................... 11
Hob operating principle ...................................................................................................................... 11
Suitable cookware............................................................................................................................... 11
Basic hob operation .................................................................................................................. 12
Turn on the hob ................................................................................................................................... 12
Turn on a cooking zone....................................................................................................................... 12
Turn off a cooking zone....................................................................................................................... 12
Hob power levels................................................................................................................................. 12
Turn off the hob.................................................................................................................................... 13
Use power boost................................................................................................................................. 13
Save energy......................................................................................................................................... 13
Additional hob features ............................................................................................................ 14
Use the bridged cooking zone ........................................................................................................... 14
Automatic hob power-off.................................................................................................................... 14
Automatic cooking zone power-off .................................................................................................... 14
Residual heat indicator ....................................................................................................................... 14
Use the child lock ................................................................................................................................ 14
Use the timer ....................................................................................................................................... 14
COOKING WITH THE OVEN 16
Cooking modes ......................................................................................................................... 16
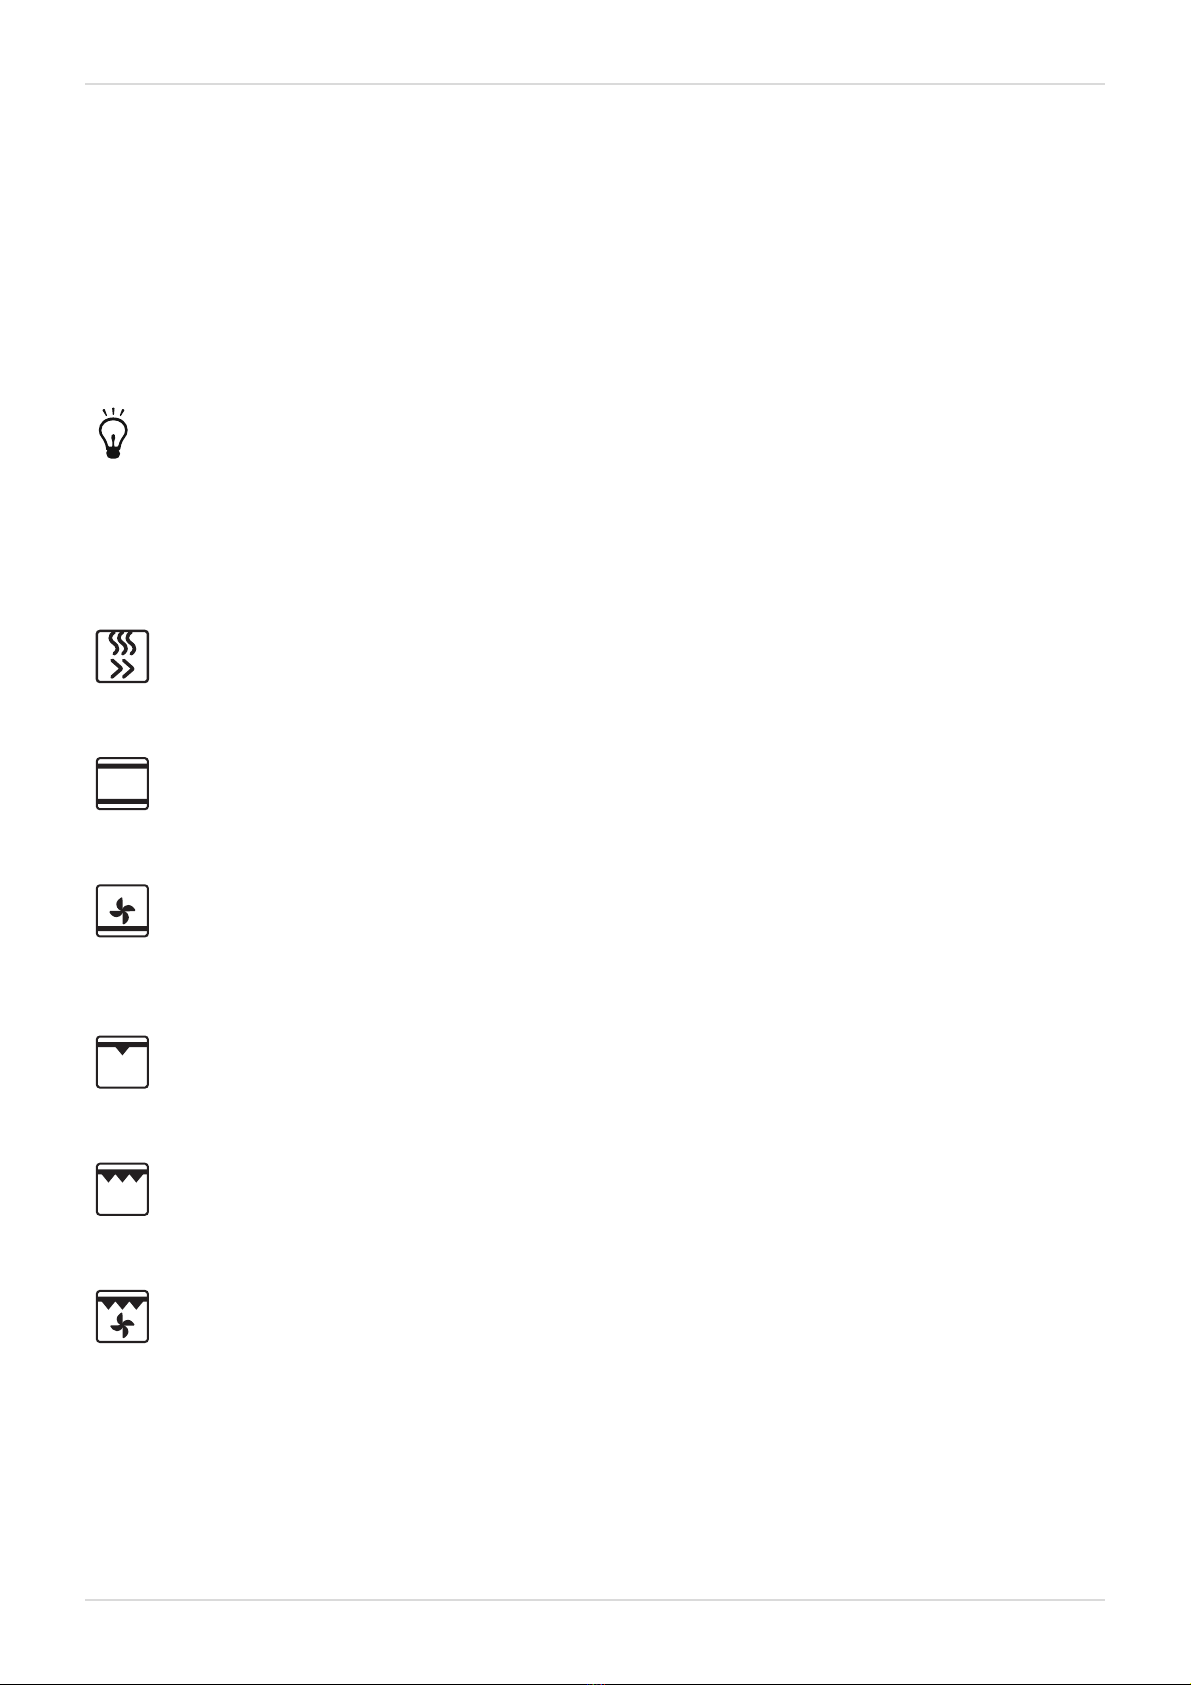
FastPreheat.......................................................................................................................................... 16
Top and bottom heater ....................................................................................................................... 16
Bottom heater and fan........................................................................................................................ 16
Grill ....................................................................................................................................................... 16
Large grill ............................................................................................................................................. 16
Grill with fan......................................................................................................................................... 16

4 Contents
© 2020, Elon Group AB. All rights reserved.
Hot air .................................................................................................................................................. 17
Hot air and bottom heater.................................................................................................................. 17
GentleBake .......................................................................................................................................... 17
Defrost.................................................................................................................................................. 17
WaterClean.......................................................................................................................................... 17
Turn on and off the oven........................................................................................................... 17
Change oven temperature........................................................................................................ 17
Change oven cooking mode..................................................................................................... 18
Oven cooking mode guide........................................................................................................ 18
Wire guides ............................................................................................................................... 19
Pre-heat the oven ..................................................................................................................... 19
Grilling recommendations......................................................................................................... 19
Roasting recommendations ...................................................................................................... 20
Baking recommendations......................................................................................................... 20
Preserve food ............................................................................................................................ 20
CLEANING 21
Clean the hob surface............................................................................................................... 21
Clean glass surfaces ................................................................................................................. 21
Clean stainless steel surfaces ................................................................................................... 22
Clean enamel surfaces ............................................................................................................. 22
Clean plastic parts and lacquer-coated surfaces ..................................................................... 22
Clean the oven .......................................................................................................................... 22
Use the WaterClean programme.............................................................................................. 22
TROUBLESHOOTING 24
General troubleshooting ........................................................................................................... 24
Hob troubleshooting ................................................................................................................. 24
Normal noise during cooking with the hob .............................................................................. 25
Oven troubleshooting................................................................................................................ 25
Replacing parts ......................................................................................................................... 25
Replace the oven light bulb ................................................................................................................ 25
Replace the oven door........................................................................................................................ 26
Remove and install the oven door glass pane .................................................................................. 27
Remove and install the wire guides ................................................................................................... 27
INSTALLATION 29
Cooker placement..................................................................................................................... 29
Secure the cooker to a wall ...................................................................................................... 29
Adjust the height of the cooker................................................................................................. 30
Level the cooker ........................................................................................................................ 30
Connect the mains power......................................................................................................... 31
Set maximum hob power ......................................................................................................... 32
APPENDIX 33
Specifications ............................................................................................................................ 33

6 Safety
© 2020, Elon Group AB. All rights reserved.
SAFETY
Carefully read the instructions before you install and use the product. Save the instructions and keep them near the
appliance for future reference.
Admonitions
WARNING!
Used when there is a risk for personal injury.
CAUTION!
Used when there is a risk for damage to the appliance.
NOTE!
General information that you should be aware of.
Helpful tips that you may find useful.
Safety for children and people with disabilities
WARNING!
• Keep children younger than 8 years old away from the product unless continuously supervised.
• Only let the following groups use the product if they are supervised or if instructions are provided to them
about how to use the appliance in a safe way. They must understand the hazards involved.
– Children. (Children younger than 8 years old must be continuously supervised.)
– Persons with reduced physical, sensory or mental capabilities.
– Persons with lack of experience and knowledge.
WARNING!
• Do not let children play with the product.
• Do not let children clean the product without supervision.
WARNING!
Only use hob guards designed or recommended by the manufacturer. The use of inappropriate hob guards
may cause accidents.
General safety
WARNING!
Do not use the product for other purposes than cooking, for example room heating.
WARNING!
Always supervise the cooking process continuously.

Safety 7
© 2020, Elon Group AB. All rights reserved.
WARNING!
Risk of fire!
• Do not store items on the cooking surface.
• Do not store combustible, explosive, volatile or temperature-sensitive items (such as paper, dish cloths,
plastic bags, cleaners or detergents and spray cans) in the oven's storage drawer, as they can ignite
during over operation and cause a fire.
• Unattended cooking on a hob with fat or oil may result in a fire.
Never try to put out a fire with water. Instead turn off the product and cover the flame with, for example, a
lid or a fire proof blanket.
• Make sure the air vents are never covered or obstructed in any way.
WARNING!
Risk of burns!
• Cookware and accessible parts of the product may become very hot during use. Be careful not to touch
hot parts.
• The oven door may become very hot during operation.
• Do not place metal objects like knives, forks, spoons, or lids on the cooking zones, as these objects can
become very hot.
WARNING!
Risk of electric shock!
• If the cooking surface is cracked, turn off the product immediately and disconnect it from the mains. Do not
use or touch the product.
• Keep power cords of other appliances at a safe distance so that they are not caught in the oven door, as
the cords may become damaged and cause short-circuit.
CAUTION!
Do not line the oven walls with aluminium foil. Aluminium foil prevents air circulation in the oven, hinders the
cooking process, and ruins the enamel coating.
Safety labels
These safety labels can be found on the product.
Caution! Risk of tilting.
Warning! Stabilising means must be installed to prevent tipping.
Disposal
Dispose of packaging in an environmentally-friendly manner.
This appliance is marked in compliance with European Directive 2012/19/EU, Waste Electrical and Electronic
Equipment (WEEE). The symbol on the product or on its packaging indicates that this product should not be
treated as household waste. Instead it shall be handed over to the applicable collection point for the
recycling of electrical and electronic equipment.
By ensuring this product is disposed of correctly, you will help prevent potential negative consequences for
the environment and human health, which could otherwise be caused by inappropriate waste handling of
this product. For more detailed information about recycling of this product, please contact the relevant
municipal body in charge of waste management, your household waste disposal service or the store where
you purchased the product.

8 Getting Started
© 2020, Elon Group AB. All rights reserved.
GETTING STARTED
Installation
See section "Installation", page 29.
Before you use the cooker
1. Remove all transport packaging and equipment from the cooker.
2. Clean all accessories and utensils with warm water and regular detergent. Do not use any abrasive cleaners.
3. Clean the hob's glass-ceramic surface it with a damp cloth and some washing-up liquid. Do not use aggressive
cleaners, such as abrasive cleaners that could cause scratches, abrasive dishwashing sponges, or stain removers.
4. Heat up the oven without food to 275°C for 60minutes. Ventilate the room as the cooker will omit the characteristic
smell of a new appliance.
WARNING! Make sure all packaging remnants have been removed from the cooking compartment.
Hob overview
A. Front left cooking zone
B. Rear left cooking zone
C. Rear right cooking zone
D. Front right cooking zone
E. Hob control panel
Hob control panel
Use the touch symbols to control the hob.
A. Power level and other individual cooking zone indications
(see below)
B. Increase power and timer
C. Child lock indication point
D. Child lock on/off
E. Hob on/off
F. Decrease power and timer
G. Select cooking zone
H. Timer function indication point

Getting Started 9
© 2020, Elon Group AB. All rights reserved.
Possible indications for individual cooking zones
Power level or timer indication.
Power boost is activated. See section "Use power boost", page 13.
The cooking zone is still hot after being turned off. See section "Residual heat indicator", page 14.
There is no cookware on the cooking zone, the cookware is too small, or the cookware material is not suitable
for induction hobs. See section "Suitable cookware", page 11.
An object or spilt liquid is covering the control panel.
Two cooking zones are bridged and used as one. See section "Use the bridged cooking zone", page 14.
Oven controls
Turn the selectors to control the oven.
A. Cooking mode selector
B. Operation indicator light (yellow)
C. Temperature indicator light (red)
D. Temperature selector
Lights
The operation indicator light is on when the oven or one of the hobs are on. The temperature indicator light turns on when
the oven heats up and turns off when the oven has reached the selected temperature.
Open the door lock
The oven door locks automatically when you close it.
1. Push the door lock gently to the right with your thumb.
2. Pull the oven door while still pushing the door lock.
Accessories
The cooker is supplied with some useful accessories to improve your cooking experience.

10 Getting Started
© 2020, Elon Group AB. All rights reserved.
Shallow trays For baking pastries or as a drip tray.
Extra deep tray For roasting large amounts of vegetables and meat or preserving food.
Grid For grilling meat or fish.

Cooking with the hob 11
© 2020, Elon Group AB. All rights reserved.
COOKING WITH THE HOB
Hob overview
Hob surface
The hob surface is made of a solid glass-ceramic material. Here is some advice on how to use and maintain the surface.
• The surface is very resistant to temperature changes but can be damaged by falling, heavy objects. The surface might
break immediately or a while after being hit.
WARNING!
If the surface breaks, immediately disconnect the product from the mains. Do not use the product.
• Make sure the cooking zone and the bottom of the cookware are clean and dry to improve performance and prevent
surface damage.
CAUTION!
If sugar, or food with high sugar content, is spilled over the surface when it is hot - immediately use a
wipe or a scraper to remove the sugar from the hot surface. Otherwise the surface might become
damaged.
Never use detergents or other cleaners to clean a hot surface.
• Do not use the hob as a storage area as it may result in scratches or damages.
• Do not use aluminium or plastic cookware on hot cooking zones.
• Do not place any plastic objects or aluminium foil on the hob.
Hob operating principle
Your hob is operating by the principle of induction. This means that heat is produced directly in the bottom of the
cookware and that the hob surface is heated only indirectly when the cookware gets hot. No heat is generated if you turn
on a cooking zone when there is no cookware placed on the zone. For induction to function, the bottom of the cookware
must be made of a ferromagnetic material.
Suitable cookware
Make sure your cookware is suitable for induction heating.
WARNING!
Do not insert equipment between the cooking zone and the bottom of the cookware, for example equipment
that makes it possible to use non-magnetic cookware. Use of such equipment may cause burns and damage
on the cooker.
Consider the following aspects when choosing cookware for your induction hob.
• Examples of suitable cookware are cookware made of steel, enamel-coated steel pans, and cast iron pans. If you are
uncertain, attach a magnet to the bottom of the cookware. If the magnet sticks, the cookware is made of ferromagnetic
material and therefore suitable for an induction hob.
• Only use cookware with a flat bottom. Concave or convex bottoms, whether intended or not, may affect the heating
process and damage the hob surface and the cookware.
• The cookware must have a thick bottom of at least 2.25 mm.
• Minimum cookware diameter depends on the cooking zone diameter:

12 Cooking with the hob
© 2020, Elon Group AB. All rights reserved.
Cooking zone diameter Minimum cookware diameter
145 mm 90 mm
180 mm 110 mm
210 mm 130 mm
When purchasing cookware, note that the indicated diameter usually refers to the upper edge or the lid,
which is normally larger than the diameter of the bottom.
Examples of unsuitable cookware are cookware made of alloy steel with a copper or aluminium bottom, and glass
cookware. The warranty does not cover damage on the cooker caused by the use of unsuitable cookware.
Basic hob operation
Turn on the hob
Before you turn on the hob, wipe off any dust or stains from the hob and make sure that the bottom of the cookware is
clean. This helps you avoid scratches and burnt-in impurities on the surface of the hob.
1. Touch and hold for 1 second to turn on the hob.
If you do not turn on a cooking zone within 10 seconds, the hob is turned off.
When the cooker is connected to the mains for the first time, or after a power failure, the child lock is activated.
Turn on a cooking zone
1. Place the cookware in the centre of the selected cooking zone.
2. Touch for cooking zone you want to use.
3. Touch or to select power level.
Touch first to start at power level 9.
To change the power level faster, touch and hold or .
If the display alternates between and the set power level, the bottom of the cookware is too small, or there is no
cookware on the cooking zone. If you place cookware of an appropriate size on the cooking zone within 10 seconds,
heating will start at the set power level. If not, the cooking zone is turned off.
Turn off a cooking zone
1. Touch for the cooking zone to turn off.
2. Touch repeatedly to select power level 0.
You can also touch and at the same time to turn off the cooking zone immediately.
WARNING!
After use, always turn off the cooking zone using the touch controls. If you remove the cookware, the cooking
zone is turned off automatically, but do not rely on this.
If all cooking zones are set to power level 0, the hob will turn off automatically after a few seconds.
Hob power levels
Select the power level best suited for what you want to do.
Here are some examples of how to use the different power levels.

Cooking with the hob 13
© 2020, Elon Group AB. All rights reserved.
Power level Use for
0 Use only remaining heat.
1-2 Keep food warm. Slowly simmer small quantities of food.
3 Slowly simmer.
4-5 Slowly cook larger quantities. Roast larger chunks.
6 Roast or brown.
7-8 Roast.
9 Cook large quantities. Sear or braise.
P (power boost) Start the cooking process. Heat large quantities of water. Cook very large quantities of food.
Turn off the hob
Turn off the hob immediately after use.
1. Do one of the following:
•Touch and hold for one second.
•Set the power level to for all cooking zones. The hob will turn off automatically after a few seconds.
NOTE!
After each use of your hob, after it has cooled down, make sure to clean the surface. This prevents impurities
to burn into the hot surface at next use.
Use power boost
Use power boost to quickly boil water or heat the frying pan.
WARNING!
Do not leave the cooker unattended while using power boost. Power boost is extremely powerful.
1. Touch for cooking zone you want to use.
2. Select power level 9.
3. Touch once.
appears on the display.
4. Touch to change power level back to 9.
Power boost deactivates automatically after 10 minutes and the power level returns to level 9.
Save energy
Here are some tips on how you can save energy.
• Use cookware that fits the amount of food you are cooking. The hob automatically adjusts the power to the size of the
cookware. Using larger cookware than required consumes more energy.
• When possible, cover the cookware with a lid.
• If a dish takes long time to cook, use a pressure cooker.
• Vegetables, potatoes, and so on, may be cooked in a smaller amount of water. The food will cook just as well, as long
as the cookware is tightly closed with a lid. After bringing the water to a boil, reduce the heat to a level that just suffices
to maintain a slow simmer.

14 Cooking with the hob
© 2020, Elon Group AB. All rights reserved.
Additional hob features
Use the bridged cooking zone
Combine two cooking zones into one large cooking zone and use it for example when cooking with a large oval pan or a
griddle.
Use cookware with a size up to 40 x 25 cm. A heavy-bottom pan distributes the heat more evenly.
1. Place the cookware on the two cooking zones on the left.
Make sure it does not cover the control panel.
2. Touch to turn on the hob.
3. Touch for the two cooking zones on the left at the same time, and hold for 3 seconds.
is displayed for the rear left cooking zone.
4. Set the power level with and .
NOTE! You cannot use Power boost for the bridged cooking zone.
From now on, control the bridged cooking zone with for the front left cooking zone.
Turn off the bridged cooking zone by reducing the power level to 0. Both cooking zones now operate independently.
Automatic hob power-off
If you place an object or spill liquid over the touch symbols, the hob will be turned off after 10 seconds.
flashes on the display for all cooking zones and an acoustic signal sounds. The acoustic signal stops when you remove
the object or wipe up the spilt liquid.
Automatic cooking zone power-off
If you do not change the power level for a cooking zone, it is automatically turned off after 10 hours for power level 1-8,
and after 3 hours for power level 9.
Residual heat indicator
The cooking zone is indirectly heated by the heated cookware and stays hot for a while even after it is turned off. Use the
residual heat to keep the food warm, or for defrosting.
Residual heat is indicated by on the display but even after disappears, the cooking zone may be hot!
WARNING!
There is a risk of burns from residual heat.
Use the child lock
Use the child lock to prevent accidental operation of the hob.
•When the hob is off, all touch symbols except are locked.
•When the hob is on, all touch symbols except and are locked. The hob can still be turned off using .
Turn on the child lock
1. Touch and hold for 1 second.
When is lit, the child lock is activated.
2. To turn off the child lock, touch again and hold for 1 second.
When the cooker is connected to the mains for the first time, or after a power failure, the child lock is activated.
Use the timer
Use the timer to set the cooking time for any cooking zone independently. When the time expires the cooking zone is
turned off and an acoustic signal sounds.

Cooking with the hob 15
© 2020, Elon Group AB. All rights reserved.
Turn on the timer
1. Turn on the cooking zone and set the power level.
2. Touch for the cooking zone again.
is displayed and the set time is displayed on the opposite two cooking zone displays.
3. Touch or to set the timer value in minutes from 1 to 99.
Hold or to change the value faster.
The countdown starts automatically when the value is set. After a few seconds, the display returns to displaying the
power levels and the active timer is indicated by a decimal point next to the power value.
When the time expires, an acoustic alarm sounds and the cooking zone is turned off. Turn off the alarm by touching any
key. If no key is touched, the alarm is turned off automatically after 2 minutes.
Turn off the timer
To turn off the timer before the cooking time expires.
1. Touch twice for the relevant cooking zone.
2. Decrease the cooking time to 0 using or touch both and at the same time to reach 0 immediately.
The timer is turned off after a few seconds.
Display and change the remaining cooking time
1. Touch twice for the relevant cooking zone.
The remaining cooking time is displayed.
2. Touch or to increase or decrease the cooking time.

16 Cooking with the oven
© 2020, Elon Group AB. All rights reserved.
COOKING WITH THE OVEN
• Use dark, black silicon coated or enamel coated baking trays. They transmit heat better.
• Cooking many types of pastries one after another saves energy since the oven is already hot. Heating an oven that has
cooled down uses more energy.
• Steam can sometimes form on the inside of the oven during cooking. The steam may condense on the door and the lid
of the cooker. This is normal behaviour and does not affect the operation of the cooker. Wipe of any condensed water
with a cloth.
• If you leave the dish in the oven after it has finished cooking steam may evaporate from it and condense on the front
panel and the oven door.
You can turn off the oven about 10 minutes before the end of the cooking process. This will save energy
as the already built up heat is used.
Cooking modes
FastPreheat
Use this oven mode to heat the oven to the desired temperature as quickly as possible. Do not use this
mode for cooking. Recommended temperature: 50-275°C.
Top and bottom heater
Use this oven mode to cook meat or pastry that can only be baked or roasted at a single height level. The
top and bottom heaters will radiate heat evenly in the oven. Recommended temperature: 200°C.
Bottom heater and fan
Use this oven mode to bake leavened but low-rising pastry or to preserve fruit and vegetables. Use the
second guide from the bottom and a shallow baking tray to allow the hot air to circulate across the upper
side of the dish. Recommended temperature: 180°C.
Grill
Use this oven mode to grill small amounts of open sandwiches, beer sausages or to toast bread. Only the
grill heater is on when using this mode. Recommended temperature: 230°C.
Large grill
Use this oven mode to grill small amounts of open sandwiches, beer sausages, meat or to toast bread. The
grill heat and the upper heater are both on when using this mode. Recommended temperature: 230°C.
Grill with fan
Use this oven mode to:
• grill meat, fish and vegetables
• roast larger chunks of meat or poultry at a single height level
• make dishes au gratin
• brown food to a crispy crust
The grill heater and the fan are on at the same time when using this mode. Recommended temperature:
170°C.

Cooking with the oven 17
© 2020, Elon Group AB. All rights reserved.
Hot air
Use this oven mode to roast meat or bake pastries on several levels at the same time. The round heater and
the fan will make sure that hot air constantly circulates around the food. Recommended temperature: 180°C.
Hot air and bottom heater
Use this oven mode to bake:
• pizzas
• apple pies
• fruitcakes
• moist pastry
• leavened dough
• shortcrust
The bottom heater, round heater and the fan will make sure that hot air constantly circulates around the
food. Recommended temperature: 200°C.
GentleBake
Use this oven mode to roast meat, cook fish or bake pastries on a single rack. It provides a gentle, slow, and
even baking that leaves the food soft and juicy. Recommended temperature: 180°C.
Defrost
Use this oven mode to defrost food such as:
• cakes with heavy cream or butter-based cream
• cakes and pastry
• bread and rolls
• deep-frozen fruit
Remove the food from its packaging in most cases.
NOTE!
Remove any metal clamps or clips.
Turn over, stir and separate any pieces frozen together halfway through the defrost time.
In the defrost mode, the fan circulates the air with no heaters activated. This is used to slowly thaw frozen
food.
WaterClean
Use this oven mode to remove stains and food residues from the oven. Only the bottom heater will radiate
heat. The programme takes 30 minutes. Recommended temperature: 70°C.
Turn on and off the oven
1. Turn the oven mode selector to any of the cooking modes to turn it on.
2. Turn the oven mode selector to 0to turn it off.
Change oven temperature
Select a suitable temperature for what you are cooking.

18 Cooking with the oven
© 2020, Elon Group AB. All rights reserved.
1. Turn the temperature selector clockwise to increase the temperature or anticlockwise to lower the temperature.
CAUTION! Do not turn the selector below the zero position. This can damage the thermostat.
The temperature range is 50-275°C.
Change oven cooking mode
Select the suitable cooking mode for what you are cooking.
1. Turn the cooking mode selector clockwise or anticlockwise to switch between the available modes.
The cooking mode can also be changed during cooking.
Oven cooking mode guide
Find the most suitable oven cooking mode for your needs by using the following table.
Cooking method Food type Oven cooking mode
Roast Meat
Meat, Poultry
Grill
Open sandwiches, beer sausages
Open sandwiches, beer sausages, meat
Meat , fish, vegetables
Brown

Cooking with the oven 19
© 2020, Elon Group AB. All rights reserved.
Cooking method Food type Oven cooking mode
Bake
Pastries on a single level, fish
Pastries on a single level
Pastries one multiple levels
Pizzas, apple pies, fruitcakes, moist pastries, leavened dough,
shortcrust
Leavened but low-rising pastries
Au gratin
Toast Bread
Preserve Fruit, vegetables
Wire guides
Wire guides allow you to choose between 4 different levels when you insert a grid or a tray into the oven. The
levels/guides are counted from the bottom and up.
The oven is safe to use both with and without the guides.
CAUTION!
Do not place baking trays or other cookware on the bottom of the oven.
Pre-heat the oven
Use the FastPreheat mode to quickly heat the oven to the temperature that you want.
NOTE!
This mode is not suitable for cooking.
1. Turn the cooking mode selector to .
2. Turn the temperature selector to the desired temperature.
Grilling recommendations
Use these recommendations when grilling.

20 Cooking with the oven
© 2020, Elon Group AB. All rights reserved.
WARNING!
Only use the grill with the oven door closed.
WARNING!
Use oven mitts or meat tongs. The grill heater, grid, and other oven accessories get very hot during grilling.
• Preheat the grill for about 5 minutes before you use it.
• Observe the food regularly. The food may burn quickly because of the high temperature.
• Smear the grid with oil to prevent the meat from sticking when grilling directly on it. Use the 4th guide.
• Insert the drip tray in to the 1st or 2nd guide.
• Make sure there is enough liquid in the tray when using a baking tray. Otherwise the food may burn.
• Turn the meat.
• Clean the oven, the accessories, and the utensils when you have finished grilling.
Roasting recommendations
Use these recommendations when roasting.
• Use enamel coated, tempered glass, clay, or a cast iron pan or tray.
NOTE!
Do not use stainless steel trays. They strongly reflect heat.
• Use enough liquid when cooking to prevent the meat from burning.
• Cover the meat to keep it juicy.
Baking recommendations
Use these recommendations when baking.
• Preheating is recommended.
• You can bake biscuits and cookies in shallow baking sheets on several levels (second and third) at the same time.
NOTE!
The biscuits or cookies on the upper baking sheet may be ready sooner than the ones on the lower one.
• Always place the baking trays on the grid. Remove the grid if you are using the supplied baking sheet.
CAUTION!
Do not insert the deep baking tray into the first guide.
• Make biscuits of similar thickness to make sure that they brown evenly.
• Baking accessories may change form as they get hot. This does not affect their functions and they will return to their
original form when they cool down.
Preserve food
Use your oven to preserve food.
1. Turn on the oven and select oven mode .
2. Pour 1 litre hot water (about 70°C) on the deep tray.
3. Place 6 one-litre jars on the deep tray.
4. Insert the deep tray into the oven on the second guide from the bottom.
5. Close the oven door.
Observe the food during cooking and take it out when the liquid in one of the jars begin to simmer.
Other manuals for CIS5623V
1
Table of contents
Other elvita Cooker manuals

elvita
elvita CGS3540V User manual

elvita
elvita CCS46404V User manual

elvita
elvita CGS36235V User manual

elvita
elvita CCS4723V User manual

elvita
elvita CGS36235VN User manual

elvita
elvita CCS4640V User manual

elvita
elvita CCS46231V User manual

elvita
elvita CCS4640XN User manual

elvita
elvita CCS46234V User manual

elvita
elvita CCS46231V User manual

elvita
elvita CGS3740V User manual

elvita
elvita CGS3623V User manual

elvita
elvita CGS3740VN-E1 User manual

elvita
elvita CGS36231V User manual

elvita
elvita CCS47232V User manual

elvita
elvita CCS47233V User manual

elvita
elvita CGS36235V User manual

elvita
elvita CGS3640V User manual

elvita
elvita CCS4541V User manual

elvita
elvita CCS46403V User manual