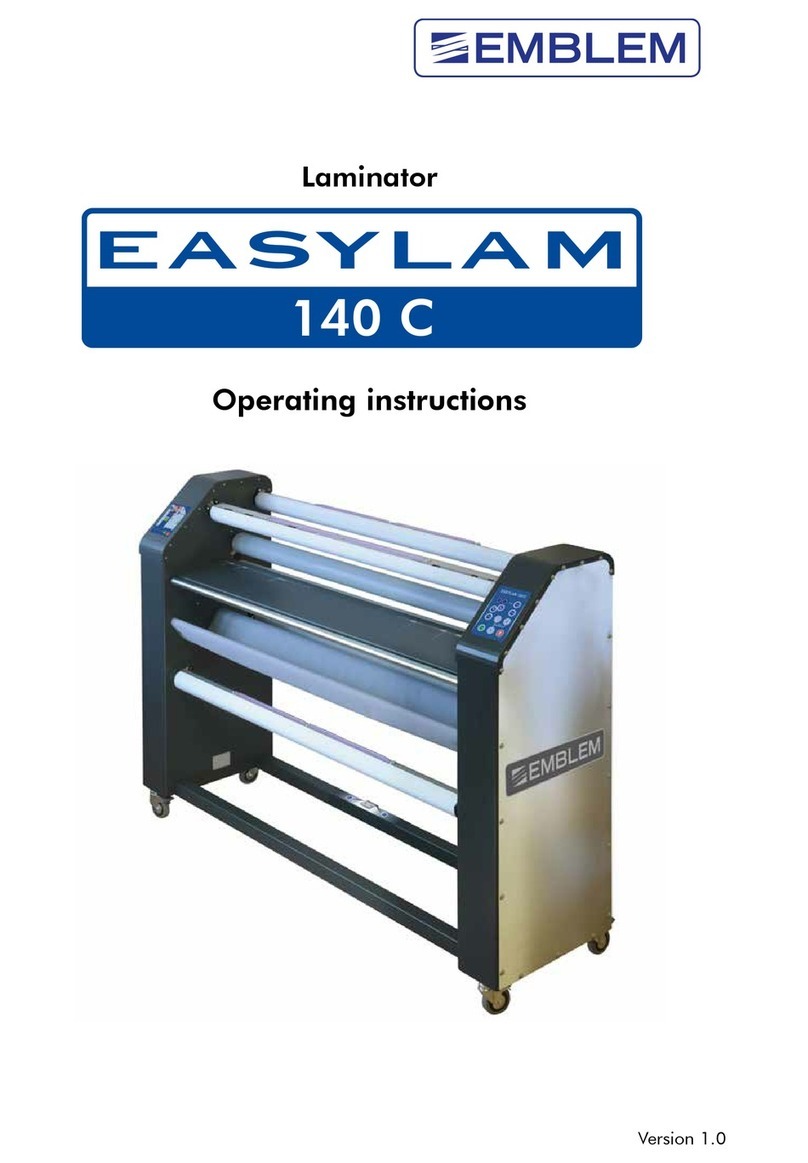
EMBLEM EASYLAM 160 TW User manual

Instruction manual
Laminating machine
Version 1.6
160 TW
• Item no.: 26219 including MediaTrim
• Item no.: 26218 without MediaTrim

1
Read the operating instructions carefully before use
and keep it for further use.
Technical notes
model .............................................................................................................EASYLAM 160TW
length .............................................................................................................206 cm
width ..............................................................................................................65 cm
height .............................................................................................................148 cm
work surface height .......................................................................................104 cm
max. material width ........................................................................................169 cm
effective roller length .....................................................................................1640 mm
max. roller gap ..............................................................................................30 mm
power supply .................................................................................................110 - 230 V
.....................................................................................................................50/60 Hz max. 11 A
Installation
The machine is delivered in a wooden crate.
dimensions ....................................................................................................216 x 162 x 72 cm
total weight incl. wooden packaging kg .........................................................410 kg
For unpacking, the use of a cordless screwdriver is recommended. You will also need a 17 mm spanner.

2
Further notes on installation:
Power supply
The power supply specified here should be available in the vicinity of the site:
• alternating voltage: 110 or 230V. The power supply unit switches automatically.
• frequency: 50 - 60 Hz
• current strength: 16 A
Power connection
Check that the power connection corresponds to the machine power.
Before each connection to the mains, the earthing must be secured.
Connect the machine to the mains:
• Disconnect the power supply.
• Connect the connection cable to a suitable plug or directly
to the power distribution.
• Switch the power back on.
Space requirement
The footprint must meet the space requirements for the scheduled use of the machine.
Also take into account the space required for feeding or dispensing the material and the dimensions
of the images and plates to be processed.
Floor space
Prepare a level floor according to the dimensions of the machine, taking into account the accessory equipment.
Lighting
Good lighting (indicative 300 - 600 lux) is essential for safe machine operation and maintenance.
Room characteristics
The machine must be installed in a closed room and protected from the weather.
Permissible room temperature: 18°C to 35°C.
Corresponding permissible humidity range: 30% to 80%.
Foot pedal
Connect the foot pedal by plugging the plug into the socket marked on the bottom right.

Laminator from front
3
1. On-Off switch
2. Keypad with LED display
4. Adjusting the strength of the
Roll-up clutch for R3
5. Adjusting the brake for R4
6. Rewind axle R3
7. Locking device for adjustment
the height of the feed plate
8. textile basket
9. Adjusting the brake for R1
10. unwinding axle R1
11. Main switch
12. Foot pedal connection
13. Power cord feed
3. Guide support of the axis during
Applying with App-Foil/Paper
14. Pressure rollers
15. Emergency off
16. Finger protection
17. Feed plate with the deflection roller
18. side cover
19. Wheel with brake
Laminator from front

Laminator from back
4
Integrated MediaTrim
1. Cover profile
2. Cutting head with roller knife
3. Profile body
4. Areation
5. Locking of the axle
6. Rewind axle R2
7. Foot pedal „Close“
8. Rolling axle R4
Laminator from back
9. Adjusting the power of the
rewind clutch for R2

5
• Display of the current temperature
of the heatable upper roller
•
START/STOP
- Starts or stops the rollers. Alternatively you can step on the pedal and thus start or stop.
•
SPEED
„
-
“ and „
+
“ changes the laminating speed
•
REVERSE
- The machine stops and runs slowly in the opposite direction
• Information on remaining running
meters of laminate on axle R4
The keyboard with LED display
The machine is controlled by the foot pedal and the following keyboard:
• Information on set laminating
speed, between 0 and 9.9 m/min
•
„Close Warm“
and
„Close Cold“
keys for preset, fully automatic
adjustment of the roller pressure.
• Switch for switching the heating
on and off. If „
HEATING ON
“ is
pressed several times, 40/45/50
and 55°C can be selected
• Display of the currently set gap
height of the rollers in cm
• Keypad for entering the laminate
run length during reel change
• Keypad for manual opening and
closing of the rollers.
„OPEN“
to trigger a max. opening to
30mm
• „
Close Warm
“ is used to close the rollers when the upper roller is heated.
• „
Close Cold
“ is used to close the rollers when the roller is cold and not heated.
• Display of the set target
temperature of the heatable
upper roller

6
Use of the upper heated Roller
The upper silicone roller can be heated up to 55°C with an integrated
heater. Press „
HEATING ON
“ once or several times and the display will
show the current temperature and the set target temperature. You can
set 40, 45, 50 and 55°C.
Enter the remaining running length of the inserted laminate
EASYLAM 160TW has a counting function that measures the consump-
tion of the inserted laminate and displays the remaining length of the
run on the roll. After inserting a full roll, press the
Media 50m
button. If
you re-insert an already used roll of laminate - e.g. because you change
from „matt“ to „glossy“ - the remaining length can be set precisely with
the
+
or
-
buttons.
Rear foot switch
For comfortable insertion of the laminate, you can use the foot switch
when standing on the back of the laminator and tensioning the material
with both hands. The switch has the same function as the „
CLOSE WARM
“
button on the display.
Finger protection
The mechanical finger protection prevents the user of the laminator from accidentally getting his fingers caught
between the laminating rollers. The finger protection is adjustable in 3 positions:
3. for convenient insertion of the laminate with the rollers open
2. for laminating panels up to a thickness of 30mm
1. for laminating thin material like paper or film

7
Safety devices
The machine is equipped with the following safety devices:
• right cover housing
• left cover housing
• finger protection bar
• emergency stop switch left
• right hand circuit breaker
When operating the machine, make sure that your hands do not come between the rollers. The EMBLEM EASYLAM
160TW is equipped with a finger protection. This is to prevent that parts of the body or foreign objects get between
the rollers. The manufacturer does not take any responsibility if the operator of the machine has made any structural
or electrical modifications to these protective devices. The side panels, which protect the electrical equipment, may
only be removed by qualified personnel or by personnel authorised by the manufacturer.
Operating the machine
The operator stands in front of the machine when work starts. The machine is switched on via the main switch
(inside right below). The switch lights up green. Above the keypad with LED display you will find another switch for
switching the machine on and off.
General information
The material axles (R1 - R4) are equipped with adjustable brakes and slip clutches. Each
material has its own characteristics, which may vary depending on temperature, humidity,
adhesive used, type of film, etc. The ideal working condition is one in which the material is
tensioned on the top roller and guided and applied without wrinkles with minimal braking.
The search for this „ideal setting“ starts by looking for the point where the braking unit only
works lightly, and then gradually increases in strength as required. Care must be taken not
to stretch the film too much to prevent it from being stretched initially and then distorting the
laminated product. If the protective liner has to be rolled up, it is sufficient to apply a slight
tension. Therefore, make sure that the roll-up clutch is carefully adjusted.
The machine may only be operated by qualified personnel. For the correct adjustment of the press proof you can
either use the preset functions „
Close Warm
“ or „
Close Cold
“, or set the pressure manually using the „
arrow up
“
/ „
arrow down
“ keys. Film or paper are often laminated with maximum pressure (manual setting). But also here the
optimal pressure must be „tested“, in order to avoid wrinkles forming between adhesive film and paper.
• The machine is equipped with an automatic safety switch to prevent the roller pressure from being exceeded.
• In order to find out the optimum pressure, it is recommended to first carry out a test with a sample print.
To avoid tensions and jerks, the material to be processed should be centred, i.e. inserted with equal distance to
both sides, even with smaller formats. When laminating, it is important that the laminate is adjusted to the image
dimensions and does not protrude too far beyond the format, otherwise it will stick to the roller.
The difference in size between the laminate and the paper should be kept as small as possible (no more than 2 -
3 cm per side) to avoid wrinkles.

8
Material guide
The material axes (R1 - R4) can carry both laminate with silicone paper and double-sided adhesive film.
To insert the rolls, please refer to the following illustrations and descriptions.
Autogrip material intake
Slide the material axle into the core of the roll of material to be mounted.
Thanks to the Autogrip material holder, the material axle can be easily
pushed into the roll core or pulled out again. As soon as the machine starts
up, the Autogrip function locks in the core and the roll rotates with the axle.
We recommend pushing the material axle into the core in such a way that
the locking rubber is on top and does not lock unintentionally already when
pushing the axle into the core.
Autogrip material intake
The front bottom axle (unwinding axle R1) and the rear axle
(rewinding axle R2) are secured with a locking mechanism
so that the axle remains securely in the holder.
Assembly of the material axle
The drive pin is inserted into the guide of the axle.
The driven axes are placed in the guide from above.

9
The MediaTrim on the EASYLAM 160TW
The EASYLAM 160TW is optionally equipped with
or without integrated MediaTrim (backside).
The function of the cross cutter is described here.
The front is a laminator, the back is a MediaTrim. Of
course you can use both functions separately. Here we
show you how to use the MediaTrim.
Pull up into working position
Locking the profile body
Fold down cover profile
Using MediaTrim
• The Mediatrim parks with its profile body underneath the
laminating rollers and is pulled up by hand until it stops.
• On the left and right in the frame of the laminator are two
latches which fix the profile body at the top.
• Clamped on the crossbar behind the upper laminating roller
the cover profile of the MediaTrim. Fold this profile down onto
the profile body.
• Place the material to be cut between the cover profile and the
profile body and press the cover profile down completely.
Move the roller cutter from the parking station (left or right)
onto the cover profile and guide the roller cutter to the other
side with a smooth movement.

10
Using MediaTrim for rolled-up prints
Follow the procedure described on page 9 and enable the MediaTrim.
• The rear edge of the MediaTrim is the cutting position
of the roll knife.
• You can load prints or laminated prints on a roll into the rear
reel seat or move them sheet by sheet.
• Make sure that the cover profile is folded down firmly.
• Take the cutting head from the left or right parking position
and drive the rolling knife over the material to be cut without
stopping.

11
• PRINTED MEDIA
• RUBBER ROLLS
• DOUBLE SIDE LAMINATE
Working process of the laminator
Adhesives without protective liner (application tape, double-sided adhesive films)
make one print self-adhesive:
Easylam-Cutter II
Special knives for the optimal equipment of our laminator with laminating films. There are various procedures
for equipping our laminators with laminate. For easy and economical handling we recommend ours:
• Open the laminating rollers (see description on the keypad on page
5)bypressingthe▼or„
OPEN
“ key and place the laminate in the
machine as shown in the figure below. Make sure that the film lies
completely smooth on the roller and that it does not have any
wrinkles or waves. Secure the film by attaching it lightly to the rear
work surface (tape).
• Closetherolleropeningbypressingthe▲keyatadistanceof
about 1 cm. In this phase, the film can become loose and may no
longer adhere perfectly to the roller. Smooth the film again so that
it is slightly stretched.
• After you have placed the print to be laminated under the upper laminating
roller, close the rollers completely. Use the „
CLOSE WARM
“ or „
CLOSE
COLD
“ button to close the rollers. If the print media is not stiff, place the
laminate so that it extends over the rubber roller and the slot to the work
surface so that it sticks when the machine starts up.
Easylam-Cutter II. Item no.: 26441
This knife has a special blade.
The risk of injury or damage to the roller
of the laminator is considerably reduced.
The advantages of the Easylam Cutter II:
• You save time and material by clamping
the laminate including the carrier material (liner).
• No exposed knife tip.
The following description of the mode of operation enables an economical consumption of laminate when
loading the laminator with the film. The preparation of the machine is simplified and can therefore be learned
more quickly.
You can obtain this tool from specialist dealers or at www.dataplot.de

12
Place the laminate film including
masking paper between the rollers
Hold the inserted laminate taut
and close the rollers
Wind the laminate back tightly
onto the laminate roll
About 5 cm should protrude behind
the rollers of the laminator
Position the blade of the Easylam-
Cutter II between film and backing
paper
Carefully separate the masking
paper
Also use the blade in front Fix the masking paper on the core
for winding
Start the laminating
Procedure - Easylam-Cutter II

13
Apply laminate with liner as protection and finishing to a print:
Over time, each user develops his or her own preferred method of loading a laminator.We describe our proposal to you:
• Openthelaminationrollersbypressingthekey▼or„
OPEN
“. (Fig.
p. 5) and load the laminate as shown in the figure. Slide an empty
roll core onto the rewind axle R3 (fig. p. 3 no. 6) so that the protective
liner/cover paper can be wound up.
• After you have placed the laminate on the unwinding axle R4
(fig. p. 4 no. 8 ) cut off the masking paper and attach it to the core
of the rewind axle. Attach it with adhesive tape on the cardboard
core, on the rewind axle R3 (Fig. p. 3 no. 6). Make sure that the
protective liner is even and is fastened without diagonal folds. Pull the
laminate between the rollers (fig. p. 3) and stick it on with tape to the
upper roller. Make sure that the film is evenly spread across the
entire width. If folds or should slight waves occur, repeat the steps
until the material is perfectly positioned.
• By adjusting the coupling of the rewind axles (fig. p. 3 no. 4) the
tension of the axles R3 can be adjusted. A small force is required to
roll up the liner. It is therefore recommended not to set this value
too high.
• The required braking force is normally only low, unless the protective
liner has a significantly greater thickness than the film, in which
case the tractive force should be increased accordingly.
• Move the upper roller to about 1 cm from the lower roller by pressing
the▲key.Duringthisphase,thelaminatemaybecomelooseandno
longer adhere properly to the roller. Tension the laminate again.
• Place the print to be laminated between the laminating rollers as
showninthefigureandclosetherollerscompletelyvia▲or▼or
use the „
CLOSE WARM
“ or „
CLOSE COLD
“ key to close the rollers.
• Loosen the film that you have fixed with tape on the upper roller
and put the machine into operation.
Laminating with masking paper from roll to roll
• LINER ROLL-UP DEVICE
• PRINTED MEDIA
• LAMINATE
• RUBBER ROLLS
• FINISHED PRODUCT

14
Lamination of prints on plate
There are various techniques that professional users practice:
• Laminating a print onto a self-adhesive plate
• Lamination of a self-adhesive print on plate
The general rule is:
• Open the lamination rollers at the height you need for the panel.
• Adjust the feed plate to the height of the panel.
• Slide the plate between the laminating rollers and close the rollers with the „
CLOSE
“ button.
• Remove the plate with the „
REVERSE
“ function.
• Now the passage height is set.
Laminating a print onto a self-adhesive plate
• Remove the backing paper from the plate
by hand during the lamination process.
• Start the laminating process by sliding the plate between
the laminating rollers and pressing the
START
button.
• Slide the plate between the lamination rollers
and place the print over the roller
• Pull off 3 - 4 cm from the cover paper of the plate
and fix the print on the plate by hand.

15
• Place the self-adhesive print on the plate.
Lamination of a self-adhesive print on plate
Alternative technology:
• Remove the backing paper from the plate by
hand during the lamination process.
• Start the laminating process by sliding the plate
between the laminating rollers and pressing the
START
button.
• Pull 3 - 4 cm of cover paper from the self-
adhesive print and stick the print to the plate.
Slide the plate between the laminating rollers
and place the print over the roller as shown in
the graphic.

16
• Insert the panel again to laminate the second half.
• Separate the first half of the backing paper from
the self-adhesive print and start the lamination
process.
• Close the laminating rollers to secure the print
and plate. The print should be longer than the
plate.
• Slide both between the lamination rollers until
the middle of the print and place the print over
the roller as shown in the graphic.

17
• Pull the APP film between the laminating rollers
and apply the film with the laminator to weeded
film plots.
Application of APP film (or paper) on film plots
• The intake directly above the upper lamination
roller can be used to place a roll of APP film
directly onto the upper lamination roller.
• Feed the weeded plot between the lamination
rollers and apply the APP film by starting the
lamination machine.

CE Certicate of Conformity
We, DATAPLOT GmbH
Gutenbergstraße 15
24558 Henstedt-Ulzburg
Manufacturers of the brand name EMBLEM, declare under general responsibility that the machine:
Trademark name: EMBLEM
Model: Easylam Expert 80C
Easylam Expert 140C
Easylam Expert 160C
Easylam 140C
Easylam 160C
Easylam 160W
Easylam 160TW
is in conformity with:
The requirements of the EU Directive 2006/42/EC.
The requirements of the EU Directive 2014/30/EU.
The requirements of the EU Directive 2014/35/EC.

DATAPLOT GmbH • Gutenbergstraße 15 • D–24558 Henstedt–Ulzburg • Germany
Tel. +49 41 93 995 0 • Fax +49 41 93 995 220
info@dataplot.de • www.dataplot.de
This manual suits for next models
2
Table of contents
Other EMBLEM Laminator manuals
