EMspec SWIRL CLOCK User manual

User Manual
[en] Instructions for installation and use
www.emspec.design
SWIRL CLOCK

Table of Contents
Introduction 4
5
6- 9
10- 11
12
13
14
14
15
15
15
Descriptions
Installation
Time Display
Function & Operation
Trouble Shooting
Important Safety Information
Repairs
Cleaning & Maintenance
Technical Specifications
Warranty

54
Introduction
The package contains
Read this user manual carefully before using SWIRL CLOCK for the first
time in order to ensure proper operation. Please proceed according to the
instructions. You can find this instruction document online at www.emspec.
design/support.
WARNING! The SWIRL CLOCK installation requires at least two people.
Installation work should only be carried out by qualified technicians. All
instructions in the guide must be followed step by step. EMspec is not liable
for improper installation of SWIRL CLOCK.
• SWIRL CLOCK
• Decoration ring
• Adaptor
• User manual
• Cotton gloves
• Duster
• Leather holder
Descriptions
SWIRL CLOCK
Cleaning & Maintenance tools
Plug connector
Decoration ring
Adaptor
Duster Leather holder
(for Duster)
Cotton gloves

76
STEP 1 STEP 2
Installation
• Pull out the plugs from the end of the poles.
• Separate the connector from each plug.
• Connect the plug connectors of SWIRL CLOCK
pole 1 and pole 2.
• Unpack the package and
check the accessories.
• Stack the packaging box as
shown in the image below.
Connector 1
Package
Foam sheet
Connector 2
Package
Pole 1
Plug
Plug
Pole 2

98
STEP 3 STEP 4
Installation
Put the decoration ring
on the pole.
After connecting the
plug connectors, screw
the two poles tightly
together.
Put SWIRL CLOCK into position
and plug in the power plug into a
power socket.

1110
Time Display
Hour
12 Lightballs
Minute
• From the bottom to the top.
• The bottom of the first light ball with cold light glowing shows one
o'clock, the bottom of the second light ball with cold light glowing shows
two o'clock, and so on. At ten o'clock, the hourlight is on the tenth.
• The bottom of the tenth light ball with cold light glowing shows ten
o'clock.
• The top of the second light ball with warm light glowing shows 10
minutes.
• The bottom of the first to the tenth light ball with cold light glowing
shows ten o'clock.
• The top of the first and the second light ball with warm light glowing
shows 10 minutes.
The light ball can be
divided into two parts, the
upper shade of warm light
represents "minutes",
the lower shade of cold light
is "hour".
Minute (Warm light)
Hour (cold light) Default light mode
Single- light mode
• From the bottom to the top.
• The top of the first light ball with warm light glowing shows 1-5 minutes.
• When every 1 minute passes, the brightness of the light is increasing by
one-fifth per minute.
1-5 min
9 h
10 h 10 h
3 h
12 h
6 h
6-10 min 10 min 10 min
11-15 min
Scale
Single- light modeDefault light mode
Light ball side view
Light mode
Time Display

1312
Function & Operation Trouble Shooting
Problem
This section provides a list of solutions for common problems with
SWIRL CLOCK. If your issue is not addressed in this section or any further
problem persists, please contact our support team.
Not turn on
Incorrect time display
No light show
Remote App not working
Solution
• Use the adaptor officially provided by
EMspec only.
• Visually inspect the cable for damage. Do
not use if frayed, cut, or damaged in any
way.
• Make sure that the power cable is firmly
plugged in and the power outlets are
switched on.
• Confirm the wall power outlet is active
(receiving power). Try a different power
outlet.
• If the clock isn't showing the correct time,
go double-check the time setting on our
APP (under the setting section) and make
sure the time is set properly and that you
have "set time automatically " turned on.
• If the clock isn't showing the light show
when it's turned on/off or every hour, go
double-check the APP light show setting
and make sure that you have turned on the
light show.
• Make sure that you have turned on the
Bluetooth and pair with SWIRL CLOCK.
• Close the app and then re-open and try
again.
• Make sure that your device has the latest
version of the software.
• Make sure that you have turned on the Bluetooth and pair with SWIRL
CLOCK.
• Close the app and then re-open and try again.
• Make sure that your device has the latest version of the software.
APP control
Requires iOS 11.1 or later Requires Android 4.3 and up
Touch this button to switch on/ off the light show.
Light Show
Time Calibration
Default/ Single Light Mode
Power On/ Off
Brightness Control
Switch between default mode and single-light mode.
Set different lightness level to adapt various environment.
Touch this button to adjust the time.
With the built-in Bluetooth, you can simply use your smartphone as a remote
control.

1514
Important Safety Information
Repairs
Cleaning & Maintenance
Technical Specifications
Warranty
• Repair work should only be carried out by a certified expert or repair
technicians.
• Never try to dismantle the SWIRL CLOCK yourself.
• Never attempt to repair the SWIRL CLOCK or replace any of its
components yourself. If any parts of your product require replacement,
please contact the manufacturer.
• Indoor use only.
• Dry locations only.
• Do not use in hazardous areas.
• If the product is damaged or defective, stop using the product
immediately.
• Turn off the power immediately in the event of abnormalities such as
smoke or unusual odors being emitted. Be sure to unplug the power plug
from the outlet and be careful to avoid electric shocks or burns.
• Do not damage, alter, excessively bend, twist, pull or heat the power
cord.
• Never handle the plug with wet hands. It may cause result in receiving an
electric shock.
• Before cleaning or maintenance operations, always unplug from the wall
outlet.
Dimension W 30 cm * L 30 cm * H 170 cm
• We recommend that it is preferable to handle cleaning works wearing
cotton gloves.
• Dust first with a duster. Make sure there is no dust on the surface of the
SWIRL CLOCK to avoid scratching.
• Clean gently with a soft wiping fabric dipped with alcohol.
SWIRL CLOCK is backed by a 2-year warranty from the date of purchase. The
repairs cover failures due to defects in material and workmanship.
Our manufacturing warranty excludes claims resulting from scratches or
general wear and tear, not following instructions. Our warranty also does not
cover damage caused by human factors, accident, and natural calamities.
SWIRL CLOCK should only be serviced by qualified professionals at the place of
purchase or at the EMspec service center in accordance with the terms of the
EMspec warranties.
Please read and follow all safety instructions.
Material stainless steel, aluminium, glass, PC
Weight 7kg
Manufacture Taiwan
Rated Wattage MAX 28W AVG 14W
Rated Voltage 100V~ 240V
Product Input Voltage 24V
Operating Temperature -10°C~ 50°C
Color Temperature 3000K, 6500K

SWIRL CLOCK
Designed by EMspec / Made in Taiwan
EMspec 2019 © All rights reserved
www.emspec.design
Table of contents
Other EMspec Clock manuals
Popular Clock manuals by other brands
Craftmade
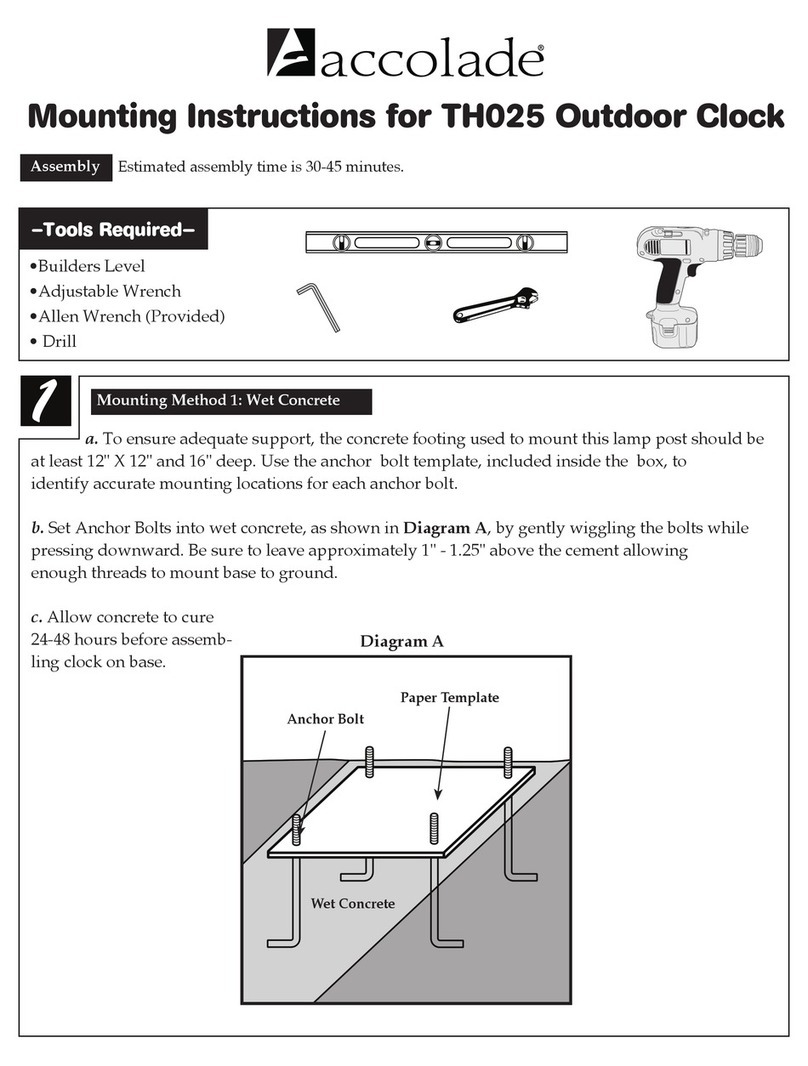
Craftmade Accolade TH025 Mounting instructions

Oregon Scientific
Oregon Scientific RAR391P user manual
Tommee Tippee
Tommee Tippee grofriend groclock Instructions for use
ClockWorks Press
ClockWorks Press ATMOS manual
Colorado time systems
Colorado time systems Slim Pace user guide
Marquant
Marquant 003-081 manual
