OWNER'S MANUAL
The bass EQ (Indoor/Outdoor) switch allows the speaker to play louder with-
out distortion by reducing the level of the lowest bass frequencies. We gen-
erally recommend that the EQ switch be left in the Indoor position. This
position offers the most low frequency output. However, for outdoor ap-
plications with high volume & power demands
we recommend the Outdoor position. This
will help to protect the woofer from damage
and improve the clarity of the midrange fre-
quencies. Another function of the Outdoor
position is to reduce the very low frequency
output that might disrupt neighbors.
Setting the Bass EQ Switch
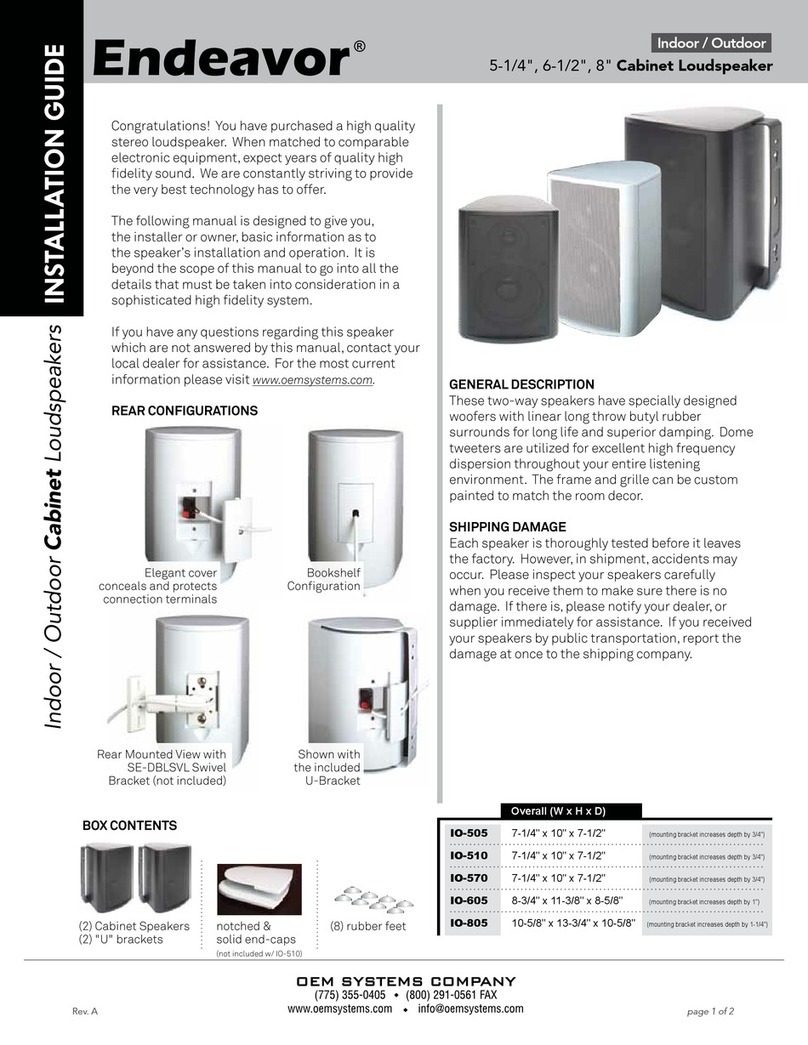
The IO series speakers can be set on a bookshelf, desktop, stand, or other
flat surface. The speakers are shipped with additional solid endcaps that
provide a finer look when the U-Brackets are not used.
Remove the endcaps by pulling the back
end of them away from the enclosure.
Loosen and remove the brass thumb screws
that hold the bracket to the speaker.
Remove the bracket and replace the thumb-
screws. Tighten them securely with your fingers.
Slip the front edge of the solid endcaps into the
available grooves and press the endcaps into
place ensuring that they engage with the thumbscrews.
Install the supplied vinyl feet to the bottom of the speaker by peeling them
from the sheet and pressing them into place. They may also be attached to
the side of the speaker if one intends to lay the speaker on its side.
Using Speakers without Brackets (Bookshelf Configuration)
1)
2)
3)
4)
5)
notched end cap - top
solid end cap - bottom
Follow the manufacturers instructions for the installation of the bracket. To pre-
pare the speaker for this type of bracket, remove the supplied bracket and replace
the endcaps following steps 1-4 in the previous section, “Using Speakers without
Brackets.” The bracket is attached to the back of the speaker us-
ing ¼-20 screws or bolts. The length of the hardware will be de-
termined by the bracket thickness but it will likely be about 1/2”
to 5/8” in length. It will be necessary to remove the terminal cover
from back of the speaker. To do this, use your finger(s) to pull back
on the bottom of the cover at the relief in the enclosure.
Installation Using Optional Double Swivel Bracket
Determine the installation location of the speaker. Use care to en-
sure the structure has the ability to carry the weight of the speaker.
We recommend that the speaker be located where there is a stud
or other support structure especially if the speaker will be oriented
horizontally. If attaching to sheetrock (gypsum board), ensure that
you use suitable hardware such as toggle anchors (not supplied).
Measure the hole-spacing on the bracket and transfer these di-
mensions to the mounting surface.
Install the attachment hardware, drilling holes as necessary.
In most installations the bracket will need to be removed from the speaker
so that it can be tightened to the mounting surface without obstruction.
Remove the endcaps by pulling the back end of them away from the enclosure.
Remove the bracket from the speaker by loosening and removing the brass thumb
screws that hold the bracket to the speaker.
Screw the bracket to the mounting surface. Either set of holes may be used (slots
or keyholes). If the wire is coming through the wall then it can be passed through
the center-hole in the bracket if desired or practical.
Prepare the wire for termination by stripping back the insulation approximately
½” (13mm).
Remove the terminal cover from back of the speaker using your finger(s) to pull
back on the bottom of the cover at the relief in the enclosure.
Attach the speaker to the bracket making the thumb screws finger tight.
Position the speaker so the input terminals can be accessed.
Pass the wire through the cover and connect it to the input terminals, observing
polarity to ensure consistency.
Snap the terminal cover into place and rotate the speaker in the desired direction.
Tighten the thumb screws. A screwdriver may be used to ensure they are tight.
Re-install the endcaps.
Installation Using the Included U-Bracket
1)
2)
3)
4)
5)
6)
7)
8)
9)
10)
11)
12)
13)
14)
