Enel X JuiceRouter User manual

User Manual
JuiceRouter
ENGLISH

2
Table of contents
Welcome 3
Package Contents 3
Additional Required Pas 3
Power Over Ethernet Cable 3
Fasteners for Wall Installation 4
Ethernet Cable To Connect JuiceRouter To Computer 4
Specications 5
Characteristics 5
Connection Diagram 6
Dimensions 7
10/100BASE-TX RJ-45 Pin Outs 7
Installation 8
Hardware Installation 8
Power And Ethernet 8
Web Dashboard 11
Connect To The Dashboard 11
Change the Dashboard Password 11
Change the JuiceRouter WiFi SSID And Password 12
Change the JuiceRouter Timezone 12
Connect JuiceBox to JuiceRouter 13

3
Welcome
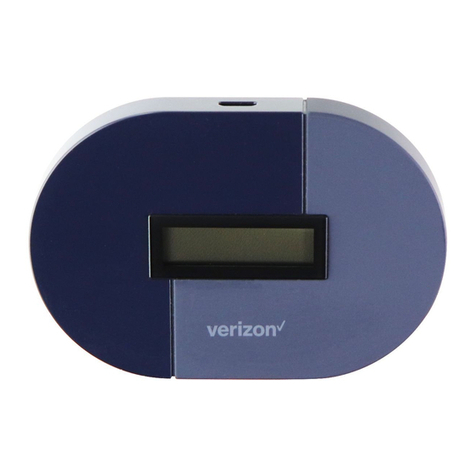
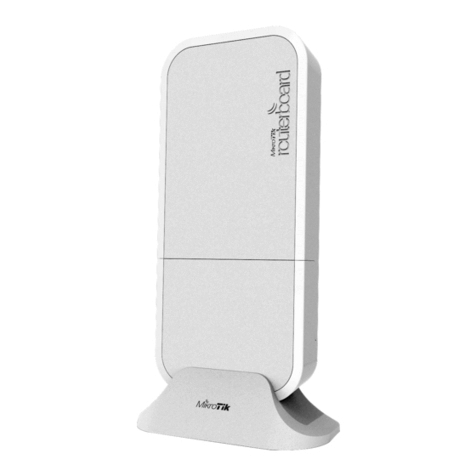
Welcome to JuiceRouter! JuiceRouter is a cellular hotspot that allows you to create your own WiFi
network to get your JuiceNet devices online.
Package Contents
>JuiceRouter
>RJ-45 Gland
>Passive Power over Ethernet (PoE) 24V injector
>Wall transformer (with US plug)
>U-bolts (x2) for pole installation
NOTE
Supply your own fasteners if installing JuiceRouter onto a wall.
Additional Required Pas
Power Over Ethernet Cable
An RJ-45 Ethernet cable is required to power the JuiceRouter through the Power over
Ethernet (PoE) injector. Ensure that the cable is long enough to connect the JuiceRouter
Router to the power supply when the power supply is plugged in. The maximum cable
length is 100 m (328 ft).
In nearly all cases, a standard Ethernet cable is sucient.
However, if using a custom cable, ensure that the RJ-45 connector conforms to TIA/EIA-
568, T568B:

4
PIN COLOR
1White/orange
2Orange
3White/green
4Blue
5White/blue
6Green
7White/brown
8Brown
Fasteners for Wall Installation
If installing the JuiceRouter onto a wall, supply your own fasteners (refer to the Hardware
Installation section).
Ethernet Cable To Connect JuiceRouter To Computer
It is possible to access the JuiceRouter's Web Dashboard via WiFi or a hardwired connection
(refer to the Web Dashboard section). To connect via a hardwired connection, supply your
own Ethernet cable with RJ-45 connectors.

5
TEMPERATURE RANGE From -40°C (-40°F) to +85°C (185°F)
WEATHER PROTECTION IP67
WIFI CONNECTION IEEE 802.11b/g/n WiFi
POWER SUPPLY 24V passive Power over Ethernet (PoE) via a POE injector
CARRIER WIRELESS CAT-4 LTE modem ceied for user on Verizon Wireless
network
ETHERNET 10/100BASE-TX PoE Ethernet with audo MDI/MDI-X
POWER INPUT
CONNECTOR 10/100BASE-TX RJ-45 Passive PoE
Specications
Characteristics
NOTE
JuiceRouter does not have an on/o switch. When plugged in, JuiceRouter remains
on.
NOTE
The maximum distance a JuiceBox should be placed from a JuiceRouter is 75 ft (23
m).

7
Dimensions
10/100BASE-TX RJ-45 Pin Outs
SOURCE VOLTAGE 1 2 3 4 5 6 7 8
9-30 Vdc Data Data Data DC+ DC+ Data DC- DC-

8
Installation
Hardware Installation
JuiceRouter can be installed onto a wall or a pole:
>If installing onto a wall, supply your own fasteners.
>If installing onto a pole, use the included U-bolts.
Power And Ethernet
1. Procure the included RJ-45 gland.
2. Unscrew the top of the gland and disassemble the gland into its separate components.

9
1Gland base
2Split washer
3Rubber seal
4Spacer
5Cap
3. Route the Ethernet cable through the cap, spacer, rubber seal, and split washer.
NOTE
These components have a “clamshell” design that allows them to be installed onto
the cable.
4. Compress the split washer, rubber seal, and spacer so that they t together inside the
cap.

10
5. Route the Ethernet cable through the small end of the gland base. Align the RJ-45
connector appropriately, then snap the connector into place. Ensure that the connector
is fully connected before continuing.
6. Unscrew the protective cap on the boom of the JuiceRouter.
7. Connect the Ethernet cable to the po on the base of the JuiceRouter. Fully tighten the
gland.
NOTE
The POE injector and AC adapter are not outdoor rated and must be installed inside
or in a sealed outdoor enclosure. Failure to do so will result in corrosion and damage
to the JuiceRouter.
8. Connect the other end of the Ethernet cable to the PoE injector.
9. Connect the PoE injector to power.

11
Web Dashboard
Connect To The Dashboard
There are 2 ways to connect to the JuiceRouter’s web dashboard:
>Use an Ethernet cable to connect a computer to the open Ethernet po on the PoE
injector
>Connect to the JuiceRouter's WiFi:
> Network: ENELX
> Password: Enelx12345
In a web browser, navigate to 192.168.168.1. To log into the dashboard for the rst time,
use the default credentials:
USERNAME admin
PASSWORD admin123
The rest of this section describes additional actions within the Dashboard. These actions
are recommended, but not required.
Change the Dashboard Password
1. In the top menu, select Admin > Users.
2. Enter a new password, then select Change Password. After selecting this buon, you
are automatically logged out of the dashboard.

12
Change the JuiceRouter WiFi SSID And Password
1. In the top menu, select Wireless > Radio1.
2. Enter a new SSID and password, then select Submit.
Change the JuiceRouter Timezone
1. In the top menu, select System > Seings.
2. In the “Time Seings” section, select a new timezone from the dropdown menu. Then,
select Submit.
Table of contents


