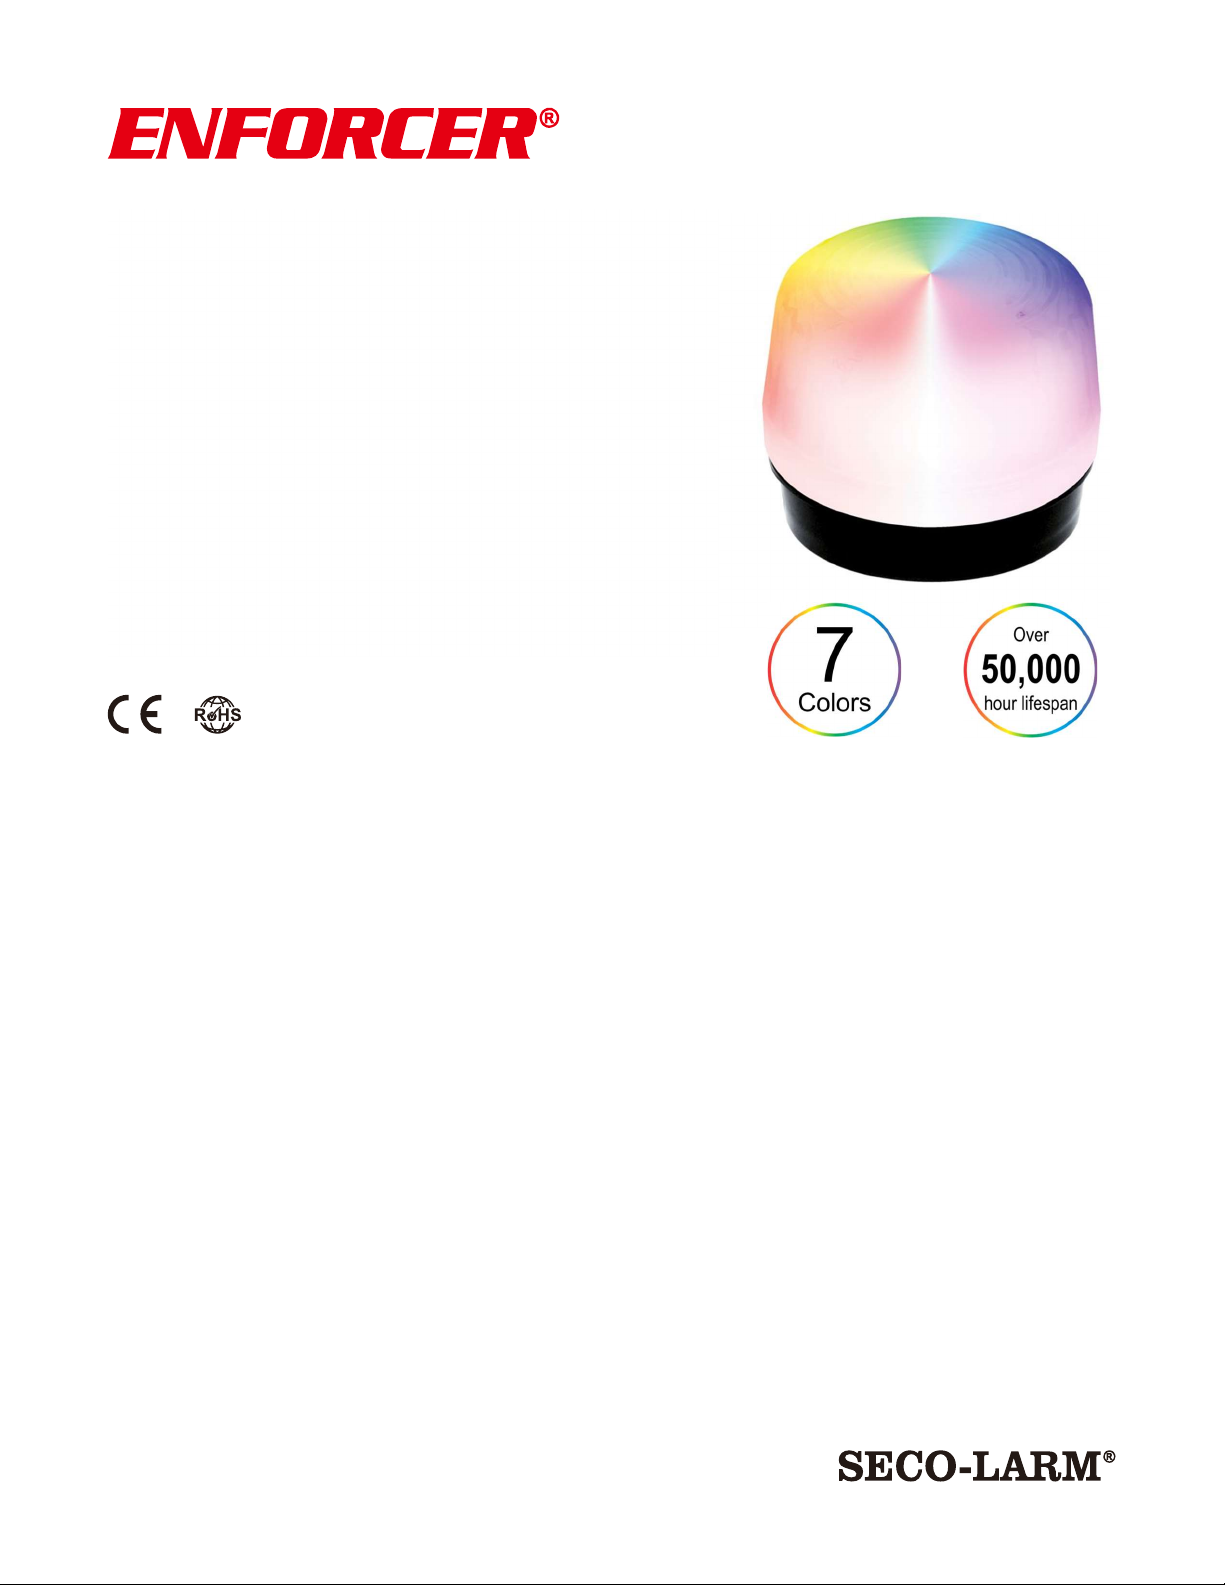
Multi-Color LED Strobe Light
6 SECO-LARM U.S.A., Inc.
Installation (Continued)
6. Mount the strobe base using the included long screws with rubber "O" rings, taking care not to
crimp the wires. If screws are fastened too tightly, the "O" rings will be damaged.
NOTE: For more weather resistant installation, apply a bead of silicone sealant around the base
before mounting.
7. Depending on your mode and color choices, set the DIP switches and/or the strobe jumper (see
Configuring the LED Color and Strobe, pg. 6 for details).
8. Adjust the speed using the strobe speed control (see Overview, pg. 4, turn clockwise to
increase, counterclockwise to decrease).
Configuring the LED Color and Strobe
Power On Mode
For Power On Mode, connect only the brown and black wires
and use the DIP switches (see Fig. 2, and note that at least one
must be ON) and jumper settings below (also see Overview,
pg. 4). Do not confuse the Strobe/Steady ON jumper and the
Strobe/Steady ON DIP switches.
If the Strobe Jumper is set - the DIP switches only control the
color and that color will flash on/off.
If the Steady ON Jumper is set – see various combinations as
below and in Fig. 3:
1. One or more DIP switches set to Strobe and none to
Steady ON – that color flashes on/off (e.g., G2+B2 ON =
flashing cyan).
2. One or more DIP switches set to Steady ON and none to
Strobe – that color is steady on (e.g., B1 ON = steady blue).
3. A combination of Strobe and Steady ON DIP switches are
set – the color of the Steady ON switch(es) will remain on
and the color of the Strobe switch(es) will flash on/off but
the flashing color will be a combination of all the switches
(e.g., B1+G2 = flashing between blue and cyan). However, when more than 2 switches are
steady on, even the steady color may be the composite color.
ON
Result
R2
Red Strobe (default)
R1
Red Steady ON
G2
Green Strobe
G1
Green Steady ON
B2
Blue Strobe
B1
Blue Steady ON
Color
Combinations Result
Red + green Yellow
Blue + red Magenta
Green + blue Cyan
Red + blue + green White
Fig. 3
Fig. 2