manuals.online logo
Brands
  1. Home
  2. •
  3. Brands
  4. •
  5. Enraf Nonius
  6. •
  7. Fitness Equipment
  8. •
  9. Enraf Nonius EN-TreeM User manual

Enraf Nonius EN-TreeM User manual

1
EN-Tree
M
Installation Manual
2
INSTALLATION PROCEDURE EN-TREEM
Installation EN-TreeM
• The EN-Tree
M
pulley must be installed so that
its use is not limited by other objects.
• The EN-Tree
M
pulley must be fixed to the wall
with screws and plugs that are suitable for the
type of wall. The fixation must be able to resist a
horizontal pulling force of 950 N.
• In case of two or more (EN-Tree
M
) pulleys, we
advise you to place the centres of the pulleys at
least 2.50 m from both sides of the corner, see
figure 1.
Verifying EN-Tree
M
operation
After connecting the serial cable and installing the
software on the Personal Computer, the functioning
of the EN-TreeM can be checked.
• Switch on the Personal Computer and the En-
Tree
M
Pulley.
• Start up the software with the training setup
screen as main screen
• Check whether you have selected the correct
communicationportfortheEN-Tree
M
.Therefore,
select “Options” on the menu bar and “Commu-
nication port” on the roll down menu. The indi-
cated port on the pop-up window has to corre-
spond with the port the EN-Tree
M
is connected,
correct if necessary. Close the window when
done.
• Make sure that the upper weight is at rest on the
weight stack before giving the keyword SERV-
ICE in capitals. This command opens a special
service pop-up window with a counter for the
height, its value is set to zero on entering the
command. Do not add any weight to perform the
test. Pull the weight up, until the position on the
display read 1000 mm. Lower the movement re-
striction on the right gliding pole until it is on the
weight and fasten it. Bring down the weight until
it is on the stack again.
• Determine the distance the weight has travelled
with a ruler, by carefully measuring the distance
between the weight glider and the movement re-
striction. The value has to be within the range
1000 +/-5mm.
• If the value is out of tolerance redo the above-
mentioned procedure and check whether the
counter is on “0” mm, check also the tension of
thepositionwire, set loose themovementrestric-
tion before pulling up the weight.
• The EN-Tree
M
is accepted when the value is
within tolerance.
2.50 m
2.50 m
Figure 1. Placement of two EN-Tree's.
Important Notes
• Do not transport or lift the EN-Tree
M
pulley by
the Vertical Protection Bar of the position wire.
Use only the weight leading bars and the handle
leading for transportation and/or lifting the unit.
• The supplied serial communication cable for the
connectionbetweenPersonal ComputerandEN-
Treepulleyhas tobesecured onbothsides. (This
is done with the screws)
• You have to be certain that the supplied mains
adapterisfor the correct mains voltage.Onlyuse
the adapter supplied with the EN-Tree
M
• Take care that both the serial cable and the
adapter cable are guided in such a way that they
are of no danger to personnel or they cannot be
trapped by the weights.
• Take care that the Personal Computer is con-
nected to a wall socked with protective earth,
however it is not permitted to connect the pulley
to earth.
3
Necessaryfor theupgradeis anupgradebleEN-Tree
pulley. With an upgradeble pulley all the necessary
holes are foreseen. See figure 2 for details. You will
find the following parts in the upgrade package:
• Vertical Protection Bar assembled with
wheels, ball bearings.
• Interface box.
• Encoder with assembled lock plate.
• A grab pin with wire and spring.
• Mounting material with Lock pin.
• Mains adapter.
• Communication cable
Performing the upgrade
UPGRADING AN EN-TREE PULLEY
• Place the protective cover on its side with the
interface box pointing to the floor.
• Being on the side of the opening of the protec-
tive cover, you can lead the wire easily over both
of the wheels. Hook on the loop of the wire on
the free end of the spring.
• Turn the protective cover a quarter turn, and
mount the cover to the bottom and top plate of
thepulleywith the suppliedhexagonsockethead
cap screw, washer, spring lock washer and nut.
• Set the pulley upright.
• Dothetest as isdescribedin the paragraph“Veri-
fying EN-Tree
M
operation” Make sure that the
EN-Tree
M
stands stable.
• If checked OK, mount the EN-Tree to the wall
again.
• Assemble the vertical protection bar and the in-
terface box as follows.
• Place the locking pin "B" on the hole with a ham-
mer with nylon protection cap. (see figure 2.)
• Open the interface box by removing the screws
marked "A" on figure 2.
• Remove the four screws marked "C" from the
Vertical Protection Bar.
• Mount the Interface box on the Vertical Protec-
tionBarbymountingthefourscrewsmarked"C"
onfigure 2. Also place the screw and nut you will
find in the set of mounting material.
• Place Encoder by sliding the hole in the locking
plate over the locking pin and the Encoder axle
intheaxleofthe wheel. Secure the Encoder axle
with the small hexagon screw in the axle journal.
• ConnecttheEncodertotheprintedcircuitboard.
• Close the Interface box with the four screws
marked "A" on figure 2.
• RemovetheEN-treepulley from the wall byloos-
ening the four bolts or nuts.
• Place the pulley face down.
• Slide the weights approx. 300 mm up.
• Screw the Grab pin in the upper weight of the
stack. Take care that distance between the hole
and the weight is approx. 24.5 mm. Also let the
hole be parallel in respect to the gliders of the
weight and take care that the spring is below of
the grab pin. See illustration for details. Fasten
the lock nut afterwards.
Note Donottightenthehexagonscrew marked "E"
too much because this will damage the posi-
tion wire.
4
Copyright:
Enraf-Nonius B.V.
P.O. Box 810
NL-2600 AV DELFT
The Netherlands
Tel.:+31(0)15 - 26 98 400
Fax:+31(0)15 - 25 61 686
Article number 1410.703-40
1st edition.
Enraf
Nonius
Figure 2. Mechanical situation diagram of EN-TreeM

Other Enraf Nonius Fitness Equipment manuals

Enraf Nonius EN-DYNAMIC Series User manual

Enraf Nonius

Enraf Nonius EN-DYNAMIC Series User manual

Enraf Nonius BIKE REHA User manual

Enraf Nonius

Enraf Nonius BIKE REHA User manual

Enraf Nonius Crosswalker User manual

Enraf Nonius

Enraf Nonius Crosswalker User manual

Enraf Nonius EN-Tree Bench User manual

Enraf Nonius

Enraf Nonius EN-Tree Bench User manual

Enraf Nonius 3446437 User guide

Enraf Nonius

Enraf Nonius 3446437 User guide

Enraf Nonius TensMed S84 User manual

Enraf Nonius

Enraf Nonius TensMed S84 User manual

Popular Fitness Equipment manuals by other brands

Gold's Gym PLATINUM GGBE1658.0 user manual

Gold's Gym

Gold's Gym PLATINUM GGBE1658.0 user manual

MyRower MyRower manual

MyRower

MyRower MyRower manual

BH FITNESS G410 Instructions for assembly and use

BH FITNESS

BH FITNESS G410 Instructions for assembly and use

Sissel SPINEFITTER instructions

Sissel

Sissel SPINEFITTER instructions

Impex PM-20 owner's manual

Impex

Impex PM-20 owner's manual

First Degree Fluid FR-E216 owner's manual

First Degree

First Degree Fluid FR-E216 owner's manual

Body Solid DLEC.3 owner's manual

Body Solid

Body Solid DLEC.3 owner's manual

Octane Fitness Q47 Product safety information

Octane Fitness

Octane Fitness Q47 Product safety information

Batca Link LD-6 owner's manual

Batca

Batca Link LD-6 owner's manual

Weider WEBE05920 user manual

Weider

Weider WEBE05920 user manual

ParaBody 849 user guide

ParaBody

ParaBody 849 user guide

Tunturi C40 owner's manual

Tunturi

Tunturi C40 owner's manual

Ironman Fitness 5600 owner's manual

Ironman Fitness

Ironman Fitness 5600 owner's manual

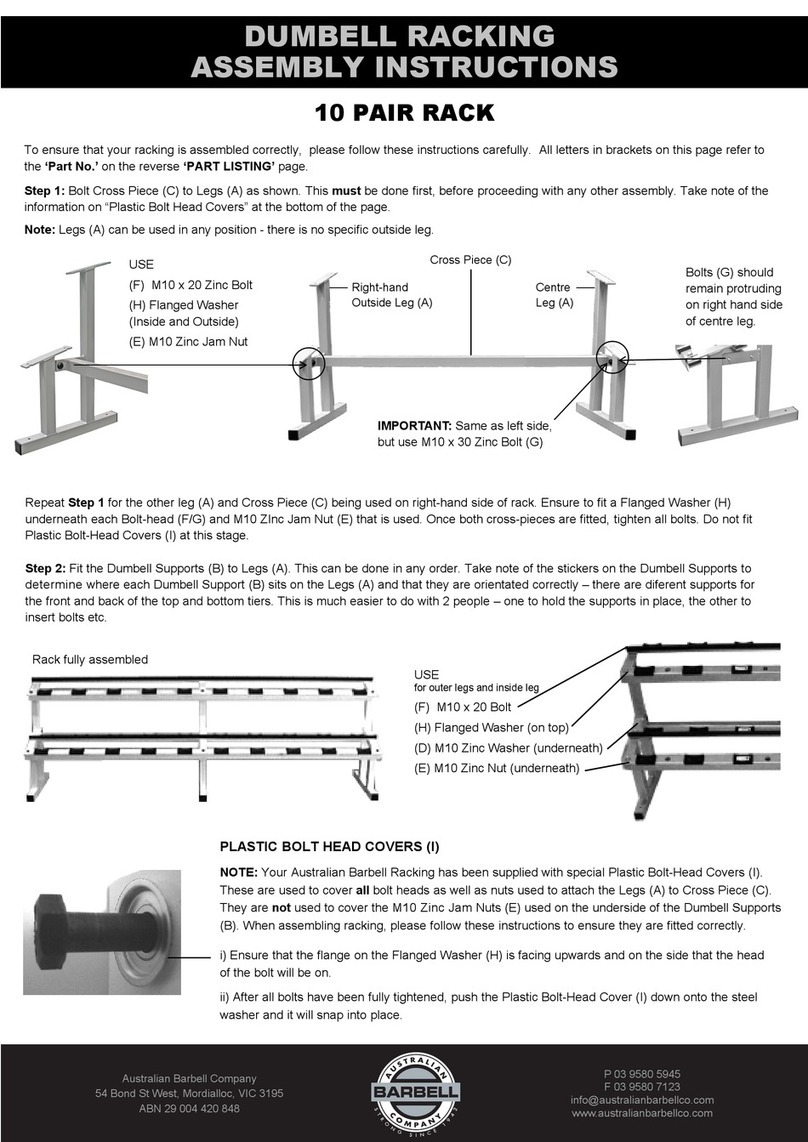
Australian Barbell Company 10 PAIR RACK Assembly instructions

Australian Barbell Company

Australian Barbell Company 10 PAIR RACK Assembly instructions

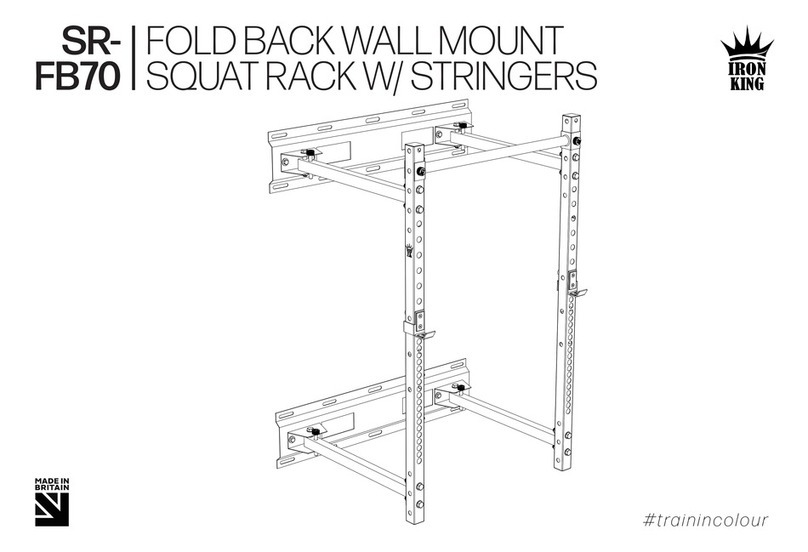
Iron King SR-FB70 manual

Iron King

Iron King SR-FB70 manual

Sackner Wellness Gentle Jogger instructions

Sackner Wellness

Sackner Wellness Gentle Jogger instructions

Teeter Hang Ups Over EZ Assembly instructions

Teeter Hang Ups

Teeter Hang Ups Over EZ Assembly instructions

Everlast P00001266 owner's manual

Everlast

Everlast P00001266 owner's manual

manuals.online logo
manuals.online logoBrands
  • About & Mission
  • Contact us
  • Privacy Policy
  • Terms and Conditions

Copyright 2025 Manuals.Online. All Rights Reserved.