manuals.online logo
Brands
  1. Home
  2. •
  3. Brands
  4. •
  5. Enthuze Automotive
  6. •
  7. Automobile Accessories
  8. •
  9. Enthuze Automotive ENT4084 User manual

Enthuze Automotive ENT4084 User manual

1
Enthuze Automotive Products
email: [email protected]
website: www.enthuze.ca
SKU#ENT4084
PLATFORM HITCH MOUNT 2-BIKE CARRIER
Assembly Recommended Tools:
Open Wrench
(1pcs)
Size=17mm
Open Wrench
(1pcs)
Size=19mm
2
WARNING
READ, STUDY, UNDERSTAND AND FOLLOW ALL INSTRUCTIONS AND WARNINGS BEFORE USING THE
BIKE RACK.
1. Do not overload beyond the manufacturer’s weight capacity of 80 lbs.
2. Do not carry more than 2 bikes on the carrier.
3. The bike rack is not intended for transporting humans or animals.
4. If you are planning to load only one bike, it is recommended to place it in the position closest to the
vehicle.
5. All bikes must be secured with tie down straps and must be pulled tight before operating the
vehicle.
6. Make sure the front of the bike(s), when mounted, are at or above the bottom of the bumper to
avoid damage to the bike(s).
7. Do not carry flammable items on the bike rack.
8. The bike rack is designed to carry non-motorized bikes only.
9. During long trips, check the straps and bike position, especially if traveling on rough terrain.
10. Please do not make alterations to the product, as it can pose potential hazards to your safety.
11. Failure to heed these warnings may result in personal injury and/or property damage.
3
Part List
Item#
Description
Quantity
Item#
Description
Quantity
1
Support plate
1
12
Short adjusting hook
1
2
Support tube
2
13
Long adjusting hook
1
3
5/16"x2-1/2"hexagon bolt
3
14
1/2"-13 hexagonal studs with hole
1
4
M10×55 carriage bolt
3
15
1/2" spring washer
1
5
M10 lock nut
4
16
1/2" flat washer
1
6
Adjustable tube
1
17
2" adapter
1
7
Support bracket
1
18
3.8 pin clip
1
8
M10x50 carriage bolt
1
19
The buckle tape
4
9
M10x16 hexagon bolt
1
20
5/16" flat washer
6
10
Right tire holder
2
21
5/16" spring washer
3
11
Left tire holder
2
22
5/16" knob
3
4
STEP 1
Insert the support tube (2) horizontally into the support plate (1). Firstly, use M10x55 carriage bolts (4)
to pass through the support plate (1) and the hole of the support tube (2), and tighten the bolts with the
M10 lock nut (5). Next, use the 5/16”x2-1/2” hexagon bolt (3) to pass through the support plate (1),
followed by the hole of the support tube (2), followed by the 5/16” flat washer (20), and lastly the 5/16”
spring washer (21) tightened with the 5/16” knob (22). See Fig.1.
Fig.1
STEP 2
Insert the adjustable tube (6) into the support plate (1). Next, use the 5/16”x2-1/2” hexagon bolt (3) to
pass through the support plate (1), followed by the hole of the support tube (2), followed by the 5/16”
flat washer (20), and lastly the 5/16” spring washer (21), tightened with the 5/16” knob (22). Lastly, use
the M10 x 55 carriage bolt (4) to pass through the support plate (1) and the hole of the adjustable tube.
Tighten the bolt with the M10 lock nut (5). See Fig.2.
Fig.2
STEP 3
Insert the support bracket (7) into the square pipe of the support plate (1). Use the M10x50 carriage bolt
(8) to pass through the hole of the support plate (1) and the hole of the support bracket (7). Tighten the
bolt with the M10 lock nut (5). Next, tighten the support bracket (7) with the M10x16 hexagon bolt (9).
See Fig 3.
Fig.3
5
STEP 4
Insert the right tire holder (10) and left tire holder (11) into the support tube (2) and tighten the knob.
See Fig 4.
Fig.4
STEP 5
Insert the long adjusting hook (13) and the short adjusting hook (12) into the adjustable tube (6). See Fig
5.
Fig.5
STEP 6
Assemble the 2" adapter (17) into the support bracket (7), and then insert the product into the vehicle
receiver. Use the 1/2"-13 hexagonal studs with hole (14) to pass through the 1/2" spring washer (15),
1/2" flat washer (16) and 2" adapter (17). Finally, use 3.8 pin clip to fix. See Fig 6.
Fig.6
Bicycle Placement Instruction:
6
STEP 1
Loosen the 5/16 "knob (22) and expose the head of the 5/16"x2-1/2"hexagonal bolt (3) outside the
support plate (1). Bring down the adjustable tube. See Fig 7.
Fig.7
STEP 2
Put the bicycle into the tire holder and adjust the distance of the tire holder according to the wheel
distance of the bicycle. Then put the adjustable tube to the vertical position and fix the bicycle with the
adjusting hooks. See Fig 8.
Fig.8
STEP 3
Secure the wheels with the buckle tape (19). See Fig 9.
Fig.9
Remove Bicycle Instruction:
Remove the buckle tape on the wheels. Then press the tooth clips on the adjustable hook to move the
adjusting hook upward, and then remove the bicycle. See Fig 10.
7
Fig.10
Folding the Bike Carrier Instruction:
Loosen the 5/16" knob, rotate the support tube to the vertical states, and then tighten the 5/16" knob.
See Fig 11.
Fig.11

Popular Automobile Accessories manuals by other brands

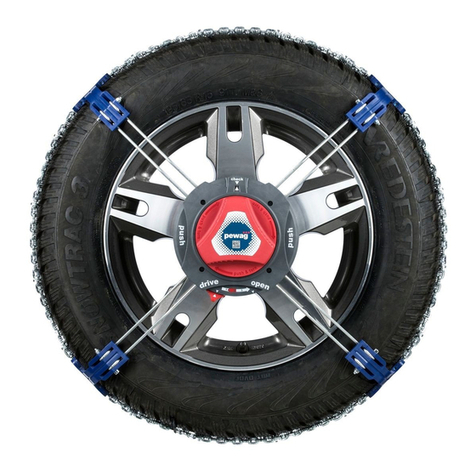
pewag RSC Mounting instruction

pewag

pewag RSC Mounting instruction

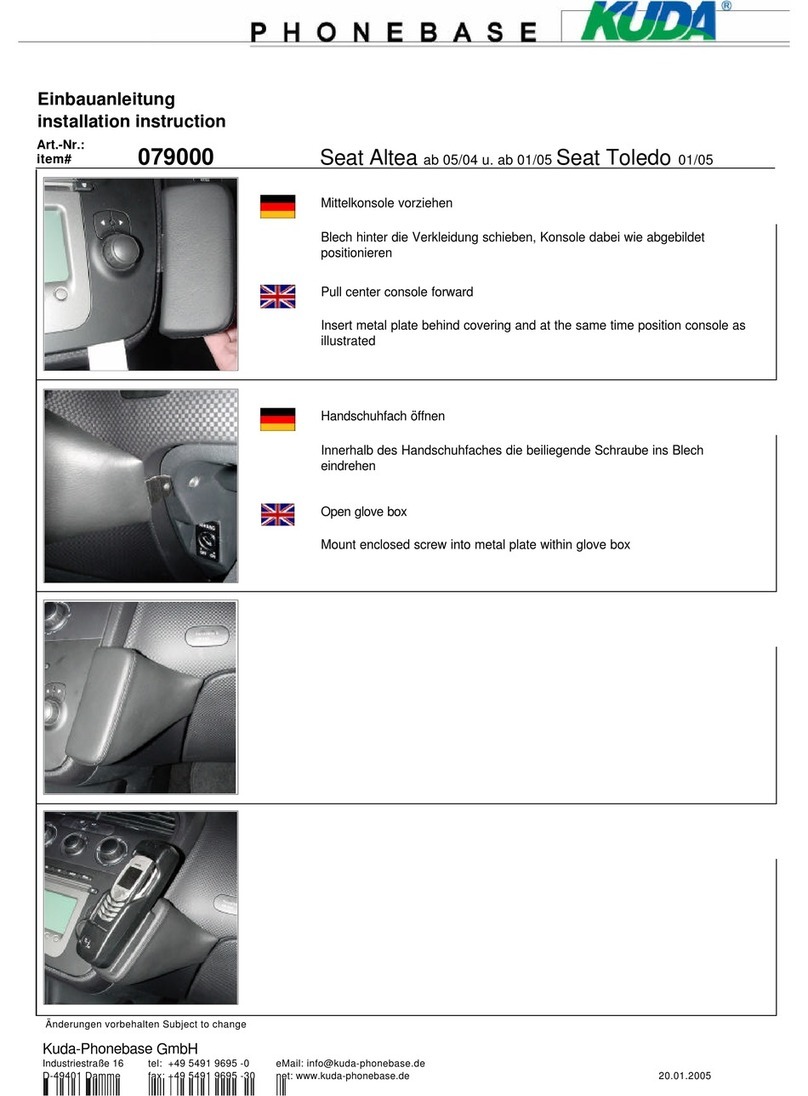
Kuda 079000 Installation instruction

Kuda

Kuda 079000 Installation instruction

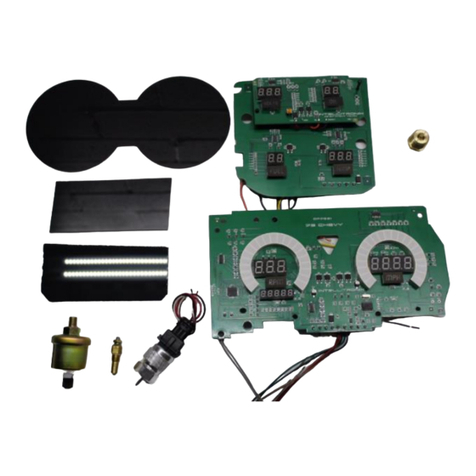
Intellitronix DP6004 installation guide

Intellitronix

Intellitronix DP6004 installation guide

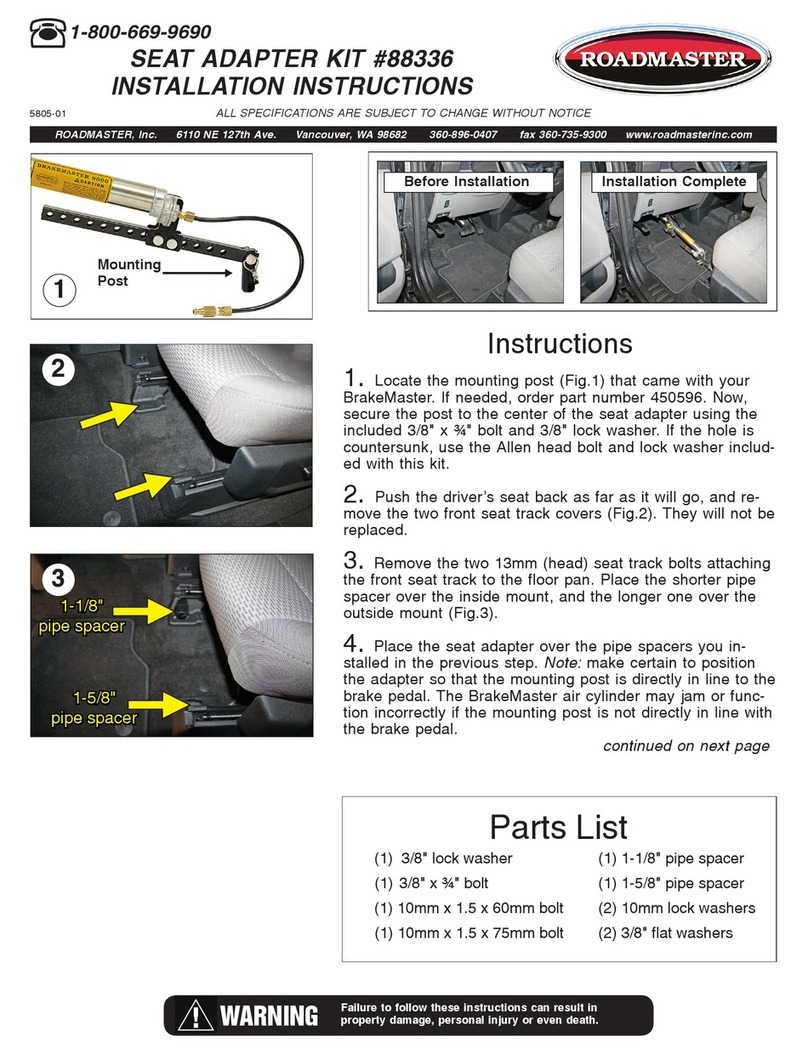
Roadmaster 88336 installation instructions

Roadmaster

Roadmaster 88336 installation instructions

Peruzzo FIRENZE instructions

Peruzzo

Peruzzo FIRENZE instructions

Sony nav-u Series manual

Sony

Sony nav-u Series manual

Metra Electronics 99-8152 installation instructions

Metra Electronics

Metra Electronics 99-8152 installation instructions

Smittybilt Defender Series installation instructions

Smittybilt

Smittybilt Defender Series installation instructions

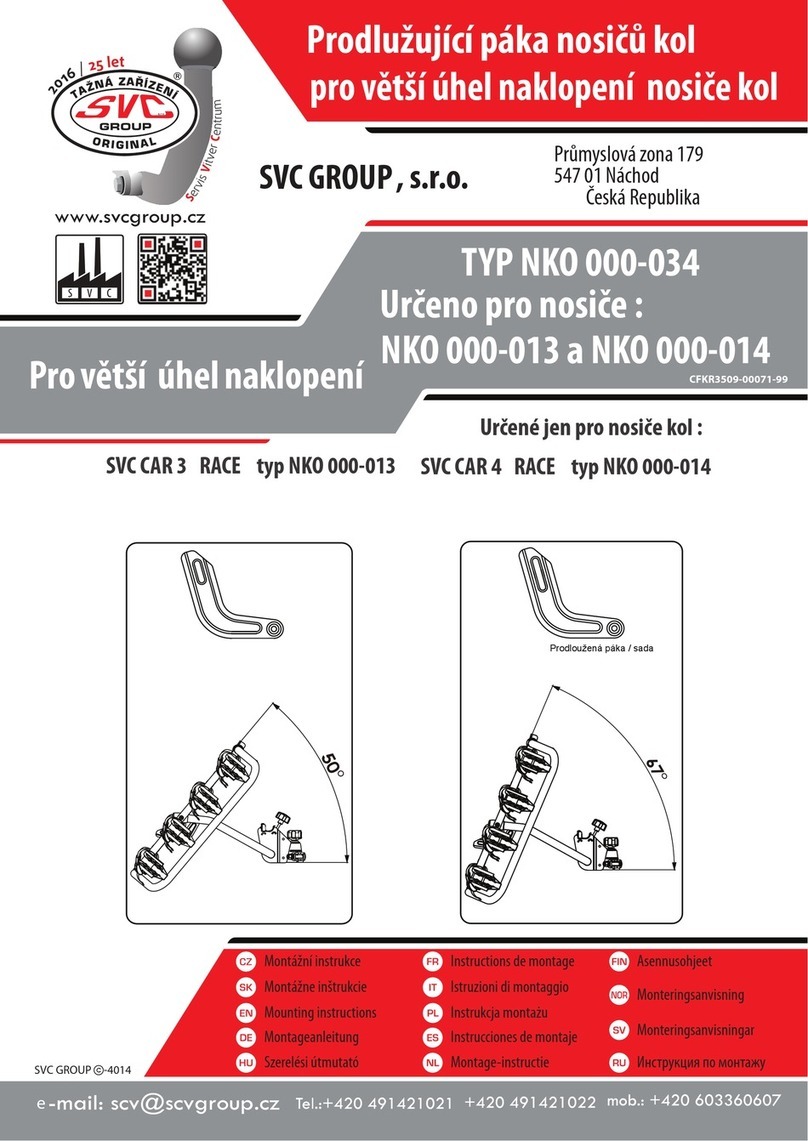
SVC GROUP CAR 3 RACE Mounting instructions

SVC GROUP

SVC GROUP CAR 3 RACE Mounting instructions

Hook BTZ 07-26B manual

Hook

Hook BTZ 07-26B manual

Westfalia 73 63 22 instruction manual

Westfalia

Westfalia 73 63 22 instruction manual

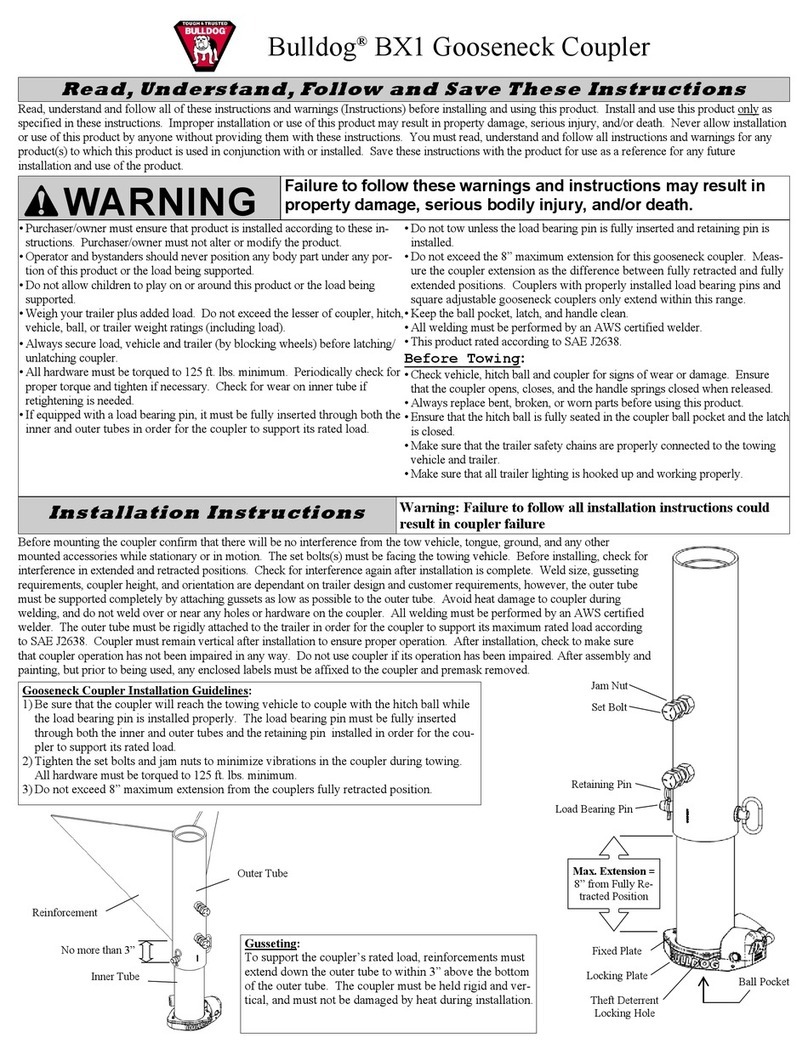
Bulldog Security BX1 instructions

Bulldog Security

Bulldog Security BX1 instructions

Mountain Top EVOe owner's manual

Mountain Top

Mountain Top EVOe owner's manual

Retrospec CASCADE owner's manual

Retrospec

Retrospec CASCADE owner's manual

LXE VX6 user guide

LXE

LXE VX6 user guide

Parrot MKi9000 quick start guide

Parrot

Parrot MKi9000 quick start guide

Rola PMX115 Fitting instructions

Rola

Rola PMX115 Fitting instructions

Car-Interface CI-RL2-SC14 manual

Car-Interface

Car-Interface CI-RL2-SC14 manual

manuals.online logo
manuals.online logoBrands
  • About & Mission
  • Contact us
  • Privacy Policy
  • Terms and Conditions

Copyright 2025 Manuals.Online. All Rights Reserved.