Enwork PROXI User manual

Programmable Remote Control Model – Rev 1
Model of Applicable Control Unit: M1.1/M2.1/M2.2/M1.3/M2.3
Compatible with Solano VT & Solano VT2
Revised 09/19
PROXI PROGRAMMABLE
REMOTE CONTROL USER GUIDE
HEIGHT ADJUSTABLE TABLE
TI0041

INSTALLATION GUIDE
TABLE OF CONTENTS
1) Installation Package
2) Assembly
• 2.1 Torque Guide
• 2.2 Assembly Step by Step
3) Simple Operating Instructions
• 3.1 Zero Setting
• 3.2 General Operation
• 3.3 Container and Shelf Stop Position
• 3.4 Saving a Desktop Position
• 3.5 Adjusting the Desktop to a saved position
4) Programmable Remote Control Operating Instructions
• 4.1 Enter the Setting Menu
• 4.2 Change the displayed desktop position (cm or inch)
• 4.3 Intelligent System Protection for Desktop move up
• 4.4 Intelligent System Protection for Desktop move down
• 4.5 Changing the Desktop Height Displayed
• 4.6 Lock or Unlock the programmable remote control
• 4.7 Reset Control Unit to Factory Settings

INSTALLATION GUIDE
1) INSTALLATION PACK AGE
2) ASSEMBLY
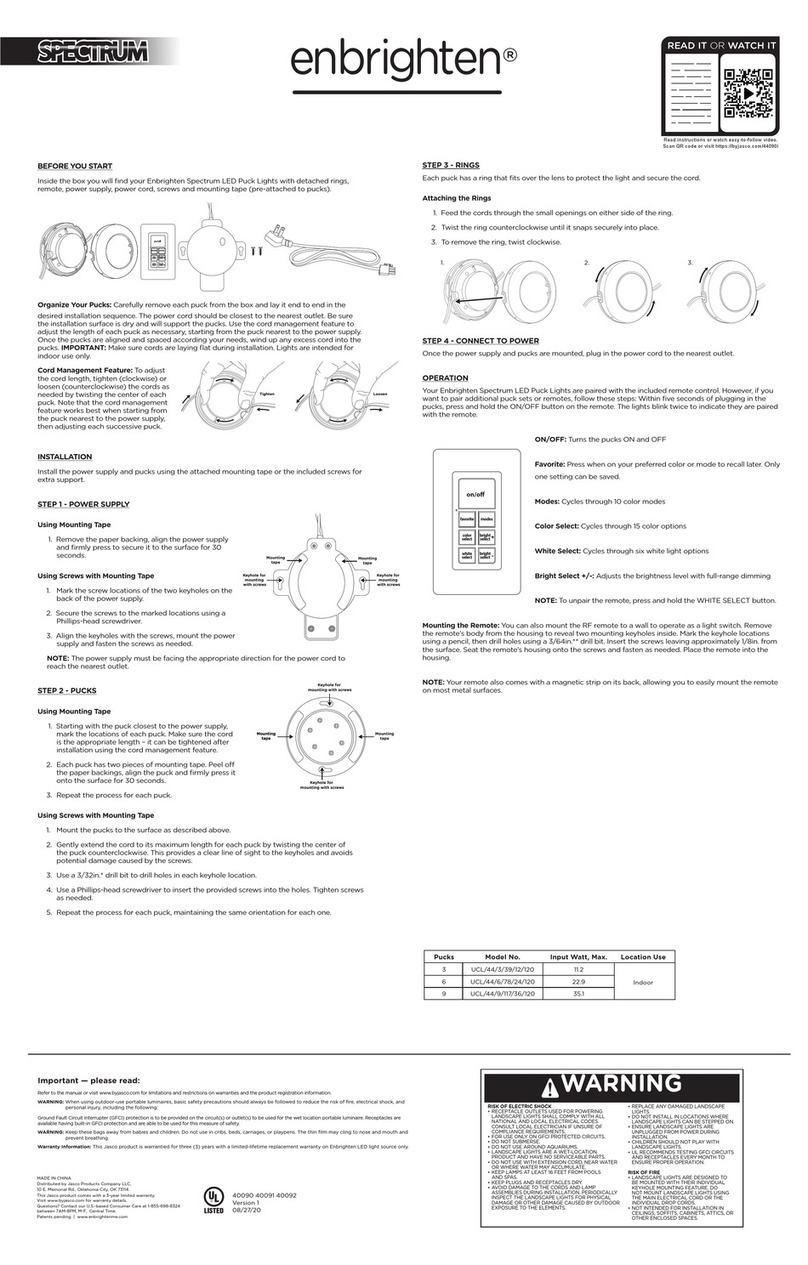
When installaing the remote control. use the screws below.
2.2 Assembly Step by Step
Please follow the steps below to attach the
Remote Control
Step 1
Attach the Remote Control as illustrated.
Step 2
Connect Remote Control Cable to the Control
Unit as illustrated. (Control Unit picture may vary)
2.1 Torque Guide
The tightening torque depends on the wood; torque should not exceed 2Nm.
ST 2.9x16 (2 pcs)
STEP 1
STEP 2

INSTALLATION GUIDE
3) SIMPLE OPERATING INSTRUCTIONS
3.1 Zero Setting:
When using the height adjustable frame for the rst time, lower the desk to the lowest height as explained before below proceeding.
• Press button and keep pressing the button until the desktop has reached the lowest position (programmed desktop position).
• Press button again and hold. After about ve seconds the desktop will slowly move further down until it reaches the lowest
possible desktop position.
• Release button. The electric height adjustable frame is now ready for use.
3.2 General Operation:
This function enables you to adjust the frame upwards or downwards.
Press or button and keep pressing until the required frame height is reached.
3.3 Container and Shelf Stop position:
These two features can be used to limit the movement area of the desktop (e.g. if a container is placed underneath the desktop).
A container stop position can be dened in the lower half of the movement area, a shelf stop position in the upper half. If a
container stop position is set, this position will be the lower limit position. If a shelf stop position is set, this position wil be the
new upper limit position.
To store a container stop / shelf stop position, go on as shown below:
• Move the frame to the position where the container stop / shelf stop position shall be stored. Do so by pressing
the or button until you reach the desired position.
• Press both the up and down button ( or ) for ve seconds. The control unit will “bi” once when the contained stop /
shelf stop position is stored.
Zero setting position is approximately 5mm lower than original starting height position.
The frame will continue moving upwards or downwards until you release the button or the
maximum/minimum height is reached
A container stop position can only be stored in the lower half of the movement area and a shelf stop in the
upper half. The steps have to be done for a container stop and a shelf stop position separately.
Please read the insturctions below carefully before operating the Remote Control.

INSTALLATION GUIDE
3) SIMPLE OPERATING INSTRUCTIONS CONT.
To remove the container stop/ shelf stop position follow the instructions below:
• Move the frame to any position in the lower half to deactivate the container stop. Move the frame to any position in the upper
half to deactivate the shelf stop. Do so by pressing the or button until you reach the desired position.
• Press both up and down button ( or ) for ve seconds. The control unit will “bi” once when the container stop / shelf stop
position has been removed.
3.4 Saving a desktop position:
This function allows you to save a dened desktop height. One desktop height can be saved per memory position key. To save a
position follow the instructions below:
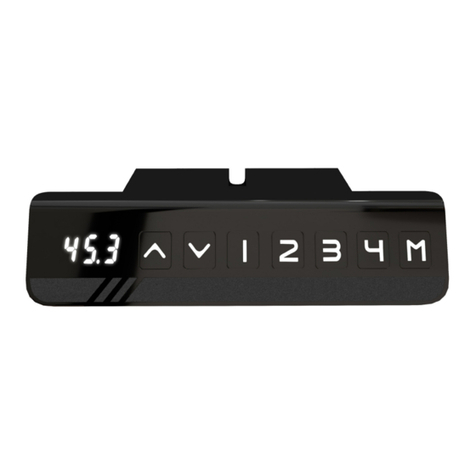
• Adjust the desktop to the desired desktop position you would like to save. The display will show the desktop height (e.g. 73cm).
• Press the Setting button (S). The display will read S --.
• Press the desired memory position button (e.g. 2). The display will read S 2.
• The set desktop position will now be saved to the selected memory position button.
3.5 Adjusting the desktop to a saved position:
You can use this function to adjust the desktop to a saved height.
To change to a saved position, follow the instructions below:
• Press the desired memory position button (e.g. 2) and hold it down. The desktop will move until it reaches the saved position.
• If you release the key before the saved position is reached the desktop will stop and the saved desktop position will not be reached.
• The desktop has reached the saved position. Now release the memory position button. The display will read the current
(saved) desktop position.
These steps have to be done for a container stop and a shelf stop position seperately!
When turning on the control unit for the rst time, all saved positions are set to the lowest desktop height
(minimum desktop position).

INSTALLATION GUIDE
4) PROGRAMMABLE REMOTE CONTROL
OPERATING INSTRUCTIONS
4.1 Enter the setting menu
Follow the instructions below to enter the setting menu to change the settings for the control unit.
• Press the “S” button ve seconds. The display will read “S – X”.
• The display will start ashing.
• Pressing up or down button ( or ) to choose which parameter to change.
• Press the “S” button to enter the setting.
4.2 Change the displayed desktop position (cm or inch)
Follow the instructions below to change the displayed desktop position from centimeters to inches or the other way around.
The desktop position itself is not affected by this function.
• Within the setting menu choose “S – 1”.
• Press the “S” button to enter the setup menu.
• Press the up or down button ( or ) to choose the desired setting. “0” means display with “cm” while “1” means
display with “inch”.
• Press the “S” button to nish the setup.
4.3 Intelligent system protection for desktop move up
Follow the instructions below to change the sensitivity of the intelligent system protection for desktop move up.
• Within the setting menu choose “S – 3”.
• Press the “S” button to enter the setup menu.
• Press the up or down button ( or ) to choose the desired setting. “0” means ISP close, “1” means ISP least sensitive,
“8” means ISP most sensitive.
• Press the “S” button to nish the setup.
4.4 Intelligent system protection for desktop move down
Follow the instructions below to change the sensitivity of the intelligent system protection for desktop move down.
• Within the setting menu choose “S – 4”.
• Press the “S” button to enter the setup menu.
• Press the up or down button ( or ) to choose the desired setting. “0” means ISP close, “1” means ISP least sensitive,
“8” means ISP most sensitive.
• Press the “S” button to nish the setup.
4.5 Changing the desktop height displayed
Follow the instructions below to change the height shown on the display but not the actual position of the desktop.
• Within the setting menu choose “S – 5”.
• Press the “S” button to enter the setup menu.
• Press the up or down button ( or ) to adjust the number for the height shown on the display.
• Press the “S” button to nish the setup.

INSTALLATION GUIDE
4) PROGRAMMABLE REMOTE CONTROL
OPERATING INSTRUCTIONS CONT.
Follow the instruction below to lock or unlock the programmable remote control.
• Press the “S” and down button ( ) and hold for ve seconds.
• The display will show “Loc” which means the remote control is now locked.
• Press the “S” and up button ( ) and hold for ve seconds.
• The display will show the height which means the remote control is now unlocked.
4.7 Reset control unit to factory settings
Follow the instructions below to use a congured control unit on another identical electric height adjustable frame or to reset the
control unit to its original factory settings.
• Press the up and down button ( or ) and hold for ten seconds.
• The control unit will “bi” and ash “000”.
• Press the down button ( ) until the display shows the height of the desktop. The control unit has now been reset to the
original factory settings.
If one or more motors are changed in a system, the control box must be reset to factory settings and a
manual reset has to be preformed!

Specications subject to change without notice.
1.800.815.7251
www.enwork.com
12900 Christopher Dr. Lowell, MI 49331
Table of contents
Other Enwork Remote Control manuals
