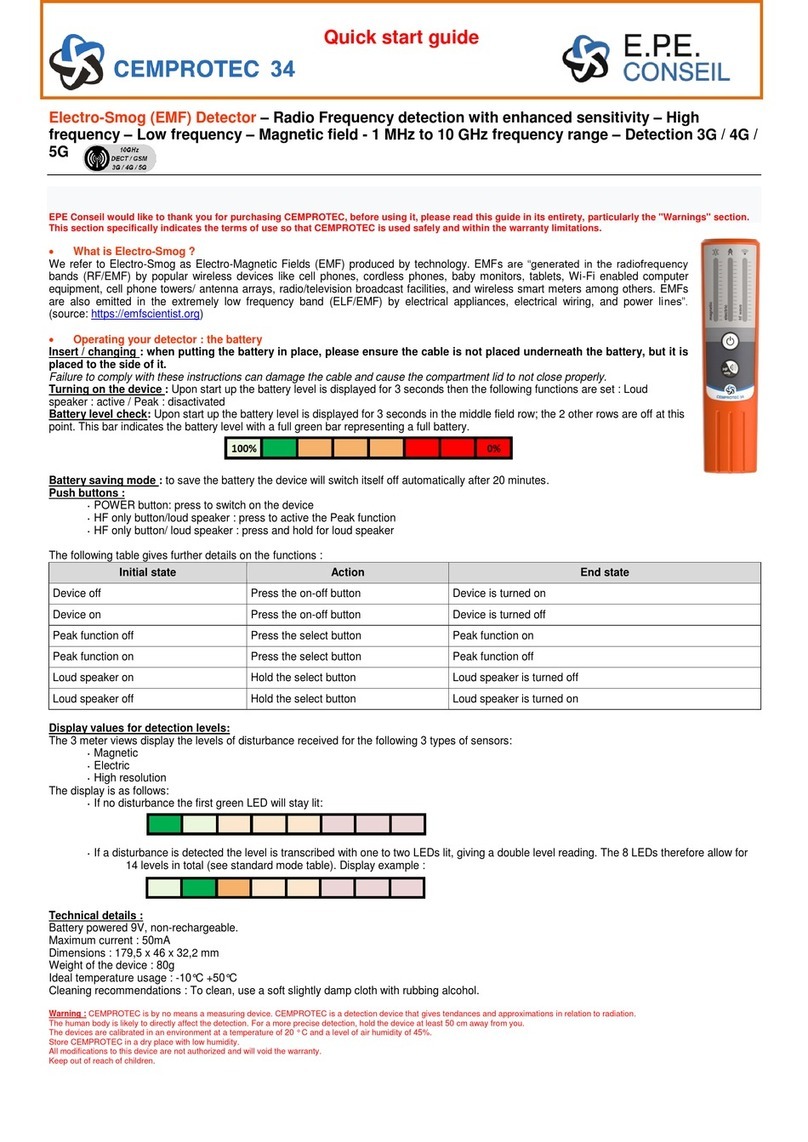
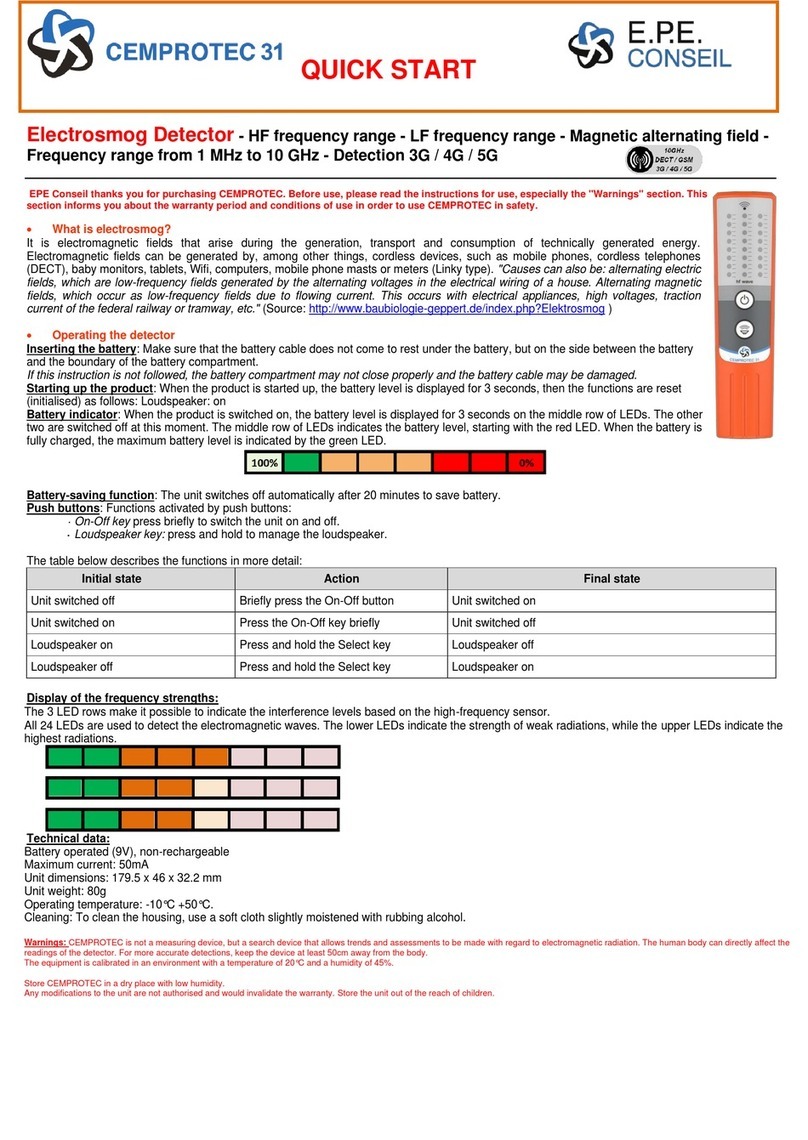
EPE Conseil CEMPROTEC 34 User manual

8
Technical Specifications
Powered by 9V battery, non-
rechargeable .
Maximum current: 50mA
Device dimensions:
179,5 x 46 x 32,2 mm
Device weight: 80g
Ideal temperature usage:
-10°C +50°C
Cleaning recommendations: To clean,
use a soft, slightly damp cloth with
household/ rubbing alcohol
WARNINGS
CEMPROTEC is by no means a measuring device
CEMPROTEC is a detection device that gives tendencies and approximations in
relation to radiation.
The human body is likely to directly affect detection. For more accurate detections,
hold the device at least 50cm away from you.
The devices are calibrated in an environment at a temperature of 20°C and a
humidity level of 45%.
-—
Store CEMPROTEC in a dry place with low humidity.
All modifications to this device are not authorized and will void the warranty.
Keep the device away from children
WWW.EPECONSEIL.FR
SAS EPE Conseil. Le Vieux Serrant 49170 Savennières, France
Evaluaon Polluons Electromagnéque & Conseil
oers its experse in the detecon and control of
electromagnec radiaon
Some ideas for limiting your exposure to radiation
1. Use a low-radiaon cordless phone for short calls and a corded phone for long calls (if necessa-
ry we can refer you to manufacturers).
2. Set up call forwarding from your mobile phone to a landline phone when you are at home or in
the oce.
3. If possible, ground your Internet box (making sure you comply with the manufacturer's condi-
ons of use).
4. Favour an internet connecon with an Ethernet cable. When you use the cable, remember to
turn o the WiFi. For computers not equipped with RJ45 sockets, you can buy small adapters
that plug into USB sockets.)
5. Use a mer or a switch on the internet box power supply so you can cut it o at certain mes
of the day or night if necessary.
6. Use a USB grounding kit for a laptop.
7. Use shielded extension cords and mul-sockets at home or in the oce.
1
User Guide
Electromagnetic field detector
- High frequencies from 1 MHz to 10 GHz
- Low frequencies (electric and magnec eld) from
10 Hz to 5 kHz
EPE Conseil would like to thank you for purchasing
CEMPROTEC, before using it, please read this guide in its
entirety, especially the "Warnings" section.
This section specifically indicates the terms of use so that
CEMPROTEC is used safely and within the warranty limits.

2
Using your detector, there are two main functions!
1. Standard Mode:
As soon as the device is turned on, it is in « Standard Mode » This mode detects the magnec eld, the
electric eld, and high frequencies (radio frequencies) separately.
2. Full HF Mode:
Press the HF ONLY briey. This funcon only allows the detecon of high frequencies (therefore not
electric and magnec elds). The LEDs light up from the boom to the top, from le to right. The cor-
responding LED values are on page 5 of this manual.
To turn o the SOUND press and hold the HF ONLY buon.
Inserting the device battery
Installing the 9V baery (supplied): The 9V baery must be con-
nected respecng the + and - terminals on the black connec-
tor.
Baery level display: When switching the device on the baery
level is displayed for 3 seconds in the middle row of LEDs,
while the other LEDs are o at this point. The LEDs will light up
from the red one at the top, stopping at the relevant LED to
show the baery level. The green LEDs at the boom repre-
sent a full baery.
Baery saving mode: To save power the device will automacally
switch itself o aer 20 minutes. For frequent usage, it is re-
commended to use a rechargeable baery.
What is electromagnetic pollution?
There are mainly two "families" of electromagnec radiaon:
High-frequency radiaon: Generated by popular wireless systems such as connected objects, Wi-Fi, cell
phone towers/ antenna arrays, cell phones, xed wireless phones, Bluetooth, baby-phones, etc.
Low-frequency radiaon: This concerns all appliances connected to the electrical network, medium and
high voltage power lines, electrical panels and motors.
Cables and electrical systems can create an electric eld and also a magnec eld depending on the
power.
7
Usage guidance
Interior or exterior pollution?
The rst me you use the device you may be surprised by the level of exposure if it is higher than ex-
pectaons.
It is absolutely necessary to idenfy the cause(s) of radiaon to have the clearest possible "picture" of
the situaon; this will make it possible to apply suitable and eecve protecon/shielding soluons
against the nuisances observed.
To help you quickly idenfy your electromagnec exposure:
1. Turn on the device in Standard mode (with or without speakerphone on)
2. Move slowly from room to room, paying parcular aenon to the areas where you stay for a
long me (e.g. the bedroom, living room, oce). If possible aer, switch o the electricity in
your home for a few moments and then repeat the same detecon room by room.
3. If the levels are the same, it means that the radiaon is coming from outside. If they are lower,
it means that you have an exposure generated by your own electrical installaon or a system
(s) connected to it.
For outside radiaon, some eecve soluons can be used such as paints, fabrics, curtains and plasc
lms on windows. These products act as screens and greatly reduce the penetraon of outside radia-
on coming inside. However, it is important to choose the right soluon according to the type of radia-
on that is detected, as unfortunately there is no eecve soluon that works for all types of radia-
on.
How to find the polluting devices inside?
It is advisable to use the detector and check the radiaon level room by room.
The pollung systems are mainly cordless phones (DECT), WiFi, alarms, and various connected objects.
If you unplug each device for a few moments you should immediately noce a decrease in radiaon
with your detector.
Please note! If you measure an internet box and you have a DECT phone next to it, you must be careful
to dissociate the two sources because these two systems have the same type of radiaon (high fre-
quency).

6
STANDARD MODE GRAPH WITH THRESHOLDS
(radiation power indicated by each row of 8 LEDs )
• Baubiologie MAES-SBM. (2015). Indicative values in Baubiologie (Building Biology) for rest areas. In addition to the
standard measurement technique in baubiologie SBM-2015. Retrieved December 2, 2015, from http://baubiologie.fr/
IMG/pdf/valeurs_sbm-2015_fr.pdf. (recommendation)
• BioInitiative. (2012). BioInitiative Report 2012. In A Rationale for Biologically-based Exposure Standards for Low-
Intensity Electromagnetic Radiation. Retrieved November 16, 2015, from http://www.bioinitiative.org/table-of-
contents/. (recommendation)
• Council of Europe. (2011). Resolution 1815 (2011) Final version. In the potential dangers of electromagnetic fields
and their effect on the environment. Retrieved November 16, 2015, from http://assembly.coe.int/nw/xml/XRef/Xref-
XML2HTML-en.asp?fileid=17994&. (recommendation)
• NCRP, (1995) “Biological Effects and Exposure Criteria for Radiofrequency Electromagnetic Fields”, NCRP Report
No.86, Bethesda, Maryland, USA. (norm)
• TCO Development. (2012). TCO-Certified-Displays-6.0. In TCO Development. Retrieved November 16, 2015, from
http://tcodevelopment.com/files/2013/04/TCO-Certified-Displays-6.0.pdf#page=28. (norm)
3
ON - OFF Button
- Press once to turn on the device
- Press and hold to turn o the device
HF ONLY button with or without sound:
- Press once to turn on/o the FULL HF
- Press and hold the buon to turn on/o the speaker
How it displays:
- If there is no radiaon, the rst green LED stays
on.
- If radiaon is detected, its level is reected by the
LEDs being lit.
- The LED’s value is explained on page 7 of this
manual
Initial State Action Final State
Device off Press the ON/OFF button The device is turned on
Device on Press and hold on the ON/OFF
button Device is switched off
Full HF function deactivated Press the HF ONLY button The Full HF function is activated
Full HF function activated Press the HF ONLY button The Full HF function is deactivated
Loudspeaker is on Press and hold on the HF ONLY
button Loudspeaker is switched off
Loudspeaker is off Press and hold on the HF ONLY
button Loudspeaker is switched on
Detection level display
The 3 rows of LEDs display the detected radiaon levels:
·Magnec: Example of sources > transformers, telephone chargers, electrical panels and electrical
transformers, high voltage lines.
·Electric: Example of sources > bedside lamps, various electrical appliances plugged into the mains,
computers, power supplies, sockets, switches.
·High Frequency: Example of sources > WiFi, cell phones, cell phone antennas, connected objects,
baby phones, xed wireless phones.
01

4
1. Detection in Standard Mode:
The standard mode is very praccal and allows the simultaneous
detecon of electric and magnec elds and high frequencies with
or without sound.
The device makes radiaon easily "visible" therefore making the
sources more easily idenable.
It can also be used to verify the protecon soluons that have been
put in place to reduce exposure to waves.
1. Briey press the "on-o" buon to switch the unit to standard
mode.
2. Hold the detector with your arm slightly extended forward.
3. Move around slowly to detect electromagnec elds. The
device performs a new detecon every two seconds.
NB: To acvate or deacvate the sound, press and hold on the select
buon.
2. Detection in FULL HF Mode:
The FULL HF mode enables an enhanced sensivity detecon that corresponds to the tolerance thresh-
olds of electro-sensive people.
In Standard Mode, high-frequencies are detected by 8 LEDs. In FULL HF Mode there are 24 LEDs for
greater accuracy. The LEDs light up from LEFT to RIGHT from the BOTTOM to the TOP.
The detected high-frequency sound corresponds to a FINE ACOUSTIC ANALYSIS which is very useful.
This allows the sources to be idened by a sound proporonal to the modulated frequency. In other
words, this funcon allows the ear to dierenate between dierent sources of radiaon. For exam-
ple, if it is from the WiFI, a DECT phone, or an antenna. However, if the SOUND bothers you, it can be
easily turned o by pressing and holding the HF ONLY buon.
Electromagnec waves from base staons, Wi/WiMax networks, or DECT phones, connected objects,
etc.
1. Press the ON/OFF buon briey to turn on the standard mode.
2. Press the “HF ONLY” buon to acvate the high-resoluon HF mode
3. Hold the detector with your arm slightly extended forward.
4. Move around slowly to detect electromagnec elds. The device performs a new detecon
every two seconds.
Note: In this mode, all 24 LEDs are used for wave detecon. The LEDs at the boom of the display indi-
cate the lowest radiaon level, while the LEDs at the top of the display show the highest level.
Levels :
LED :
G = green LED
Y= yellow LED
R = red LED
EF
in V/m :
HF
-in µW/m
-in V/m :
MF
in nT :
5
Hypersensitive mode table:
When the FULL HF funcon is acvated, the unit detects only high-frequencies.
Radiaon power is indicated by all 24 LEDs, from le to right from the boom to top, with a detecon
spectrum of 1 MHz to 10 GHz.
Standard Mode Table:
It indicates the power of radiaon by each row of 8 LEDs and 14 levels. The table indicates the numeri-
cal values for the LEDs :
• The magnec eld with a 3D detecon spectrum of 10 Hz to 5 kHz.
• The electric eld with a detecon spectrum of 10 Hz - 5 kHz.
• The high-frequency eld with a detecon spectrum of 1 MHz to 10 GHz.
Levels : 012345678910 11 12 13 14
LED :
G = green LED
Y= yellow LED
R = red LED
G1
G1
+
G2
G2
G2
+
Y1
Y1 Y1 +
Y2 Y2 Y2 +
Y3 Y3 Y3 +
R1 R1 R1 +
R2 R2 R2 +
R3 R3
EF
in V/m : 0612 17 22 26 30 34 39 45 52 60 70 80 90
HF
-in µW/m² :
-in V/m :
0
0
15
0,08
40
0,12
70
0,16
110
0,1
9
150
0,23
200
0,27
300
0,33
500
0,43
750
0,53
1000
0,61
1250
0,69
1500
0,75
1750
0,81
2000
0,86
MF
in nT : 020 60 100 140 180 220 300 400 650 1000 1500 2000 2500 3000
High-frequency
levels: 012345678910 11
in µW/m² :
in V/m :
0
0
1
0,02
2,5
0,03
10
0,06
20
0,09
40
0,12
50
0,14
75
0,17
100
0,19
140
0,22
180
0,25
225
0,29
levels : 12 13 14 15 16 17 18 19 20 21 22 23
in µW/m²
in V/m :
300
0,33
400
0,38
550
0,45
750
0,53
1000
0,61
1250
0,69
1500
0,75
1750
0,81
2000
0,86
2250
0,92
2500
0,96
2750
1
Other EPE Conseil Security Sensor manuals
Popular Security Sensor manuals by other brands
Tequipment
Tequipment NGD8800 user manual
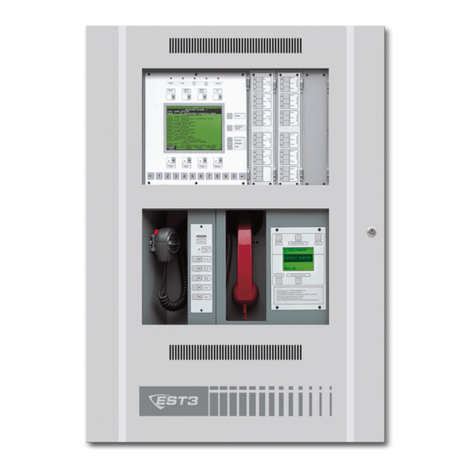
EDWARDS SYSTEMS TECHNOLOGY
EDWARDS SYSTEMS TECHNOLOGY EST3 System operation manual
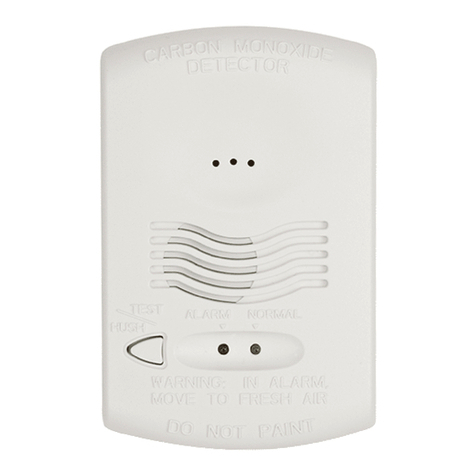
System Sensor
System Sensor CO1224T Installation and maintenance instructions

Protekt
Protekt ABM/LB101 instruction manual
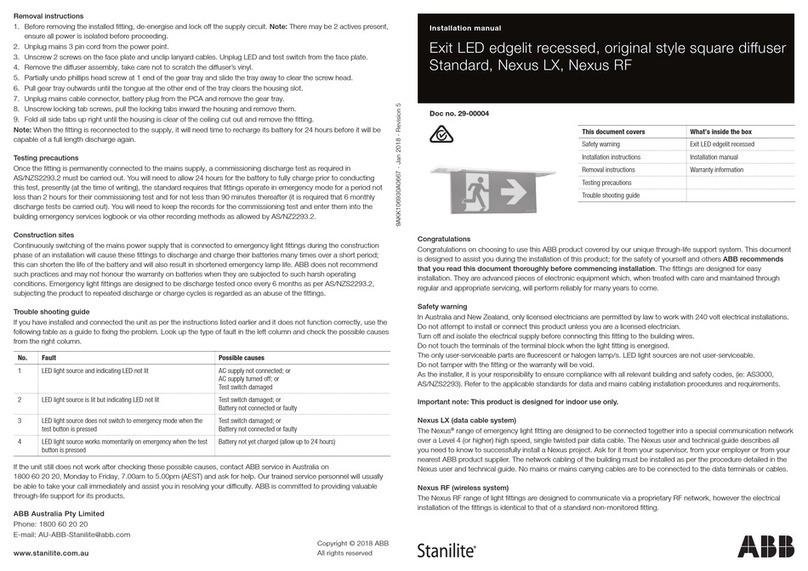
ABB
ABB Stanlite Nexus RF installation manual
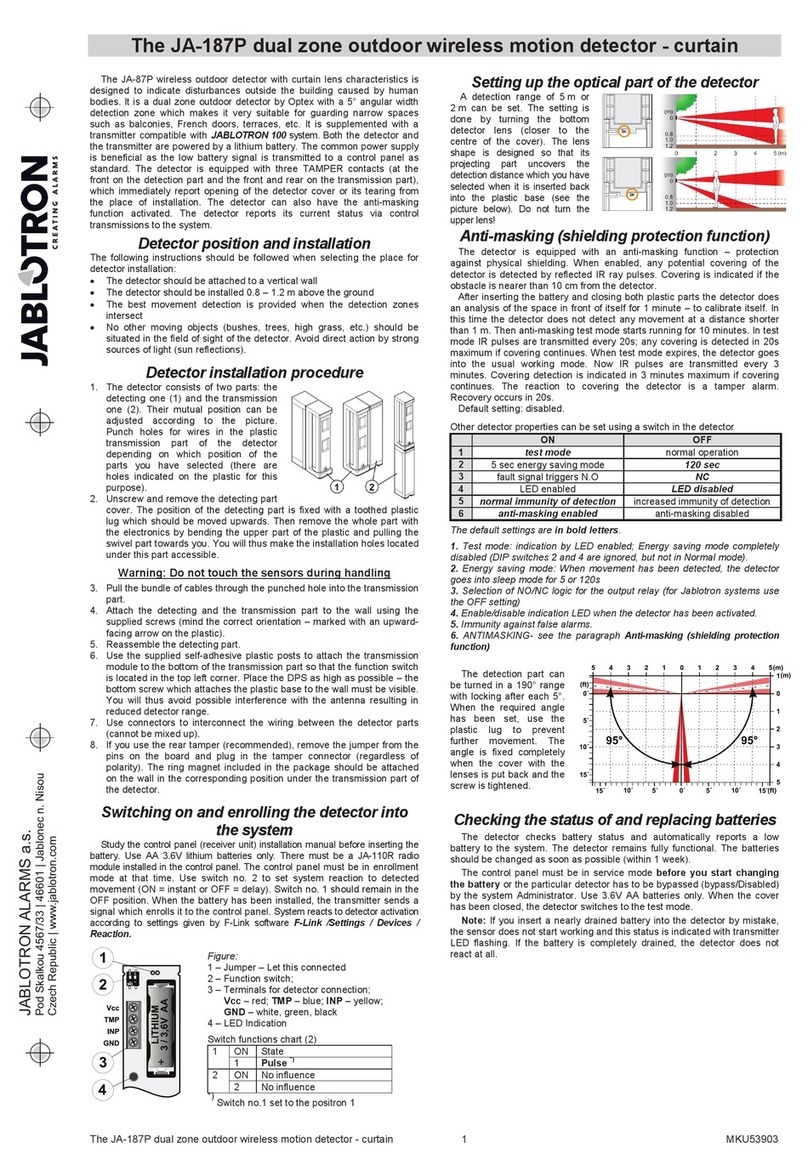
jablotron
jablotron JA-187P quick start guide
Greystone Energy Systems
Greystone Energy Systems WD-100 Series installation instructions
IFM Electronic
IFM Electronic efector500 PI2058 operating instructions

PCB Piezotronics
PCB Piezotronics 740B02/050AC Installation and operating manual
VIDICON
VIDICON STAR installation instructions
Xtralis
Xtralis VESDA VLP Installation sheet
ECOWITT
ECOWITT WH51L instruction manual
