manuals.online logo
Brands
  1. Home
  2. •
  3. Brands
  4. •
  5. Epson
  6. •
  7. Printer
  8. •
  9. Epson Stylus Photo 1430W Instruction Manual

Epson Stylus Photo 1430W Instruction Manual

Start Here
5Install software
Note: If your computer does not have a CD/DVD drive, you can
download the software from the Epson website (see “Epson technical
support”).
Caution: Be sure to close your other programs, including any screen
savers and virus protection software, before beginning this software
installation.
1Make sure the printer is NOT CONNECTED to your
computer.
Windows®:If you see a Found New Hardware screen, click
Cancel and disconnect the USB cable. You can’t install your
software that way.
2Insert the product CD.
3Windows 8: Click the CD/DVD drive message that
appears on your computer screen, then select Run
Setup.exe. Or, navigate to your CD/DVD drive and
double-click Setup.
Windows (other versions): If you see the AutoPlay
window, click Run Setup.exe.
Mac OS X: Double-click the Epson icon.
4Select your language, if necessary.
5Click Install (Windows) or Continue (Mac OS X) and
follow the instructions on your computer screen.
6When you see the Select Your Connection screen, check
the “Connection options” section on the back of this
sheet for more information.
Choose your connection. Then click Next (Windows) or
Continue (Mac OS X) and follow the instructions on your
Read these instructions before using your product.
1Unpack
Caution: Do not open ink cartridge packages until you are ready to
install the ink. Cartridges are vacuum packed to maintain reliability.
1Remove all protective materials.
2Open the printer cover and remove any tape inside.
2Turn on
1Connect the power cord to the back of the printer and to
an electrical outlet.
Caution: Do not connect to your computer yet.
2Press the power button.
3Install ink cartridges
Caution: Keep ink cartridges out of the reach of children and do not
drink the ink.
Note: The ink cartridges that come with your printer have a lower
yield due to the ink system charging process. This process is carried
out the first time you turn on your printer and guarantees better
performance.
1Open the printer cover, then open the ink cartridge cover.
2Unpack the ink cartridges.
3Remove only the yellow tape from each cartridge.
Caution: Don’t remove any other seals or the cartridges
may leak.
4Insert the cartridges in the holder for each color. Press
each cartridge down until it clicks.
5Close the ink cartridge cover, then close the
printer cover.
6Press the ink button to begin priming the ink. This
takes about 3 minutes. Do not turn off the printer, load
paper, or open any covers until the process is complete.
Caution: Don’t turn off the printer while it is priming or you’ll
waste ink.
4Load paper
You can load various size plain and photo papers in the sheet
feeder. For instructions on loading envelopes or a CD or DVD,
see the on-screen User’s Guide.
1Open the paper support and pull up the extensions.
2Open the output tray and pull out the extensions.
3Slide the edge guide to the left.
4Load paper printable side up (usually the whiter, brighter,
or glossy side), against the right edge of the sheet
feeder, and behind the tab. Then squeeze the left edge
guide and slide it against the left edge of the paper, but
not too tightly.
Note: Don’t load the paper sideways. Always load it short
edge first.
EPSON Stylus®Photo 1430W
Printing problems
• Makesurethepapersizeselectedintheprintersoftware
matches the size of paper you loaded.
• Printingstopswhenaninkcartridgeisexpended.Ifa
cartridge is expended, you must replace it to continue
printing.
Paper feeding problems
If paper doesn’t feed correctly, remove the paper and fan the
sheets, then reload them. Don’t load paper above the tabs on
the edge guides.
Print quality problems
• Makesureyourpaperisloadedprintablesideup(usuallythe
whiter, brighter, or glossy side).
• Forthebestprintquality,useEPSON®papers and genuine
EPSON ink cartridges.
• Makesurethepapertypeselectedintheprintersoftware
matches the paper you loaded. See the on-screen User’s
Guide for more information.
• Ifyounoticelightordarkbandsacrossyourprintoutsor
they are too faint, run a nozzle check to see if the print head
needs cleaning. See the on-screen User’s Guide for more
information.
• Ifyounoticejaggedverticallines,youmayneedtoalign
the print head. See the on-screen User’s Guide for more
information.
• Theinkcartridgesmaybelowonink.Checkyour
cartridge levels and replace cartridges, if necessary. See
the on-screen User’s Guide for more information.
Error indicators
If you see one of the error indicators below, follow the steps
here to proceed:
On Off Flashing slowly Flashing fast
Paper is out, the CD/DVD tray is not inserted correctly
(if printing on a CD or DVD), or multiple sheets have
fed at the same time. Load paper or the CD/DVD tray
correctly and press the paper/cancel button.
Paper is jammed in the printer, the output tray is closed,
or the CD/DVD tray did not eject (if printing on a CD or
DVD). Remove any jammed paper and make sure the
output tray is open, then press the paper/cancel
button to resume printing. If printing on a CD or DVD,
pull out the CD/DVD tray and press the paper/cancel
button.
An ink cartridge is not installed, installed incorrectly,
expended, or cannot be used with the printer. Make sure
all ink cartridges are installed correctly and replace any
expended or incompatible ink cartridges.
An ink cartridge is nearly expended. You can continue to
use it until it is expended.
The print head is obstructed by jammed paper or
another foreign object and cannot return to the home
position. Turn the printer off. Open the printer cover and
remove any paper or other obstructions from the paper
path. Then turn the printer back on. If the error does not
clear, contact Epson.
Flashing
alternately
The printer’s ink pads are nearing or at the end of their
service life. Contact Epson to replace the ink pads. If the
ink pads are nearing the end of their service life, printing
can be resumed by pressing the paper/cancel
button.
A firmware update did not complete and the printer is
in recovery mode. Try updating the firmware again or
contact Epson.
Need paper and ink?
Try EPSON premium papers with Hi-Definition Photographic
Ink for better than photo lab quality results. You can purchase
supplies from an Epson Authorized reseller. To find the
nearest one, contact Epson.
Genuine EPSON paper
Epson offers a wide variety of papers to meet your needs; see
your on-screen User’s Guide for more information.
Photo Paper Glossy
Bright, instant-drying paper for great looking
photosandprojects.Availableindifferentsizes,
with or without margins.
Genuine EPSON inks
Look for the numbers
below to find your
cartridges. It’s as easy
as remembering your number!
EPSON Stylus Photo 1430W ink cartridges
Color Code
Black 81N
Cyan 81N
Magenta 81N
Yellow 81N
Light Magenta 81N
Light Cyan 81N
Mobile Printing
Get instant, wireless printing of photos and
attachments right from smartphones, iPads,
tablets, and other popular mobile devices. See
www.latin.epson.com/connect for details
(website available only in Spanish and Portuguese).
EPSON and EPSON Stylus are registered trademarks and EPSON Exceed Your Vision is a
registered logomark of Seiko Epson Corporation. Designed for Excellence is a trademark of
Epson America, Inc.
General Notice: Other product names used herein are for identification purposes only and
may be trademarks of their respective owners. Epson disclaims any and all rights in those
marks.
Thisinformationissubjecttochangewithoutnotice.
© 2013 Epson America, Inc. 9/13 CPD-35563R3
Printed in XXXXXX
Connection options
Wireless connection
You must install the software on every computer from which
you want to print. The installer may prompt you to connect
the printer to your computer with a USB cable temporarily.
After the printer is connected to the network, you will be
prompted to remove the cable.
Make sure you know your network name (SSID) and network
password:
• Networkname
• Networkpassword
If you don’t have this information, contact the person who set
up your network.
Note: If you connect to your network using Wi-Fi Protected Setup
(WPS) on Windows, you do not need to know your SSID and network
password.
Direct USB connection
Make sure you have a USB cable.
Any problems?
Network setup was unsuccessful.
• Ifyou’reconnectingtheprinterviaWi-FiProtectedSetup
(WPS), make sure you press and hold the Wi-Fi button on
the printer within 2 minutes of pressing the WPS button on
your router. Press and hold the Wi-Fi button on the printer
for 3 seconds.
• Tryconnectingtotherouteroraccesspointwithyour
computer or another device to confirm that it is working
correctly.
• Tryresettingtherouter(turnitoffandthenon),thentryto
connect to it again.
• Pressthe button to print a network status sheet. Verify
that the network settings are correct and check the signal
strength. If it’s poor, try moving the printer closer to your
router or access point. Avoid placing the printer next to a
microwave oven, 2.4 GHz cordless phone, or large metal
objectssuchasalingcabinet.
• Ifyourrouteroraccesspointdoesn’tbroadcastitsnetwork
name (SSID), manually enter the name. If your router or
access point has wireless security enabled, you’ll also
need to know what kind of security it’s using and make
sure you enter the WEP key or WPA passphrase correctly.
• WhenusingTCP/IP,makesureyournetwork’sDHCP
option is enabled (your router manufacturer will be able to
assist you with this setting).
• Disabletherewalltemporarilytoseeifthatmaybe
causing the problem. Contact your firewall manufacturer
for assistance.
Setup is unable to find my printer after connecting it
with a USB cable.
Make sure it is securely connected as shown:
Any questions?
On-screen help with your software
Select Help or ?when you’re using your software.
User’s Guide
Click the icon on your desktop (or in the Applications/Epson
Software/Guide folder on Mac OS X) to access the on-screen
User’s Guide. If you don’t have a User’s Guide icon, you can
install it from the CD or go to the Epson website, as described
below.
Epson technical support
Visit global.latin.epson.com/Soporte where you can
download English drivers for this product, view manuals, get
FAQs, or e-mail Epson (website available only in Spanish
and Portuguese).
Argentina (54 11) 5167-0300 Honduras** 800-0122
0800-288-37766 Code: 8320
Bolivia* 800-100-116 Mexico 01-800-087-1080
Chile (56 2) 2484-3400 Mexico City (52 55) 1323-2052
Colombia 018000-915235 Nicaragua* 00-1-800-226-0368
Bogota (57 1) 523-5000 Panama* 00-800-052-1376
Costa Rica 800-377-6627 Paraguay 009-800-521-0019
Dominican Peru 0800-10126
Republic* 1-888-760-0068 Lima (511) 418-0210
Ecuador* 1-800-000-044 Uruguay 00040-5210067
El Salvador* 800-6570 Venezuela (58 212) 240-1111
Guatemala* 1-800-835-0358
*Contact your local phone company to call this toll free number
from a mobile phone.
**Dial first 7 digits, wait for a message, then enter code.
If your country does not appear on the list, contact your nearest
Epson sales office. Toll or long distance charges may apply.
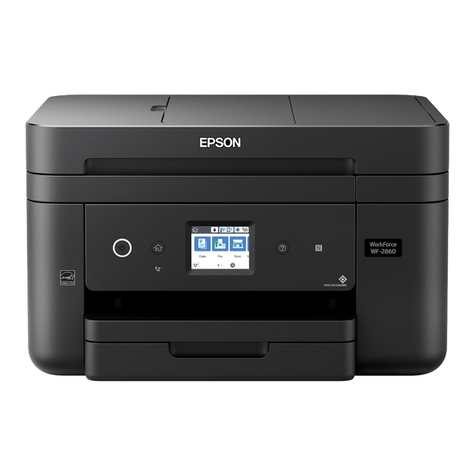

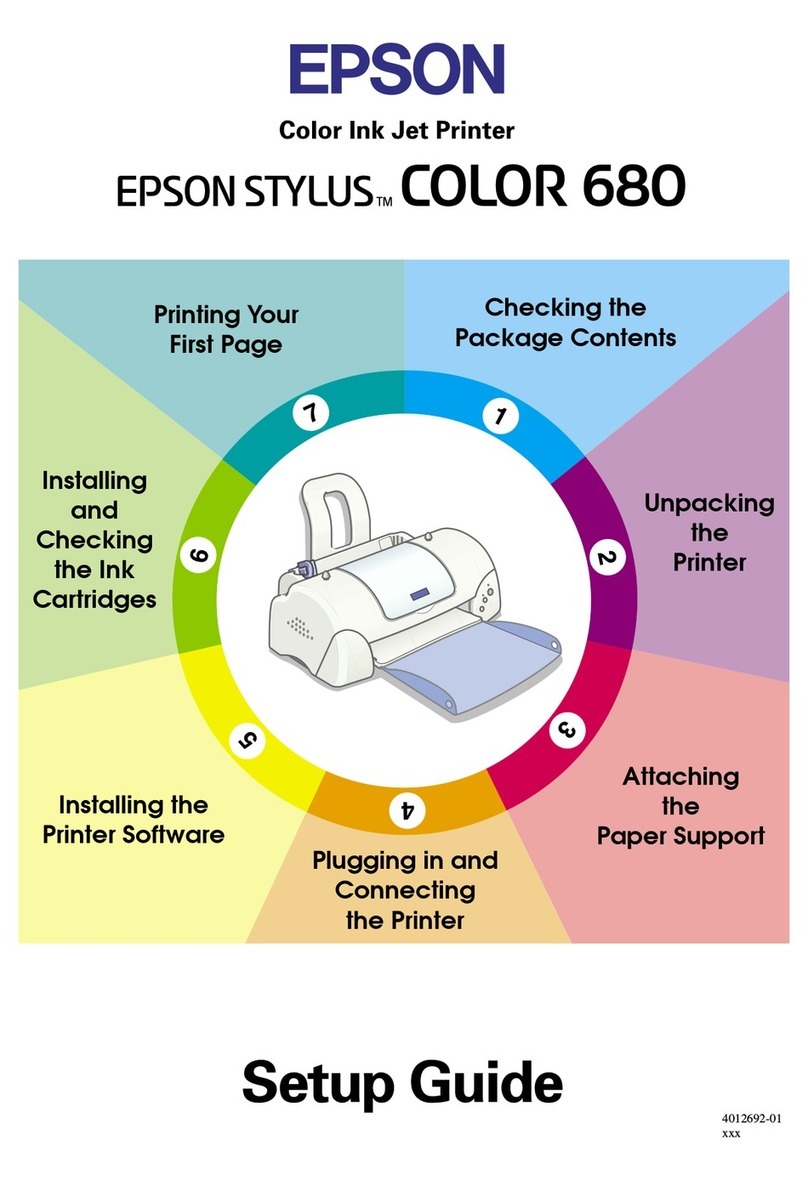
This manual suits for next models

2

Other Epson Printer manuals

Epson L60II - TM B/W Direct Thermal Printer User manual

Epson

Epson L60II - TM B/W Direct Thermal Printer User manual

Epson U375 - TM B/W Dot-matrix Printer User manual

Epson

Epson U375 - TM B/W Dot-matrix Printer User manual

Epson TM-T81 User manual

Epson

Epson TM-T81 User manual

Epson Mobilink TM-P60 User manual

Epson

Epson Mobilink TM-P60 User manual

Epson C380045HA - Stylus Color 980 Inkjet Printer User manual

Epson

Epson C380045HA - Stylus Color 980 Inkjet Printer User manual

Epson XP-422 Instruction Manual

Epson

Epson XP-422 Instruction Manual

Epson SureColor P5370 User manual

Epson

Epson SureColor P5370 User manual

Epson 2070 - LQ B/W Dot-matrix Printer Dimensions

Epson

Epson 2070 - LQ B/W Dot-matrix Printer Dimensions

Epson LQ 670 - B/W Dot-matrix Printer User manual

Epson

Epson LQ 670 - B/W Dot-matrix Printer User manual

Epson LX-810 Dimensions

Epson

Epson LX-810 Dimensions

Epson ActionPrinter 2000 User manual

Epson

Epson ActionPrinter 2000 User manual

Epson SC-F6200 Series User manual

Epson

Epson SC-F6200 Series User manual

Epson TM-T20II-i Use and care manual

Epson

Epson TM-T20II-i Use and care manual

Epson Stylus C63 User manual

Epson

Epson Stylus C63 User manual

Epson WF-5110 User manual

Epson

Epson WF-5110 User manual

Epson XP-332A Instruction Manual

Epson

Epson XP-332A Instruction Manual

Epson NPD4736-00 EN User manual

Epson

Epson NPD4736-00 EN User manual

Epson SureColor T5475 User manual

Epson

Epson SureColor T5475 User manual

Epson Stylus Pro GS6000 User manual

Epson

Epson Stylus Pro GS6000 User manual

Epson EPL-6200 User manual

Epson

Epson EPL-6200 User manual

Epson Stylus Pro 7900 Assembly instructions

Epson

Epson Stylus Pro 7900 Assembly instructions

Epson TM-P80 User manual

Epson

Epson TM-P80 User manual

Epson LX-300+ User manual

Epson

Epson LX-300+ User manual

Epson TM-P80 Use and care manual

Epson

Epson TM-P80 Use and care manual

Popular Printer manuals by other brands

Xerox Phaser  6140N quick guide

Xerox

Xerox Phaser 6140N quick guide

Lexmark CS410 series Quick reference guide

Lexmark

Lexmark CS410 series Quick reference guide

Samsung CLP-350 user guide

Samsung

Samsung CLP-350 user guide

Ricoh SH-P1 M020 Field service manual

Ricoh

Ricoh SH-P1 M020 Field service manual

Canon i70 Series quick start guide

Canon

Canon i70 Series quick start guide

SII IP-7900-20 Quick reference guide

SII

SII IP-7900-20 Quick reference guide

Squid Ink CoPilot 500 user guide

Squid Ink

Squid Ink CoPilot 500 user guide

Lexmark E360 Brochure & specs

Lexmark

Lexmark E360 Brochure & specs

Canon imagePROGRAF W8400 Brochure & specs

Canon

Canon imagePROGRAF W8400 Brochure & specs

Ricoh Aficio SP 1210N Quick setup guide

Ricoh

Ricoh Aficio SP 1210N Quick setup guide

Samsung ML-2165W Remanufacturing instructions

Samsung

Samsung ML-2165W Remanufacturing instructions

Brother DCP-9042CDN user guide

Brother

Brother DCP-9042CDN user guide

Tynetec xt user guide

Tynetec

Tynetec xt user guide

Ricoh Aficio 2035e operating instructions

Ricoh

Ricoh Aficio 2035e operating instructions

Astro Machine ASTROJET 2650P Operator's manual

Astro Machine

Astro Machine ASTROJET 2650P Operator's manual

Rimage Desktop 360i Replacement guide

Rimage

Rimage Desktop 360i Replacement guide

AMT Datasouth Documax 5380 quick start guide

AMT Datasouth

AMT Datasouth Documax 5380 quick start guide

Canon G3560 Series Online manual

Canon

Canon G3560 Series Online manual

manuals.online logo
manuals.online logoBrands
  • About & Mission
  • Contact us
  • Privacy Policy
  • Terms and Conditions

Copyright 2025 Manuals.Online. All Rights Reserved.