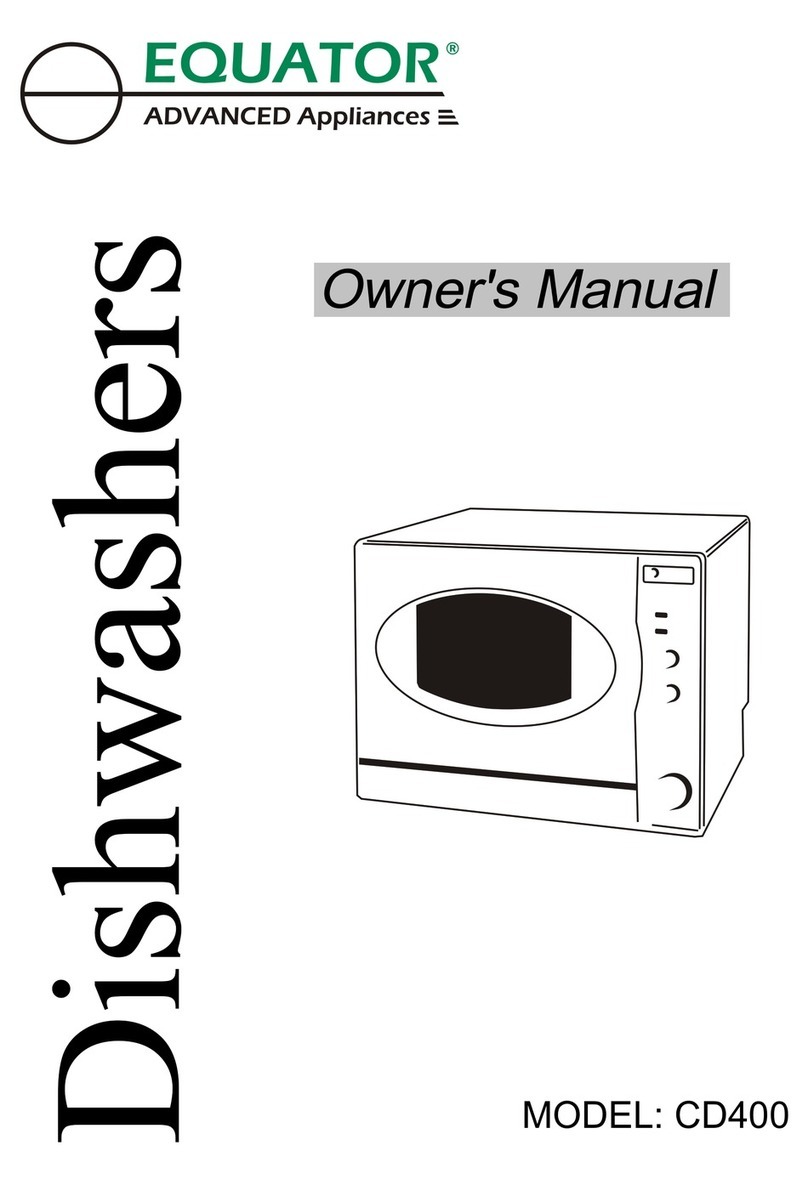
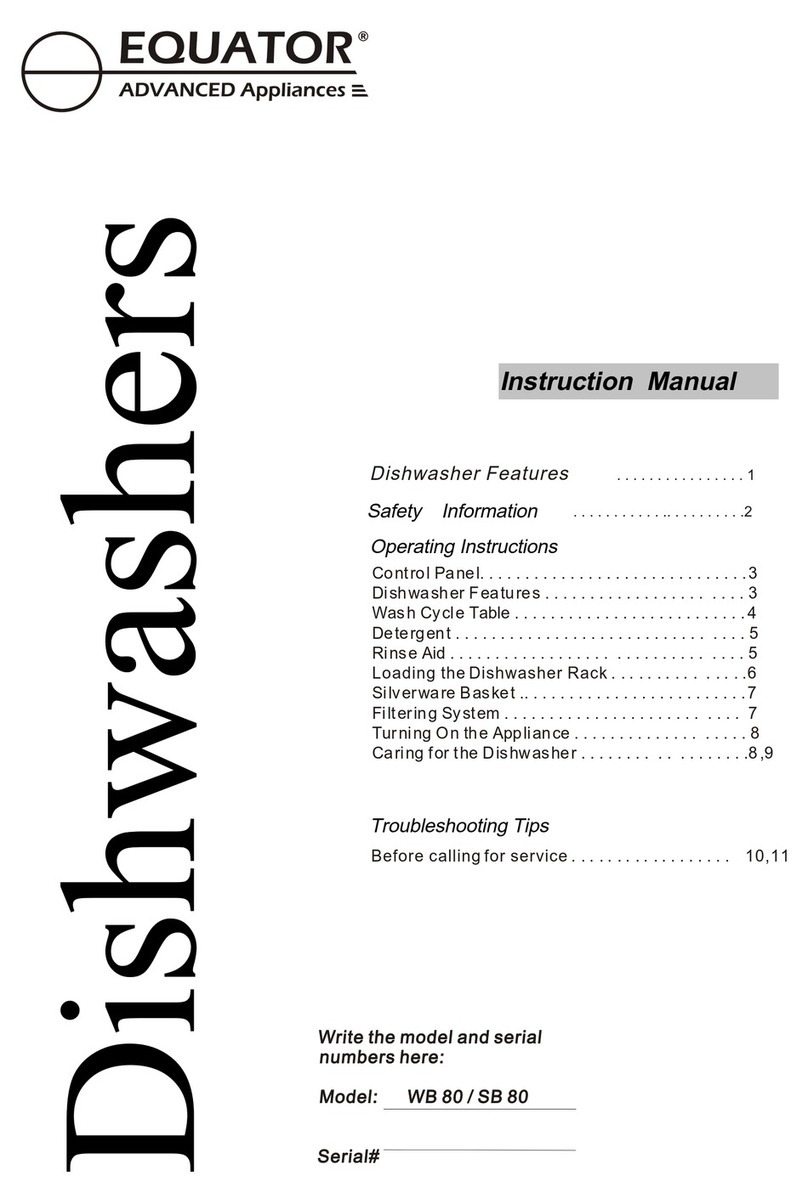
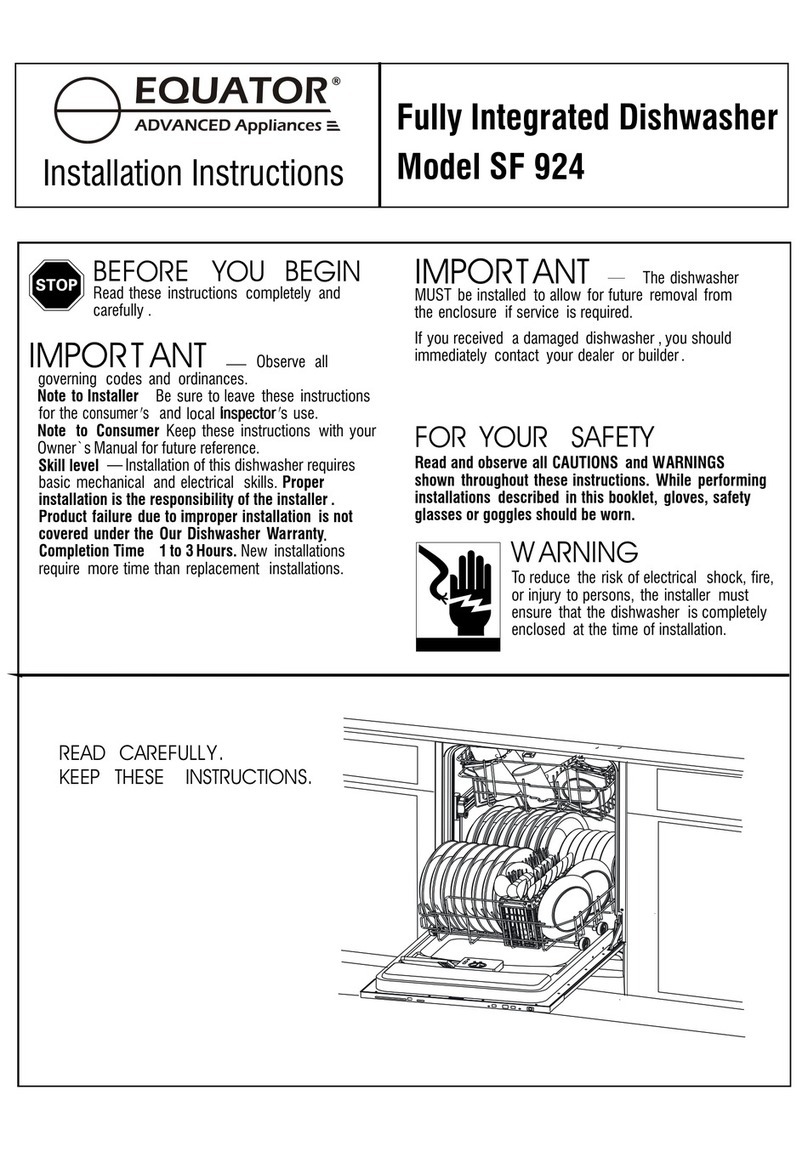
Equator WB 82 User manual

Read the instructions carefully and keep for future reference
OWNER’S MANUAL
Model - WB / BB / SB 82
DISHWASHER
P1 - ECO
P2 - Sensor
P3 - Pots & Pans
P4 - Heavy
P5 - NORMAL
P6 - Delicate
P7 - Fast 50
P8 - Rinse
Power
DelayExtra Half
Load Hi-Temp
Sanitize
Rinse
Dry
Power
Rinse Aid
Program Start/Pause
Reset 3 Sec.
Rinse Dry
Wash End


Equator Appliances undertakes to the consumer-owner to repair
or, at our option, to replace any part of this product which proves
to be defective in workmanship or material under normal personal,
family or household use, in USA and Canada, for a period of one
year from the date of original purchase. During this period, we will
provide all labor and parts necessary to correct such defect, free
of charge, if the appliance has been assembled and operated in
accordance with the written instructions with the appliance.
In no event shall Equator Appliances be liable for incidental
or consequential damages or for damages resulting from
external causes such as abuse, misuse, incorrect voltage or
acts of God. This warranty does not cover service calls which
do not involve defective workmanship or materials covered
by this warranty. Accordingly, diagnosis and repair costs for
a service call which does not involve defective workmanship
or materials will be the responsibility of the consumer-owner.
Warranty
Exclusions
Specifically, the following work is not covered under
warranty and does not constitute warranty work:
Installation - e.g. Incorrect height of drain hose
Maintenance - e.g. Failure to clean filters or spray arms
Mishandling - e.g. Breakage of racks and basket
Most work is covered. The defining factor is, has the machine
malfunctioned (Equator Appliances is responsible) or has the
customer omitted or done something to cause the appliance to
malfunction (customer is responsible). Some States do not
allow the exclusion or limitation of incidental or consequential
damages, so the above limitation or exclusion may not apply
to you.
You can register your Warranty by any of the following methods:
1. Mail in the Warranty Registration Card
2. Register online at www.ApplianceDesk.com
3. Scan the QR Code
Appliance Desk
Phone/Text: 1-800-776-3538
Email: [email protected]
Web: www.ApplianceDesk.com
Business hours: 9:00 am to 5:00 pm weekdays
For Customer Service:
This warranty is given by:
Equator Appliances
10216 Georgibelle Drive, Suite 900D
Houston, Texas 77043-5249
Since it is a responsibility of the consumer-owner to establish
the warranty period by verifying the original purchase date,
Equator Appliances recommends that a receipt, delivery slip or
some other appropriate payment record be kept for that purpose.
This warranty gives you specific legal rights, and you may also
have other rights which vary from State to State.
WARRANTY SERVICE
GENERAL

Safety
Do not store or use flammable liquids or vapors near the dishwasher.
Under certain conditions, hydrogen gas may be produced in a hot
water system that has not been used for two weeks or more.
HYDROGEN GAS IS EXPLOSIVE. If the hot-water system has not
been used for a long period, before using the dishwasher turn on all
hot-water faucets and let the water flow from each for several
minutes. This will release any accumulated hydrogen gas. As the
gas is flammable, do not smoke or use an open flame.
Use only detergents recommended for use in dishwashers and
keep detergents out of reach of children.
Do not touch the heating element.
Do not sit or stand on the dishwasher racks or door.
Ensure that the dishwasher door does not remain in an open
position, to prevent accidents from happening.
When positioning the appliance, ensure the electrical cord is not
tangled or damaged.
Do not place multiple portable socket-outlets at the rear of the
appliance.
Never unplug the appliance by pulling on the power cord. Grip the
plug firmly and pull straight out to remove from wall socket.
Do not use a damaged power cord and do not modify the plug.
Do not use an extension cord.
Children should be supervised to ensure that they do not climb on
or play with the appliance. Discard packaging material and keep
out of reach of children.
This appliance is not intended for use by persons (including children)
with reduced physical, sensory or mental capabilities, or lack of
experience and knowledge, unless they have been given
supervision or instruction.
1

2
Installation
Installation of the dishwasher should be done by a qualified
technician.
Place the dishwasher in an area where it will not be exposed
to the weather and to freezing temperatures and away from
sources of heat and high humidity.
Place the Dishwasher on a flat level surface.
Disconnect the power supply before installing the dishwasher.
Only connect the dishwasher to the power supply when all
installation and plumbing work is complete.
Never connect the ground wire to gas lines, hot water pipes or
plumbing lines.
The dishwasher must be grounded.
Connect to a properly rated, protected, and sized power supply
circuit to avoid electrical overload. The dishwasher is designed
for an electrical supply of 120V, 60Hz, AC, connected to a
dishwasher-dedicated, properly grounded electrical circuit with
a fuse or breakers rated for 15 amperes. Electrical supply
conductors must be a minimum of #16 AWG copper wire rated
at 167°F (75°C) or higher.
Plug the power cord into an outlet that is installed and grounded
in accordance with local codes.
Check the plug and cable before you connect the power and make
sure it is the correct 110 voltage.
Dishwasher must be secured to adjacent cabinetry using the
brackets provided.
To ensure that the dishwasher has been correctly installed, check
for water leaks during and after the first use.

Do not operate the dishwasher unless all enclosure panels are
properly in place.
Preparation and Operation
Generally, the dishwasher is designed for cups and glasses on the
top rack; plates and pots on the bottom rack; and long serving
utensils on the very top rack.
When loading the dishwasher:
· Place sharp items so that they do not damage the door or seal.
· Place knives in the silverware basket with handles up to prevent
risk of injury.
· Ensure that items do not protrude below the racks or silverware
basket.
· Do not wash plastic items in the dishwasher unless they are
marked “Dishwasher Safe”.
Tines in the top and bottom racks can be raised or lowered
depending on the items to be placed, thereby providing maximum
flexibility. The silverware basket can also be moved from its usual
spot to adjust the space in the bottom rack.
The top rack is designed to be positioned at two levels. You can
adjust the height of the rack by moving it on either the upper rail or
the lower rail.
Hold the top rack on the sides and lift up slightly and then push
down to the desired height. Ensure that the rack locks in place.
Ensure that the Upper and Lower Spray Arms can spin freely
without hitting obstructions.
Push the racks all the way in, ensuring the blue End Clips on the
rails are locked.
End Clip
3

Setting the Wash Programs
Add rinse aid into the smaller dispenser. This needs to be done
only periodically and not before every wash cycle. The rinse aid
indicator light will come on when the level is low and should be
refilled soon.
Close the dispensers and then the door firmly until it clicks.
Press the Power Button located at the far right on the
Control Panel.
Select the Wash Program by pressing the Program Button on the
left side of the Control Panel. Once selected, the Program number
(e.g. P1, P2) flashes on the Display Panel and also the number of
minutes for the cycle.
The Wash Programs/Cycles are listed in the table:
Program
P1
P2
P3
P4
P5
P6
P7
P8
Program / Cycle
Add dishwasher detergent into the bigger dispenser.
(Note: detergent pods may not dissolve completely in short wash cycles).
ECO
Sensor
Pots & Pans
Heavy
NORMAL
Delicate
Fast 50
Rinse
Minutes*
122-145
110-155
130
117
90
50
15
165
Temperature
55
65
65
60
45
50
65
* This is the duraon of the Program, with no opons selected
°C°F
131
149
149
140
113
122
149
4
P1 - ECO
P2 - Sensor
P3 - Pots & Pans
P4 - Heavy
P5 - NORMAL
P6 - Delicate
P7 - Fast 50
P8 - Rinse
Power
DelayExtra Half
Load Hi-Temp
Sanitize
Rinse
Dry
Power
Rinse Aid
Start/PauseProgram
- -

Program Selection Information
In addition to referring to the Program table, the following
descriptions of each of the Programs will be useful in determining
which cycle to use.
P1 - ECO: Use for normally soiled dishes. Program uses less
electricity and water.
P2 - Sensor: Use to auto adjust time, temperature, water quantity
and energy consumption.
P3 - Pots & Pans: Use for heavily soiled pots, pans and dishes with
dried on debris.
P4 - Heavy: Use for heavily soiled dishes.
P5 - NORMAL: Use for normally soiled dishes.
P6 - Delicate: Use for lightly soiled and fragile dishes and crystal.
P7 - Fast 50: Use for a 50-minute fast wash for normally soiled
dishes.
P8 - Rinse: Use to rinse only without detergent.
Sensor Programs
P1 ECO & P2 Sensor Programs automatically adjust the cycle
duration according to the soil level of the dishes. The programs
start with the specified maximum time (145 for ECO, 155 for Sensor).
During the operation, the sensor measures the soil level of the dishes,
and adjusts the time automatically depending on how much cleaning
is needed. Water quantity and temperatures are also adjusted
5

6
Review the options in the middle of the Control Panel to select
additional functions.
Extra Button – You may select:
Sanitize – increases the water temperature in the final rinse.
Rinse – adds an extra rinse to the selected wash cycle.
Dry – increases water temperature.
·
·
·
Delay Button – You can delay the start of the program.
Pressing this button will add time in one-hour increments.
To cancel Delay, open the dishwasher, then press and hold the
Start button for 3 seconds.
Half Load/Hi-Temp Button – Press this button to select half load
and high temperature functions.
For Half Load, you can select Upper Basket, Lower Basket or both
Baskets. The red LED light will show your selection.
For Hi-Temp function, press and hold down this button for 3 seconds.
This will increase the water temperature and the wash cycle time.
Start/Pause Button
After the wash cycle and all optional functions are selected, press
the Start button to begin the wash cycle. As the programmed cycle
progresses, the LED indicator lights will show on the panel at each
stage: wash, rinse and dry.
During a wash cycle, the Display Panel will show the time remaining
in the cycle. If you press and hold down the Start/Pause button for
3 seconds, the program will cancel and stop.
If you open the dishwasher door while the program is running, the
machine will stop. If you close the door within 4 seconds, the
program will continue running automatically. If longer than
4 seconds, press the Start button to resume the program.

Child Lock
To prevent children from playing with or operating the machine,
you can activate Child Lock by pressing and holding Extra and Half
Load buttons simultaneously for 3 seconds. “CL” will be displayed.
To deactivate Child Lock, repeat the same instructions.
End of Program
When the wash program is completed, the display will show that
the cycle has ended. Press the On/Off button to turn off the
dishwasher.
It is recommended that the lower rack in unloaded first and then
the upper rack. This will prevent water from dripping from upper
rack to lower rack and getting dishes wet.
Do not remove dishes from the dishwasher until the program is
complete.
Be careful of hot steam when opening the dishwasher after a
wash cycle.
Check that the detergent dispenser is empty after the program is
complete.
·
·
·
7
Removing items after cycle is complete:
Maintenance
Ensure the power cord is unplugged before moving or cleaning
the back of the appliance.
Clean the outside and inside of the appliance regularly, using water
and mild detergent.
Maintaining the inside of the dishwasher includes periodic cleaning
of the filter and the two spray arms.
Note: A small amount of residual water may remain at the base of
the filter. This is normal.

8
Turn the Inner Plastic Filter counter-clockwise and remove it along
with the Outer Mesh Filter.
Discard any food and debris that may have collected and rinse
with water.
Lift out the Flat Metal Base and rinse with water.
Replace all these parts securely.
·
·
·
·
Clean the Spray Arms regularly.
Lower Spray Arm:
Remove the Lower Spray Arm by simply lifting it up.
Rinse under water to ensure smooth flow/spray from the holes.
Replace the Spray Arm, ensuring that it snaps back in place firmly.
·
·
·
Upper Spray Arm:
Turn the nut at the connecting point of the Spray Arm to release it.
Slide the Spray Arm off and rinse under water to ensure smooth
flow/spray from the holes.
Replace the Spray Arm, ensuring that it clicks into place and the
nut is tightened.
·
·
·
Clean the filter at the base of the dishwasher regularly:
Inner Plastic Filter
Outer Mesh Filter
Flat Metal Base
Lower Spray Arm Upper Spray Arm

Troubleshooting
Problem Possible Cause and Solution
Program
doesn't start
Check the fuse.
Check if it is plugged in correctly to the power source.
Ensure the water inlet tap is turned on and hoses are
not clogged.
Check that the door is completely closed.
Switch the dishwasher on by pressing Power button.
Machine
stops during
wash cycle
Power failure.
Water supply failure.
Water
remains
inside the
dishwasher
Check if the drain hose is clogged or twisted.
Ensure the filters are clean and not clogged.
If the cycle has not finished wait for it to end.
Shaking &
hitting
sounds
during wash
cycle
Rotating spray arm is hitting obstructing items in the
upper or lower basket. Open the dishwasher,
remove or rearrange items, then close the door
quickly and resume the cycle.
Dishes are
not being
properly
cleaned.
Items are not placed correctly.
Not enough detergent is being used.
Correct wash program is not being used.
Spray arms are clogged, not allowing water to be
sprayed.
Check that filters and drain hose are correctly fitted.
9

If the following Error Codes are displayed, first check the
Troubleshooting Guide and contact Customer Service to resolve
problems.
Error Codes
10
82211
82140
82170
82125
82140
82130
82170
82076
82076
82076
82197
82172
82176
82141
Diverter motor
assembly
Power cord
82177
82173
82173

11
Technical Specifications
Model
Load Capacity
Electrical
Water Pressure
Rated Power
Water Consumption
Weight Net / Gross
Product Dimensions (HxWxD)
Packaging Dimensions (HxWxD)
WB / BB / SB - 82
14 place setting
120V 60Hz 12A
43.5 - 145psi
1400 W
4 Gallons
86 / 90.4 lbs
32.3 x 23.5 x 22.4 (inch)
33.5 x 25.4 x 25 (inch)
WARNING: This product contains chemical known to the State of California
to cause cancer and birth defects or other reproductive harm.
California Proposition 65
Heater Power 1100 W
Safe Disposal
Before discarding the dishwasher, remove the door in order to
prevent risk of child entrapment.
Please dispose of this appliance in accordance with local
regulations.

This manual suits for next models
2
Table of contents
Other Equator Dishwasher manuals

Equator
Equator SP 818 User manual

Equator
Equator BB55 Guide

Equator
Equator SF 924 User manual

Equator
Equator WB 80 User manual

Equator
Equator BB 65 Instruction Manual

Equator
Equator SB 924 User manual

Equator
Equator pmn User manual

Equator
Equator PLS 600 V Guide

Equator
Equator 2440WBT User manual

Equator
Equator BB 65 Operating instructions