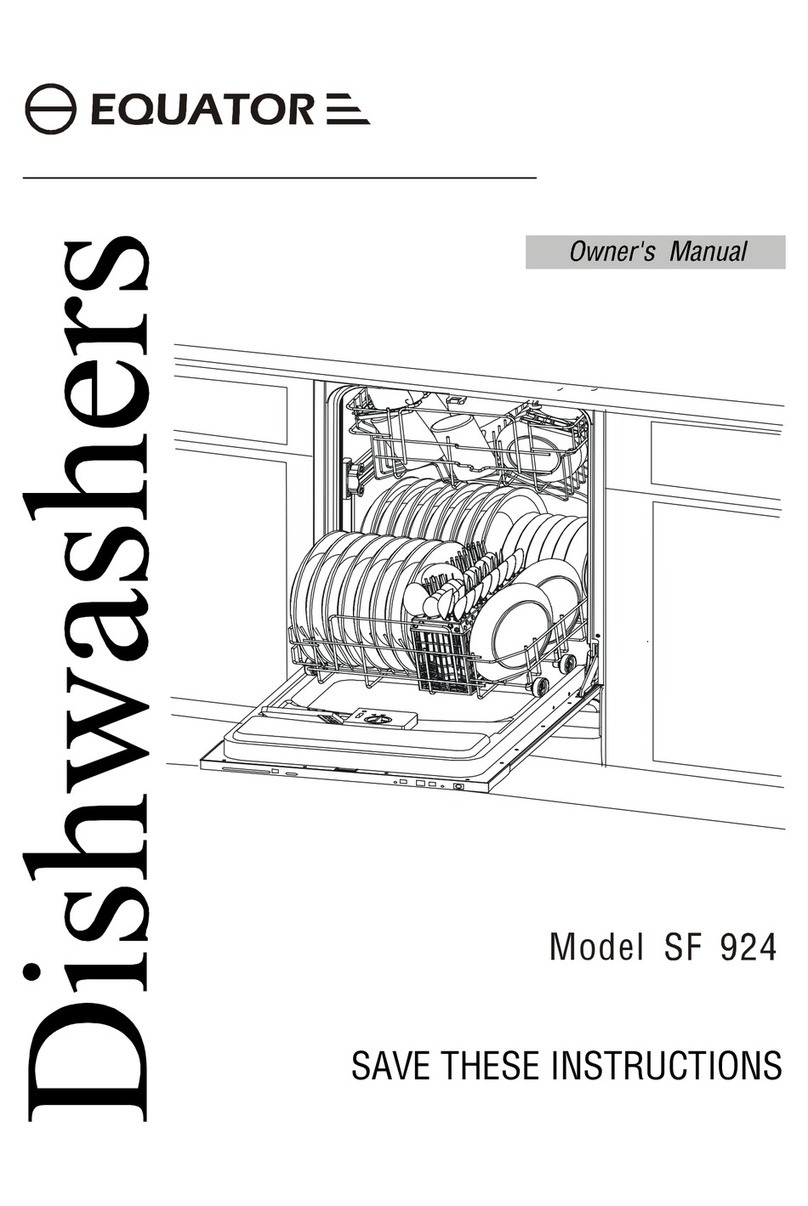
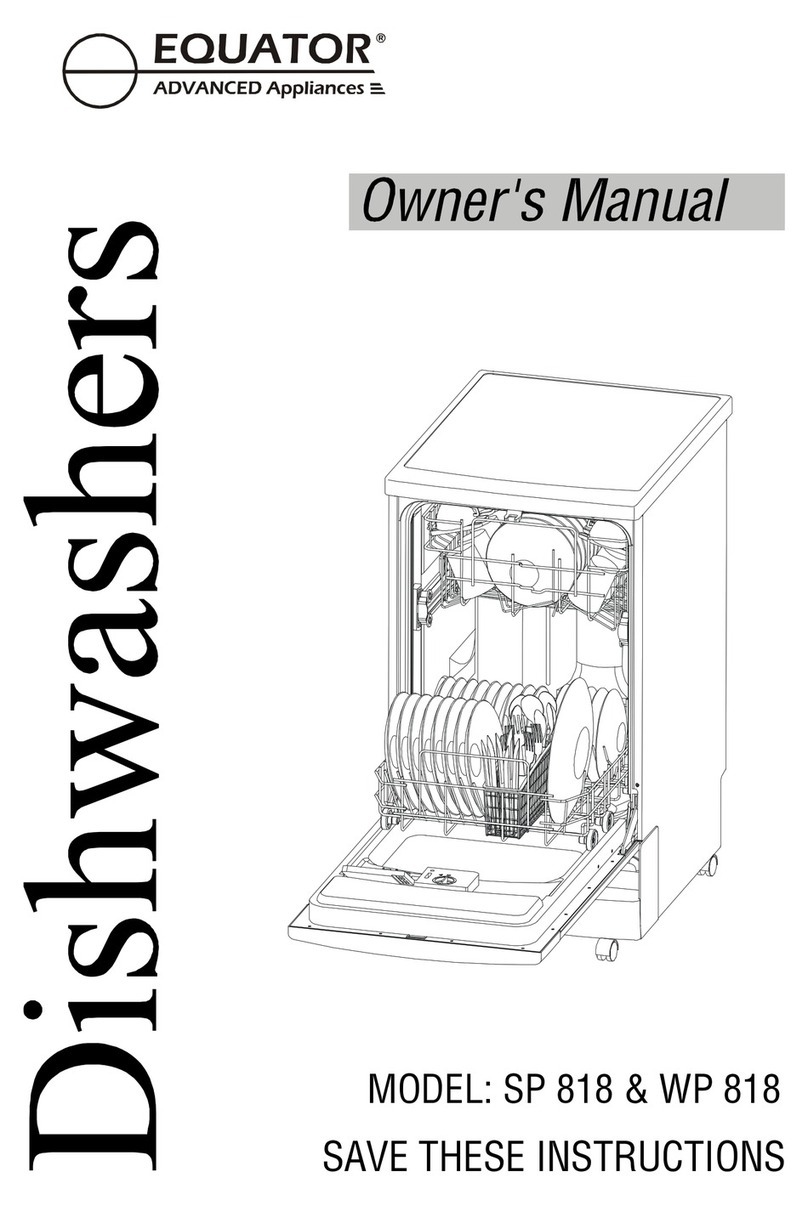
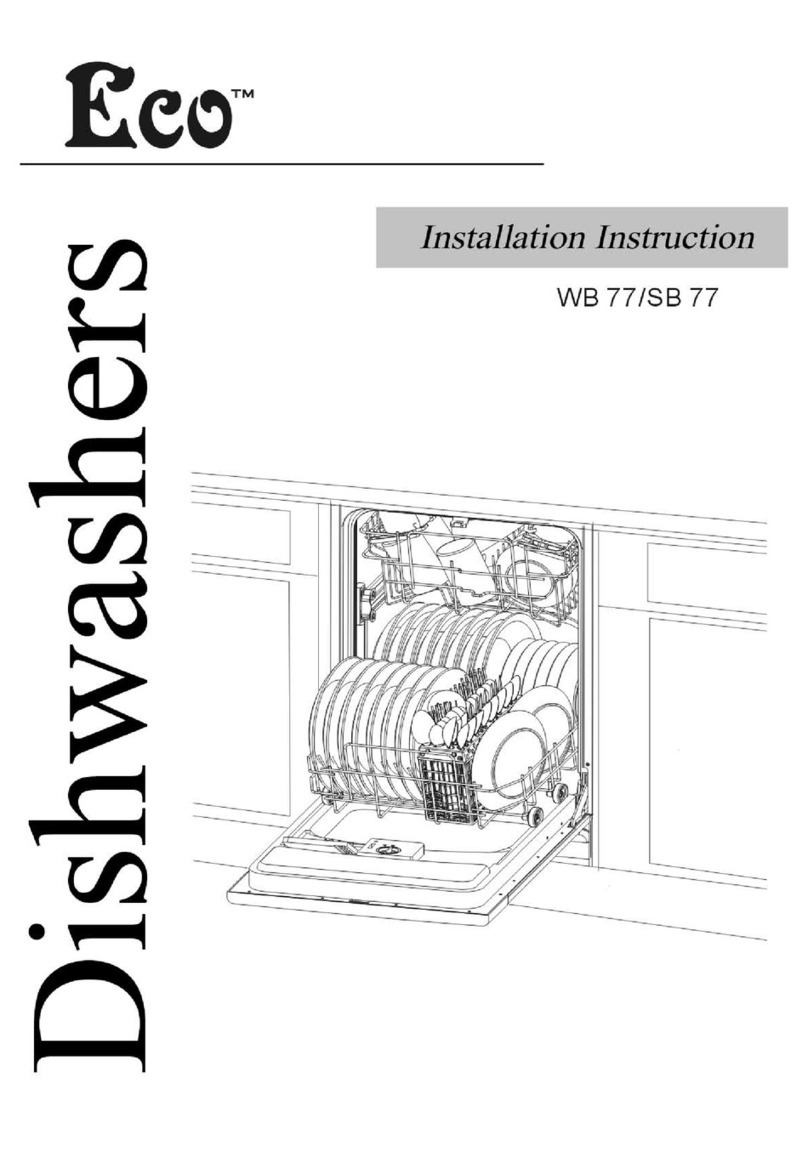
Equator BB 65 User manual

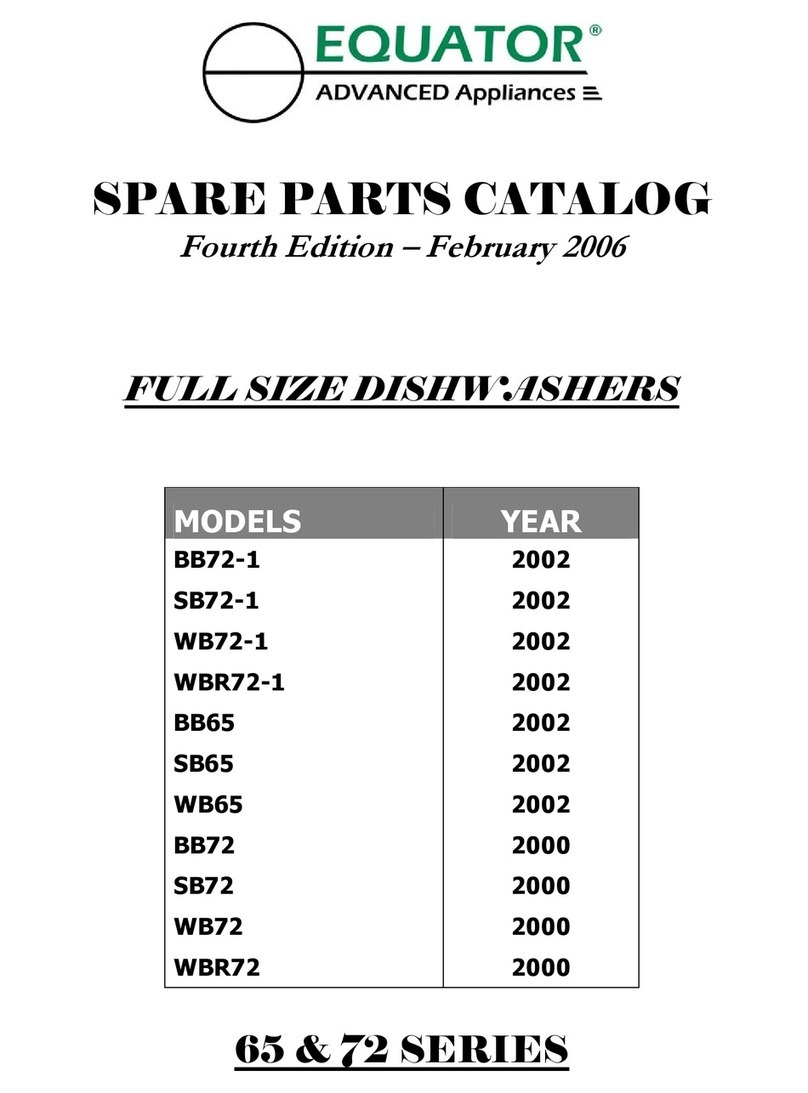
SERVICE MANUAL
Fourth Edition – February 2006
FULL SIZE DISHWASHERS
MODELS YEAR
BB72-1 2002
SB72-1 2002
WB72-1 2002
WBR72-1 2002
BB65 2002
SB65 2002
WB65 2002
BB72 2000
SB72 2000
WB72 2000
WBR72 2000
65 & 72 SERIES

#
TABLE OF CONTENTS
#
• WARRANTY INFORMATION……………………………………. 3
• WIRING DIAGRAM……....………………………….………………….. 4
• TIMER CHART…….......……………….…………….……….….……….. 5
• TROUBLE SHOOTING…….......………………...…………..……….. 6

1.
WARRANTY INFORMATION
Your Equator appliance is protected by this warranty under normal, personal, family or household
use (1 Year), and limited commercial use (90 days) in the USA and Canada.
WARRANTY
Equator Corporation undertakes to the consumer-
owner to repair or, at Equator Corporation’s
option, to replace any part of this product which
proves to be defective in workmanship or
material under normal personal, family or
household use, in the USA and Canada, for a
period of one year from the date of original
purchase.
For commercial use, the product is warranteed for
a period of 90 days.
During this period, Equator Corporation will
provide all labor and parts necessary to correct
such defect, free of charge, if the appliance has
been installed and operated in accordance with
Equator Corporation’s written instructions with the
appliance. Ready access to the appliance, for
service, is the responsibility of the consumer-
owner.
EXCLUSIONS
In no event shall Equator Corporation be liable for
incidental or consequential damages or for
damages resulting from external causes such as
abuse, misuse, incorrect voltage or acts God.
This warranty does not cover service calls which
do not involve defective workmanship or
materials covered by this warranty. Accordingly,
diagnosis and repair costs for a service call
which does not involve defective workmanship or
materials will be the responsibility of the
consumer-owner.
Specifically, the following work is not covered
under warranty and does not constitute warranty
work:
. Installation - improper hook-up or leveling
. Maintenance - cleaning of air and/or water filter
. Damage - replacing broken door handle
WARRANTY SERVICE
This warranty is given by:
Equator Corporation,
Equator Plaza,
2801 W Sam Houston Pkwy,
Houston, TX 77043.
Service under this warranty must be obtained by
the following steps, in order:
Call an Equator Corporation Authorized Service
Agent (obtain number of nearest agent from
your dealer or by calling Equator Service at
1-800-776-3538). Under normal circumstances,
Service will be provided during regular business
hours (9:00 a.m. to 5:00 p.m. weekdays).
GENERAL
Since it is responsibility of the consumer-owner to
establish the warranty period by verifying the
original purchase date, Equator Corporation
recommends that a receipt, delivery slip or
some other appropriate payment record be
kept for that purpose.
Remember to send in your Warranty
Registration Card so that a proof of your
purchase exists with Equator.
This warranty gives you specific legal rights, and
you may also have other rights which vary from
State to State.
Corporate Office
EQUATOR CORPORATION
Equator Plaza
2801 W Sam Houston Pkwy
Houston, TX 77043
Tel: 713-464-3422 - Fax: 713-464-2151
2.

3.

O B J E CT
The object of this guide is to facilitate and assist the technical assistance
service (S.A.T.) technician in the diagnosis and subsequent repair of faults.
This study-guide will deal with those types of anomalies which over time
have been seen to involve serious doubt as to their solution, and conversely
will not deal with those anomalies which are considered mastered by
technicians.
This guide is also intended as a teaching tool for new technicians who may
be contracted in the future.
FIELD OF APPLICATION
In general, and since these are anomalies of a general type, this study-guide
covers all the models which at the publication date of this guide are in use.
In a particular case such as for example the quantity of liters per water
intake consumed it depends on the series of model and will be specifically
indicated, not affecting the rest of the characteristics.
12.

DIAGNOSTIC LIST OF FAULTS
1. GLASS
2. DISHES
3. METALS -SILVER, FINE STEEL, ALUMINIUM
4. INTERIOR RUSTING OF THE TUB
5. BLUE OR CARAMEL-COLOUR INTERIOR DISCOLOURING OF THE TUB
6. DISH DRYING
7. HOW TO CHECK THE CORRECT HYDRODYNAMIC FUNCTIONING OF THE
DISHWASHER
8. IRREGULAR WATER INTAKE
9. HOW WATER HARDNESS IS MEASURED
10. HOW TO CLEAN A RUSTED DISHWASHER
11. CHECKING THE CORRECT FUNCTIONING OF THE DRAIN
12. ESSENTIAL EQUIPMENT FOR REPAIRING A DISHWASHER
13. CONTROL OF TEMPERATURES
13.

GLASS
CHECK WITH
Rinse with distilled water and leave
to dry
Clean ?
Deposit forming white fuzz
or turbidity
SI NO
SALTS
REASON
Salt deposit cover
badly closed or
defective
High salt content
(chlorides) in the
water system
Wash with citric acid or vinegar. Rinse with
water and dry with a cloth.
Clean ?
NO
ye
Ss
s
Lime Iodine solution
REASON
See pag. 1.1.
Assumes blue to
black colour ?
NO Ye
ss
(*2)
Food remnants.
Presence of starch.
REASON
- Does not drain (see sheet 11)
- Crockery too much time without rinsing
- Insufficient detergent dosing
- Inadequate detergent
- Selection of inadequate programme (short)
- Bad crockery placing
- Excessive water hardness
- Dishes overloaded
- Incorrect hydrodynamic functioning of the
dishwasher (see page 7)
After its repair eliminate dirt remnants, washing by hand
IODINE SOLUTION Pharmacy Iodine, deposit a drop on the white deposit and spread with a stick and wait until102º
Phenoltelene Solution
Chemical product supplied by
Bankiser
Takes on blue colour
REASON
- Presence of detergent or rinse aid
- Badly rinsed
ê3
CHECK
Deficient rinse
Drain system (See page 11)
ê1
Glass damaged by : Modification of the superficial structure
- Corrosion
- It does not support high temperatures nor sudden changes
- Scratches by friction
- Defects due to the manufacturing structure itself
- Glass not appropriate for dishwashers (tensioned glass). Example :
Duralex, Vereco, Arcopal
ITS REPAIR IS NOT POSSIBLE
14.

1.1
GLASS WHITE DEPOSIT, LAYER
STAINS TURBIDITY
measure mains water hardness
Mains water hardness higher
than 95 HF or 53 DH ?
There is no solution
Advise installing an industrial
decalcifier
Mains water hardness higher than 12 HF
or 7 0H2 ?
Mains water hardness in the interior of the
tub higher than 7º DH or 12 HF ?
REASONS
-The User may have forgotten to add salt
or to replace it later
-Insufficient dose of detergent or rinse
aid.
NO
NO
Yes
T R EATMENT
Increase detergent and rinse aid dose.
Wash dishes with citric acid, vinegar or
machine-cleaner.
NO
Advise against use of salt. This will
prevent accidents caused by salt. Eg.
White dishes or rusting.
Check detergent and rinse aid admixture
REASON
It does not decalcify
correctly
CHECK
-If there is water in the salt deposit
-If it has salt (1.5 kg)
-If the machine is adjusted to
corresponding hardness
Fault detected ?
YES
Take off right side panel
See page (1.2)
NO
T R EATMENT
-Replace resins which could be
saturated 1 or 2 times.
-Check by measuring the water
hardness in the tub again.
-wash dishes with citric acid,
vinegar or machine-cleaner
WATER HARDNESS
0-13 HF (0-7 DH)
14-38 HF (8-21 DH)
39-50 HF (22-28 DH)
51-63 HF (29-35 DH)
over 63 HF (36 HD)
SCREW
(Fig. 7c)
POSITION 1
POSITION 2
POSITION 1
POSITION 2
ARROW
(Fig. 7b)
MARKING -
MARKING -
MARKING +
MARKING +
Does not need SALT
HF = Water hardness expressed in FRENCH degrees
DH = Water hardness expressed in GERMAN degrees
PRESENCE OF LIME
Yes
Yes
15.

RELEASE RIGHT SIDE PANEL
1.2
CHECK COMPLETE RESINS
REGENERATION PROCESS
Observe “AIR BREAK” filling of
deposits
Does it fill ?
CAUSE
NO
T R EATMENT
-After repair wash dishes
with citric acid, vinegar or
machine-cleaner.
Do the deposits empty ?
Correct regeneration cycle
-Carry out various
regenerations.
-Measure water hardness in
tub interior.
Higher than
12 HF or 7 DM ?
-Incorrect closing of salt
deposit cap.
-E.V. regeneration blocked in
open position
Yes
YESNO
Yes
Problem resolved. Wash dishes
with citric acid “vinegar or
machine-cleaner”
CAUSE
Decalcifier without resins
Decalcifier saturated
NO
Connect the E.V. directly
Do the deposits empty ?
NOYES
Current does not reach
the E.V.
T R EATMENT
-
-Review installation of the program
selector to the EV.
-Clean dishes and machine with
citric acid “vinegar or machine-
cleaner”.
CAUSE
-Defective or seized up E.V.
-internal conduits of the decalcifier
blocked “careful with the salt used if it is
excessively fine.
FIMPORTANT : It has been found that the majority of resin-saturated decalcifiers can be repaired by appropriate regenerations.
T R EATMENT
-Repair and clean dishes with citric
acid “vinegar or machine-cleaner”.
Carry out a regeneration process
16.

2
2
DISHES
PORCELAIN CHINA STRESSED GLASS
Resistant material fragile to knocks. Possibility of alteration in the
decoration by chlorine and acids if it is not vitrified.
Very resistant material with brilliant polished
surface. Although once knocks or scrapes by
cutlery break the surface this exposes the internal
porous material in which dirt becomes ingrained
Resistant to blows, acids and alkalis. Not resistant to
temperature changes
Traces of dirt
Check iodine solution
Takes on a blue to
black colour?
Check with chlorine “BLEACH”
solution
Is it eliminated ?
Presence of colorant substances such
as coffee and tea
Presence of starch and
fecula remains
CAUSE
-It does not drain (see sheet 11)
-Dishes too much time without rinsing
-Insufficient dose of detergent
-Inadequate detergent
-Selection of inadequate programme (short)
-Incorrect placing of dishes
-Excessive water hardness
-Overloading of dishes
-Incorrect functioning of the dishwasher (see page 7)
After its repair remove dirt traces by washing by hand
NO
yes
NO
White dishes
Check with FENOFIALINO
solution
Takes blue
colour ?
Check product from
point *3 of sheet 1
Presence of alkaline
“DETERGENT”
products
CAUSE
Poor rinsing of deficient drain
system, check with sheet nº 11
YS
NO
17.

3
3
M E T A L S
SILVER
Blackish-blue colouring
CAUSE
-Formation of silver sulphate. This is
produced when proteins break down.
Eg.: Egg, Mayonnaise, etc.
-Detergent inadequate or lacking silver
protection.
TREATMENT
-Wash the silver immediately.
-Use detergent with protection for
silver.
-Prevent contact between silver
utensils
-Use a recognised label detergent
FINE STEEL
Brownish-blue colouring
CAUSE
-Low quality steel
-Foods for example,
fruit, salads
-Check steel quality
-Increase programme
-Increase detergent dose.
TREATMENT
Rusting
CAUSE
-Low quality steels
-Oxidation in suspension (see
sheet 4)
TREATMENT
-Check the quality of the steel.
-Check if there is oxidation in
suspension by Sheet 4 procedure.
ALUMINIUM
Matt or coloration
CAUSE
Alloy
aO x i d o
TREATMENT
None
SILVER
-- Silver is very appropriate for washing in dishwashers, for it is chemically stable. New detergents have protection forsilver.
FINE STEEL -- Cold steel is an ideal material for washing in dishwashers “IN THE CASE OF A HIGH –VALUE STEEL RUSTING DOES NOT OCCUR”. THERE ARE FINE STEELS DESIGNATED AS STAINLESS WHICH HOWEVER, CAN RUST-
ZINC –COPPER –BRASS -- Are not suitable for washing in a dishwasher
-Wash with citric acid
-“Vinegar or machine-
cleaner”
18.

INTERIOR RUSTING OF TUB
2The tub, filters and other components are made of guaranteed stainless steel, if these components have rust stains this will be due to rust from an external source.
2When we find generally distributed points of rust in the interior of the dishwasher we should try to locate the origin or source of the rusting in order to then rectify it using procedure
no.10.
What are the possible causes of rusting ?
1. Incorrect closing of the salt deposit cap (where it is required). The salt water of the deposit mixes with that of the wash causing resulting rusting in the tub, utensils,
components, etc. This incorrect closure can be detected either by inclining the dishwasher and observing if water comes out of the salts deposit or by checking if the
airbreak deposits hold water or if alternatively they empty through the deposit cap.
2. If the rust is mainly concentrated around the salt deposit, it could be that the User replaces the salt at the end of the wash and not at the beginning, causing when the water
evaporates the salt to become encrusted on the stainless steel and consequently leading to rusting.
3. Cutlery not suitable for use in a dishwasher.
4. Oxides in the water, particles of oxide coming from the mains.
5. Range 88 models. Check the state of the lower gasket support.
Remember that once the anomaly or source of rusting is detected any interior rust point should be cleaned using the procedure on sheet 12. “FOLLOWING THE INSTRUCTIONS
WITH EXTREME CARE’
4
4
19.

TUB INTERIOR DISCOLORING
(blue or caramel colour)
2On occasions the tub interior shows discoloration which can be either blue or caramel-colour; this is due to a chemical reaction usually occurring between lime
and stainless steel, and is what we refer to as the prelude to lime formation.
2Normally it is caused by the water characteristics or by water which needs to be decalcified does not undergo the process because the decalcifier is not
maintained, or through neglecting to add salt.
Therefore when this occurs we proceed as follows :
Clean the tub with nitric acid “WITH A PROPORTION OF 1%” : Example : to 7 litres of water entering the dishwasher in the
normal wash process, ADD 70 cm3 (a small glass) of NITRIC ACID, in a long programme.
The cleaning should be done by preventing or blocking draining until the end of the programme.
Immediately afterwards a short wash with soap should be run to eliminate any residue of the mix for its aggressiveness could
attack various parts of the machine (steel, rubbers). And contamination of the dishes.
NOTE : Due to the aggressiveness of this liquid strictly respect the relevant proportion
5
5
20.

DRYING DISHES
6
6
4 Position.
1
2
3
4
6 Position.
2
3
4-5
5-6
DH
0-5
6-16
17-27
+ 28
HF
0-10
11-30
31-50
+ 50
Hardness
Soft
Semi-hard
Hard
Very hard
POOR DRYING AND WHITE STAINS
Check if the deposit has rinse aid
Is the back of the optical viewer
dark?
Check if it really expels rinse aid. Example : in a
short programme
Does it expel rinse aid?
§Check if the adjustment is appropriate.
§Check positioning of dishes.
§Check if the water reaches the correct
temperature.
§When the wash finishes wait aprox. 15 min.
before opening the door.
§If you are not going to take the dishes out
immediately leave the door slightly open.
§Begin by taking the dishes out from the lower
basket.
YesNO
NO
It has no rinse aid
TREATMENT
§Refill rinse aid
§Adjust dose according to guide
chart.
Check functioning
manually
Does it expel rinse aid?
CAUSE
Dispenser damaged
replace it
NO
Check functioning by connecting
directly to the mains
Does it expel rinse aid?
Yes
CAUSE
Defective dispenser
CAUSE
Defective programme selector
§The factors which contribute to correct drying are the temperature and rinse aid .
§The rinse aid has two functions : 1st To break the water’s surface tension, convert it into small drops and facilitate drying.
2nd It eliminates part of the lime which enters the tub.
So the consequence of an incorrect quantity of rinse aid, is POOR DRYING and WHITE STAINS (lime)
yes
Yes
21.

SEQUENCE FOR CHECKING THE CORRECT HYDRODYNAMIC FUNCTIONING OF THE
DISHWASHER
7
7
Block the two distributors
Fit transparent door
(available in the 96 range)
Activate micro door
Select a short programme
Start the machine and check the water
intake
Is the water
intake correct?
NO Yes
Check the water output from the outlets of the 2
distributors is at sufficient pressure
In models with mobile conduit in the
upper distributor check its height.
Unblock distributors
Check distributor revolutions
96 R –over. 34 ±Inf. 58 ±3
Previous R 11 27 ±3 Inf. 32 ±3
Revolutions
correct ?
Check the water installation control system by means of
Sheet 8 procedure.
YES
Check intakes for dirt or foreign bodies
NO
Check if there are leaks at the joins of the 2 halves
of the two distributors
Check functioning of wash pump
Check detergent dispenser opening
Review installation and functioning of drain.
Sheet11
4.7 min.
WATER LEVELS : 96 range. h’ 76 LITRES The tub axis has 2 indicative marks between which the water level must be maintained –Without covering the element
5.2 max.
WATER LEVELS : Previous range , example : LV-93, 95, 98,99 The level is considered correct when the water reaches or is at a level between the decalcifier screw and the deposit cap and the element
22.

WATER LEVEL CONTROL SYSTEM
8
8
Irregular water intake
Insufficient water
Washes badly and the machine stops
Take off the right side panel
Start water intake with programme selected (prewash)
Is a sudden rise of water
observed through the compression
chamber from the beginning
of the intake?
Circuit from compression chamber to
ballcock blocked
T R EATMENT
§Check ballcock and clean it.
§Replace black conduits (chamber-ballcock /
ballcock –tub)
§Check and clean bottom of housing in tub
NO YES
Water rise in the chamber is normal, but the presostat
connects before reaching its level.
§Review the connections and inside of the transparent tube.
Presostat-chamber
§Change presostat
Excess water
Take off right side panel
§Take in water by selecting a prewash.
§Observe the water’s behaviour in the
compression chamber.
Just before connecting
the preostat is a sudden rise
in the water level
observed ?
Defective ballcock
NOYES
T R EATMENT
§Check for dirt and clean
§If nothing strange is noted in the
ballcock, replace the ballcock
After this it continues taking in water
-Presostat conduit blocked
-Presostat conduit with water
-Defective presostat
NOTE
: Presostat settings come calibratred and factory sealed so that any manipulation of these apart from achieving no objective would disturb the appliance’s correct functioning, and therefore its manipulation is prohibited.
minimum 4.7 L.
WATER LEVELS –96 R Example : LV-25, 35, = 4.75 L The tub axis has two indicative marks between which the water level should be maintained –The element is not covered with water
WATER LEVELS 88 R. Example : LV-93 –95 = 7 litres : The level is considered correct when the water reaches or is at a level between the decalcifier screw and the salt deposit cap –The element is covered with water
Test the machi ne wi th a n ew intake
23.

“AGUATEST” PROCEDURE FOR MEASURING WATER HARDNESS, COMPONENT REF.– SV0011200
9
9
Before taking the sample let the water run for aprox. 1
min.
Fill the test tube with water to the white line
Add two drops of the dark solution, agitate and the water
takes on a violet colour
Next add the white solution (b) drop by drop, shaking it
after each addition, until it suddenly assumes a light blue
colour
Count the number of drops of the white solución (b)
With the chart for the “AGUATEST” procedure from the
no. of drops obtained from solution (b) the degree of
water hardness can be measured.
Example : 9 drops = 9º DH (German degrees)
9 drops = 16.07 HF (French degrees)
Select any programme
Open the dishwasher door and leave the door micro
activated
Start the machine with door open and wait until it begins
to take in water
Let it take in water for approximately 15 sec.
Then the steam outlet is in its turn at the same point as
the water intake
Water intake from mains Water intake in the interior of the tub
24.

PROCEDURE FOR CLEANING RUST POINTS
Once the source of the rust is located proceed as follows:
a) Locate all the points damaged with rust, if one of them is located around the decalcifier cap or the steam outlet
screw release the decalcifier.
b) Clean the damaged areas with a dry cloth
c) Put on gloves due to the degree of aggressiveness of this product
d) Using a small brush soak the damaged areas taking care to :
2If it is an area hidden to the User let it settle 5 or 7 minutes and then wipe with a dry cloth until the remains
of the product are removed.
2If it is a visible area “wipe with a cloth immediately, since on the contrary due to the aggressiveness of this
product it will leave a white stain.
DO NOT TOUCH ANY AREA OF THE KITCHEN WITH THIS PRODUCT. Example : Sink, since this will
also be stained.
e) After removal an empty wash with a short programme is recommended in order to remove any contaminant
residue.
1
10
0
25.

DRAIN SYSTEM
1
11
1
DOES NOT DRAIN
Put the drain hose directly into the
sink
Does it drain?
CAUSE
§ General drain blocked
§ Connecting tube drain incorrect.
§ Drain hose crushed
§ It sucks water from the drain
Yes NO
Set the programme selector to the
beginning of the programme and
connect the machine
Does the
pump have
current?
Defective programme selector
NO YES
Take out the pump
Is it blocked by
a foreign object ?
SI NO
Remove it and assemble the
pump again
Replace the pump
26.
Other manuals for BB 65
2
This manual suits for next models
10
Table of contents
Other Equator Dishwasher manuals

Equator
Equator PLS 600 V Service manual

Equator
Equator BB 65 Instruction Manual

Equator
Equator CD400 User manual

Equator
Equator SF 924 User manual

Equator
Equator BB 65 Operating instructions

Equator
Equator 2440WBT User manual

Equator
Equator BB55 Guide

Equator
Equator SB77 User manual

Equator
Equator WB 82 User manual

Equator
Equator SB 818 Guide