Outward Folding
Bathscreen
Instruction Manual
OBV3
IMPORTANT INFORMATION
• Toughenedglassiscompletelysafeforuseinourshowerenclosuresandbathscreens;providingourproductsareinstalledaccordingtoour
guidelines.
• Itisimportanttonotethattheglassmustnotbemountedor‘pinched’insuchawaythatwouldcauseastresspointtodevelopintheglass.In
addition,itmustnotbesubjecttoanysharpimpactorseveretemperatureuctuationwhichmayalsocauseastresspointtodevelopintheglass.
• Toughenedglassisphysicallyandthermallysignicantlystrongerthanstandardglass.Duringthetougheningprocessthestressescontained
withinanyglassarebalancedsoifintheunlikelyeventsituationanyoftheaboveoccursandtheglassbreaks,theglasswillshattersafelyinto
smallthumbnailsizedbluntfragments.
Component Check List: Supplied
Description Quantity
BathScreen 1
ConcealedWallProle 1
VerticalSeal 1
PVCBottomSeal 1
AluminiumBottomStrip 1
BracingAssembly 1
Fixing Kit Components
Description Quantity
38mmCountersinkScrew(RSCR1) 4
WallPlugs 4
BrandingBadge(ifapplicable) 1
Pleasemakesurethepurchaser/enduser
completesandreturnstheguaranteecard
whichisenclosedwiththisproduct.Failure
tovalidatetheGuaranteewillmeanonlythe1
YearStatutoryGuaranteewillapply.
CONSUMER GUARANTEE
PRE-INSTALLATION CHECKS
1. Checkyouhavethecorrectproduct.Pleaselookatthelabelsonthesideoftheproductpackaging.
2. Checkalltheproductcomponentsareintheboxandthexingkits.
3. Unpackyourproductandhandleitwithcare.
4. Pleasechecktheproductfordefectsordamage,oncetheinstallationhascommencedwecannotacceptresponsibilityforanydefectsordamage.
5. Pleasetaketimetoreadtheseinstructionspriortoinstallingyourproduct.
6. Beforeyoucommenceanydrillingchecktherearenohiddenelectricalcablesand/orwaterpipes.
7. Noattemptshouldbemadetore-workthetoughenedsafetyglass.
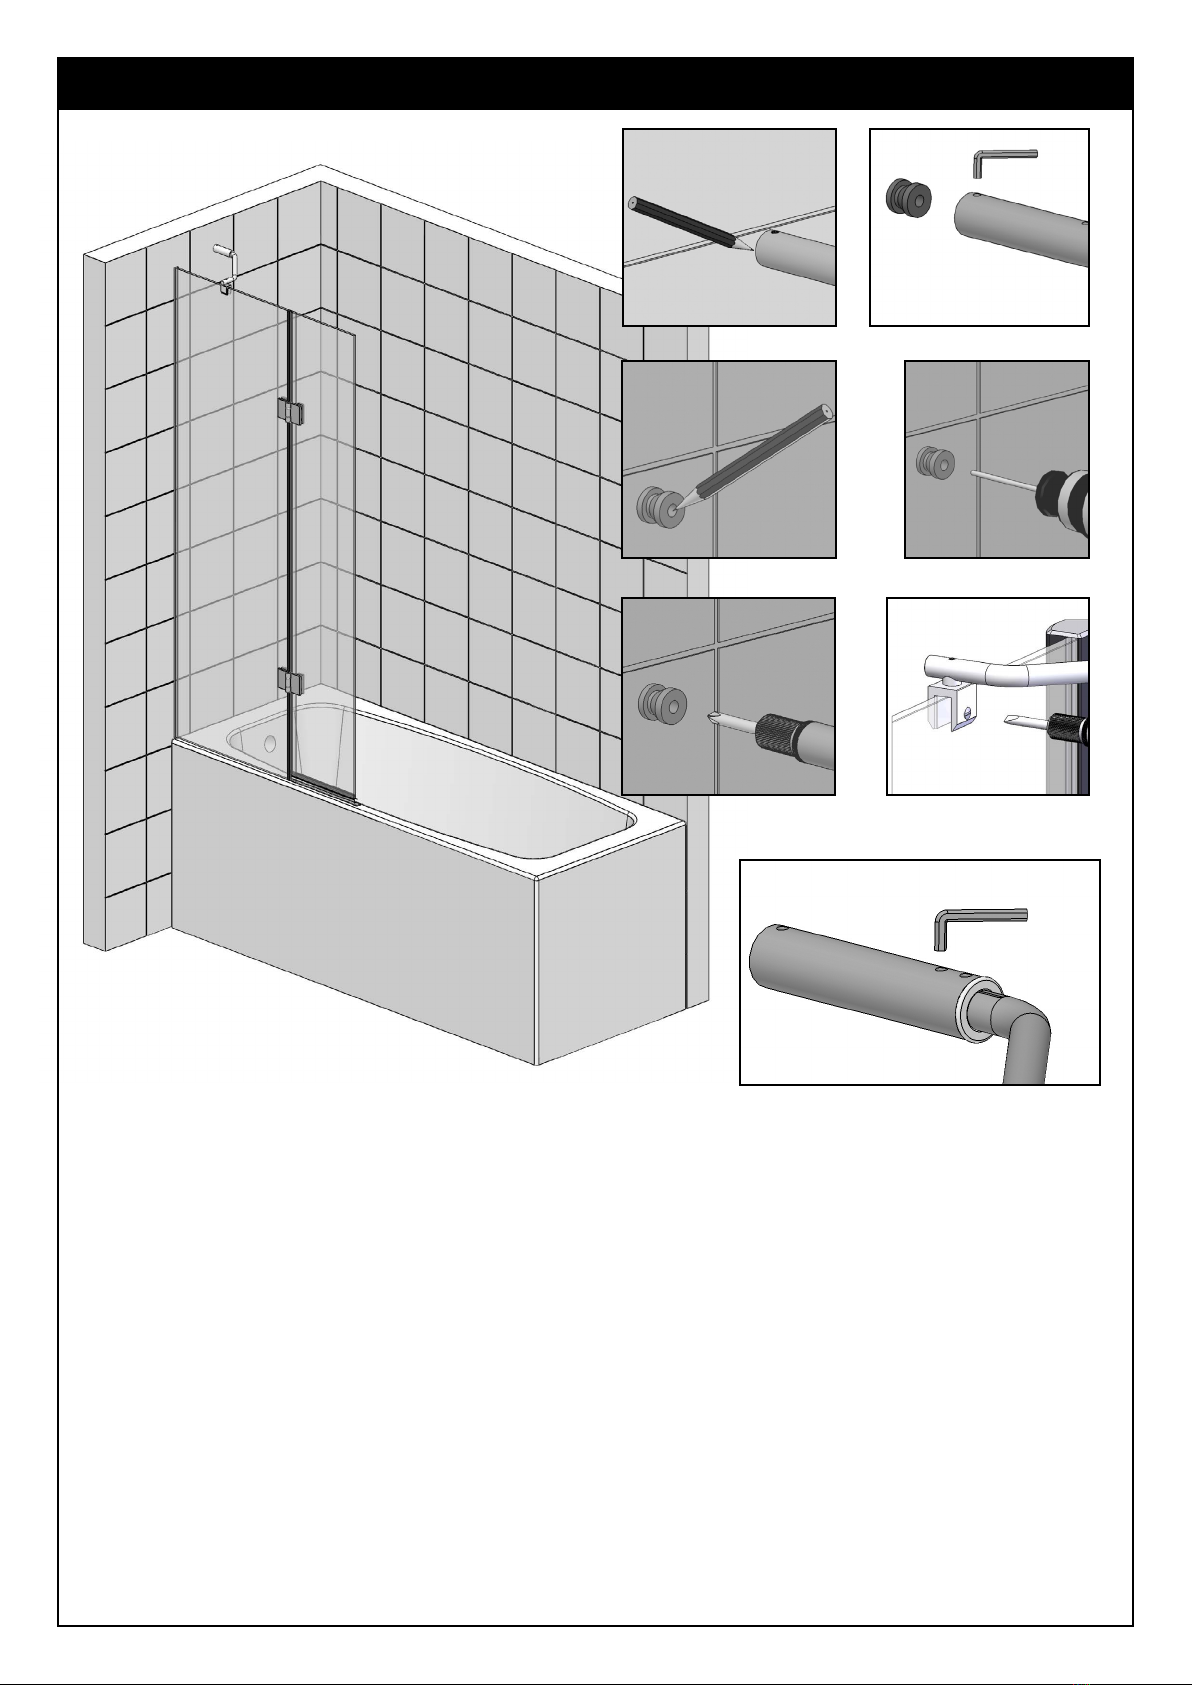
8. Theinstallationoftheproductshouldbeperformedbytwopersons.
9. Itisstronglyrecommendedthatthewallstheproductisgoingtobeinstalledonarevertical.
10. Itisstronglyrecommendedtheproductisttedonatiledsurfaceorsimilarwaterproofsurface.
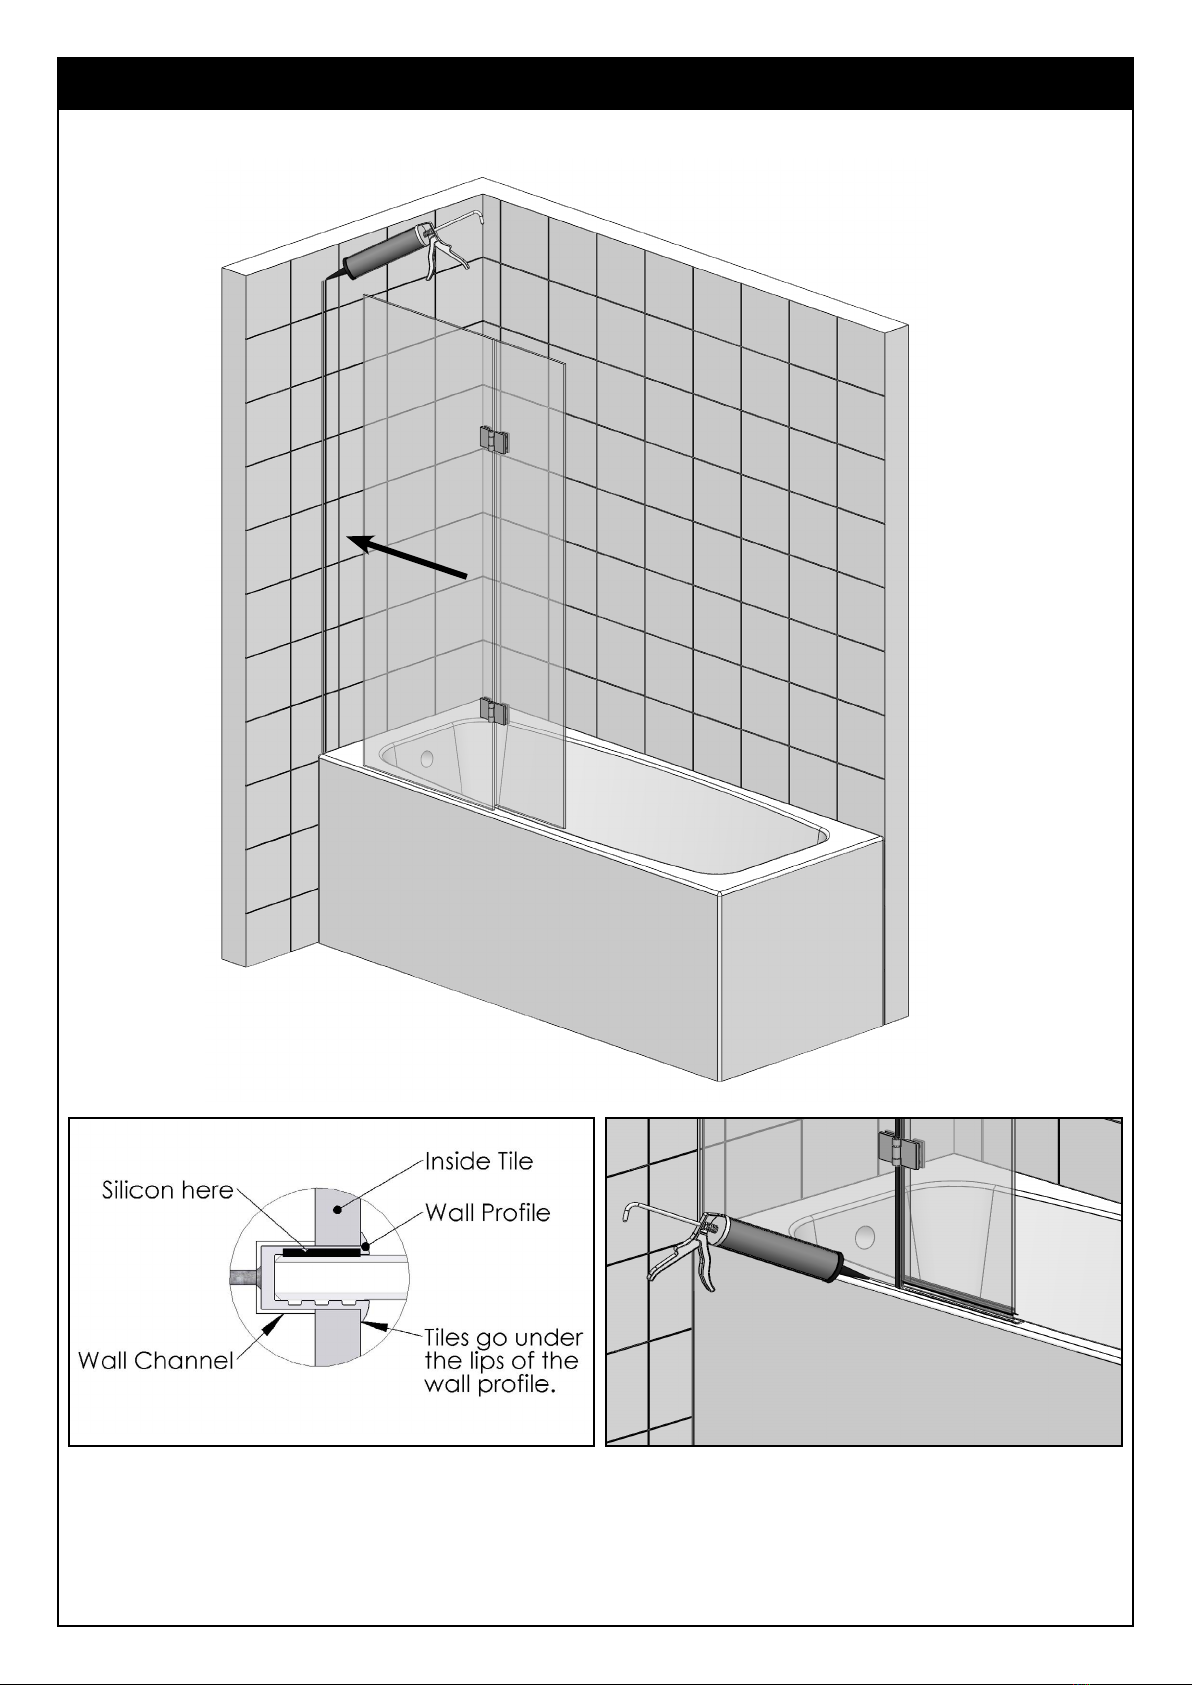
11. Itisstronglyrecommendedthewallsaretiledandgroutedbeforetheproductisinstalled.
12. Ifthewallsand/orthetrayarenotlevelyouwillnotachievemaximumadjustmentoftheproduct.
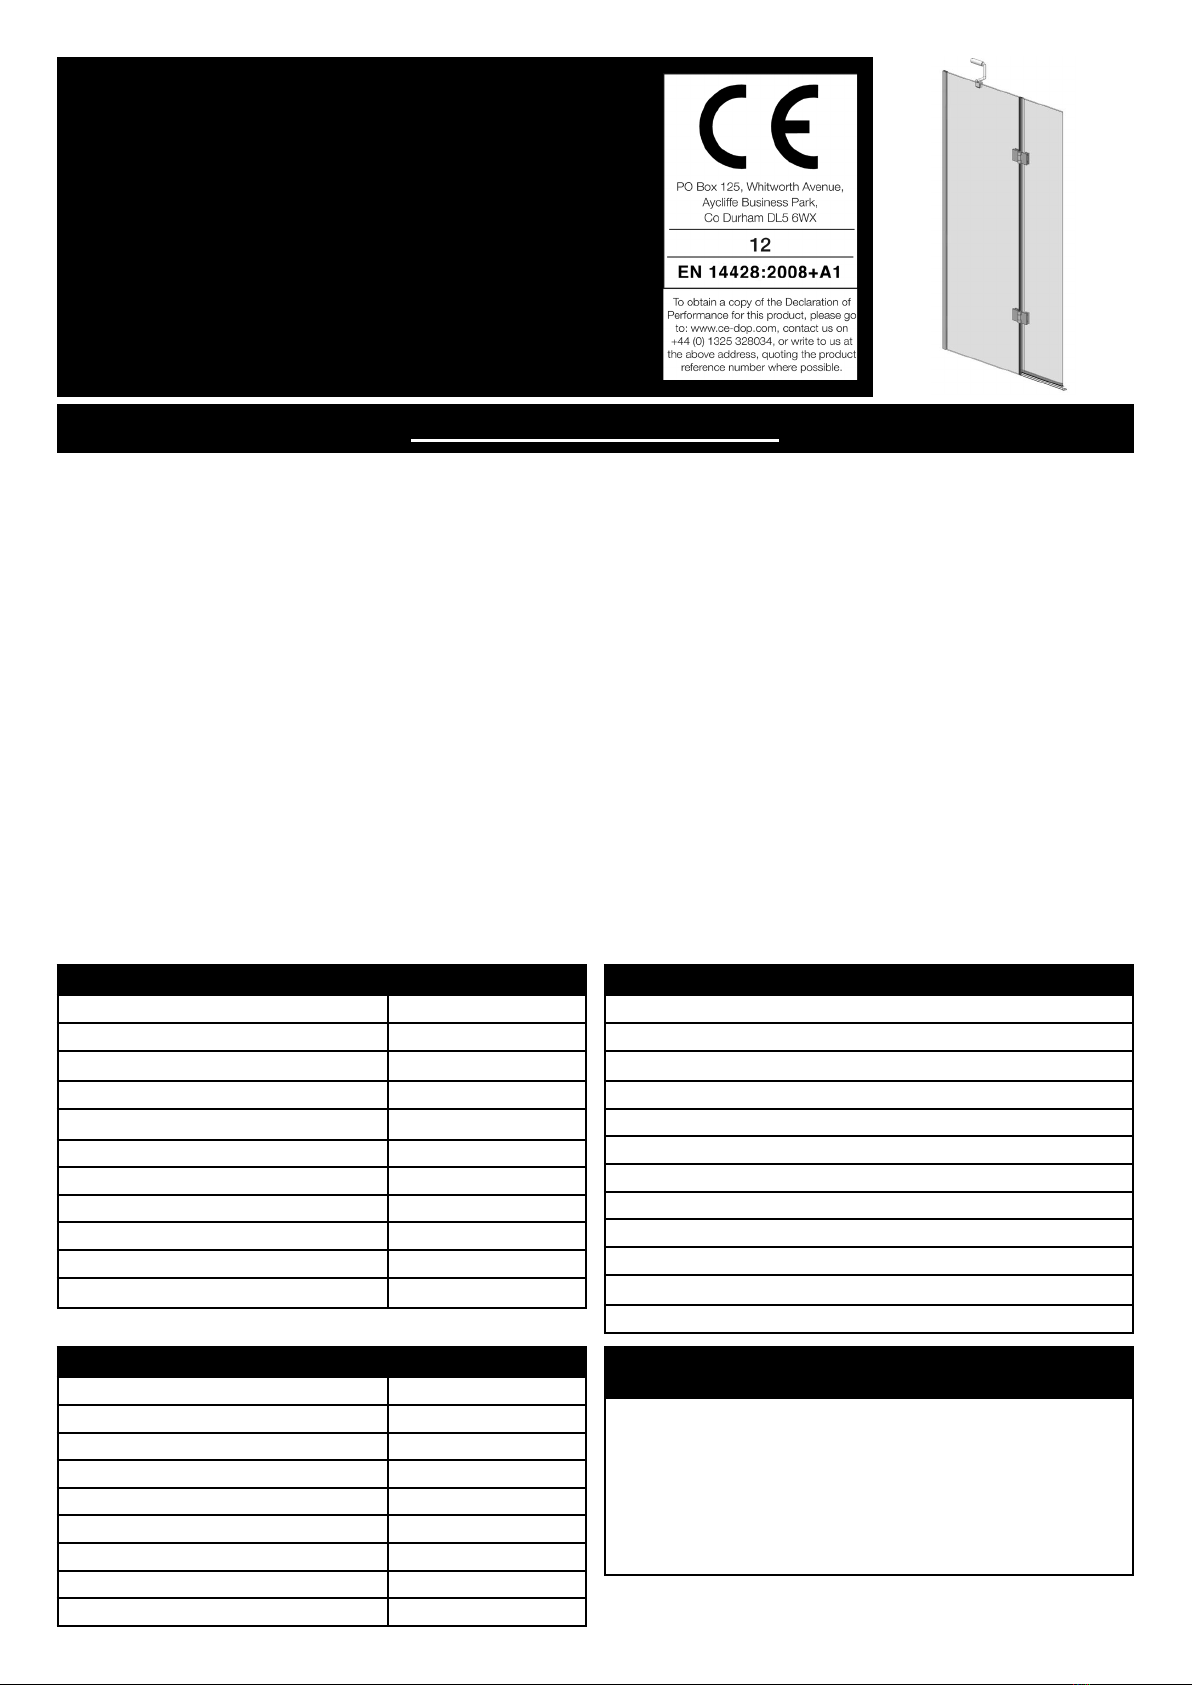
13. Picturesusedareforillustrationpurposesonly,productdesignsmayalterslightlyasaresultofcontinuingproductdevelopment.
14. WedonotstipulatewheretheEuropeanStandardKiteMarkshouldbepositionedontheglasswhenbeingfactoryassembled.
15. Pleasenotethatsomenaturalmistingmayoccurwhenyouremovethisproductfromitspackaging,duetotheadditionoftheglassprotectionpre-
coating.Ifthisdoesoccurthiscaneasilyberemovedwithasoft,drycloth.
Ref:OBV3-March2014
Equipment Check List: Not Supplied
Description
Mains/BatteryDrill
PoziScrewdriver
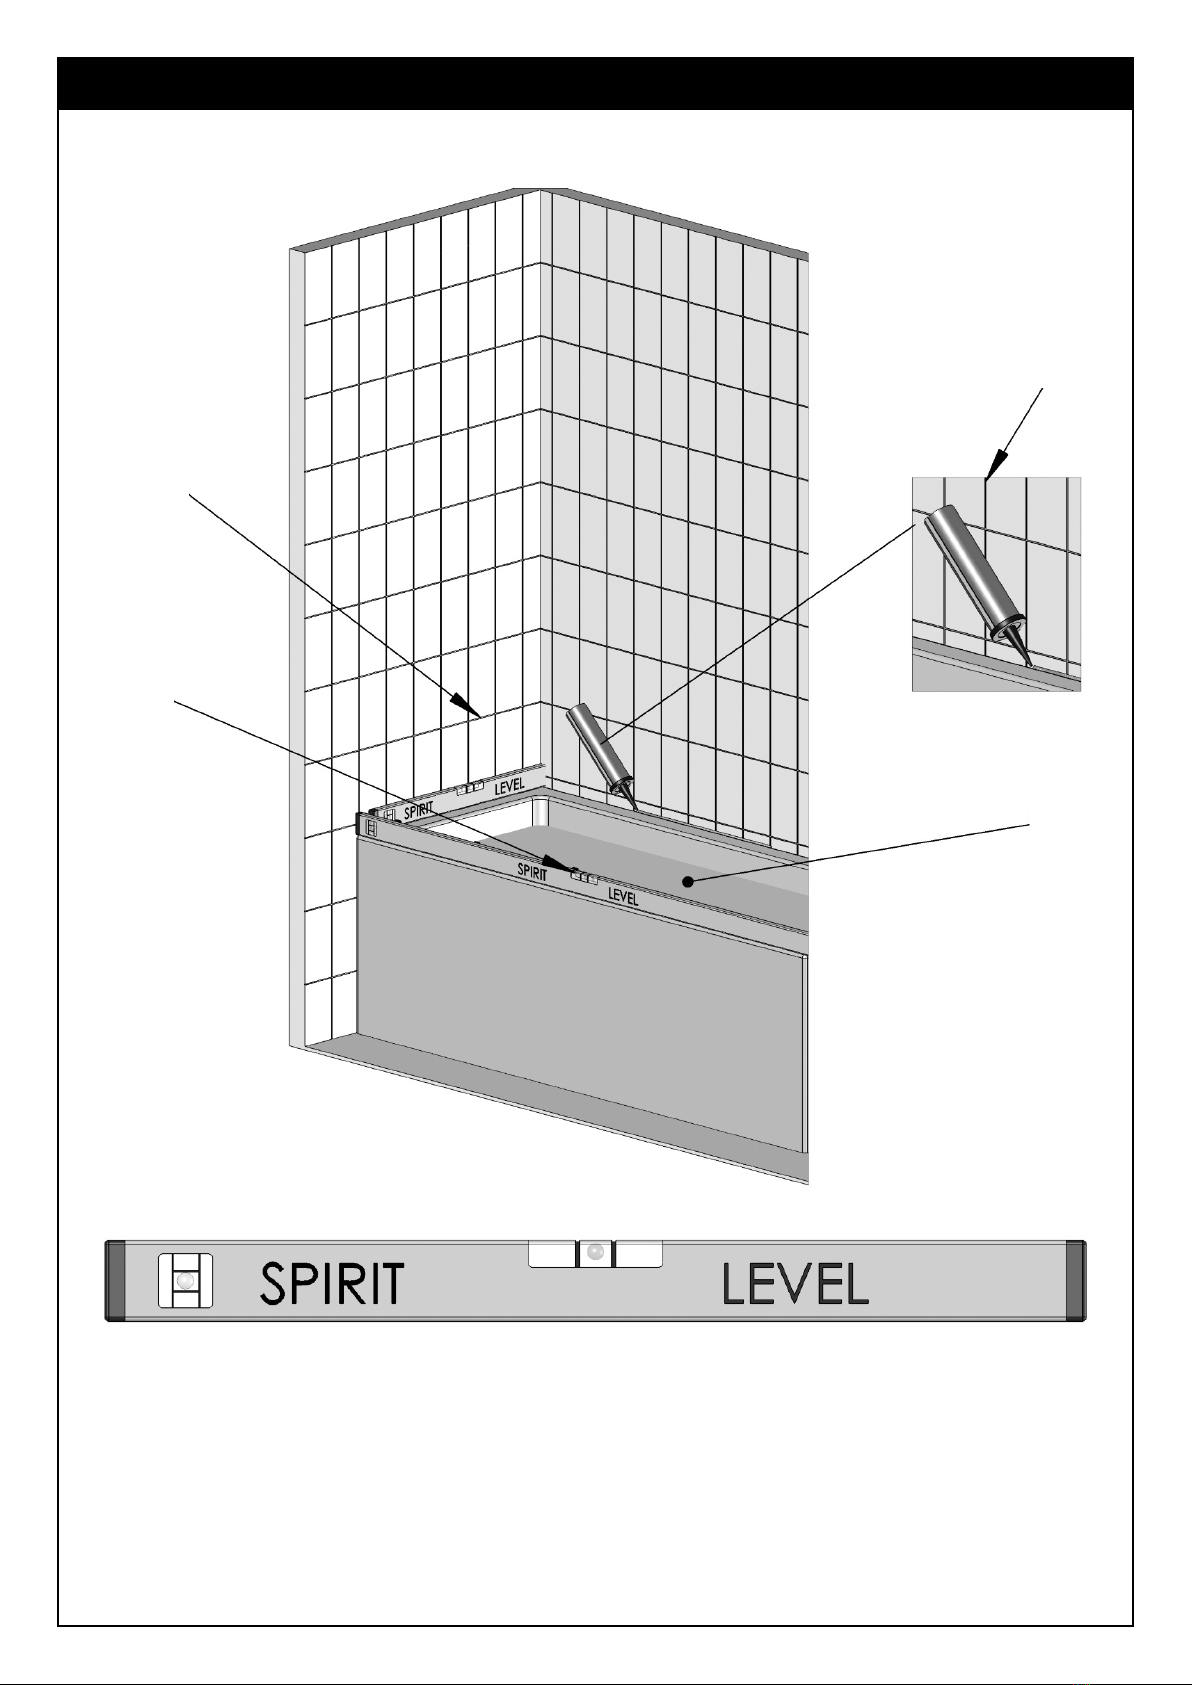
SpiritLevel(Large)
6mmMasonryDrillBit
TapeMeasure
Pencil
Hammer
HandGrinder
Chisel
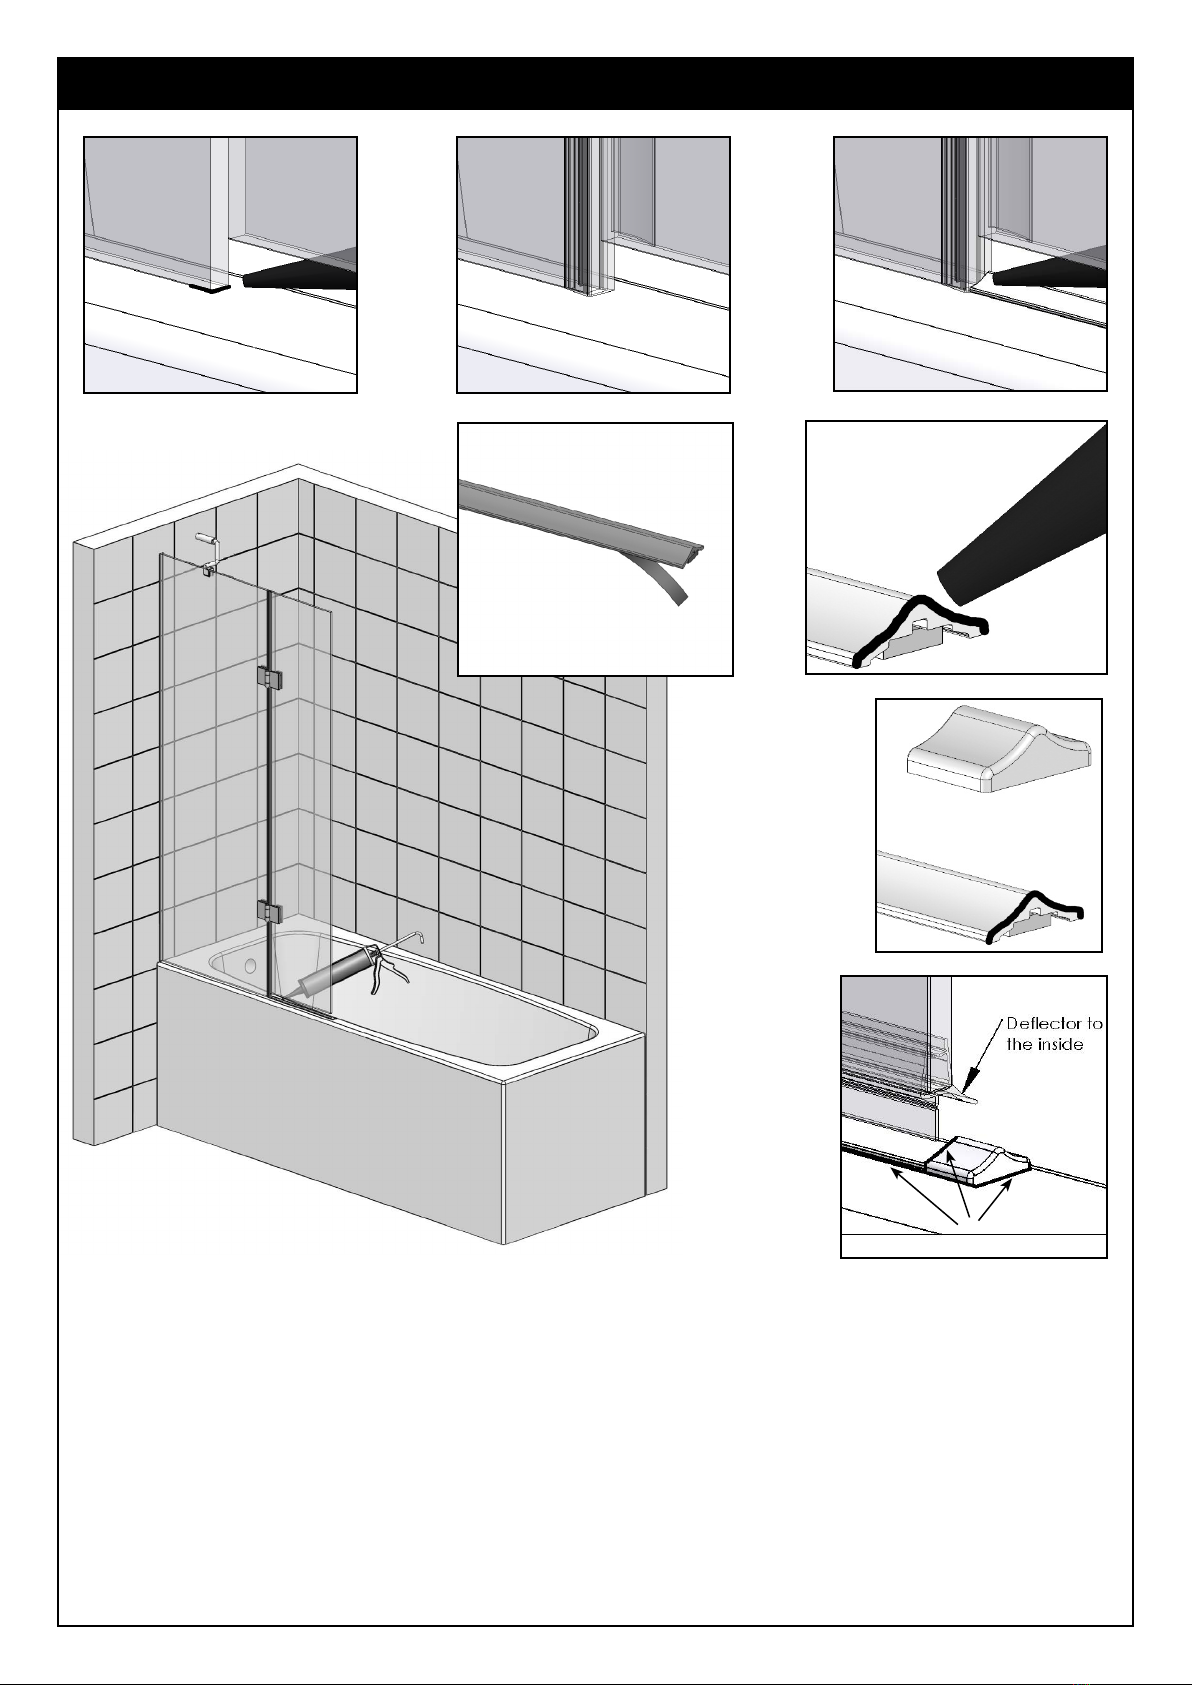
SealantandSealantGun
DustMask