ERGONOMIC OPERA 20 User manual


For a healthy posture, your spine should be lengthened and the natural
‘S’ shape of your back promoted. This will ensure you are not sitting in a
slouched or hunched position and that your back is protect against strain
and fatigue. The following illustration shows how to sit with a good posture
when using your chair at a computer workstation.
Firstly, we would like to take this opportunity to thank you for choosing
one of our Opera 20 chairs. You have made an excellent choice and we are
condent the chair will provide you with all the support and comfort you
need for many years to come.
HOW TO SIT WITH A
HEALTHY POSTURE
Head in upright
position
Top of screen
at eye level
Shoulders relaxed Screen arm’s
length away
Backrest at a 10°
backward angle Forearms parallel
to desk
Ears, shoulders and
hips in a straight line
Slight downward
angle from hip
to knee
5cm gap between
back of knee and
edge of seat
Feet at on oor
or using a footrest
SEAT
HEIGHT SEAT
DEPTH
Once you are happy with the
height, release the lever to set
Pull the chair height lever up
to release the lock. To raise the
height, you will need to take
your weight off the chair
SETTING UP YOUR CHAIR
THANK YOU
When making any adjustments, please sit with your bottom as far back into
the chair as possible. This ensures you are fully supported and discourages
slouching. Once the chair is set up, please ne-tune the settings, over time,
so you always enjoy optimal comfort and support.
For the best results, please follow these instructions in the order provided.
1
3
Adjust the height so that your
hips are slightly higher than
your knees
Pull the seat depth lever up to
release the lock
1
To increase the seat depth,
slide your hips forward
and the seat will follow your
movement
To reduce the seat depth,
push your body towards the
backrest. Aim to leave a 2 to
3 nger gap between the back of
your knees and the seat
3
Once you are happy with the
depth, release the lever to set
2
2
4

BACK
HEIGHT
BACK
ANGLE LUMBAR
SUPPORT
SEAT
ANGLE
Pull the seat angle lever
backwards to release the lock
and brace yourself in case the
chair tilts forwards or backwards. If
the tension is too weak or too strong
then refer to instruction 7(Rocking
Action)
1
Lean backwards and forwards
and the seat will follow your
movements. Aim to have the
seat set parallel with the oor
3
Sit without leaning back too
heavily into the chair so the
backrest doesn’t recline too
quickly when you release the lock
Squeeze the lumbar pump
until the lower part of the
backrest feels comfortable and
supportive in the small of your back
1
1
You may nd it best to start
with little or no air in the
lumbar. If you feel you need
more support, increase gradually to
allow your body time to get used
to it
Gently lean backwards and
forwards and the backrest will
follow your movement. Aim for
approximately a 10-15° backward
angle To decrease the amount of
lumbar support, press the
deate button
3
3
Once you are happy with the
angle, release the lever to set
Once you are happy with the
angle, release the lever to set
2
2
2
Pull the back angle lever
upwards to release the lock
4
Hold the backrest with both
hands and raise it up so the
lumbar support sits comfortably
in the small of your back. You will
hear clicks as you lift it
1
Once you are happy with the
height, let go of the backrest
and it will hold its position
To re-set, lift the backrest
beyond the highest setting
and it will drop to its lowest
position. You can then repeat
instruction number 1 & 2
3
2

NECK REST
SETTING
ROCKING
ACTION ARMREST
HEIGHT
Sit with your arms resting
naturally at your sides
To adjust the height, simply
lift up or push down
1
1
Push the armrest height
adjustment button to release
the lock
The neck rest has
dual hinges so you can
ne-tune the positioning. The
neck rest should make you feel
fully supported while maintaining a
natural posture. There should be no
pressure on your neck and upper
body as you relax into the neck rest
Position the armrests so your
forearms rest comfortably on
the pads, parallel with the oor
and with your shoulders relaxed
The neck rest should ideally
be used for relaxation and not
for constant support
3
3
Once you are happy with the
height, release the lever to set
CARING
FOR YOUR
CHAIR
We offer a full range of service
parts to keep your chair well
maintained so it provides you with
the comfort and support you need.
Removal of dirt, dust and debris
is recommended and regular
vacuuming will help keep the
upholstery clean, whether it is
fabric, vinyl or leather. Please
ensure you use a soft vacuum
attachment and keep suction to a
minimum to avoid scratching and
lasting marks. The hardware can be
wiped down with a damp cloth as can
vinyl and leather upholstery. Fabric
upholstery may need the addition
of a fabric cleaner that has been
specically formulated for use on
upholstery.
Periodically cleaning your castors is
recommended to avoid the build-up
of debris as this can make the chair
harder to manoeuvre. A small spray
of WD-40 will help to keep the
castors rolling smoothly.
Periodic maintenance of the
chair is required and a thorough
visual inspection of the main
components is necessary to ensure
user safety. Do not attempt to
open any mechanism or remove
any plastic parts as only authorised
professionals are permitted to do
so. If the product shows reduced
or altered performance, please
contact the dealer or manufacturer.
2
2
Pull the seat angle lever
backwards to release the
rocking action. Ensure you brace
yourself in case the tension is too
strong or too weak. Ideally you want
the chair to follow and support your
movements
1
If you feel the chair pushing
you forward then decrease the
tension by turning the wheel
clockwise. If you feel the chair tilt
backwards too easily then increase
the tension by turning the wheel
anti-clockwise
Ensure the rocking action is
locked prior to getting in or out
of the chair by pushing the lever
forwards
3
2
4
Table of contents
Popular Indoor Furnishing manuals by other brands
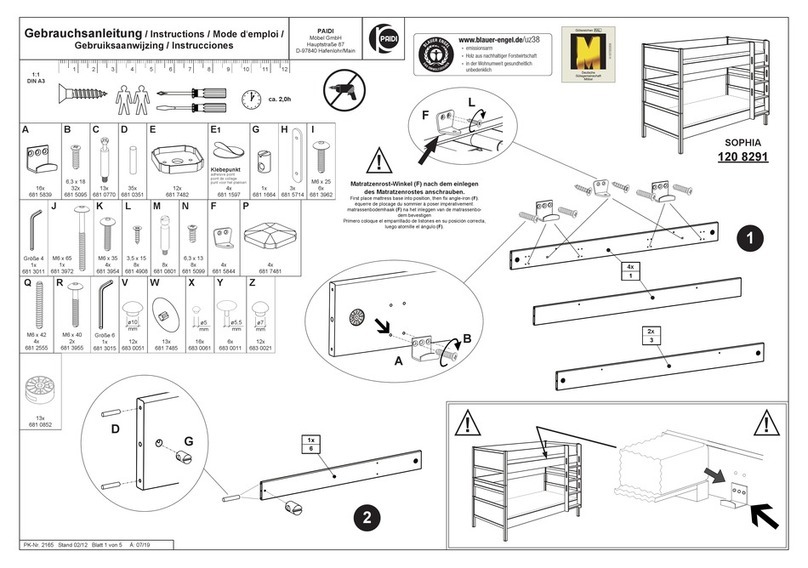
PAIDI
PAIDI SOPHIA 120 8291 instructions
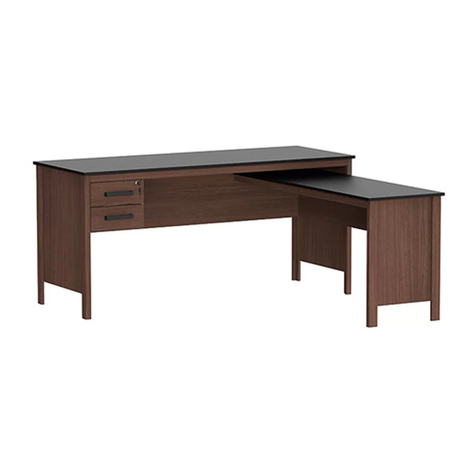
DITALIA
DITALIA DL-902 Assembly manual
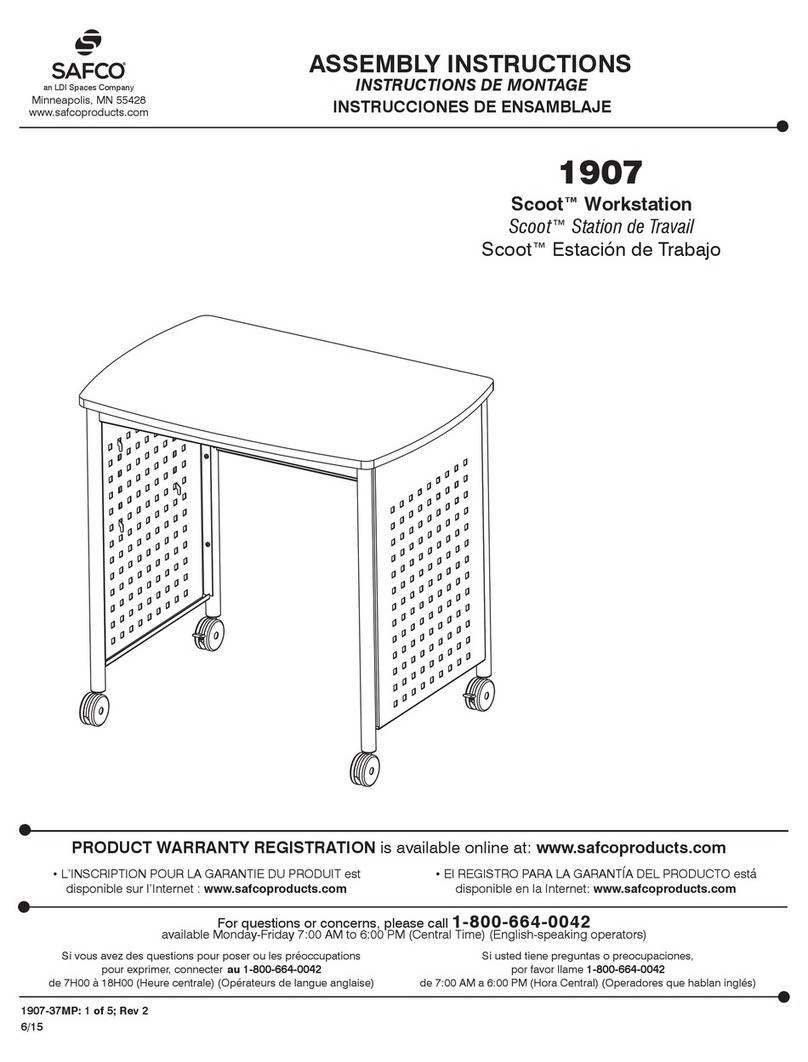
LDI Spaces
LDI Spaces Safco Scoot 1907 Assembly instructions

Madison Park
Madison Park SAN PEDRO ACCENT CHAIR Assembly instructions

Furniture of America
Furniture of America Finley CM4488E Assembly instructions
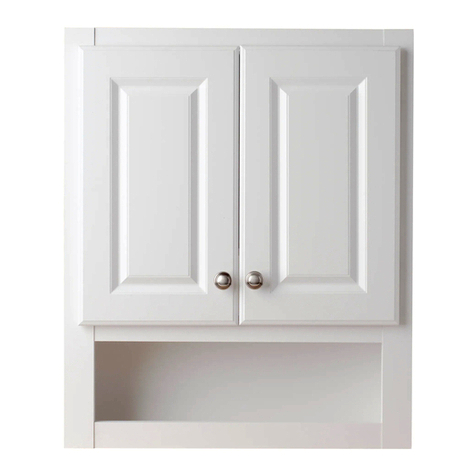
Style selections
Style selections TT210 Assembly instructions
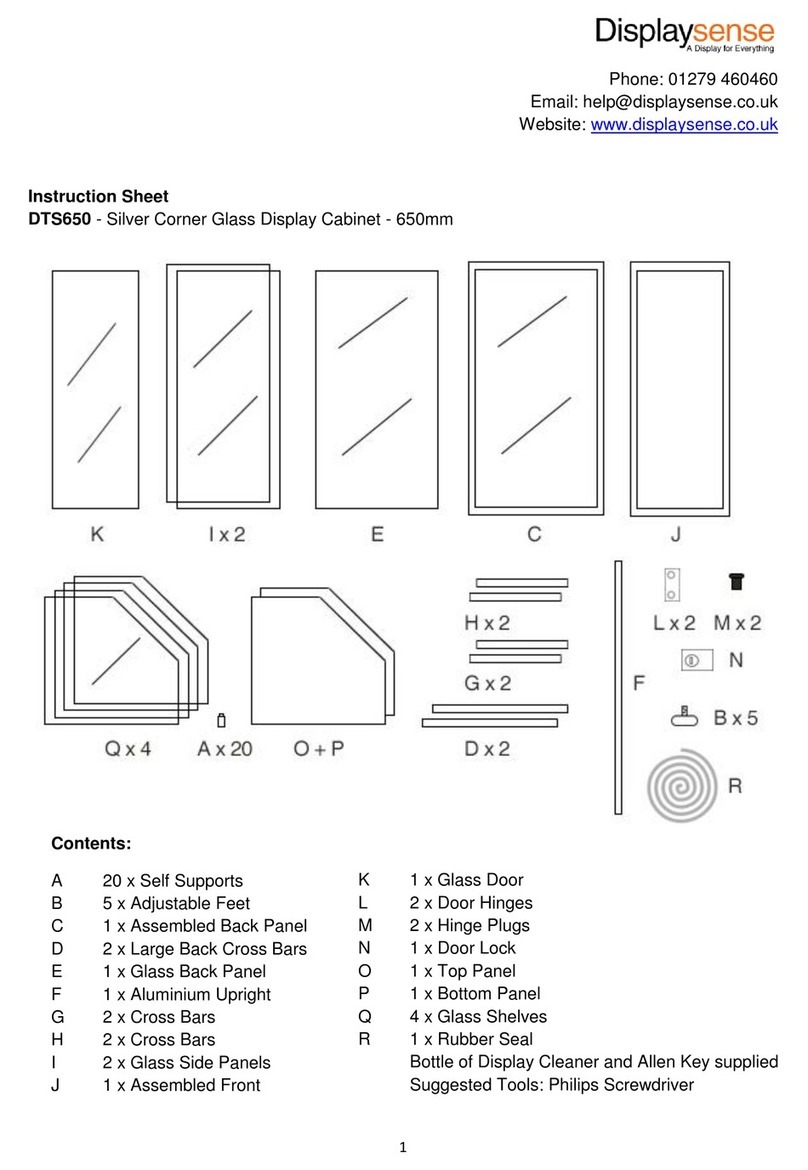
Displaysense
Displaysense DTS650 instruction sheet
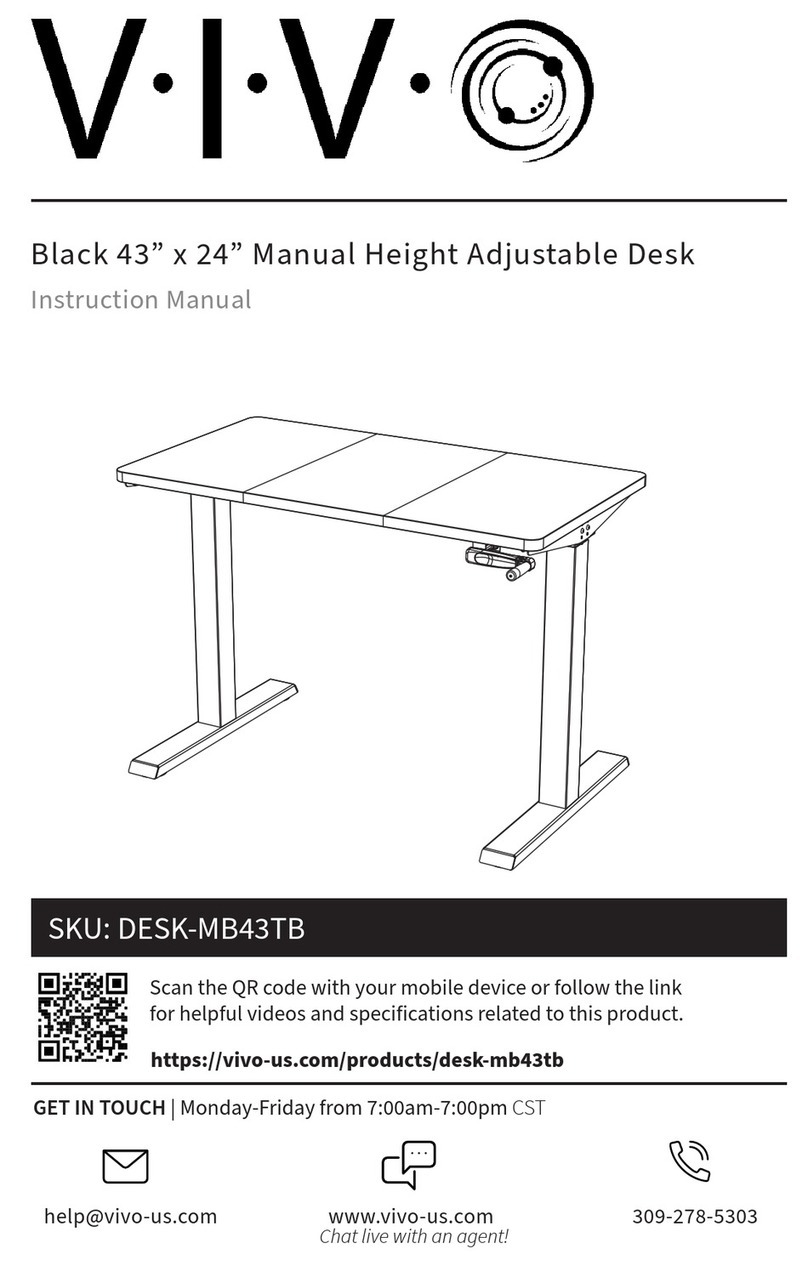
Vivo
Vivo DESK-MB43TB instruction manual
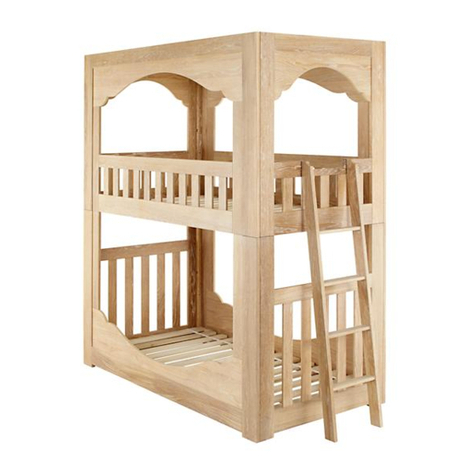
The Land of Nod
The Land of Nod Terrace Bunk Bed Assembly instructions

OSP Home Furnishings
OSP Home Furnishings BP-4214 Assembly instructions

Lomado
Lomado Louise Assembly instructions

Sonder
Sonder FG0701398 Assembly instructions

