manuals.online logo
Brands
  1. Home
  2. •
  3. Brands
  4. •
  5. ESAB
  6. •
  7. Welding System
  8. •
  9. ESAB ARC300i User manual

ESAB ARC300i User manual

1
ARC300i
INVERTER MMA
Welding Power Source
Instruction manual
ARC300i
INVERTER MMA WELDING POWER SOURCE
Instruction manual
For
Installation, Operation & General maintenance
CONTENTS
Item
Page No.
SAFETY
4-5
RATING AND INSTALLATION
6-7
CONNECTIONS
8
WELDING OPERATIONS
8
WIRING DIAGRAM
9
TROUBLESHOOTING
10
PARTS LIST AND EXPLODED VIEW
11-14
ESAB INDIA LOCATIONS AND CONTACT DETAILS
15
SAFETY
Users of ESAB welding equipment have the ultimate responsibility for ensuring that
anyone who works on or near the equipment observes all the relevant safety
precautions. Safety precautions must meet the requirements that apply to this type of
welding equipment. The following recommendations should be observed in addition to
the standard regulations that apply to the workplace.
Trained personnel well acquainted with the operation of the welding equipment must
carry out all the work. Incorrect operation of the equipment may lead to hazardous
situations, which can result in injury to the operator and damage to the equipment.
1. Anyone who uses the welding equipment must be familiar with:
• its operation
• location of emergency stops
• its function
• relevant safety precautions
• welding
2. The operator must ensure that:
• no unauthorized person is stationed within the working area of the equipment when
it is started up.
• no one is unprotected when the arc is struck
3. The workplace must:
• be suitable for the purpose
• be free from drafts
4. Personal safety equipment
• Always wear recommended personal safety equipment, such as safety glasses,
flameproof clothing, and safety gloves.
• Do not wear loose—fitting items, such as scarves, bracelets, rings, etc., which
could become trapped or cause burns.
5. General precautions
• Make sure the return cable is connected securely.
• Only a qualified electrician may carry out work on high voltage equipment.
• Appropriate fire extinguishing equipment must be clearly marked and close at
hand.
• Lubrication and maintenance must not be carried out on the equipment during
operation.
Read and understand the instruction manual before installing or operating.
ESAB can provide you with all necessary welding protection and accessories.
WARNING
Arc welding and cutting can be injurious to yourself and others. Take
precautions when welding.
Ask for your employer’s safety practices which should be based on manufacturers’
hazard data.
ELECTRIC SHOCK –Can kill
• Install and earth the welding unit in accordance with applicable
standards.
• Do not touch live electrical parts or electrodes with bare skin, wet gloves
or wet clothing.
• Insulate yourself from earth and the workpiece.
• Ensure your working stance is safe.
FUMES AND GASES –Can be dangerous to health
• Keep your head out of the fumes.
• Use ventilation, extraction at the arc, or both, to take fumes and gases
away from your breathing zone and the general area.
ARC RAYS –Can injure eyes and burn skin.
• Protect your eyes and body. Use the correct welding screen and filter
lens and wear protective clothing.
• Protect bystanders with suitable screens or curtains.
FIRE HAZARD
• Sparks (spatter) can cause fire. Make sure therefore that there are no
inflammable materials nearby.
NOISE –Excessive noise can damage hearing
• Protect your ears. Use earmuffs or other hearing protection.
• Warn bystanders of the risk.
MALFUNCTION –Call for expert assistance in the event of malfunction.
PROTECT YOURSELF AND OTHERS!
CAUTION!
This product is solely intended for arc welding
Do not dispose of electrical equipment together with normal waste!
In accordance with national law, electrical equipment that has reached
the end of its life must be collected separately and returned to an
environmentally compatible recycling facility. As the owner of the
equipment, you should get information on approved collection systems
from the local representative. By applying this Directive you will
improve the environment and human health
RATING OF ARC300i INVERTER WELDING POWER SOURCE
Parameters
Unit
ARC300i
Output
No-load
voltage
V
70
Working
voltage
V
21.2-32
Rated welding
current
A
300
Current range
A
30-300
Rated duty
cycle
60%
30%
250A
300A
Input
Phases
phase
3
Frequency
Hz
50
Supply voltage
V
415
Rated input
current
A
16
Maximum
effective input
current
A
8.76
Rated input
capacity
kVA
16
Efficiency η
≥85%
COSφ
0.99
Insulation class
H
Degrees of protection
provided by enclosure
IP21S
Weight
kg
16
Dimensions (L×W×H)
mm
450×220×409
INSTALLATION
The complete installation should consist the following items:
Description
Type
Quantity
1.
Welding Power Source
ARC300i
1
2.
Welding Cable with Holder
1
3.
Earth cable with Clamp
1
4.
Remote (Optional)
RT-ARC300i
1
CAUTIONS FOR INSTALLATION
Provide a Switch Box for every Welding Power Source, and use designated fuse
Tolerance of Power Voltage Variation is 10% of rated input voltage.
a) Installation place
Install in the place where less moisture and dust exist. Avoid direct sunlight and
rain, and maintain ambient temperature within –10o to +45o C as much as
possible.
Keep the welding power source at least 20 cm. away from the wall (if any).
In case of installation of more two units side by side, a distance of more than 20
cm is recommended between the two power sources.
Use a shield to protect the welding arc in case of excessive air draft.
b) Ventilation
Adequate ventilation is recommended at the place of installation. For example
the following guideline should be followed:
a) In case of the area being more than 300 square meters (per unit), no
ventilation is required, provided the room is not completely airtight.
b) In case of the area being less than 300 square meters and the welding is
continuously performed, adequate ventilation is recommended with the
help of vent fan or exhaust duct.
c) While performing the grounding work, it is recommended that a skilled
electrician does the work.
CONNECTIONS
a) Input
The specifications of recommended input cable, grounding line and fuse or circuit
breaker are listed below:
Rated
duty
cycle @
300A
Input
voltage
Input
current
Maximum
effective
input
current
60℃cable specifications
Fuse or
circuit
breaker
Three-phase
input cable
Grounding
wire
ARC300i
30%
415V
16A
8.76A
>6 mm2
>4 mm2
80A
b) Output
The positive and negative terminals of output circuit are at the bottom of the front
panel, marked with “+” and “-”.
Connect and rotate to tightened output cable from the “+” terminal to the positive OKC
quick connector at one end and the electrode holder at the other.
Connect and rotate to tightened output cable from the “-” terminal to the negative
OKC quick connector at one end and the work piece at the other.
Remote control can be connected at the bottom of the front panel depending on the
user selection.
WELDING OPERATIONS
Switch on the power switch at the rear panel of the machine. After switching on the
machine, the power indicator on the front panel will be lighted (red), the current digital
meter displays will be ON, the fan starts running and voltage is available at the output
terminal.
The welding current can be set continuously from minimum to maximum value by
turning the welding current knob on the front panel when machine is local mode. When
the machine is in remote mode current can be set by remote potentiometer.
When the power switch at the rear panel is turned off, machine is shut off and power
indicator light is off, digital display will be off, Fan stops rotating.
The droplet transfer property of the welding could be improved through adjusting the
ARC FORCE knob and the arc property of cold electrodes could be regulated through
adjusting the HOT START knob. When the above two knobs are set properly and the
welding current is regulated at right value, the welding will be much easier and more
stable.
TROUBLESHOOTING
All parts of the fan are sealed such that extra maintenance is not required for the fan.
When operated at dusty place, the machine’s air duct may get plugged to cause the
machine overheated, therefore, remove inside of the machine’s dust with dry
compressed air regularly.
Overload protection
The thermostat inside the welding machine can effectively protect important power
devices with overload or insufficient cooling, by the thermostat switch. When the
machine is continuously overloaded or the power device IGBT and fast recovery diodes
are not cooled adequately, the over temperature indicator will be lighted and normal
output of the machine will be stopped. When these components are sufficiently cooled,
the over temperature indicator will be off and the voltage output of the machine returns
to normal.
Under-voltage protector is equipped in the machine control circuit to stop operation of
the machine when the input voltage is too low. When the input voltage is not within
limits, the output of the machine will stop. If no voltage is available at the output
terminals and the power signal is on while the overheat indicator is off, please check
the input supply voltage.
PARTS LIST AND DIAGRAM
ARC300i Front panel
Serial No.
Component Name
Part Number
1
Output terminal
0050804024
2
Remote Socket
0012001004
3
Control board
0030101710
4
Arc Force Control knob
0010603057
5
Welding current knob
0010603056
ARC300i Rear panel
Serial No.
Component Name
Material code
6
Fan shield
0011701017
7
Fan
0011501003
8
Miniature circuit breaker
0030501596
9
Input Cable
0011702012
ARC300i Inside
Serial
No.
Component Name
Material code
10
Driving board
0030101711
11
Control transformer
0060101174
12
Power supply detection
board
0030101618
13
AC polypropylene
capacitor
0061301063
14
Three phase rectifier
module
0012103019
15
Three phase input
inductance
0030101111
16
Filter capacitor
0010222008
17
Absorption board
0030101715
18
Main transformer
0030801607
19
Auxiliary inductance
0031001106
20
Current transformer
0011303015
21
Inverter board
0030101717
Serial No.
Name of component
Material code
22
Diode board
0030101182
23
Primary inductance
0031001079
24
Hall sensor
0011301006
15
Web: www.esabindia.com

This manual suits for next models

1

Other ESAB Welding System manuals

ESAB Aristo WeldCloud Mig U5000i User manual

ESAB

ESAB Aristo WeldCloud Mig U5000i User manual

ESAB Origo Mig C170 3ph User manual

ESAB

ESAB Origo Mig C170 3ph User manual

ESAB MXL 200 User manual

ESAB

ESAB MXL 200 User manual

ESAB Origo Tig 3000i User manual

ESAB

ESAB Origo Tig 3000i User manual

ESAB Precision Plasmarc IEFC-S PT-24 User manual

ESAB

ESAB Precision Plasmarc IEFC-S PT-24 User manual

ESAB A6 Slide User manual

ESAB

ESAB A6 Slide User manual

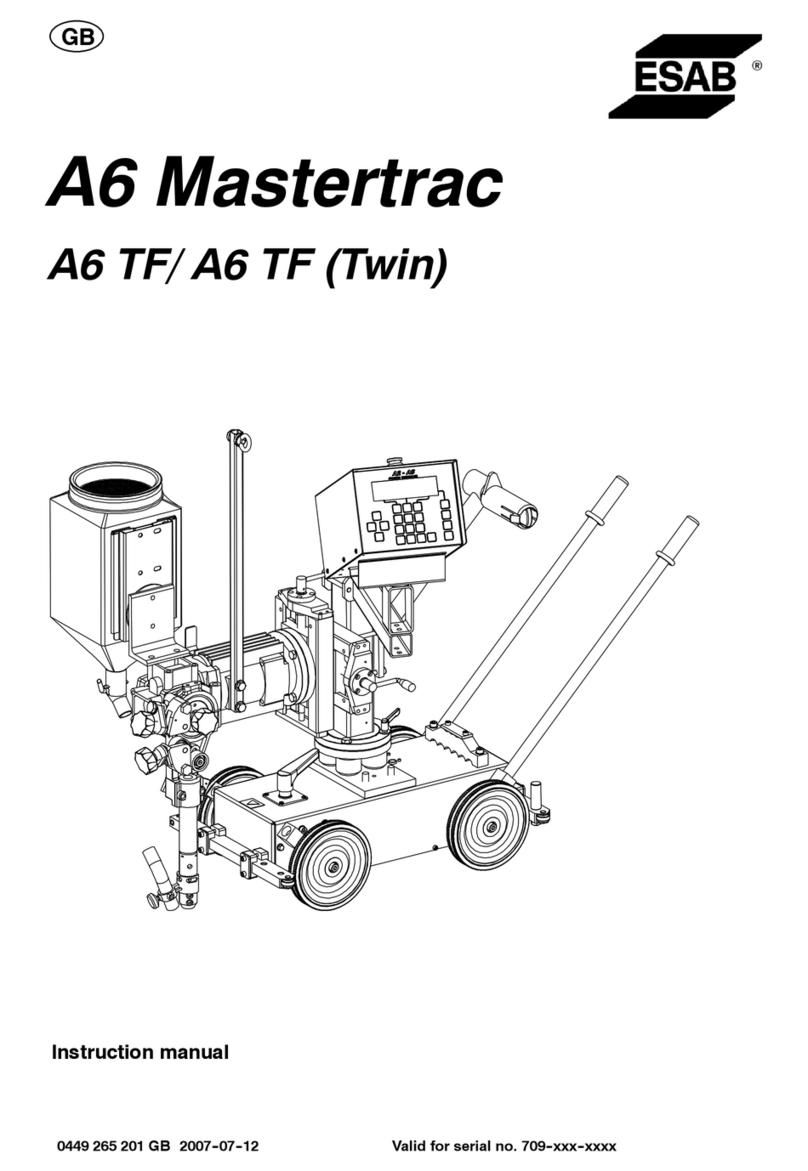
ESAB A6 Mastertrac User manual

ESAB

ESAB A6 Mastertrac User manual

ESAB LPH 80 User manual

ESAB

ESAB LPH 80 User manual

ESAB LKA 180 User manual

ESAB

ESAB LKA 180 User manual

ESAB Ruffian ES 150G EDW User manual

ESAB

ESAB Ruffian ES 150G EDW User manual

ESAB Precision Plasmarc EPP-600 User manual

ESAB

ESAB Precision Plasmarc EPP-600 User manual

ESAB OXWELD C-62 User manual

ESAB

ESAB OXWELD C-62 User manual
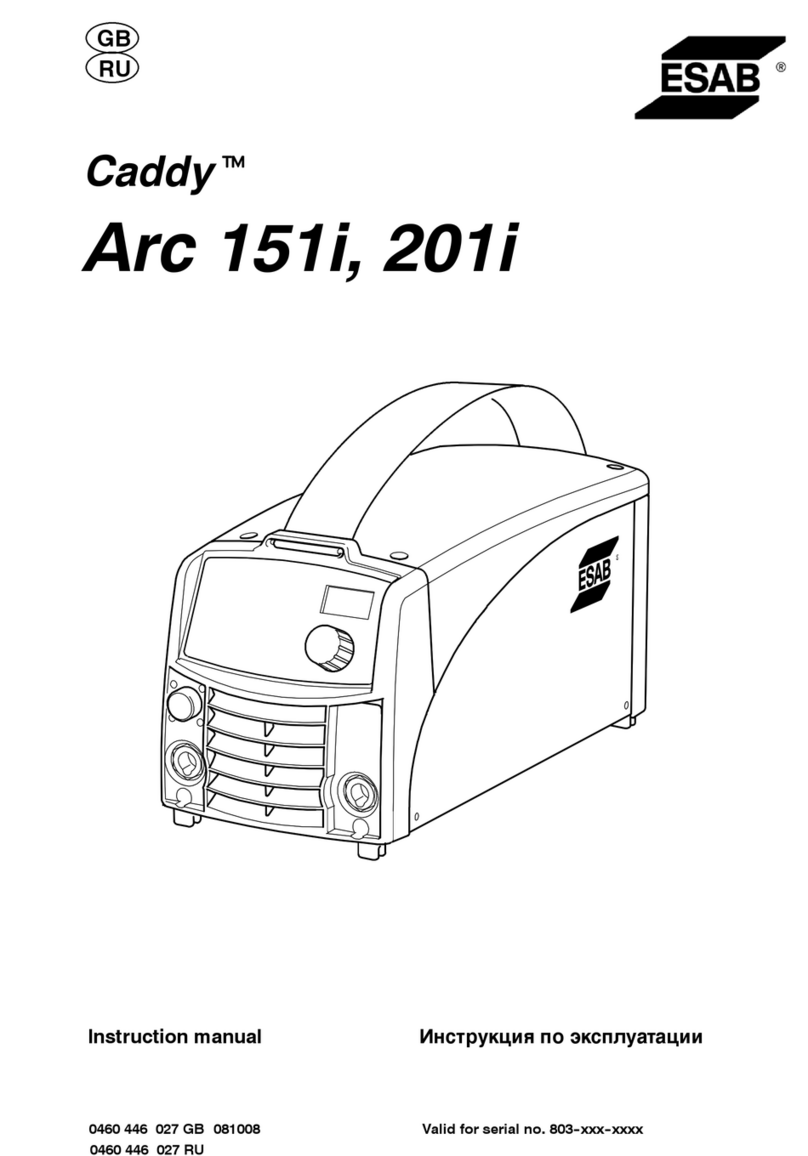
ESAB Buddy Arc 200 User manual

ESAB

ESAB Buddy Arc 200 User manual

ESAB AK 400 User manual

ESAB

ESAB AK 400 User manual

ESAB Heliarc SR-9 Guide

ESAB

ESAB Heliarc SR-9 Guide

ESAB MEK 25 User manual

ESAB

ESAB MEK 25 User manual

ESAB TIG 400i User manual

ESAB

ESAB TIG 400i User manual

ESAB A22 POB Instructions for use

ESAB

ESAB A22 POB Instructions for use

ESAB 653 cvcc User manual

ESAB

ESAB 653 cvcc User manual

ESAB Railtrac BV2000 User manual

ESAB

ESAB Railtrac BV2000 User manual

ESAB PCM-875 User manual

ESAB

ESAB PCM-875 User manual

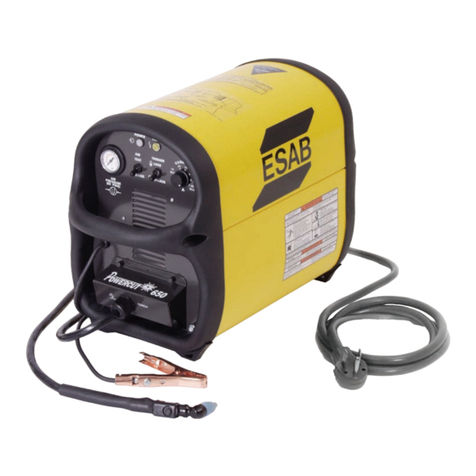
ESAB Powercut 650 User manual

ESAB

ESAB Powercut 650 User manual

ESAB Cutmaster 120 User manual

ESAB

ESAB Cutmaster 120 User manual

ESAB Aristo W82 User manual

ESAB

ESAB Aristo W82 User manual

Popular Welding System manuals by other brands

Arcon WORKHORSE 300MS 010310-series operating manual

Arcon

Arcon WORKHORSE 300MS 010310-series operating manual

Lincoln Electric Weldanpower 125 specification

Lincoln Electric

Lincoln Electric Weldanpower 125 specification

GOODWIN P20 Operation manual

GOODWIN

GOODWIN P20 Operation manual

SIP Multi P185 instructions

SIP

SIP Multi P185 instructions

Paton StandardMIG-160 user manual

Paton

Paton StandardMIG-160 user manual

Abicor Binzel iROB 420 quick guide

Abicor Binzel

Abicor Binzel iROB 420 quick guide

DeWalt DXMF4618WT instruction manual

DeWalt

DeWalt DXMF4618WT instruction manual

SUNSTONE WH1 user guide

SUNSTONE

SUNSTONE WH1 user guide

Migatronic AUTOMIG2 i user guide

Migatronic

Migatronic AUTOMIG2 i user guide

Chicago Electric 93457 Assembly and operating instructions

Chicago Electric

Chicago Electric 93457 Assembly and operating instructions

Solter SOLMIG 180 manual

Solter

Solter SOLMIG 180 manual

GYS 032903 user manual

GYS

GYS 032903 user manual

TECNA TE101 user manual

TECNA

TECNA TE101 user manual

Chicago Electric 97719 Set up and operating instructions

Chicago Electric

Chicago Electric 97719 Set up and operating instructions

iWeld ARC 160 MINI manual

iWeld

iWeld ARC 160 MINI manual

Migatronic SIGMA2 300 COMPACT/S user guide

Migatronic

Migatronic SIGMA2 300 COMPACT/S user guide

Stel THOR 40H Instructions for use and maintenance

Stel

Stel THOR 40H Instructions for use and maintenance

widos 2500 / OD 250 Working Instructions Translation

widos

widos 2500 / OD 250 Working Instructions Translation

manuals.online logo
manuals.online logoBrands
  • About & Mission
  • Contact us
  • Privacy Policy
  • Terms and Conditions

Copyright 2025 Manuals.Online. All Rights Reserved.