manuals.online logo
Brands
  1. Home
  2. •
  3. Brands
  4. •
  5. esotec
  6. •
  7. Water Pump
  8. •
  9. esotec Palermo plus Parts list manual

esotec Palermo plus Parts list manual

Usage instructions
Solar pump kit “ alermo plus”
These instructions relate ONLY to this product and contain important informa-
tion for using the product for the first time. lease keep these instructions for
later reference and should always accompany the product in the event of trans-
ference to a new user.
1. Introduction
Dear Costumer, thank you for purchasing the solar pump kit.
With this solar pump kit you purchased a product manufactured according to the cur-
rent state of technology.
This product fulfils all requirements of the valid European and national regula-
tions. The conformity was proved. The relevant declarations and documentati-
on are deposited with the manufacturer.
To maintain this state and guarantee a safe operation, you as the user will have to fol-
low this operating manual!
2. Safety Instructions
- In case of damages caused by not following
this operating manual, the warranty rights
will expire! We exclude liability for any
consequential damages!
- We exclude liability for property or
personal damages caused by inappropriate
handling or not following the safety instructions.
- In these cases any guarantee rights will expire.
Due to safety and admission reasons (CE) it is not allowed to arbitrarily reconstruct
and/or change the solar pump kit.
Therefore, please keep to the operating manual.
The accident prevention rules of the association of the industrial trade cooperative
association for electric plants and working material are to be considered in industrial
environments.
3. roper use according to manufacturer
specifications
-The pump system is conceived for outdoor use in garden ponds. Depending on
the sunlight exposure on the solar module, the integrated rechargeable batteries
are charged and the pump forces the corresponding volume of water.
- Direct sunlight is required for the pump to function.
- During start-up, the integrated rechargeable batteries can be discharged
partially and the pump may not force any water in the Battery mode. lease
charge the batteries for a day in sunlight and keep the pump switched off
during the charging period.
- The pump system is extremely easy to install. No tool is required to install it. The
system requires full sunlight exposure on the solar module for the pump to start.
- The pump should not be used to pump drinking water.
- The output can be altered by attaching a regulator to the pump.
- The size of the rising pipe can be reduced to avoid a possible disturbing gurgling.
- To stop the pump safely, you must either switch the pump off or disconnect the
cable connection between the solar module and the pump.
4. Installation and start-up
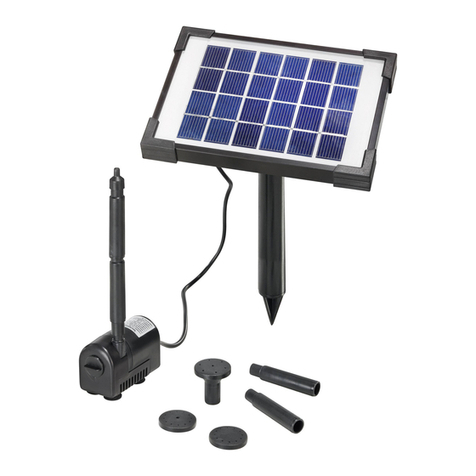
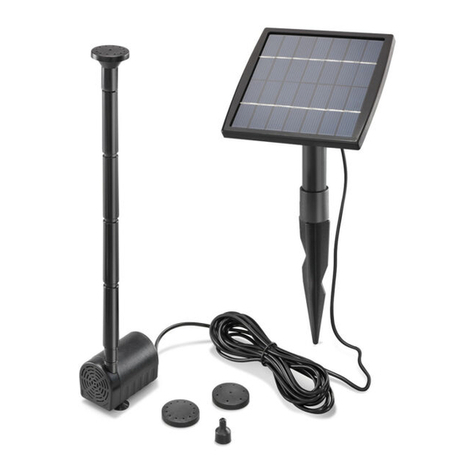
The pump system consists of the following components:
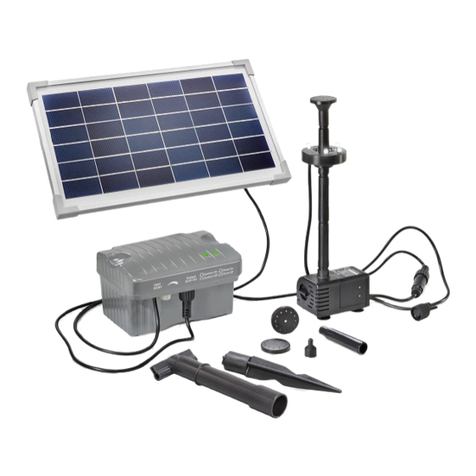
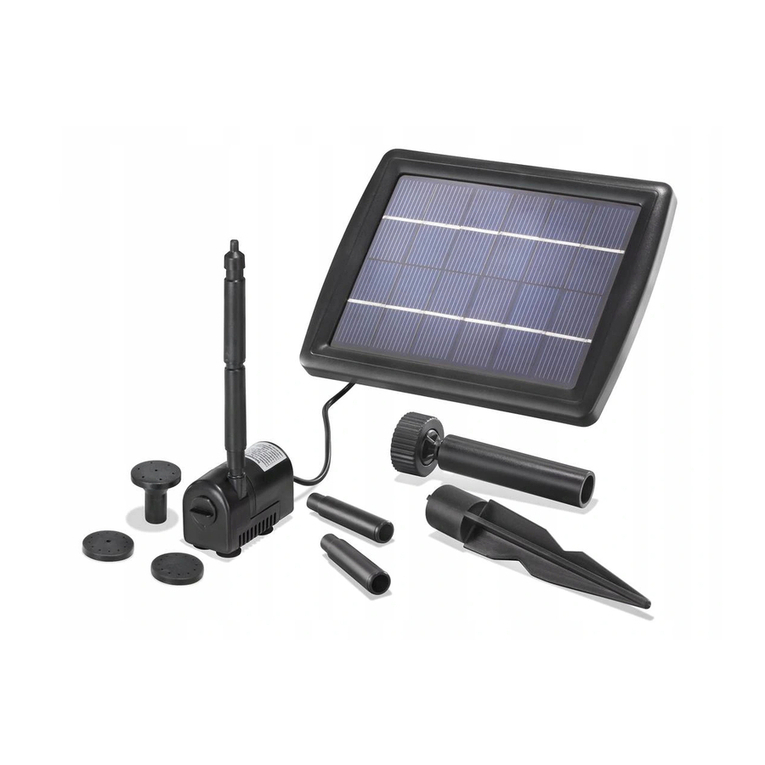
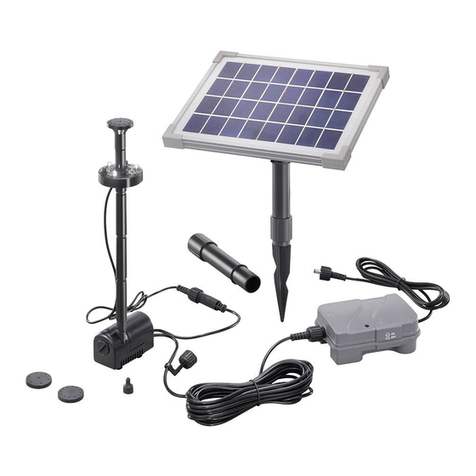
1 piece solar module with rechargeable batteries, wall-, floor- and mast holder, 1
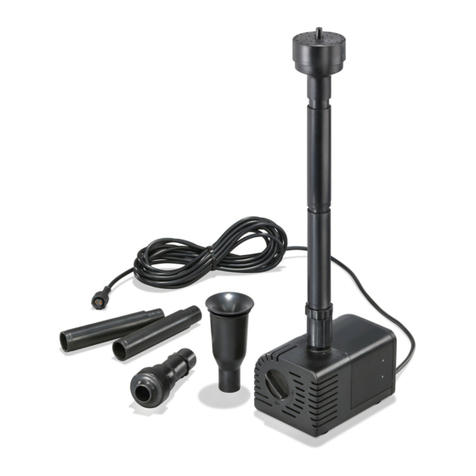
piece submersible pump in a plastic casing with 5 m connecting cable, 4 rising pipes
and 4 water nozzles.
1. Unwind the connecting cable of the pump fully.
2. Insert the rising pipes in the pump and then set one of the desired sprinklers on
the rising pipe.
3. Place the pump in the pool on a few stones. Avoid a location that is directly on the
pond floor, as far too much dirt is sucked in through the pump here and it gets pol-
luted very fast.
4. Now insert the plug of the pump into the socket at the end of the cable of the solar
module and screw the cap tightly.
Place the solar module in a sunny, shade-free place facing the south. The modu-
le can also be screwed to a wall, plugged into the earth with the help of a ground
spike or installed on a railing or a mast (see pictures).
Note: Do not use force while inserting the plug into the socket. The front side of the
solar module can break.
Caution: Risk of injury! A broken module cannot be repaired and must be disposed
of in an environment-friendly manner
Note: For further installation instructions, please refer to the manual of the water
pump.
The solar pump system has different adjustment options and modes of opera-
tion. These can be set with the help of two slide switches located on the rear
side of the solar module.
Note: Because of the higher operating voltage, the output of the pump is more in the
Direct mode without the batteries than in the Battery mode.
5. Replacing the rechargeable batteries
The capacity of the rechargeable batteries starts to decline after two years and they
must be replaced. The rechargeable batteries are available in the market or can be
purchased from the manufacturer.
1. Unscrew the three screws on the rear side of the solar module and remove the
cover.
2. Take out the rechargeable batteries from the holders.
3. Insert the new rechargeable batteries with correct polarity and shut the housing in
the reverse sequence.
Note: Consumed rechargeable batteries must be disposed in an environment-friend-
ly manner and should not be disposed with household garbage. Your dealer is legal-
ly obliged to take back the old rechargeable batteries.
6. Care and maintenance
To maintain efficiency, the pump and its components must be washed with hot water,
depending on the level of water pollution.
Instructions on the care and maintenance of the pump can be taken from the
pump manual.
Wipe the solar module clean with a soft, light, slightly wet cloth occasionally.
Note: Before starting work on the pump, please switch the system off or disconnect
the plug of the pump from the socket of the solar module.
!
GB
wall mounting
pole mounting
earth spike
Battery mode!
Pump runs in the battery mode. The in-built recharge-
able batteries are charged when there is abundant
sunlight. In shade, the pump is operated by the current
in the rechargeable batteries till the exhaustive-disch-
arge protection device switches off the pump!
Direct mode!
The pump runs directly, depending on the sunlight
exposure. The rechargeable batteries are not charged.
The pump does not function in shade or in areas
where the sunlight is inadequate.
Charging position!
The pump does not operate! The rechargeable batte-
ries are charged, depending on the sunlight exposure.
Off! (during winter)
Module and pump off! The rechargeable batteries are
not charged!
Switch positions:
OFF
1
0
OFF
1
0
OFF
1
0
OFF
1
0
7. roblems
Solar pump does not run:
- In Direct mode:
-Is the pump under water? Pump is dry protected!
-Too little sunshine. Place module facing the south!
- The pump is clogged. Clean according to the pump manual!
- Check the plug-socket connection of the cable
-In Battery mode:
-Is the pump under water? Pump is dry protected!
- After the winter months, the rechargeable batteries must be charged
in a charging device, but they must be replaced once every two years
-The rechargeable batteries are discharged. Wait for sunlight and
switch the module to the “Charging position” or to the “Direct mode”
(refer to Point 4).
-The pump is clogged. Clean according to the pump manual!
-Check the plug-socket connection of the cable.
ump always switches on and then off:
-In Battery mode:
-The rechargeable batteries are exhausted and the sunlight is not
adequate for Direct mode operation. This is an extreme situation and
the electronics toggles permanently between operation and
deactivation. Switch the module to the “Charging position” or to the
“Direct mode” (rechargeable battery is not charged in this case!) and
then wait for sunshine.
8. Winter months
In case of frost , the pump system must be stored at a warm place. Clean the pump
with lukewarm water before storage. Switch the system “off” (refer to Point 4) and
remove the rechargeable batteries from the battery compartment. To avoid total disch-
arge through self-discharging, charge the rechargeable batteries once every four
weeks with a battery charging device.
9. Technical data
Solar pump system alermo plus
-System voltage: 6 VDC
Solar module
- Rechargeable batteries: 5 x 1,2 V/ 2000 mAh NiMh-Mignon
- Nominal capacity: 4Wp
- Nominal voltage: 8,3 V
- Nominal current: 520 mA
- Protection type: IP 44
- Temperature range: -30°C to +75°C
Water pump:
- Operating voltage: 6 to 9 V DC
- Current consumption (at 6 VDC): ca. 230 mA
- Max. pump lift (at 6 VDC): ca. 0,7 m
- Delivery rate (at 6 VDC): ca. 240 l/h
- Protection type: IP 68
- Operating temperature range: +4 to +40°C
- Dry run: dry protected
Note: Due to the higher operating voltage, the delivery rate of the pump is more in the
Direct mode without batteries than in the Battery mode.
Note: rotect the pump against frost!
In the cold winter months, the pump must be taken out of water and kept at a warm
place along with the solar module.
10. Safety instructions:
DANGER for children! eep children away from the small components (rising pipe
and sprinkler) that can be swallowed and from the packaging material. Danger of suf-
focation exists!
WARNING against the danger of tripping! Lay the connecting cable in such a way
that it does not cause people to trip!
CAUTION material damages! If you setup the solar module without the holder, plea-
se ensure that it is stable. The solar module can be damaged if it topples over or a
foreign body collides with it.
Disposal instruction for electronic devices:
Dear customer, if you do not want to use the article any more, please dispense with
it in accordance with the current provisions.
Information is available at the community office.
Manufacturer, Spare arts Service, Consulting:
esotec GmbH
Gewerbegebiet Weberschlag 9
D-92729 Weiherhammer
Tel.-Nr: +49 (0)9605-92206-28
Fax.-Nr: +49 (0)9605-92206-10
e-mail:[email protected]
Internet: www.esotec.de
Manufacturer item no.: 101771
Copyright, esotec GmbH
Battery take-back
- Batteries must not be discarded into domestic waste.
- The consumer is legally required to return batteries after
use, e.g. to public collecting centers or to battery distribu-
tors.
- Contaminant-containing batteries are labeled with the sign
“crossed-out trashcan“ and one of the chemical symbols.
Used batteries should be disposed environmentally friendly
and should not be discarded into domestic waste. Your
dealer is legally required to take back old batteries.
NiMH

This manual suits for next models

1

Other esotec Water Pump manuals

esotec Solar Island User manual

esotec

esotec Solar Island User manual

esotec Napoli LED User manual

esotec

esotec Napoli LED User manual

esotec Fountain 8/300-LED User manual

esotec

esotec Fountain 8/300-LED User manual

esotec Turin User manual

esotec

esotec Turin User manual

esotec pro Fountain 300-LED User manual

esotec

esotec pro Fountain 300-LED User manual

esotec 101018 User manual

esotec

esotec 101018 User manual

esotec Marino User manual

esotec

esotec Marino User manual

esotec Garda User manual

esotec

esotec Garda User manual

esotec Water Splash 2/ 175 Parts list manual

esotec

esotec Water Splash 2/ 175 Parts list manual

esotec Garda User manual

esotec

esotec Garda User manual

esotec 5/130 Pro plus Parts list manual

esotec

esotec 5/130 Pro plus Parts list manual

esotec Milano User manual

esotec

esotec Milano User manual

esotec Fountain 1,5/140 Parts list manual

esotec

esotec Fountain 1,5/140 Parts list manual

esotec Water Splash 2/175 Parts list manual

esotec

esotec Water Splash 2/175 Parts list manual

esotec Rimini Plus User manual

esotec

esotec Rimini Plus User manual

esotec Napoli LED User manual

esotec

esotec Napoli LED User manual

esotec Rimini-S Parts list manual

esotec

esotec Rimini-S Parts list manual

esotec 101018 User manual

esotec

esotec 101018 User manual

esotec Fontana 101714 User manual

esotec

esotec Fontana 101714 User manual

esotec Napoli User manual

esotec

esotec Napoli User manual

esotec Napoli LED User manual

esotec

esotec Napoli LED User manual

esotec Garda User manual

esotec

esotec Garda User manual

esotec Rimini LED User manual

esotec

esotec Rimini LED User manual

esotec Genova User manual

esotec

esotec Genova User manual

Popular Water Pump manuals by other brands

Calpeda NG operating instructions

Calpeda

Calpeda NG operating instructions

hillvert HT-ROBSON-JP1000CS user manual

hillvert

hillvert HT-ROBSON-JP1000CS user manual

Speck pumpen V Series operating instructions

Speck pumpen

Speck pumpen V Series operating instructions

INOXPA HYGINOX SEN Installation, service and maintenance instructions

INOXPA

INOXPA HYGINOX SEN Installation, service and maintenance instructions

Sethco ZKX 3/4CS operating instructions

Sethco

Sethco ZKX 3/4CS operating instructions

Liberty Pumps HT40 Series installation manual

Liberty Pumps

Liberty Pumps HT40 Series installation manual

Flotec FP4200 Series owner's manual

Flotec

Flotec FP4200 Series owner's manual

pumpeng CorroTuff CT Series Operation & service manual

pumpeng

pumpeng CorroTuff CT Series Operation & service manual

VERDER VERDERAIR VA-E50 Operation

VERDER

VERDER VERDERAIR VA-E50 Operation

Pentair Jung Pumpen SKS 1000 Series instruction manual

Pentair Jung Pumpen

Pentair Jung Pumpen SKS 1000 Series instruction manual

Intex Quick-Fill AP622 owner's manual

Intex

Intex Quick-Fill AP622 owner's manual

LEYBOLD SCREWLINE SP 630 F operating instructions

LEYBOLD

LEYBOLD SCREWLINE SP 630 F operating instructions

GORMAN-RUPP AMT 489 Series Specifications information and repair parts manual

GORMAN-RUPP

GORMAN-RUPP AMT 489 Series Specifications information and repair parts manual

AMT 4410-95 Specifications information and repair parts manual

AMT

AMT 4410-95 Specifications information and repair parts manual

LEYBOLD MAG Series operating instructions

LEYBOLD

LEYBOLD MAG Series operating instructions

Tuthill SDV Series Operator's manual

Tuthill

Tuthill SDV Series Operator's manual

Blue-White industries FLEXFLO A2P Series operating manual

Blue-White industries

Blue-White industries FLEXFLO A2P Series operating manual

Gardena RP 240 operating instructions

Gardena

Gardena RP 240 operating instructions

manuals.online logo
manuals.online logoBrands
  • About & Mission
  • Contact us
  • Privacy Policy
  • Terms and Conditions

Copyright 2025 Manuals.Online. All Rights Reserved.