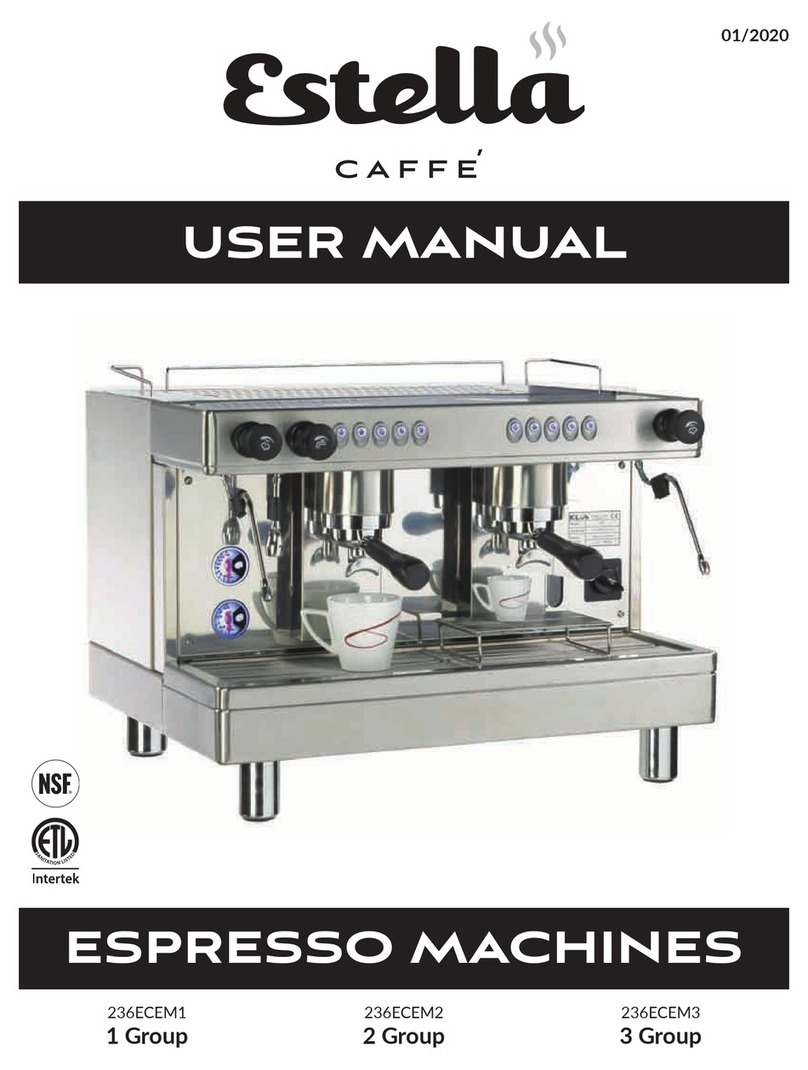
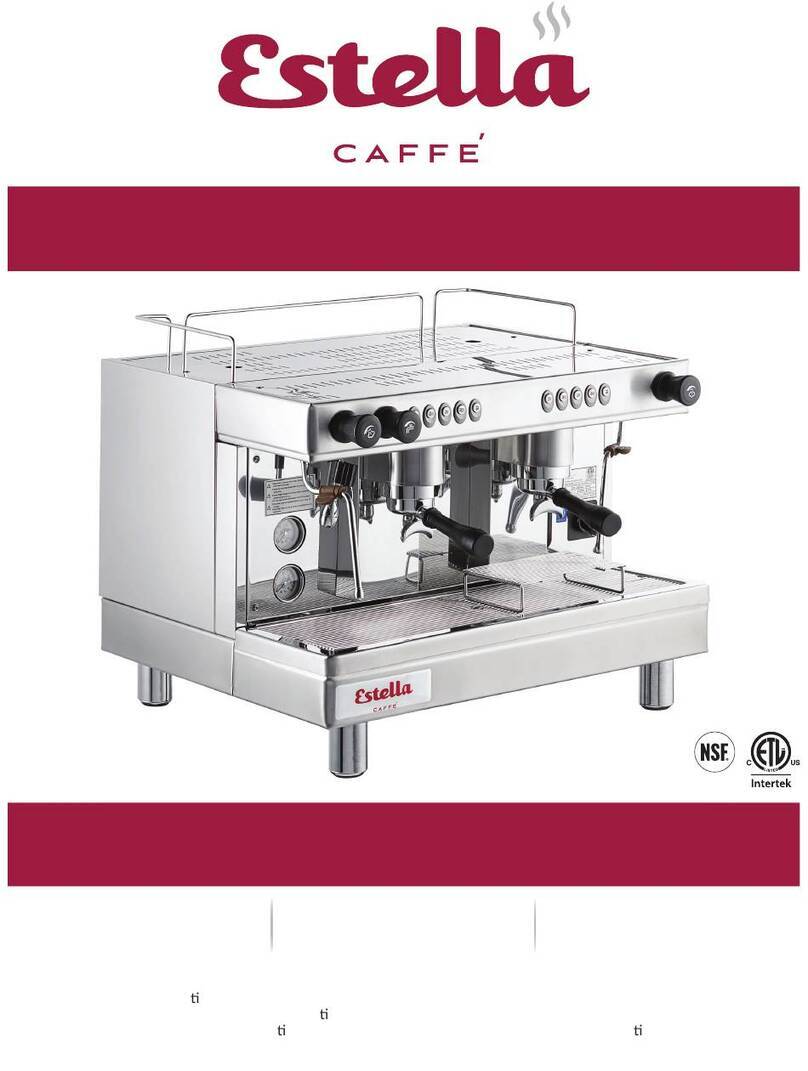
Estella 235ECB2D User manual

08/2020
Decanter Brewers
235ECB2D, 236ECB3D2U,
236ECB3D3L
Airpot Brewers
236ECBAP1 236ECSB1
COFFEE BREWERS
USER MANUAL

1
Warnings .........................................................2
Specificaons .....................................................2
Setup .............................................................3
Installaon .......................................................4
Cleaning ..........................................................5
Programming .....................................................6
Calibraon .......................................................7
Quick Recipes ....................................................8
Draining ..........................................................9
Parts Diagrams & Parts Lists.................................10-16
Troubleshoong .............................................17-18
Brewing Tips ....................................................19
Warranty ........................................................20
INDEX
NOTE: Save these instrucons for future reference.
Prop 65 Warning
WARNING: This product can expose you to chemicals including lead, which are known to
the State of California to cause cancer, birth defects, or other reproductive harm. For more
information, go to www.p65warnings.ca.gov
! !

2
WARNINGS
In case of overflow, turn the power switch
“OFF” immediately to stop the process.
Carefully unpack the coffee brewer and inspect
for damage and missing parts.
Read and understand all instructions before
using the appliance. CAUTION! HOT SURFACE!
•
•
•
•
•
•
•
•
•
•
•
•
!
!
!
SPECIFICATIONS
2 3 3 --- ---
Server Decanter Decanter Decanter Airpot Shule
120V 120V 120V 120V 120V
1700W 1800W 1800W 1500W 1800W

3
SETUP
[1] Display screen
[2] Seng & Service menu
[3] Recipe: A/B/C (Gray color for seng opon)
[4] Enable brew on/off switch
[5] On/Off switch for lower warmer/Half batch
[6] On/Off switch for front upper warmer/ Full batch
[7] On/Off switch for rear upper warmer
[8] Brew switch (Pressing and releasing)
[9] Hot water faucet
[10] Main Power Switch
[11] Power cord
[12] Solenoid/water inlet fing
[13] Ground connector terminal
Tea Brew Basket
(3.0 mm hole)
Coffee Brew Basket
(4.2-5.0 mm holes)
CONTROL PANEL
REAR COVER
INCLUDED ACCESSORIES
* Wire Rack must always insert into the
boom of brew basket.
Due to different water pressure in different
area, it is necessary to calibrate water volume
before brewing coffee or tea.
!

4
Check the brew basket is assembled correctly. The wire rack must wedge firmly at the
boom of the brew basket.
1. Place the brewer on a dry, firm and horizontal surface with plenty of room above to
allow easy and safe connecon to the water source.
2. The coffee maker must be connected to a cold water system. Plumbing one side of inlet
tube into the water source and the other side of tube connects to the solenoid. Then,
switch on the water source step by step.
3.
4. Place an empty server at the correct posion under the brew basket.
5. Plug the machine to the power source and turn on the main power switch on the rear
cover for 236ECSB1 model. (some models do not have main power switch on the rear
6.
7. Wait approximately 15 ~ 20 minutes for the water in the tank to heat and reach the
seng temperature, the screen display will show “Ready to Brew, watertemp.: ºF’’
when the tank has reached operang temperature. Some water will drip from the
sprinkler holder during this period because of thermal expansion and contracon
temperature. (When facing this issue, please place a small container under the faucet
working again.)
8. The coffee maker is now ready for use.
9. During above operaon, it is normal to hear some brewing, pumping sounds and see
some water vapor coming out of the machine.
CONDITION MINIMUM MAXIMUM
Total Dissolved Solids 50 PPM 125 PPM
Total Hardness 3 GPG 5 GPG
pH 6.5 pH 7.5 pH
Free Chlorine --- 0.5 PPM
Total Chlorine --- 1 PPM
INSTALLATION
A qualified water filter or softer water must be
used or the warranty will be voided.
!
WATER GUIDELINES

5
CLEANING
Regular cleaning ensures long life. For dirt or smudges on the brewer’s exterior, a damp
used. Be sure to unplug the appliance before cleaning.
DIRECTIONS FOR CLEANING GLASS DECANTERS
Use daily for best results.
1. Shake bole. Apply 3-4 squirts (approx. 1/4 oz. Per 1 gal. of liquid) Klearly Koffee into
the decanters (not included). Add very hot water (not boiling).
2. Use a carafe brush for best results on tough stains.
3. Empty soluon and rinse vessel thoroughly with clean, warm water. Air dry or wipe
clean before next use.
THE IMPORTANCE OF DELIMING
To prolong your coffee brewer’s life and maintain a consistent, quality product, regular
deliming is recommended. When hard water is heated, minerals are le behind which can
inhibit opmum performance. You should perform the following deliming process at least
every 6 months. If your water is extremely hard, monthly deliming is recommended.
DELIMING PROCEDURE
• Mix 10 oz. of fresh or condensed lemon juice with 32 oz. of water.
• Place brew basket in proper locaon.
• Place and empty container at the correct posion under the brew basket.
• Connect to the solenoid valve with an external bole water pump that substutes for
the water source. Then, pump the lemon juice mixture into the water tank by following
the brewing procedure.
• Let stand for 10 minutes and repeat 2-3 mes for best descaling results.
• Connect back to the water source and run the brewing cycle several mes with clean
water to rinse out the lemon soluon. Turn off the power and wait unl the water cools
down inside the boiler. Finally, use the drain pipe to release all remaining water in the
If the brewer suddenly stops working during a normal brewing cycle, deliming may be
necessary.
Klearly
Klearly Klearly Koffee is a simple, easy-to-use product that should be
used daily to remove or prevent oil residue and mineral build-up,
which turns rancid, causing bitter tasting coffee or tea.
pour-over coffee makers to loosen lime deposits. Made of
stainless steel. Sold Separately.
20" Deliming Spring 3591901033

6
PROGRAMMING
1. Turn on the power
2. Within the first 3 seconds of powering the unit on,
press and hold on A & C buons at the same me.
3. Select the Language
4. Select Temperature unit (C/F)
5. Select Volume unit (Liter/Ounce)
Recipe A, B, C and Hiding
Recipe
Grey Arrow = Back, Yes/+, No/-
Turn warmer plates On/Off Plates correspond to the relevant graphics.
Brew half or full batch Batches correspond to the relevant graphics.
1. Seng
2. Service Menu
3. Hiding Recipe
1. Seng buon includes seng
temperature, watervolume, pulse me,
water out manner and safety interval…
etc.
2. Press and hold on 3 seconds to access
menu mode. This is used to access into the
program mode and step forward through
the menu.
3. A hidden recipe for tesng purpose
1. Brewing cycle
2. Lights up
3. Blinking
1. Press once to begin brewing (indicator
lights up).
2. Press again to pause brewing (indicator
blinking).
3. Press again to resume brewing cycle.
Press and hold to turn off cycle.
1. Standby switch
2. On/Off
3. Interrupt
1. Power/Standby switch.
2. Press to turn on and off.
3. Interrupt the brew cycle
Press power switch on the back of machine for #236ECSB1
enable brew buon. Press Enable brew buon for all other units.
Before Status
1. Aer Status 1.
2. Heang... Water temp. XXX
BUTTON FUNCTIONS

7
CALIBRATION
program is the second to last opon in the funcon sengs.
ACTUAL CALIBRATION VOLUME
Follow the screen indicaon, measuring the water volume output for 4 minutes. Then, input
the actual measuring value. Aer measuring, convert the volume to oz per minute and
remember this parameter to facilitate future adjustment.
INPUT CALIBRATION DATA
standard value is approximately 1.1L per minute.
A container, measuring cup and electric scale
are required to complete the calibration
procedure.
Execute the calibration procedure once a week
to ensure brew volume accuracy.
!
!

8
DECANTER & AIRPOT BREWERS
SHUTTLE BREWERS
There are three quick recipes of [A] [B] [C] which are built-into the factory default sengs
seng up recipies without selecng [A] , [B] or [C], you can consider recipe [D]. Users may
set different recipes such as water temperature, volume, immerse volume, immerse me
and Pulse Brew cycle.
Users may change the parameters for the recipe [A], [B], [C] or [D] as needed. Select [A], [B]
or [C] and press and hold on for 3 seconds. The system will enter the Seng Menu.
Follow the indicaons on the screen to set various brewing parameters as needed.
The new seng parameters will replace the factory default seng aer compleng above
procedure.
The hidden recipe can also be programmed by pressing and and holding for 3 seconds,
but without [A], [B] or [C] selected.
QUICK RECIPIES
RECIPE DESCRIPTION INPUTS
[A] 190 °F Non-Stop dripping
with 63 oz. brew volume.
[B] 198 °F Non-Stop dripping
with 63 oz. brew volume.
[C] 203 °F Non-Stop dripping
with 63 oz. brew volume.
[D] 185 °F Non-Stop dripping
with 63 oz. brew volume
RECIPE DESCRIPTION INPUTS
[A] 190 °F Non-Stop dripping
with 202 oz. brew volume.
[B] 198 °F Non-Stop dripping
with 125 oz. brew volume.
[C] 203 °F Non-Stop dripping
with 101 oz. brew volume.
[D] 185 °F Non-Stop dripping
with 125 oz. brew volume
(select nothing)
(select nothing)

9
DRAINING
When the brewer needs to moved, repaired, de-scaled, or emped for extended storage,
the remaining water in the boiler tank can be released following the steps below:
1. Unplug the power cord from the electrical socket and let the brewer cool down for at
least 40 minutes to avoid any burn injuries.
2.
front cover. Remove the front cover.
3. A white water pipe tube and hose shutoff clamp can be seen inside of brewer. (Figure 1)
4. Fasten the white shut off clamp at the end of the drain hose. (Figure 2)
5. Look for a connector in the front of water tube clips with a metal clamp. Press down on
the metal clamp and move slightly to the end of tube. (Figure 3)
6. Place the end of the drain hose in a container that has a capacity of 3 gallons or more.
7. Release the white clamp to drain water out from the tank.
8. When the water tank is empty, move the drain hose back to the original posion. Then,
press down on the metal clamp and move it back to the original posion.
9. Check that the white shut off clamp has been loosened.
10. Replace the front panel and ghten the screws.
11.
Figure 1 Figure 2 Figure 3

10
PARTS DIAGRAM
Decanter Brewer #236ECB2D

11
PARTS DIAGRAM
Decanter Brewer #236ECB3D2U

12
PARTS DIAGRAM
Decanter Brewer #236ECB3D3L

13
PARTS DIAGRAM
Airpot Brewer #236ECBAP1

14
# VENDOR DESCRIPTION
1 AI001 Warming Plate
2 AI002 Heang Element of
Warming Plate
3 AI003 Warming Plate Holder
4 AI004 Upper Warming Plate Frame
5 AI005 Upper Cover
6 AI006 NTC Silicone Sealing
7 AI007 NTC Temperature Probe
8 AI008 Water Level Detector
(Short)
9 AI009 Water Level Detector (Long)
10 AI010 Water Level Detector
Seal
11 AI011 Water Reservoir Exhaust
Tube
12 AI012 Water Reservoir Cover
13 AI013 Water Reservoir Sealing
Ring
14 AI014 Heang Element
15 AI015 Water Reservoir
16 AI016 Water Reservior Rear
Frame
17 AI017 Water Reservior Front
Frame
18 AI018 Outlet Solenoid Valve
19 AI019 L Shape Water Out Joint
Tube
20 AI020 Auto Thermostat 110°C
21 AI021 Manaul Thermostat 130°C
22 AI022 Upper Frame
23 AI023 Body Frame
# VENDOR DESCRIPTION
24 AI024 Power Cord
25 AI025 Wire Clip
26 AI026 Inlet Solenoid Valve
27 AI027 Base Frame
28 AI028 Ground Germinal
29 AI029 Reinforced Tube Of Base
Frame
30 AI030 Boom Cover
31 AI031 Foot
32 AI032 Reinforced Board Of Body
Frame
33 AI033 The Platen Of Power Cord
34 AI034 Inner Bracket
35 AI035 Terminal Block
36 AI036 Cooling Fin
37 AI037 EMI Filter
38 AI038 Front Cover
39 AI039 Brew Basket
40 AI040 Sprinkler
41 AI041 Le Track
42 AI042 Right Track
43 AI043 Sprinkler Bracket
44 AI044 Spigot
45 AI045 Control Panel
46 AI046 Sprinkler Cover
47 AI047 Sprinkler Sealing Ring
48 AI048 Reinforced Bracket of Base
Frame
49 AI049 Side Warming Plate Frame
PARTS LIST
Brewers #235ECB2D, #236ECB3D2U,
#236ECB3D3L, #236ECBAP1

15
PARTS DIAGRAM
Shuttle Brewer #236ECSB1

16
# VENDOR DESCRIPTION
5 AIS005 Upper Cover
6 AIS006 NTC Silicone Sealing
7 AIS007 NTC Temperature Probe
10 AIS010 Water Level Detector
Seal
11 AIS011 Water Reservoir Exhaust
Tube
12 AIS012 Water Reservoir Cover
13 AIS013 Water Reservoir Sealing
Ring
14 AIS014 Heang Element
15 AIS015 Water Reservoir
16 AIS016 Water Reservior Rear
Frame
17 AIS017 Water Reservior Front
Frame
18 AIS018 Outlet Solenoid Valve
(Main)
19 AIS019 L Shape Water Out Joint
Tube
20 AIS020 Auto Thermostat 110°C
21 AIS021 Manaul Thermostat 130°C
22 AIS022 Upper Frame
23 AIS023 Body Frame
24 AIS024 Power Cord
25 AIS025 Wire Clip
26 AIS026 Inlet Solenoid Valve
27 AIS027 Base Frame
28 AIS028 Ground Germinal
31 AIS031 Foot
# VENDOR DESCRIPTION
34 AIS034 Inner Bracket
35 AIS035 Terminal Block
36 AIS036 Cooling Fin
37 AIS037 EMI Filter
38 AIS038 Front Cover
39 AIS039 Brew Basket
40 AIS040 Sprinkler
41 AIS041 Le Track
42 AIS042 Right Track
43 AIS043 Sprinkler Bracket
44 AIS044 Spigot
45 AIS045 Control Panel
46 AIS046 Sprinkler Cover
47 AIS047 Sprinkler Sealing Ring
50 AIS050 Power Switch
51 AIS051 Water Level Detector
52 AIS052 Reinforced Bracket A Of
Body Frame
53 AIS053 Supporter cover of Upper
Frame
54 AIS054 Reinforced Bracket B Of
Body Frame
55 AIS055 Sealing Ring
56 AIS056 Outlet Solenoid Valve (Sec-
ondary)
57 AIS057 Posion Fixed Pillar
58 AIS058 Foot Supporter
PARTS LIST
Shuttle Brewer #236ECSB1

17
TROUBLESHOOTING
PROBLEM CAUSE ACTION / REMEDY
Filling me is too long
No water out Check the water source
Inlet solenoid block up
Turn off the water source
Disassemble the inlet solenoid and clean
Reinstall back to machines and turn on the
water source
The pressure of water source is
too low.
Water pressure is lower than working
pressure 1.0kg/cm2
Install another pressurized motor
Inlet solenoid failure or circuit
board failure
The screen displays [Please wait, tank
Inlet solenoid with working pressure >
solenoid abnormal > replace solenoid
Inlet solenoid without working pressure >
circuit board abnormal > replace circuit board
Screen displays Temperature sensor failure Check/replace
Temperature is too high Temperature sensor failure Check/replace
Power is ON, Screen is not
displaying
No power input Check the power source
Circuit board malfuncon Replace circut board
Screen displays normal,
but touch inputs are not working
Control board strip not properly
connected
Check all touch buons.
Check if the control board strip
is inserted correct or not.
Check if the control board strip
pin and the drop-out line is
connected incorrectly.
Control board malfuncon Replace control board
Circuit board malfuncon Replace circuit board
brew cycles
Filter pan is blocked up
Lack of springs > insert the springs to the
The interval of pulse me is not
enough Set the proper interval of pulse me
Water pressure is higher than
working pressure Add addional pressure reduce valve
Inlet solenoid failure Check/replace

18
TROUBLESHOOTING
PROBLEM CAUSE ACTION / REMEDY
Power is On, nonstop
dripping from main and
sub spray head
Water quality abnormal treated with reverse osmosis. The units will not be
able to detect water level properly without typical
mineral balance. Use a different water source.
The water level detector pin is
inserted incorrectly Check and re-insert to the correct posion
Circuit board malfuncon Replace circuit board
Sustained warming up Temperature probe failure Replace temperature probe
Circuit board malfuncon Replace circuit board
Water does not heat to
proper temperature
Limit thermostat abnormal Check/replace thermostat
Heang element failure Replace heang element
Circuit board malfuncon Replace circuit board
Water out volume is usage
Connect to a lone water source or add a constant
water pressure regulator
Normal water output volume is
Calibrate the water volume

19
BREWING TIPS
Fresh and good-tasng water is essenal since it makes up more than 98% of a cup of
coffee or tea. The brewing, pulse, extracon or pouring water me is primarily determined
by the ground size.
If the ground size is coarser, it causes under extracon and tasteless coffee. If the ground
size is too fine, it causes over-extracon and a bier taste. To get the best flavors from a
coffee, we suggest a medium grind (5-grain size).
**Not exact recipes, for reference only
**Not exact recipes, for reference only
ITEM BEANS TO
WATER TEMP. SOAK TIME PULSE BREW
Breakfast Coffee 1 : 16 92°C / 197°F 10-20 sec. ---
Specialty Coffee 1 : 15 90°C / 194°F 10-20 sec. 10 sec. / 5 sec.
Ice Coffeee 1 : 13 94°C / 201°F 20-30 sec. 10 sec. / 5 sec.
< 2.5 Liter Brew 1: 18 92°C / 197°F 20-30 sec. 1 sec. / 5 sec.
ITEM BREW
RATIO TEMP. INITIAL DRIP SOAK
TIME PULSE BREW
Coffee 1 : 17 92°C / 197°F 60 sec. 20 sec. ---
Tea, < 5 Liter 1 : 40 94°C / 201°F 60 sec. 3-5 mins. 18 sec. / 20 sec.
Tea, > 4 Liter 1 : 40 94°C / 201°F 30 sec. 3 mins. 18 sec. / 20 sec.
Brish Tea 1 : 40 96°C / 205°F 60 sec. 5 mins. 10 sec. / 10 sec.
Oolong Tea 1 : 40 96°C / 205°F 60 sec. 5 mins. 10 sec. / 10 sec.
Green Tea 1 : 40 88°C / 190°F 60 sec. 5 mins. 10 sec. / 10 sec.
Jasmine Tea 1 : 40 88°C / 190°F 60 sec. 5 mins. 10 sec. / 10 sec.
DECANTER & AIRPOT BREWERS
SHUTTLE BREWERS
This manual suits for next models
4
Table of contents
Other Estella Coffee Maker manuals
