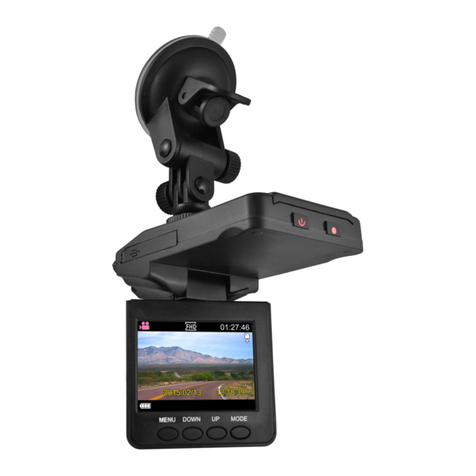
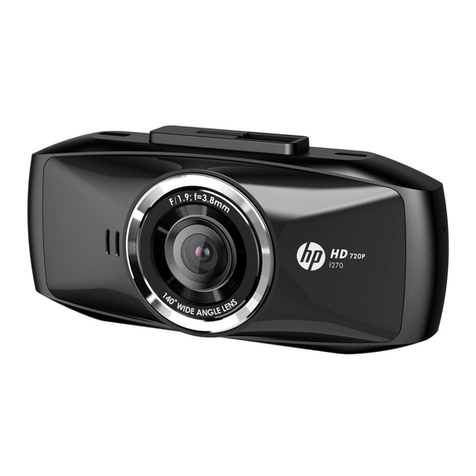
eSYNiC SV058 User manual

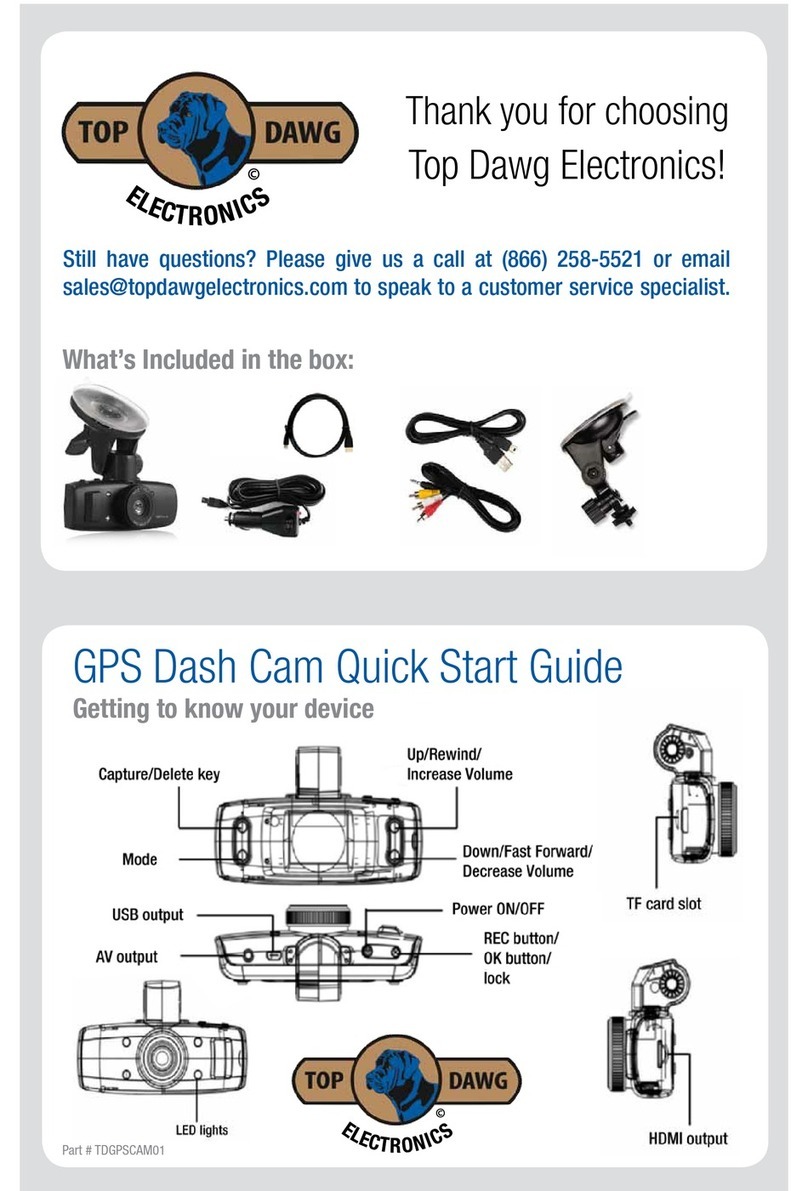
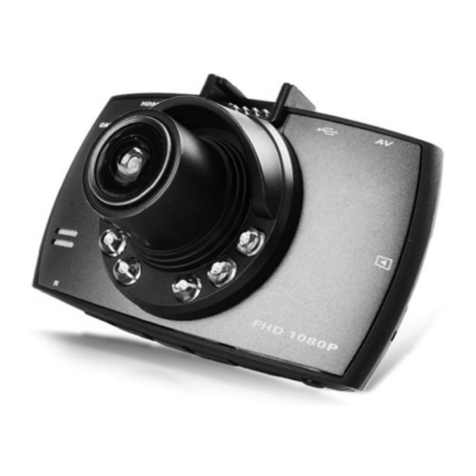
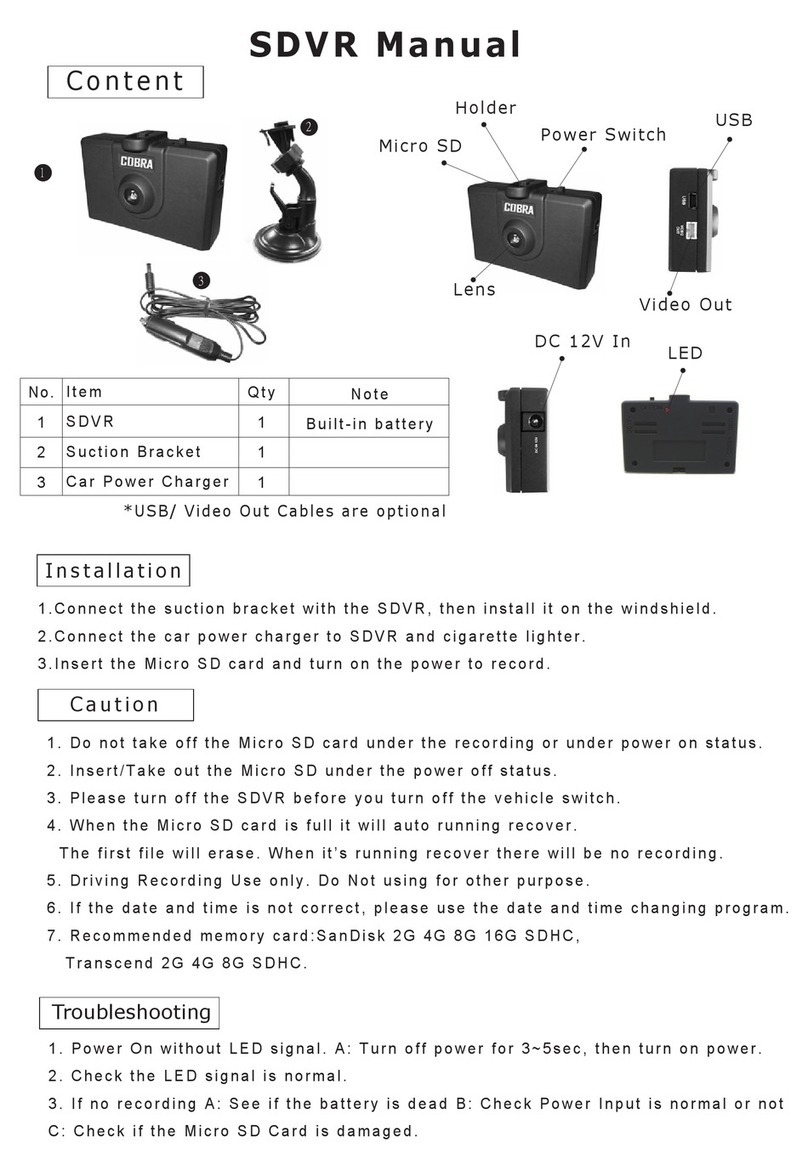
1. HDMI port
2. USB port
3. TV-OUT port
4. Bracket base
5. Lens
6. Speaker
7. LED lamp
8. TF card slot
9. Status
indicator
10. LCD Screen
11. Emergency
Lock Key
12. Reset key
13. Down key
14. Mode key
15. OK key
16. Menu key
17. Up key
18. Power
On/Off key
Power capacity
Full Middle Low
1. Directly connect the car charger to the USB port of the DVR, then
the device will automatically turn on and charge the battery. In
charging, the charge indicator will be on; after charge is over, it will
be off.
2. To charge the device with USB, be sure to connect one end of
the USB data cable to PC and the other end to the DVR. In
charging, the charge indicator will be on; after charge is over, it will
be off.
Installation and Removal of TF Card
1. In the direction as indicated, insert the TF card into the slot until it
is held firmly.
2. To take the TF card out, slightly press the TF card to eject it out.
Note:

1. Observe the direction to insert the TF card; if the direction is
reverse, the device and the TF card may be damaged.
2. When the TF card is inserted into the device, the machine will set
the TF card as preset storage unit and the data in the original TF
card will be unreadable.
3. If the TF card is incompatible with the device, please insert the
card again or replace it for retry.
4. Max. 32G supported.
Use Guidelines
DVR On/Off
1. Press the On/Off key around 1s to switch on the device and 3s to
switch it off.
2. Insert the device into the car charger to automatically switch on
and turn off the card charger to automatically switch it off.
Switch Working Modes
1. Press the Mode key to switch Video/Image/playback, as video
mode while as image mode. These icons are screen on the left
upper corner of the screen.
How to Enter System Setup Option
In video or image mode, press the Menu key once and then the
Menu key to enter the “System Setup”option:
* Language: Choose the desired language from various languages.
* Recording: On/Off.
* Key tone: on/off.
* Volume: off/1/2/3
* Flash lamp: On/Off.
* Date/Time: Date and time adjustment.
* Gravity sensing state: Off/high/middle/low.
* Power frequency: 50Hz, 60Hz.
* TV-OUT: PAL/NTSC
* Format: Ok/Cancel.
* Power saver: Off/30s/1min/3min.
* Restore factory settings: Ok/Cancel.
* System info: Software version
* Card info: Memory card information
How to Take Videos and Set Video Options
1.Video
When the device enters the video mode, the icon will appear on
the upper left corner of the screen; press the OK key to start

recording videos; in recording videos, the icon on the upper left
corner of the screen will flicker. Press the OK key again to stop,
then the icon will disappear. In video taking process, press the
UP key as shortcut key to activate/inactivate sound, press the
DOWN key as shortcut key to have emergency lock.
2. Selection of Fill Lamp
Open the fill lamp via menu options and open the night mode.
3. Set Video Options
Press the Menu key to enter the setup of video options.
Resolution: FHD(1080P)/HD(720P)
No-interval circular video: OFF/1min/3min/5min.
The date of the postmark: on / off
Exposure Compensation: +3 to -3
Motion Detection: On/Off.
Take and Set Photos
1. Press the On/Off key to enter the video mode; press the Mode
key to enter the image mode indicated with the icon on the left
upper corner of the screen.
2. When the OK key is pressed, when the sound “click”is heard,
the image preview waiting will occur. About 1s later, the shooting
will be complete. In shooting, be sure to hold the DVR firmly without
shock so as to avoid affecting photo quality.
Resolution: 12M/10M/8M/5M/2M
Exposure Compensation: +3 to -3
Tip:
1. In any of the modes of video/image/playback, you may press the
Mode key to switch such modes circularly.
Playback Mode
1. Browse Files
When the device completes the switch-on program and enters the
video mode, press the mode key twice to enter the replay mode,
press the UP/DOWN key to browse the images and videos. In
replay mode, you may browse the files by categories only; if the file
type is video, you can only browse videos; if image, you may
browse images.
2. Delete and Protect
In replay mode, press the menu key to have the options Delete and
Protection lock. Press the OK key to enter the options “Delete the

present”and “Delete all”, press the OK to enter and again to
confirm. You may add a lock to the file; before unlocking, you
cannot delete it; in such way, some important files are protected.
Mode of Videoing while Charging
Connect the car charger to the USB port of the device, switch it off
to enter such mode.
Data Backup
USB Backup Mode
Connect the DVR and PC with USB cable, in such case, the device
will automatically turn on and enter the MSDC mode; open “My
computer”on the desktop, then one moveable disk will appear. The
moveable disk stores corresponding files by file type.
Remarks:
1. PC operation system: Windows 2000/XP/Vista/Windows 7 or
above.
2. Remove the USB cable to turn off the DVR.
Connect to TV
1. Use the HDMI connection line to connect the DVR to a TV for
playback.
2. Use a TV cable to connect the DVR to a TV for videoing,
shooting and browsing pictures and videos.
Tip: Without driver installed, the mobile disc may be used when the
DVR is switched on.
Remarks: When this device crashes due to improper operation,
press the Reset button to restart and restore it.
Technical Specifications
LCD size
2.7″, 320*240 RGB
LCD
Lens
170°A+ class
high-resolution super
wide angle
Languag
e for
options
Multi-lingual
Video
size
1080P/720P
Video
H.264 AVI/MOV

format
Photo
resolutio
n
12M/10M/8M/5M/2M
Photo
format
JPG
TF
memory
card
TF
Micropho
ne/Speak
er
Inbuilt
Light
source
frequenc
y
50Hz/60Hz
TV
output
NTSC/PAL
USB port
USB2.0
Power
supply
port
5V 1A
Battery
Polymer Battery
240MA
Operatio
n system
Windows
2000/XP/Vista/Windows
7 or above
Note: We reserve the right to change the design and specs of this
product without further notice.
Table of contents
