Etneo Q200 User manual

Scientific technological Center
Via Bovio 6 –28100 Novara - NO - Italy
www.etneo.com
Lead Free Soldering Pot
INSTRUCTION MANUAL
Q200/400
1. Safety Instruction
WARNING
Please read this instruction manual before operating the unit for avoiding the accident
The unit must use three grounding cord and socket for good ground, including the prolonging
power cord
Do not use the unit to other task except to melt the soldering tin

The highest temperature can be up to 400℃. When changing some parts of the unit, please switch
off the power supply and after it has cooled down
Do not use the unit near the flammable gas and the other flammable materials
The unit must be put on the flat workbench and not incline it when working. Make sure the
workbench is heat resistant
When using the unit, do not do some actions may be harmful to the body or damage the other
objects
Do not touch the metal parts before the unit cooling down
When moving the unit, it must switch off the power supply and after the unit has cooled down
Please do not make bold to change the unit
Do not dampen the unit
When the unit is not in using for a period of time, it must switch off the power supply.
NOTE
No leave the solder pot at side when it is still highly heat and not has other person at side for
avoiding accident
No use the unit in the damp surrounding
No use the unit with the broken power cord
When the temperature is above 300℃, it will oxide the soldering tin and shorten the life of the
unit. Use the unit at the as lower temperature as possible
When using the unit for the fist time, please set a lower temperature (such as 300℃) at fist, and
then wait unit the temperature is stable, it can adjust the temperature to higher point (such as
400℃)
The unit must be maintained by the special persons when it is in malfunction. Or else, you can
contract with our company or the agent.
2. Summary
It is a lead free design with closed-loop sensor controlling temperature. The pot is made of special alloy
metal and the heater element encompasses around the pot. So the power efficiency is high and the heating
is rapid and the temperature is stable and not fluctuating with the voltage. With good heat conduct and
heat insulation, it avoids the blight to the machine, PCBs and other elements.
Temperature
adjusting knob
Calibration hole
Pot
Power switch

3. Characters
Closed-loop sensor controls the temperature and zero triggering without interfering with the
voltage
With the special metal (anti-erosion and heat-resistant) and the life putting into service for lead
free is long
Heating speed is rapid and the temperature is stable and accuracy
Smart design and it is easy to use.
4. Specifications Q200/Q400
Power: 200/400W
Size of the solder pot: ¢36 H40mm / ¢54 H38mm
Temperature range: 150℃~500℃/ 150℃~450℃
Temperature stability: ±5℃
Weight: 1kg /1.34kg (including power cord)
Dimension: 91(L)*150 (W)*75 (H) mm / 190(L)*115 (W)*75 (H) mm
5. Operation
Warning: the using voltage must be identical with the rated voltage of the escutcheon.
1) Put the solder pot on the flat workbench which is heat-resistant or put a metal plate under the
solder pot
2) Put condign soldering tin to the pot and the maximal position of the soldering tin must be
under the pot’s top 5mm
3) Connect with the three wire-grounding socket
4) Turn on the power knob and then the unit comes to heat. At the time, the red LED is on
5) Adjust the temperature-adjusting knob to the needed temperature scale
6) It needs spend some time to melt the soldering tin, such as ten minutes from 25℃to 300℃. It
can put into service when the soldering tin has melted and the LED is twinkle or darkle. If there
are some oxides floating on the surface, it must clear off the oxides and keep the soldering tin
clean
7) It must turn off the power switch to cool the unit after finishing work
6. Temperature calibration
It should be recalibrated after replacing the pot or the heating element.
1) Set the temperature of the unit to 300℃
2) When the temperature of the unit stabilizes, dip the outer temperature sensor of the
thermometer into the pot and view the value when the temperature of the thermometer
stabilizing
3) If the value of the thermometer’s temperature is not 300℃, calibrating the temperature. Use a
straight –edge (-) screwdriver or small plus (+) screwdriver to adjust the screw (marked CAL)
until the thermometer indicates a temperature of 300℃. Turn the screw clockwise to reduce
the temperature and counterclockwise to increase the temperature

4) If the temperature still has some departures, you can repeat calibration in according with the
above steps.
7. Maintenance
A. Judge the heater or the sensor has been in malfunction as the following:
1) If the setting temperature of the solder pot is high but the soldering tin’s temperature in
the pot still is about room temperature after heating a period of time. Besides, the red LED
is on all the time. At the moment, it can judge the heater element is in malfunction
2) Turn on the power switch, the red LED is not on and the solder pot is not heating. If the
power supply and the fuse are both in gear, at the moment, it can judge the sensor is in
malfunction
B. Because the pot may be eroded after using a period of time, it must check the pot periodically
Suggest: If using lead soldering tin, it should check at least one time each year (as the setting
temperature is 250℃and the work time is five days each week and eight hours every day)
If using lead-free soldering tin, it should check at least one time each half-year (as the
setting temperature is 250℃and the work time is five days each week and eight hours
every day)
Note: when the heater or the sensor has been in malfunction, it must be maintained by the
special person or contact with our company or agent.
This manual suits for next models
1
Table of contents
Other Etneo Soldering Gun manuals
Popular Soldering Gun manuals by other brands
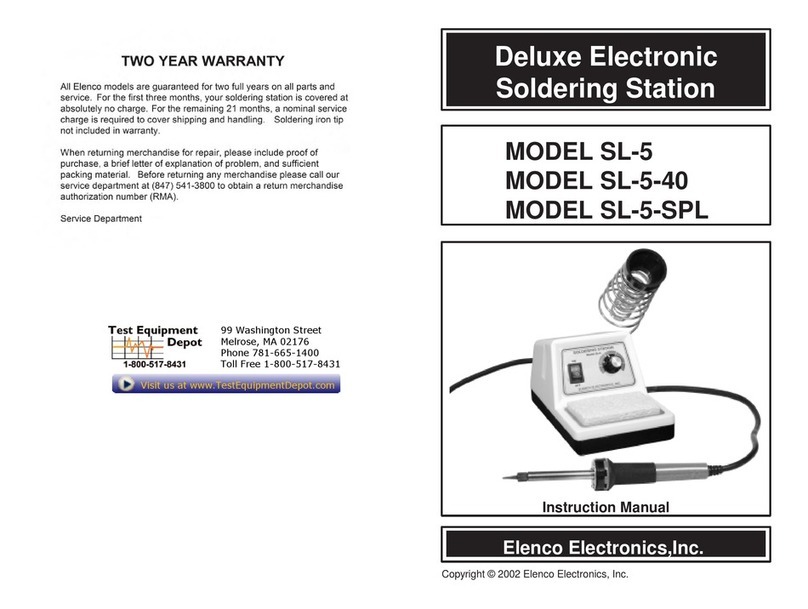
Elenco Electronics
Elenco Electronics SL-5 instruction manual
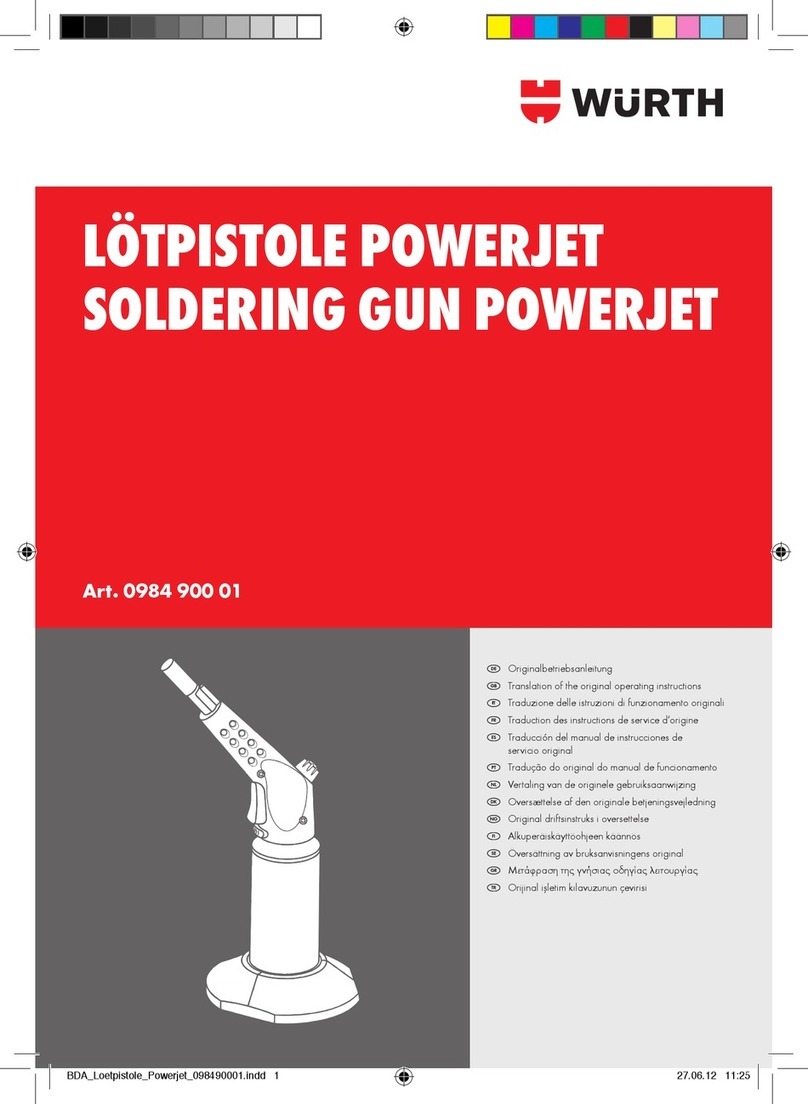
Würth
Würth Powerjet Translation of the original operating instructions
Weller
Weller WTBR 1000 manual
Hakko Electronics
Hakko Electronics 936 instruction manual
Weller
Weller WXPP Translation of the original instructions
Steren
Steren CAU-260 instruction manual
