2
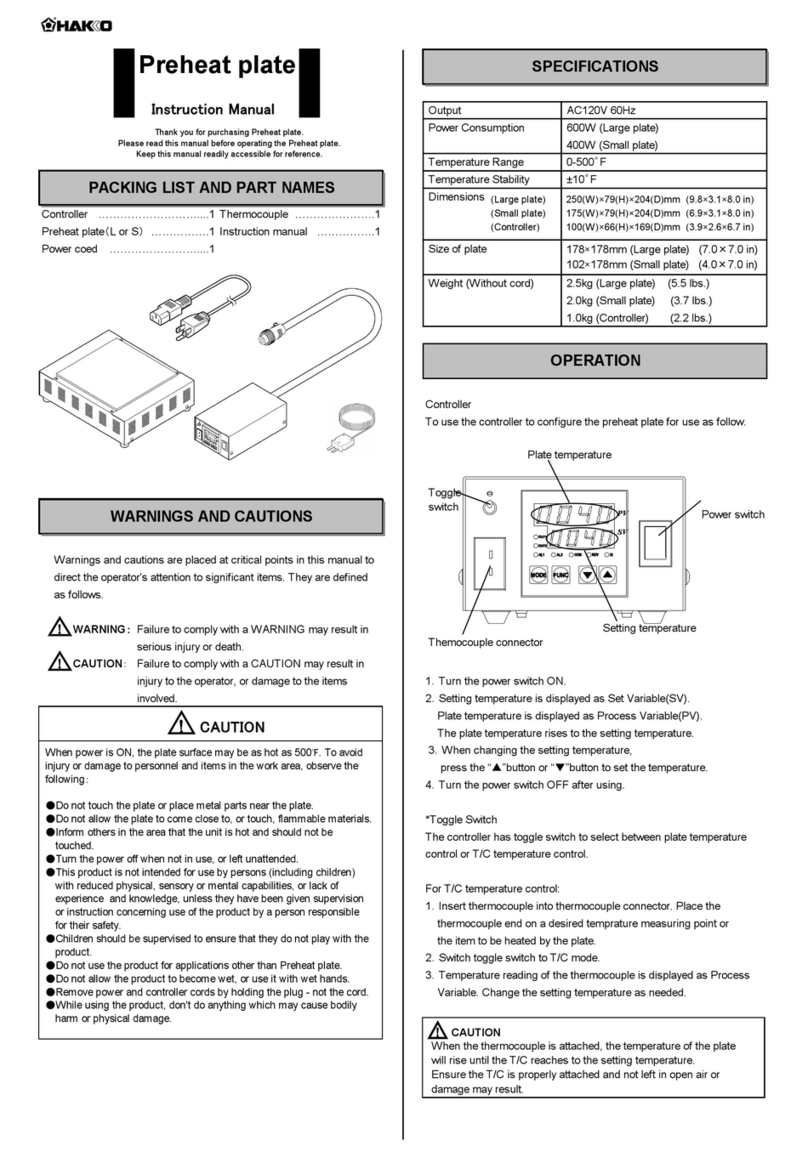
3. WARNINGS AND CAUTIONS
In this instruction manual, “WARNING” and “CAUTION” are defined as follows.
WARNING
WARNING: Misuse may potentially cause death of, or serious injury to, the user.
CAUTION : Misuse may potentially cause injury to the user or physical damage
to the objects involved.
For your own safety, be sure to comply with these precautions.
CAUTION
When the power is on, the tip temperature is between
200°C/392°F and 480°C/ 896°F.
Since mishandling may lead to burns or fire, be sure to comply with
the following precautions.
zDo not touch the metallic parts near the Tip.
zDo not use the product near flammable items.
zAdvise other people in the work area that the unit can reach a very high
temperature and should be considered potentially dangerous.
zTurn the power off while taking breaks and when finished using the unit.
zBefore replacing parts or storing the unit, turn the power off and allow the unit
to cool to room temperature.
To prevent damage to the unit and ensure a safe working
environment, be sure to comply with the following precautions.
zDo not use the unit for applications other than soldering.
zDo not rap the soldering iron against the work bench to shake off residual
solder, or otherwise subject the iron to severe shocks.
zDo not modify the unit.
zUse only genuine HAKKO replacement parts.
zDo not wet the unit or use the unit when your hands are wet.
zThe soldering process will produce smoke, so make sure the area is well
ventilated.
zWhile using the unit, don’t do anything which may cause bodily harm or
physical damage.
9
Disassembling the 900S
1. Slide the handle cover (2) toward the cord and
remove the screw (1) securing the heating element.
2. Turn the nut (3) counterclockwise and remove it.
3. Remove the tip (4).
4. Pull both the heating element (5) and the cord toward
the tip of the iron and out of the handle (6).
Measure the resistance values at the sensor and the
heating element of the terminal board.
The resistance value should be the same as for the 907,
908.
To replace the heating element, refer to the instructions
included with the replacement part.
1. Turn the unit ON and set the temperature control knob
to 480°C (896°F). Then wiggle and kink the iron cord
at various locations along its length, including in the
strain relief area. If the LED heater lamp flickers, then
the cord needs to be replaced.
2. Check the resistance between the pin of the plug and
the wire on the terminal.
Pin 1: Red Pin 2: Blue Pin 3: Green Pin 4: White
Pin 5: Black
The value should be 0 Ω. If it is greater than 0 Ωor is
∞, the cord should be replaced.
Refer to the drawing in the replacement parts section of
this manual. Desolder the blown fuse and remove it.
Solder on a new one.
2. Broken Soldering Iron
Cord
There are two methods of testing
the soldering iron cord.
3. Replacing the Fuse
CAUTION
The LED heater lamp will flicker even
with a normal Iron cord if the
temperature reaches 480°C (896°F).
