ETQ IN800 i User manual


THEMETHOD OF GASOLINE PRESSURE ADDING DEVICE:
When the gasoline inside the tank is less than halfway, and also meets the following
situations. Then there is a need to use the pressure adding device.
1). First time using the engine.
2). Restarting the Engine after during long periods of storage.
3). If the engine is working for more than a half hour, and stopped for 10 minutes you will need
to restart.
Following steps need to do one by one:
1). turn the air intake switch to "off " position
1.off 2.on
Picture1 Picture2
2). After the engine is running, turn the air intake switch to the “On” position.
3). Move the adding pressure device “up and down” several times, until you can feel the pressure
when moving the device “down”.
Picture3
4). wait 10-20 seconds, then you can start it.
*Remark:
Need to add: inverter products working environment temperature: MAX 40
1. Do not open the plastic cover to operate the product.
2. If cover is opened it will damage the engine because the inner heat of the
unit will not be able to dissipate appropriately.
3. The unit cannot be used if any parts have been disassembled.
1

PREFACE
Thank you for purchasing products from EASTERN TOOLS & EQUIPMENT, INC. We appreciate your
business. The following manual is only a guide to assist you and is not a complete or comprehensive
manual of all aspects of maintaining and repairing your generator. The equipment you have
purchased is a complex piece of machinery. We recommend that you consult with a dealer if you have
doubts or concerns as to your experience or ability to properly maintain or repair your equipment. You
will save time and the inconvenience of having to go back to the store if you choose to write or call us
concerning missing parts, service questions, operating advice, and/or assembly questions. Our
gasoline generators have some of the following features:
• Lightweight construction
• Air cooled
• Four-stroke gasoline internal combustion engine
• Recoil starter
• Large fuel tank
• Automatic voltage stabilizer
• Circuit protector
• AC and DC outputs
• Low oil level sensor
The ETQ air-cooled gasoline generators are widely used when electrical power is scarce. Our
generators provide a portable mobile solution in supplying power for field operations during project
construction.
This manual will explain how to operate and service your generator set.
If you have any questions or suggestions about this manual, please contact your local dealer or us
directly. Consumers should notice that this manual might differ slightly from the actual product as
more improvements are made to our products. Some of the pictures in this manual may differ slightly
from the actual product as well. Eastern Tools and Equipment, Inc. reserves the right to make
changes at any time without notice and without incurring any obligation.
The engine exhaust from this product contains chemicals known to the state of California to cause
cancer, birth defects or other reproductive harm.
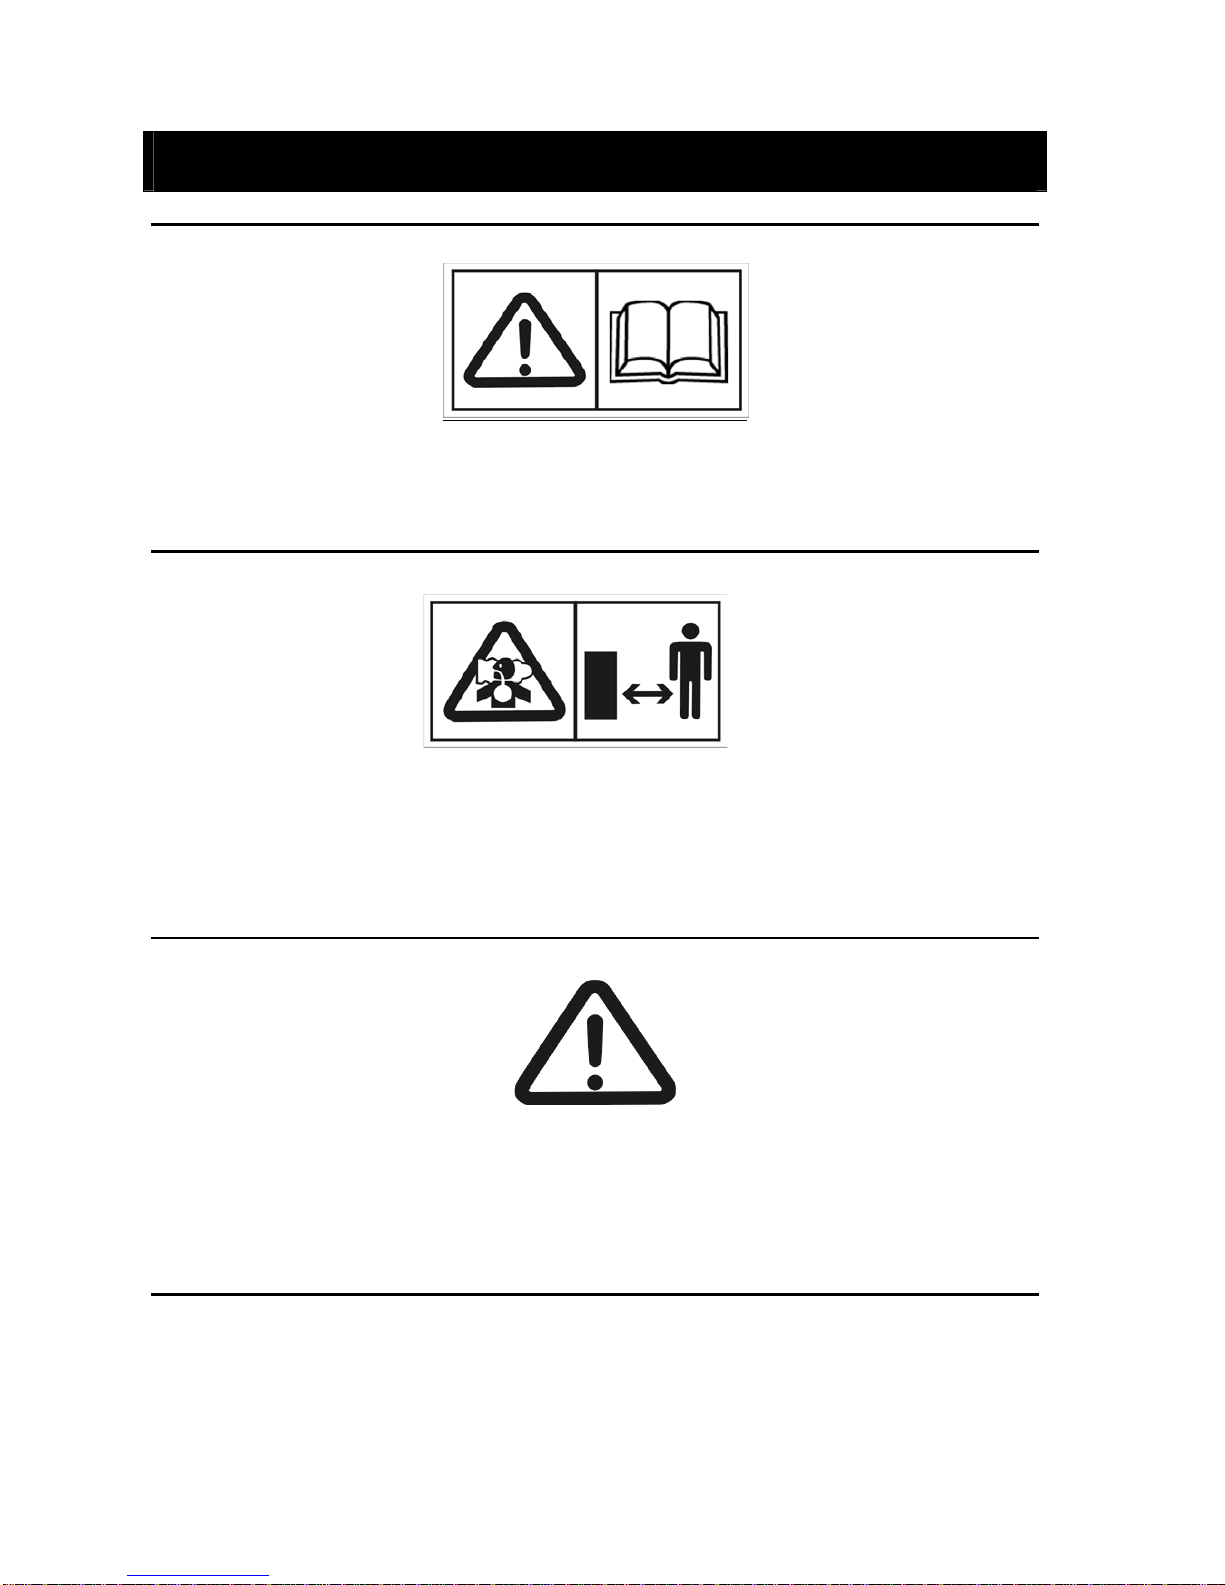
Please read manual before operating this machine.
The generator is a source of electricity, and can cause electrical shocks that can cause severe injury or
death if misused. Do not operate with wet hands and do not let the generator get wet. Keep away from
rain and snow.
2

TABLE OF CONTENTS
1) SAFETY PRECAUTIONS 03
2) COMPONENT IDENTIFICATION 05
3) PRE-OPERATION CHECK 07
4) STARTING THE ENGINE 10
5) GENERATOR USE 12
6) STOPPING THE ENGINE 15
7) MAINTENANCE TIPS AND INSTRUCTIONS 17
8) TRANSPORTING/STORAGE 23
9) TROUBLESHOOTING (FAQS) 24
10) SPECIFICATIONS 25
11) WARRANTY 26
3

1) SAFETY PRECAUTIONS
zGenerator is designed to give safe and dependable service if operated according to instructions.
zRead the Owner’s Manual before operating the generator.
zFailure to do so could result in personal injury or equipment damage.
zOperate the generator ONLY outdoors, and at least 3 feet away from open doors or windows.
zNever run the generator indoors as the engine gives off poisonous carbon monoxide, an odorless
and colorless gas.
zInhaling carbon monoxide will cause nausea, fainting or death.
zKeep the generator at least 3 feet away from flammable matter for adequate ventilation.
zBe sure to stop the engine before refueling.
zDo not overfill the fuel tank.
zIf fuel is spilled, wipe it away carefully and wait until the fuel has dried before starting the engine
again.
zWhen changing oil, make sure that the fuel cap is tightly secured to prevent fuel leakage.
4

zThe muffler is very hot during operation, and remains hot for some time after the engine has
stopped. Do not touch the muffler while it is hot.
zAllow the engine to cool down before moving the generator (Pay attention to the warnings that are
attached to the generator).
zConnections between standby power and a building’s electrical system must be installed by a
qualified electrician, and must comply with all applicable laws and electrical codes.
zImproper installation may cause electrical current to run back into the electrical transmission lines,
which may electrocute utility company workers or others who come into contact with these lines
during a power outage.
zIf the generator is not installed properly, it may explode, burn, or cause a fire in the building’s
electrical system when the power is restored.
zAlways conduct a pre-operation inspection (see page 7) before starting the engine.
zPlace the generator at least 1m (3ft) away from buildings or other equipment during operation.
zOperate the generator on a level surface. If the generator is tilted, fuel spillage may result
zKnow how to stop the generator quickly and understand the operation of all the controls. Never
operate without proper instructions.
zKeep children and pets away from the generator when it is in operation.
zKeep away from rotating parts while the generator is running.
zThe generator can cause electric shocks when misused; do not operate with wet hands.
zDo not operate the generator in rain or snow, and do not allow the generator to get wet.
5

2) COMPONENT IDENTIFICATION
FUEL CAP LEVER
FUEL CAP
CHOKE LEVER
Picutre4
CONTROL PANEL
LEFT SIDE
MAINTENANCE
COVER
FUEL VALVE
STARTER GRIP ENGINE SWITCH
SPARK PLUG
MAINTENANCE
COVER
MUFFLER
Picture5
6

CONTROL PANEL
OUTPUT INDICATOR LIGHT
OVERLOAD INDICATOR LIGHT
OIL ALERT INDICATOR LIGHT
Picture 6
AC RECEPTACLE
GROUND
7

3) PRE-OPERATION CHECK
Be sure to check the generator on a level surface when the engine does not work.
1) Check oil level.
Open the left side maintenance cover by unscrewing the cover screw. Remove the oil filler cap,
and wipe the dipstick with a clean rag. Check the oil level by inserting the dipstick in the hole
without screwing it in. If the oil level is below the end of the dipstick, add the recommended
amount of 0.25 litre of SF 10W-30 oil to the crankcase.
CAUTION:
OIL FILLER HOLE
UPPER LEVEL
Select the engine oil according
to the surrounding temperature.
Surrounding temperature (° C)
OIL FILLER CAP
Use high-detergent, premium quality, 4-stroke engine oil. Using non-detergent oil or 2-stroke engine
oil could shorten the service life of the engine. Running the generator with a low oil level could result
in serious damage to the engine.
NOTE: The Oil Alert System will automatically stop the engine before the oil level falls below the safe
limit. In order to avoid the inconvenience of an unexpected shutdown, it is recommended that the oil
level be checked on a regular basis.
2) CHECKING THE FUEL LEVEL
•Verify that the generator has sufficient fuel before each use. When adding fuel after the
generator has been used, verify that the generator is turned OFF, and allow it to cool down.
•If the fuel level is low, refill the fuel tank to the proper level, as specified. Unleaded or
low-lead gasoline is recommended in order to minimize deposits in the combustion
chamber. Use gasoline within 30 days of purchase. Using old gasoline may cause
problems. Securely tighten the fuel filler cap after refueling.
•Verify that the generator is properly grounded in accordance with local requirements.
Before adding fuel, all electrical loads must be disconnected and the generator must be
turned off.
8

Fuel Tank Capacity: 1.8L
UPPER LIMIT MARK
FUEL CAP
Picture 7
3) CHECKING THE AIR FILTER
Check the air filter in order to verify that it is clean and in good condition. Loosen the cover screw
and remove the left side maintenance cover. Press the latch tab on the top of the air filter body,
remove the air filter cover, and check the air filter. Clean or replace the air filter if necessary.
CAUTION: Do not run the engine without an air filter. Rapid engine wear will result from
contaminants such as dust and dirt being drawn into the engine through the carburetor.
Picture 8
OPEN
COVER SCREW
MAINTENANCE COVER
LEFT SIDE
Picture 9
AIR CLEAN COVER
COVER SCREW HOLE
9

Picture 10
AIR CLEANER CASE
AIR CLEANER ELEMENTS
10

4) STARTING THE ENGINE
NOTE: Verify that no appliance(s) are plugged into the generator before starting the engine.
1) Turn the fuel cap lever to the ON position (fully clockwise).
NOTE: Turn the fuel cap lever to the OFF position when transporting the generator.
2) Turn the engine switch/fuel valve to the ON position.
Picture 11
Picture 12
FUEL CAP LEVER
3) Move the choke lever to the CLOSED position.
Note: Do not use the choke when the engine is warm or the air temperature is high.
CLOSED
Move choke lever to the right to close.
4) Pull the starter grip until resistance is felt, then pull the starter grip briskly toward the arrow as
shown below.
CAUTION: Do not allow the starter grip to snap back. Return it slowly by hand.
Picture 13
Starter Grip
5) Move the choke lever to the OPEN position as the engine warms up.
NOTE: If the engine doesn’t work after several attemps, check the engine oil level before trouble
11

CLOSED
shooting other areas.
Move choke lever to the left to open.
12

5) GENERATOR USE
To prevent electrical shock from faulty appliances, the generator should be grounded.
Connect with a heavy wire between the generator ground terminal and on external ground
source.
Connections from standby power to a building’s electrical system must be made by a qualified
electrician and must comply with all applicable laws and electrical codes. Improper
connections make electrical current from the generator back feed into the utility lines. Such
back feed may electrocute utility company workers or others who come into contact with the
lines during a power outage, and when utility power is restored the generator may explode,
burn, or cause fires in the building’s electrical system.
Picture 13
GROUND SYMBOL
GROUND TERMINAL
AC Applications
Prior to operating your generator please:
•Be certain that the generator and all appliances are in good working order. Defective appliances
or power cords can cause electrical shocks.
•Make sure that the electrical rating of the equipment being used does not exceed the maximum
power rating of the generator.
•The maximum power rating of the generator must never be exceeded. Power levels between
rated and maximum may be use for no longer than 30 minutes.
•Turn off and disconnect any appliance if it seems it is not running normally. Verify if the appliance
is faulty or if the generator is being overloaded.
13

NOTE: Significant overloading will cause the generator to set off the circuit breakers. Minor
overloading might not set off the circuit breakers, but will shorten the life the generator.
AC RECEPTACLES
OVERLOAD INDICATOR LIGHT
LOW OIL INDICATOR LIGHT
OUTPUT INDICATOR LIGHT
•Operating at maximum power is limited to 30 minutes. Maximum power is 800 watts.
•Generator must not exceed rated power for continuous operation. Rated power is 750 watts.
•The VA of all appliances is usually listed near the model number or serial number.
AC Operation
•Turn on the generator, and make sure the output indicator LED (green) is lit, refer to
“Starting/Stopping the Engine” (page 10) for more information.
•Before plugging in any appliances make sure that the total power rating of all the appliances does
not exceed the power rating of the generator.
•Plug in the appliance. Motorized appliances usually use more power than their rated power for
start-up.
The overload indicator LED (red) will turn on if the generator is overloaded (if load exceeds 750 watts).
If the generator stays overloaded for more than 4 seconds, power to the appliances will be cut off and
the output indicator LED (green) will shut off. Turn off the engine and examine the problem. Verify if
the cause is a short circuit connection or an overload. Correct the problem and restart the engine.
NOTE: When an electric motor is started, the overload indicator LED (red) might turn on. If it does not
turn off after 4 seconds, consult your ETQ dealer.
14

Oil Alert System
The Oil Alert system is designed to prevent engine damage caused by an insufficient amount of oil in
the crankcase. Before the oil level in the crankcase falls below a safe limit, the oil alert system will
automatically shut down the engine. The engine will not start if you try to start the engine with low oil
(the red oil alert indicator light will also light up). If this occurs, add engine oil.
Picture 14
OIL ALERT INDICATOR LIGHT (RED)
15

6) STOPPING THE ENGINE
To stop the engine in an emergency, turn the engine switch to the STOP position.
IN NORMAL CONDITION:
1. Switch off all connected appliances and disconnect them from the generator receptacles.
Picture 15
PLUG
2. Turn the engine/fuel valve switch to the OFF position. It should be located on the side of the
generator under the recoil starter.
16

3. Turn the fuel cap lever counter clockwise to the “OFF” position.
CAUTION: Be sure the fuel cap lever and the engine switch are on the “OFF” position
when stopping, transporting and/or storing the generator.
FUEL CAP LEVER
OFF
17

7) MAINTENANCE TIPS & INSTRUCTIONS
The purpose of the maintenance schedule is to keep the generator in optimal operating condition.
Inspect and service the generator as scheduled in the following table.
Turn the engine off before performing any maintenance. If the engine must be running, verify that the
area is well ventilated. The exhaust contains poisonous carbon monoxide gas.
CAUTION: Use genuine replacement parts or their equivalent. Using replacement parts that
are not equivalent in quality may damage the generator.
Quick Reference Maintenance Chart
ITEM REMARKS
Pre-Operation
inspection
(daily)
Monthly
(10 hrs.)
Every 3
Months
(50 hrs.)
Every 6
Months
(100 hrs.)
Yearly
(300 hrs.)
Spark Plug
Check the condition, adjust the
gap, and clean. Replace if
necessary.
●
Check the oil level. ●
Engine Oil
Change the oil. ●
Air Cleaner
Check the oil level, clean, and
replace if necessary.
●●
Fuel Filter
Clean the fuel filter. Replace if
necessary.
●
Valve
Clearance
Check and adjust when
necessary.
●
Fuel Line
Check the fuel line for cracks or
damage. Replace if necessary.
●
Exhaust
System
Check for leakage. Retighten or
replace the gasket if necessary.
Check the muffler screen.
●
Carburetor Check the operation of the choke. ●
Cooling
System
Check for damage to the fan. ●
Starting
System
Check the operation of the recoil
starter.
●
Fittings and
Fasteners
Check all fittings and fasteners.
Make corrections if necessary.
●
NOTE:
•Run the generator for several hours in order to determine the maintenance that is required.
•Maintenance will be required more frequently if the generator is operated in a dusty environment.
•This generator should be serviced by an authorized service technician unless the owner has the proper tools and is mechanically proficient.
18

1. CHANGING OIL
Drain the oil while the engine is still warm (helps drain the oil faster).
CAUTION: Make sure to turn the engine switch and the fuel cap lever to the OFF position
before draining.
● Loosen the cover screw and remove the left side maintenance cover.
● Remove the oil filler cap.
● Drain old engine oil into a container thoroughly.
● Refill the crankcase with the recommended amount of oil; check the oil level before attempting
to start the engine.
● Reinstall the left side maintenance cover and tighten the cover screw securely.
ENGINE OIL CAPACITY: 0.16L
Picture 16
MAINTENANCE COVER
LEFT SIDE
Picture 17
NOTE: Please dispose of used motor oil in a manner that is compatible with the
environment. Do not dispose in the trash, ground, or drains.
OIL FILLER HOLE
UPPER LEVEL
OIL FILLER CAP
2. AIR CLEANER SERVICE
A dirty air cleaner will restrict air flowing into the carburetor. To prevent carburetor malfunction,
service the air cleaner regularly. Service more frequently when operating the generator in
19
Table of contents
Other ETQ Inverter manuals
Popular Inverter manuals by other brands

AMV ELECTRONICA
AMV ELECTRONICA SK3000 Series user manual

Phoenix Contact
Phoenix Contact RAD-SOL-SET-24-100 user manual

PEGAS
PEGAS 200 AC-DC Service manual

GÜDE
GÜDE UNI MIG 125 SYN Translation of the original instructions

Centurion
Centurion 005011-0 Installation and owner's manual

Ozotech
Ozotech AIO3 Systems Installation & programming guide