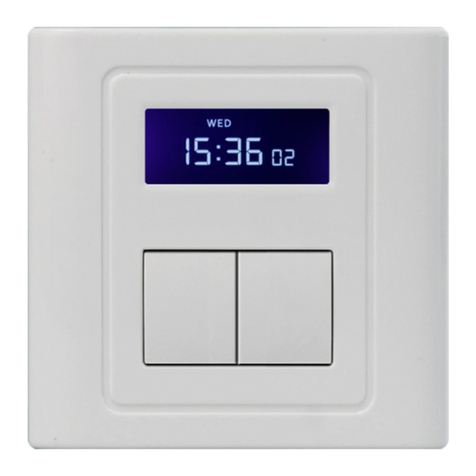
ETT Distribution McPower STE-3 User manual

EN
Made by ETT Distribution GmbH, Schmalbachstraße 16, 38112 Braunschweig
Reprinting or reproduction only with express permission.
Item number: 1975063
Instruction manual
Status: 09/2023
Digital Timer
McPower „STE-3“
7 days, 230 V for Panel mounting,3600 W
DISPOSAL INSTRUCTIONS
By separating materials, recycling and disposing of old equip-
ment in this way, you are making an important contribution
to protecting our environment.
Packaging can be disposed of free of charge at the appro-
priate collection points:
• Paper in the paper bin
• Plastics in the yellow bag
• Glass in the used glass container
WEEE DISPOSAL NOTE
According to the European WEEE Directive, electrical and
electronic WEEE Directive, electrical and electronic equip-
ment must not be disposed of with household waste.
Their components must be recycled or disposed of separa-
tely, because toxic and hazardous components can cause
lasting damage to health and the environment if disposed of
improperly.
As a consumer, you are obliged under the Electrical and
Electronic Equipment Act (ElektroG) to return electrical and
electronic equipment free of charge at the end of its service
life to the manufacturer, the point of sale or to public collec-
tion points set up for this purpose.
Details are regulated by the respective state law.
The symbol of the wheeled garbage can on the product, the
operating instructions and/or the packaging refers to these
regulations. regulations.
INTENDED USE
• The product is suitable for panel mounting.
• The product may only be used for the intended purpose,
in accordance with these operating instructions!
GENERAL NOTES
• Use only original parts supplied
• The product has no replaceable parts.
• Do not attempt to open or repair the product.
SAFETY INSTRUCTIONS
• Before commissioning, check the device for damage.
In case of demage, please do not put the device into
operation.
• Please note: If you make any technical modications to the
device, the guarantee of the device will expire immediately.
• Keep the operating instructions of the device.
• When working with 230 V, please strictly adhere to
the safety regulations.
• Do not short-circuit the connections and circuits.
• The installation must only be carried out by
qualied personnel.
• Do not drop the device. It could be damaged if it hits a
hard surface.
• Avoid installing the unit in places with high
temperature differences or high humidity.
• Do not carelessly leave the packaging material lying
around, Plastic foils/ bags, polystyrene parts, etc., could
become a dangerous toy for children.
• The device does not belong in children‘s hands,
it is not a child‘s toy!!
TECHNICAL DATA
Operating voltage: 230 V
Switching capacity: max. 16 A
Switching distance: min. 60 seconds
Height: 85 mm
Width: 35 mm
Depth: 65 mm
Protection class: II

EN
Made by ETT Distribution GmbH, Schmalbachstraße 16, 38112 Braunschweig
Reprinting or reproduction only with express permission.
Item number: 1975063
Status: 09/2023
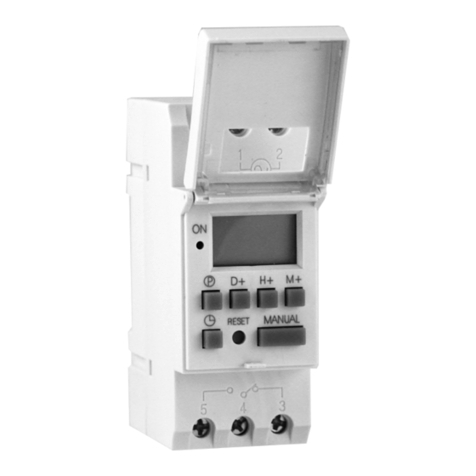
CONTROLS
1. Display
2. Schaltanzeige
3. Reset-Taste
4. W+ -Taste
5. C+ -Taste
6. Timer-Taste
7. Manual-Taste
8. RES/CL-Taste
9. H+ -Taste
10. M+ Taste
CONNECTION INSTRUCTIONS
• It is best to leave the installation to a professional!
• Please check whether the connection lines of the
network are voltage-free!
• Mount the timer on the DIN rail in the household
distribution control box.
• Connect PHASE (L) and Neutral (N) to terminals 1+2!
• Connect the load between contact 4 and Neutral (N).
• Create a connection between Phase (L) and contact 3.
• The switching contact between contact 3 and 4 is a
potential-free normally closed contact.
• Connections are made using screw terminals.
Terminal designation
1 – 2
4 – 5
5 – 3
Contakt
Power supply
230 – 250 V ~ 50 – 60 Hz
Normally open contact
Switching capacity
240 V ~ 16(1) A
NC contact
Switching capacity
240 V ~ 16(1) A
SUMMER- AND WINTERTIME
• To set the timer to summer time, press the „Manual“ and
„Clock“ keys simultaneously.
An „S“ for summer time appears in the display.
• Pressing the „Manual“ and „Clock“ keys again causes
the „S“ to disappear from the display. (Winter time active)
OPERATION
• Set the current time by simultaneously pressing
the C+ and H+ buttons to adjust the hour,
C+ and M+ buttons to adjust the minutes
and C+ and W+ buttons to set the weekday.
Now you can program the weekly timer according
to your needs.
• Press the „Timer“ button, and on the display, directly
above the number on the left (number 1-8 for different
switching times), „ON“ will appear to set
the switch-on time!
• Press the W+ button to set the weekday. It is possible to
set a switching time over several days
(e.g., Monday 12:00 AM ON until Wednesday 9:00 PM OFF).
• Next, please set the hours and minutes using
„H+“ and „M+“.
• Press the „Timer“ button, and on the display, directly above
the number on the left (number 1-8 for different switching
times), „OFF“ will appear to set the switch-off time!
• The switch-off time is set analogously to the desired
switching time.
• Pressing the „Timer“ button will save your inputs.
• With these settings, you can establish 8 different
programs for the timer.
• Press the „C+“ button to exit the programming mode
(or wait for 20 seconds)!
• All settings are only „ACTIVE“ when the „AUTO“ mode is
selected with the „Manual“ button.
Other modes here are ON and OFF.
• For changes, select the corresponding program (1-8)
with the „Timer“ button.
• All desired changes to the switching times are
made by „overwriting“ the set times.
• All desired deletions of switching times are made
by pressing the „RCL“ button!
• You can program multiple weekdays simultaneously;
simply follow the above instructions in programming
mode, using the „W+“ button for individual weekdays
or the predened day combinations. Press the
„Manual“ button to switch to „Manual mode.“
• By repeatedly pressing it, you can select the modes ON
(always on), AUTO (programs active), or OFF (always off).
• To reset all settings, please press the Reset button.
This manual suits for next models
1
Popular Timer manuals by other brands
RainPoint
RainPoint ITV101P user manual
Intermatic
Intermatic DT500CL Series Installation and user instructions
Intermatic
Intermatic IW700K operating instructions

Clas Ohlson
Clas Ohlson EMT717A 18-2025 user guide
Emos
Emos One Touch Digital Tap Timer Pro manual
Radio Shack
Radio Shack Big Digit Timer owner's manual
