Eureka Blaze Original User manual
BLAZE ORIGINAL™
INSTRUCTIONS MANUAL


1
Cautions for the rst use
Remember, safety should be your rst priority.
1. Please make sure that you disconnect all other electronic devices
connected to the power line you plan on using for your iron.
2. Make sure that you have removed any packaging or protective
covers from the soleplate.
3. When plugged in for the rst time, you may notice slight smoke due
to production grease. Do not worry as this will cease shortly.
4. Always avoid harsh contact between your iron and other metal objects.

2
Safety Instructions
1. Whenever you need to step away from the iron, make sure that you unplug
it and leave the iron in a vertical position with soleplate facing upright.
2. Avoid children near the plugged iron.
3. Avoid contact of hot soleplate with your hands or ammable objects
during use.
4. CAUTION! Make sure your iron is disconnected from the power supply
before pouring water in the water tank.
5. DO NOT immerse any part of the iron in any type of liquid.
6. DO NOT use the iron if the cord is damaged. Consult with the
manufacturer to get your iron xed or replaced. (See last page for instructions)
7. To prevent deposition of minerals in the steam holes, it is recommended
to use distilled water for cleaner steam holes.
8. Never use chemically descaled water.
9. Avoid directing steam towards people or animals. Steam is hazardous
and can cause severe skin burns.

Parts & Features
1. Spray Nozzle
2. Water Filling Cover
3. Steam Control
4. Spray Mister
5. Gripsoft™
Rubberized Handle
6. Steam Surge™ Trigger
7. 10 Foot Electrical Cord with
360º Pivot.
8. Heat Settings Dial
9. LED Indicator Light
10. Water Tank
11. Nano-Ceramic Shield™
Coated Soleplate
12. Self-Cleaning Button
1
2
3
4
5
6
7
8
9
10
12
11
3

4
Dry Ironing
1. Set the movable Steam Control Lever to point ‘’0’’.
2. Adjust ironing temperature in accordance with the fabric’s requirement.
3. The light “ON” indicates that the iron’s temperature is increasing steadily.
Once desired temperature is reached, the light will turn “OFF” automatically.
Filling with Water
Before lling the water tank, make sure that the iron is unplugged,
temperature dial is positioned at the “OFF” mark, and the iron is held at
approximately 45º tilt. Now, ll the water tank till the MAX mark.
Water Mister
You can use the spraying option by repeatedly pressing the spray button.
Make sure that your iron’s water tank is full.
Steam Ironing
1. ill the water tank in accordance with the instructions in the “Filling with
Water” section.
2. Plug the cord into the outlet.
3. The light “ON” indicates that the iron’s temperature is increasing steadily.
Once desired temperature is reached, the light will turn “OFF” automatically.
4. According to your requirement, adjust the Steam Adjustable Control
lever by turning right for more steam and left for less steam.
5. To achieve best steam discharge make sure that the thermostat dial
is set at the MAX mark.
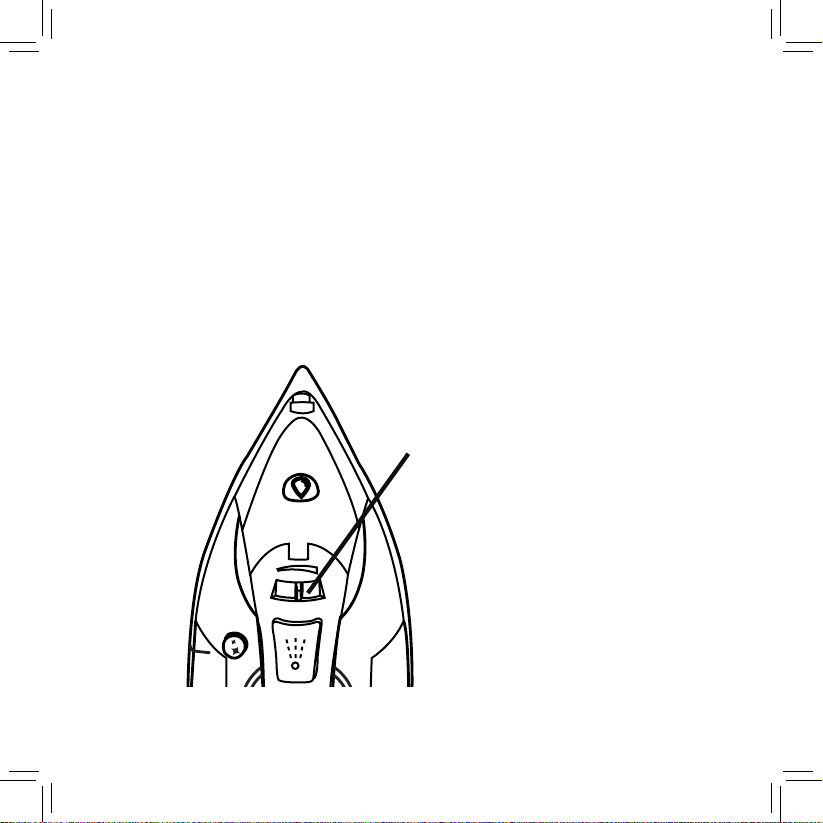
Steam Adjustable
Control Lever
0
max
¥
5
6
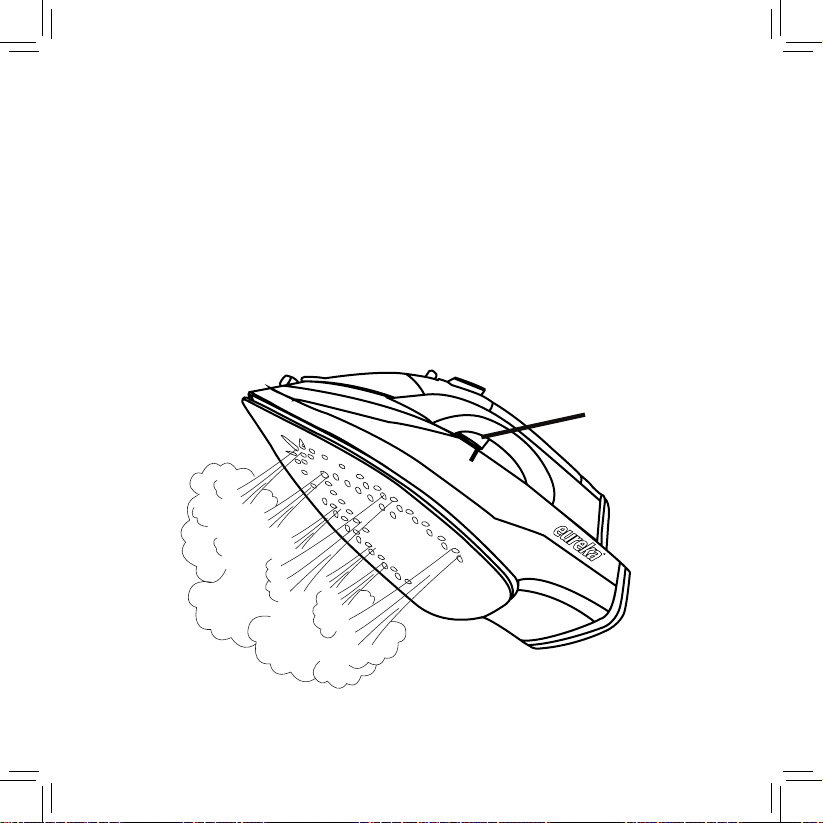
Steam Surge™
This function is specially designed to remove the toughest wrinkles and
creases present in heavy fabrics. By pressing the Steam Surge™ Trigger, a
sudden surge of steam is expelled out of the soleplate, which is extremely
useful in straightening even the most stubborn creases. For optimal
results, make sure Steam Surge™ is used at higher temperatures and a
regular 5 second delay between each steam burst is maintained. When
steam is completely depleted, give it some time for steam to build up.
Steam Surge
Trigger

7
Vertical Steam
By holding the iron in a vertical position, you can apply burst of steam to
remove creases from curtains or any type of hanging fabrics.
Anti-Drip
An advanced system inside your iron prevents water leakage at even the
lowest heat setting.
Anti-Calc
Over time, lime scales may accumulate inside the iron or on the soleplate’s
surface. To prevent this, an anti-calc lter is permanently installed in this
appliance. It cannot be removed for cleaning purposes.

0
max
¥
15-Minute
Auto-O
30-Second
Auto-O
30-Second
Auto-O
8
Auto Shut-O
1. If the iron is left unused for 15 minutes, the light will blink signaling that
the iron has automatically shut o.
2. If the iron is left on the fabric or accidentally tips over, the iron will
automatically shut o within 30 seconds. The blinking light on the iron
will indicate that the iron has shut o.
3. Move the iron back and forth on the linen to auto-restart. The light will
immediately stop blinking after achieving sucient temperature for you
to continue ironing.
Table of contents
Other Eureka Iron manuals


