STEP
1
1
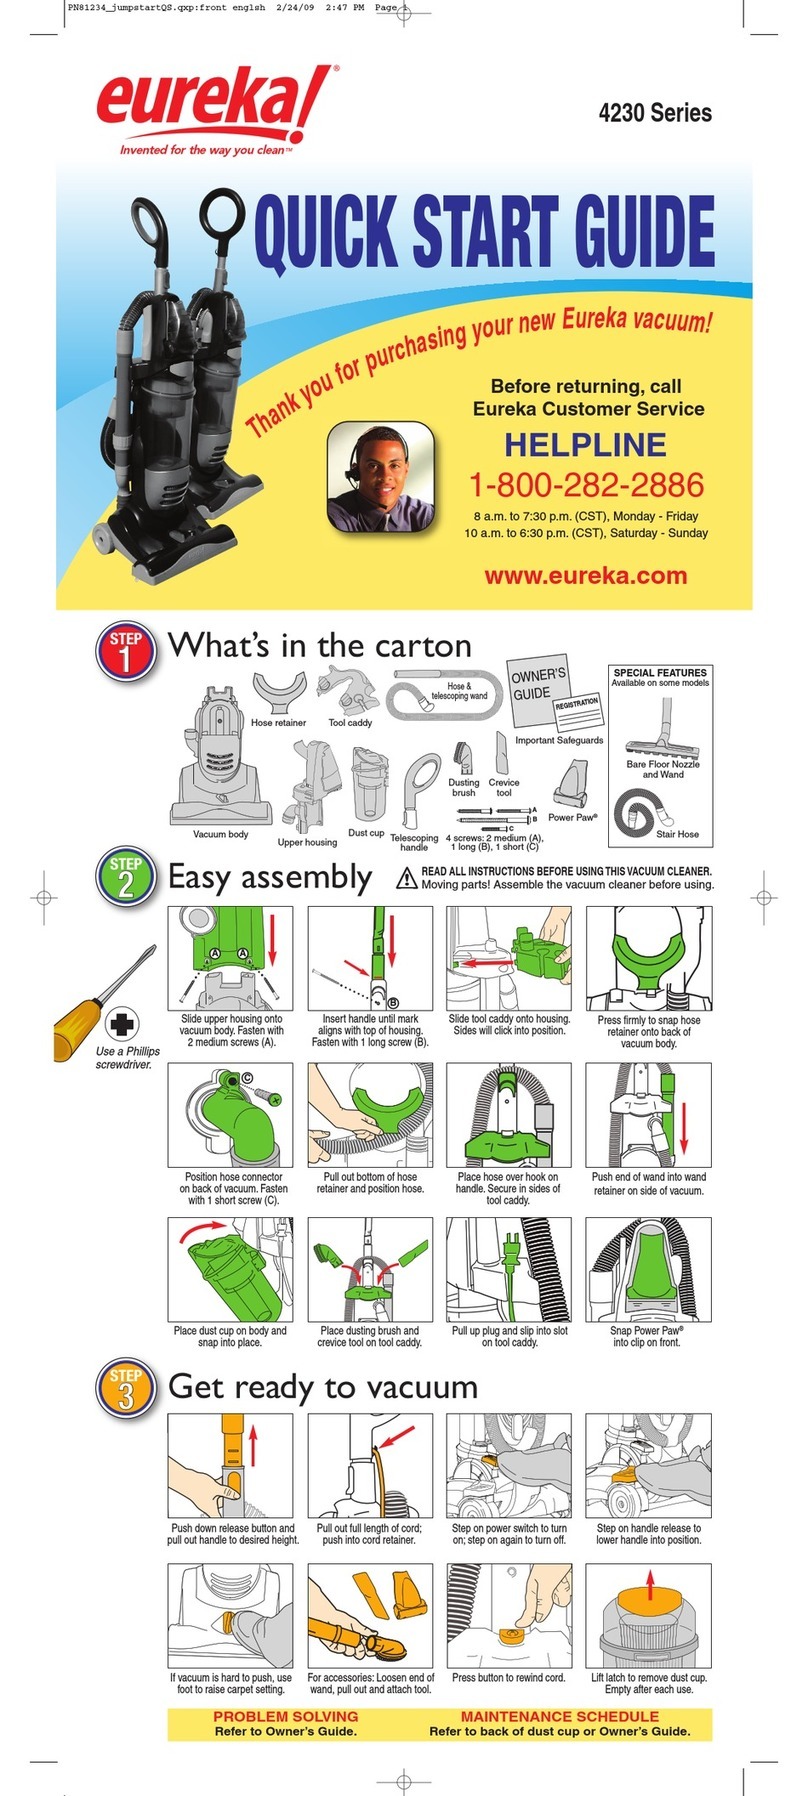
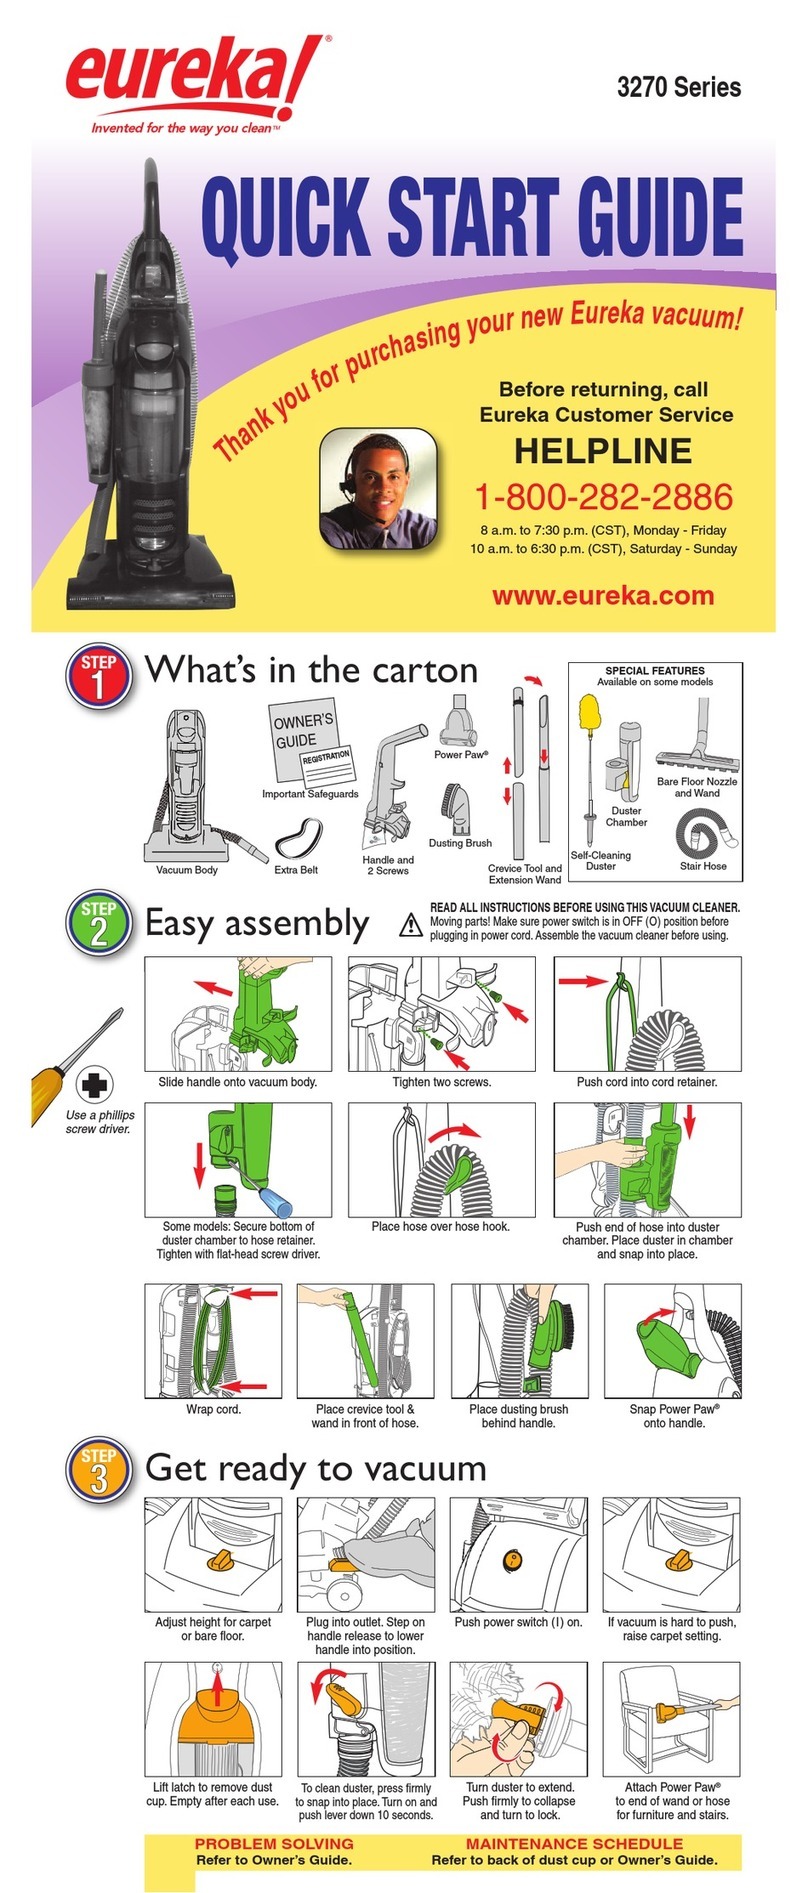
Easy assembly
lide handle onto vacuum body. Loop hose around hose retainer.
Clip hose nozzle into place.
Wrap cord on upper and
lower hooks.
ome models: lide clip onto
back of handle and store
Power Paw.®
Tighten 3 screws.
tore upholstery brush
below top cord wrap.
Push cord into
cord retainer.
STEP
2
2
Get ready to vacuum
Push brush roll control to
bare floor to stop brush roll.
Push firmly to lock.
Plug into oulet. tep on
handle release to lower
handle into position.
Turn selector knob to “hose”
for using attachments or
“floor” for vacuuming floors.
Adjust height for carpet
or bare floor. If hard to
push, raise carpet setting.
Check belt view window for
a broken belt. Replace belt
for brush roll to turn.
Loosen hose from hose
retainer and place attachment
onto end of wand or hose.
Push power switch (I) on.
Push power switch (O) off.
Lift latch to remove front cover.
ee dust bag for
replacement instuctions.
ome models: Attach tool to
end of wand or hose for
furniture and stairs.
STEP
3
3
Use a phillips
screw driver.
PROBLEM SOLVING
R f r to Own r’s Guid .
MAINTENANCE SCHEDULE
R f r to Own r’s Guid .
4870 S ri s
B for r turning, call
Eur ka Custom r S rvic
HELPLINE
1-800-282-2886
8 a.m. to 7:30 p.m. (C T), Monday - Friday
10 a.m. to 6:30 p.m. (C T), aturday - unday
www. ur ka.com
T
h
a
n
k
y
o
u
f
o
r
p
u
r
c
h
a
s
i
n
g
y
o
u
r
n
e
w
E
u
r
e
k
a
v
a
c
u
u
m
!
READ ALL INSTRUCTIONS BEFORE USING THIS VACUUM CLEANER.
Moving parts. Make sure power switch is in OFF (O) position before
plugging in power cord. Assemble the vacuum cleaner before using.
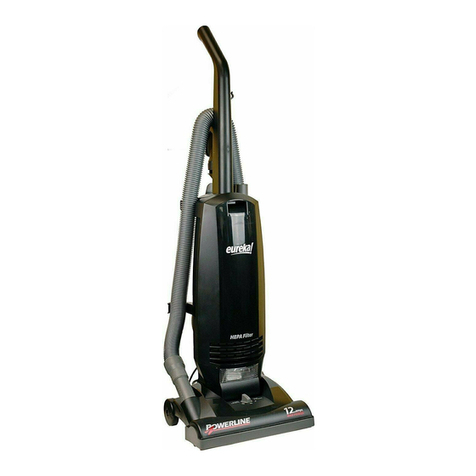
What’s in the carton
Vacuum Body
Handle &
3 crews
Important afeguards Dust Bag
tyle RR Crevice
Tool
Dusting Brush Upholstery
Nozzle
Belt
tyle R Extension Wand
REGISTRATION
OWNER’
GUIDE
tair Hose
QUICK START GUIDE
tore nested extension
wands on side.
tore dusting brush in cup on
back of vacuum.
tore crevice tool in slot
on back of vacuum.
SPECIAL FEATURES
Available on some models
Power Paw®
Power Paw
Clip
