eversound GLS 3.0 User manual

Welcome to the Eversound community. We’re glad you’re here.
Eversound is an engagement amplifier that removes communication
barriers and will empower your community to deliver extraordinary
individualized care in both group and one-on-one settings.
what’s included
Eversound is ADA compliant. Headphones have a range of up to 400 feet from the transmitter
depending on the environment. Wide-open spaces such as auditoriums or parks will obtain full
coverage. For indoor spaces or areas with obstructions, such as walls, coverage will vary.
getting started
what’s included
• Eversound Case
• User Guide
• (10) Headphones
• Eversound Transmitter
• Eversound Belt Pack
• Auxiliary Cable
• RCA cable
• Lapel Microphone
• Wireless microphone, receiver,
charging cord and charging cube.
• Power cord
features
• Connect to Your A/V System/
Audio Source
• Simple Controls & Easy to Use
• In-Case Charging
• Ergonomic Design
• Fully Wireless Headphones
• Clip-On Microphone
• Breakage & Loss Replacement
• Replaceable Ear-Pads
• Antimicrobial Plastics
model GLS 3.0

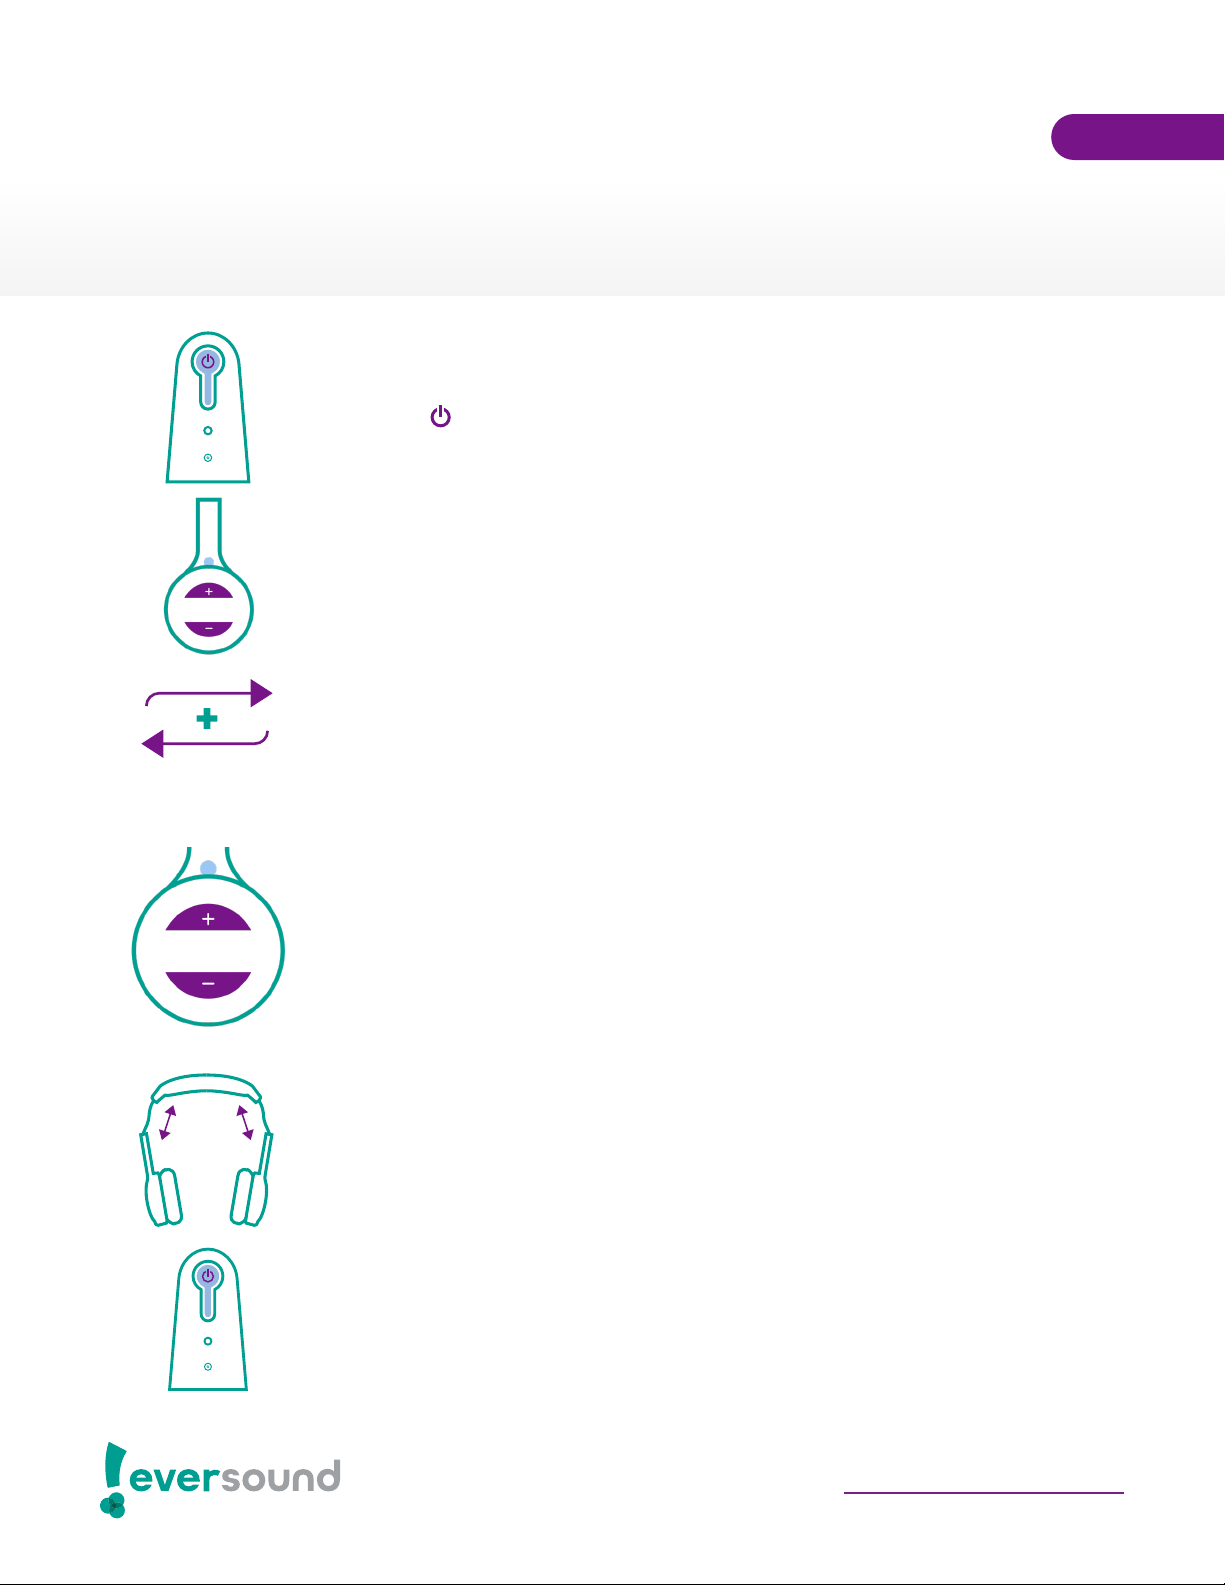
1. transmitter registration mode
Ensure the transmitter and headphones are off. Press and hold the
small, silver, pin-like registration button below the “AUX AUDIO IN”
port on the transmitter, press & release the power button, and then
release the registration button. Wait a few seconds and the light
will blink rapidly.
2. headphone registration mode
Hold the registration button (REG) on the headphone above the
(VOL+) button, press and then release the (VOL+) button, and
release the registration button. The headphone is registered when
the flashing blue light turns solid, and then turns off. The flashing
should be at the same rapid speed as the transmitter.
3. repeat for additional headphones
Repeat until the desired number of headphones are registered. No need
to touch the transmitter again when registering additional headphones.
4. power off transmitter
To exit registration mode, power off the transmitter. The transmitter will
return to its normal mode once powered back on.
Note: Eversound headphones arrive pre-registered to the transmitter
but you may need to register additional headphones, replacement
headphones, or headphones to a different transmitter.
registering headphones
registration
button
VOL+
REG
©2020 Eversound | ES3004-1119
getting started
model GLS 3.0

1. plug case into power supply
Plug the case into any standard outlet (15 or 20 amps) using the
included power cord that comes from the inside of the case.
2. plug micro USB cable into transmitter
Plug the micro USB cable from the case into the micro USB port on the
back of the transmitter below the microphone port.
3. place headphones into case
Align the headphones with the volume dial facing away from the
edges of the case. The headphones will snap into place.
4. look for red lights
Red LEDs will appear on the headphones and transmitter to indicate
that they are successfully charging.
charging eversound setting up
Note: Upon receiving Eversound, charge for 3 hours before first use. Eversound
can be safely charged overnight or for periods of time exceeding 3 hours without
causing damage to the batteries. Eversound headphones remain charged for
4-5 hours. The transmitter remains charged for approximately 15 hours.
1. power on transmitter
Press the button on the front of the transmitter. The blue LED will
start blinking.
2. connect headphones & transmitter
Press one of the headphone’s volume buttons. The LEDs on both the
headphones and transmitter will turn solid blue once they have been
successfully connected.
3. repeat for additional headphones
Repeat until the desired number of headphones are connected.
No need to touch the transmitter again when registering additional
headphones.
4. adjust volume on each headphone
Press the (+) button (VOL+) to increase volume or the (-) button (VOL-)
to decrease volume. There are 4 major volume levels that can help you
determine volume level by color and increasingly rapid flashing. From
lowest to highest they are blue, green, yellow, red. Headphones are set
at medium volume by default. You’ve reached max volume when the
light is solid red, and minimum volume when solid blue.
5. adjust headband size
Gently pull on the top and sides of the headbands to fit as desired.
6. power off transmitter & headphones
Simply press the power button on the transmitter and the headphones
will shut off automatically after 30 seconds of flashing. You may also
want to turn off individual headphones at any time by holding the
(VOL+) and (VOL–) buttons simultaneously until the lights turn off.
headphone power &
volume adjustment
VOL+
VOL-
VOL+
VOL-
©2020 Eversound | ES3004-1119
setting up
model GLS 3.0
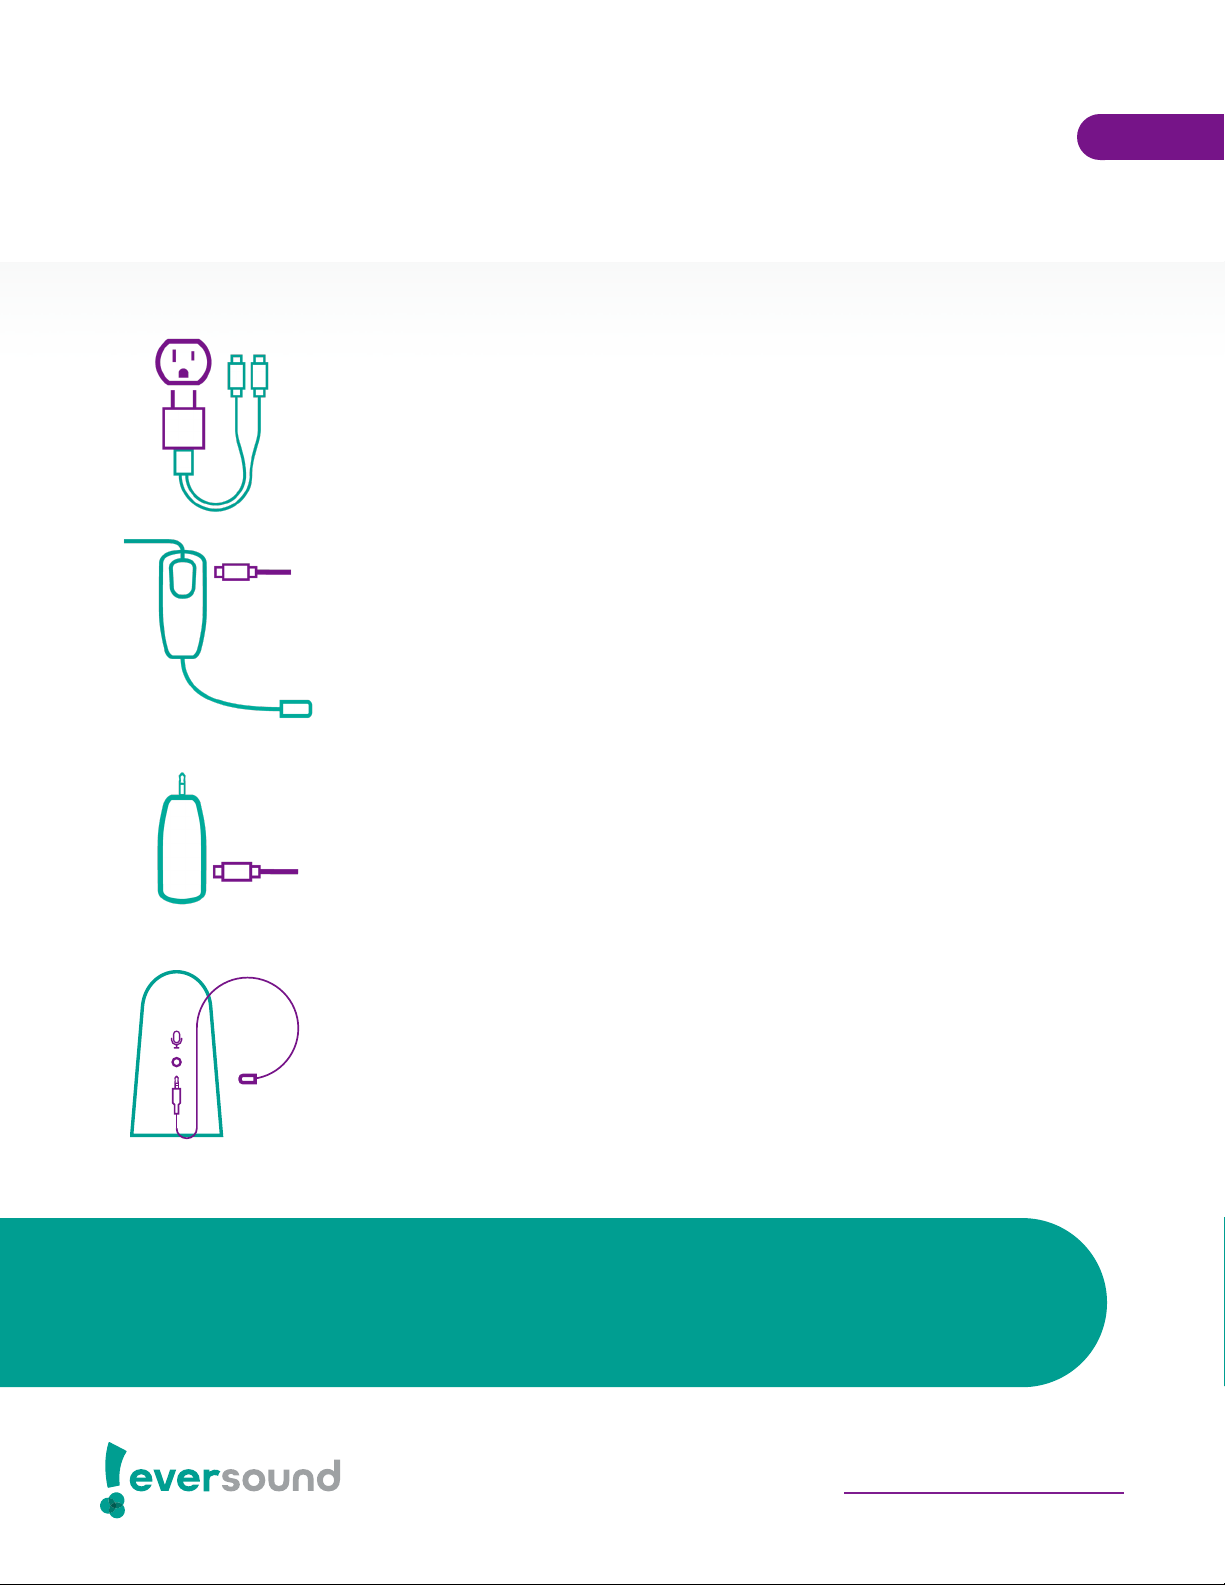
using the lapel and
wireless microphones
1. plug charging cube & cable into outlet
Plug the combined charging cube and dual charging cable into any
standard outlet.
2. plug micro-USB into wireless microphone
Locate the port on the side of the wireless microphone headset with
the on switch and plug one of the Micro-USB cables in it.
3. plug micro-USB into microphone receiver
Locate the port on the side of the wireless microphone receiver with
the on switch and plug one of the Micro-USB cables in it.
4. plug microphone receiver into transmitter
Locate the port labeled “Mic In Only” on the transmitter. Connect the
lapel microphone or wireless microphone receiver to the port.
Did you know? With Eversound, you can play music and broadcast your voice
simultaneously for guided exercise programs, music therapy applications, and more!
setting up
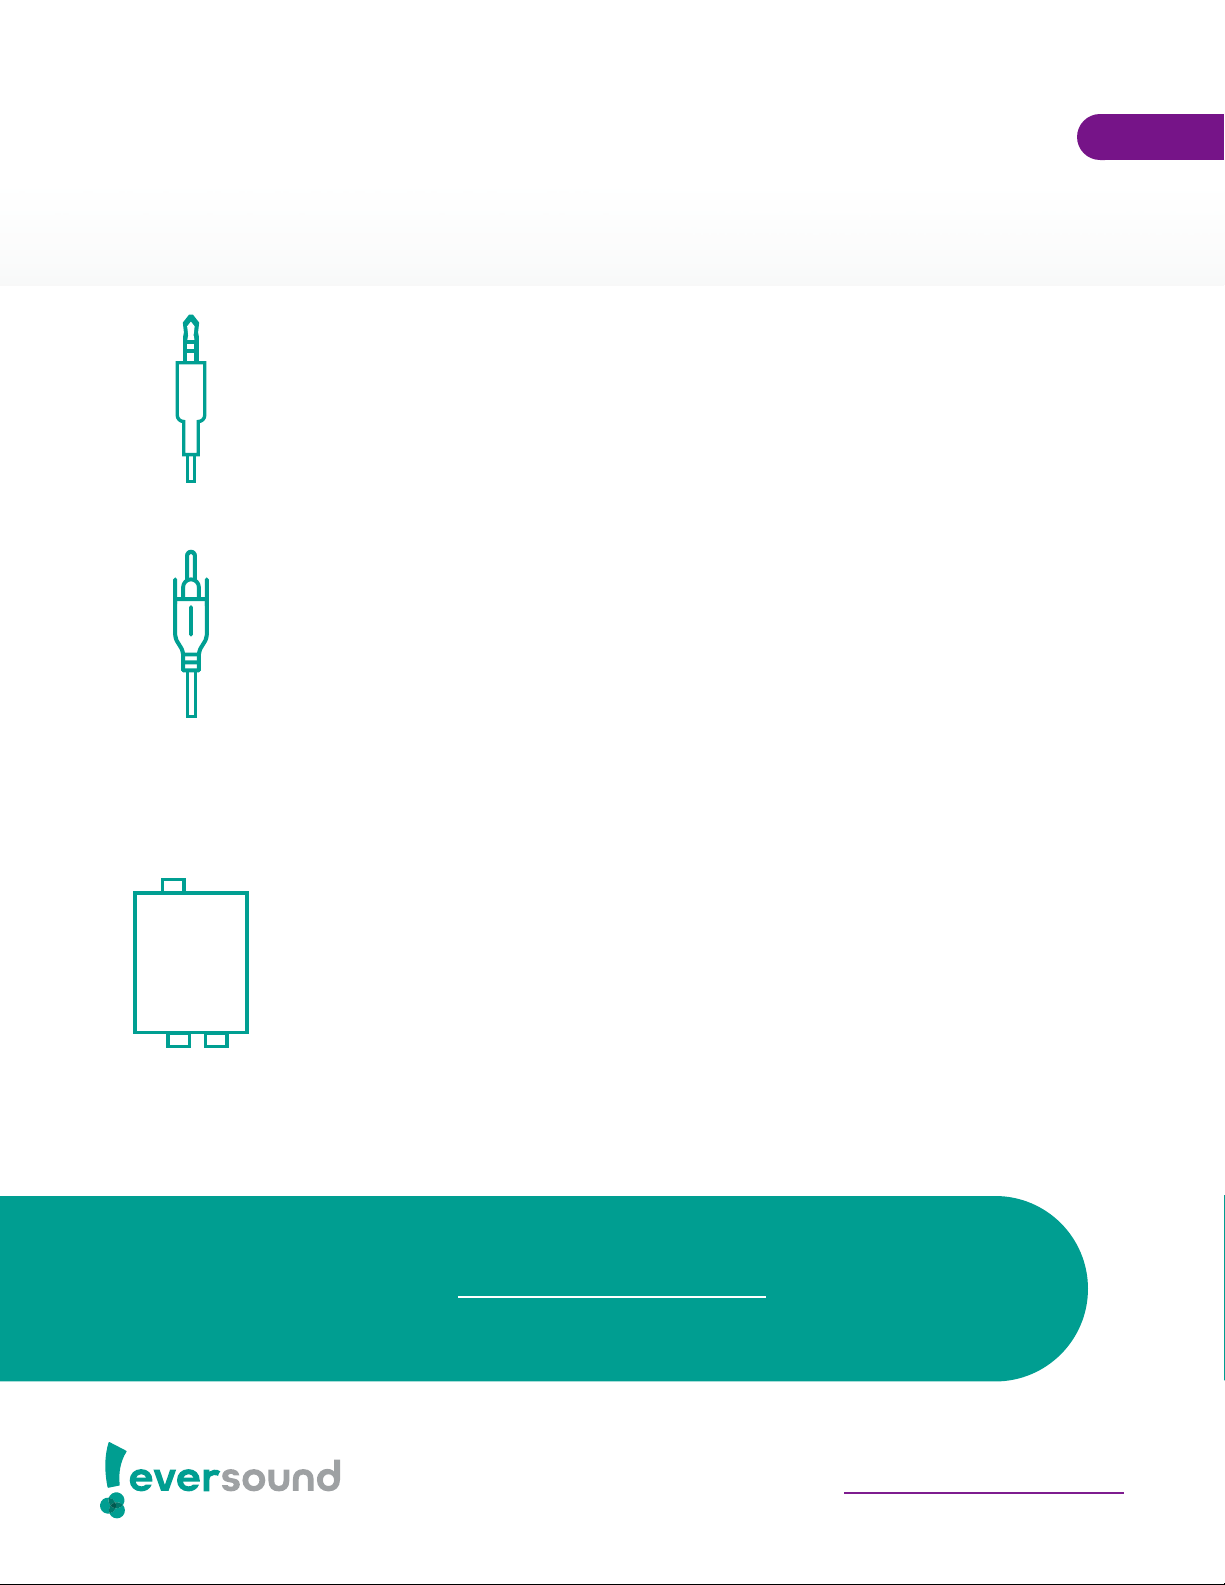
connecting to other
audio sources
using an auxiliary cord
When to use: the audio source has a headphone jack.
1. Locate the port labeled “Aux Audio In” on the transmitter.
2. Connect the included auxiliary cord to the port on the transmitter and
to the output of the audio source.
using an RCA connector
When to use: the audio source has a component or composite video
output.
1. Locate the port labeled “Aux Audio In” on the transmitter.
2. Connect the included RCA adapter to the port on the transmitter and
to the “RCA Out” ports on your TV or audio source.
using a digital optical converter for TV
When to use: the audio source requires the use of a digital to analog audio
converter box.
1. Connect the power cord to the “DC/5S” port on the Digital to Analog
Audio Converter box and to a wall outlet.
2. Connect the Toslink cable to the “Toslink” port on the Digital to Analog
Audio Converter box and the “Digital Audio Out” port on the back of
your TV or audio source.
3. Connect the RCA cable to the “Aux Audio In” port on the transmitter
and the “R/L” ports on the Digital to Analog Audio Converter box.
Note: We are happy to provide the appropriate cable that works with your
model of your TV or a photo of the back of your TV showing the connection inputs.
setting up

with staff
• Ensure every team member knows what
Eversound is and how it can be used
• Train your staff by bringing Eversound
to one of your team meetings
• Host your meeting using Eversound
• Allow team members to try it out
• Identify ways to use Eversound
with residents
• Introduce Eversound in a group setting
• Incorporate Eversound into a program
you currently offer residents
• Remain within visible range of residents
when using Eversound
• Ensure maximum comfort
introducing eversound
to your community
in action
Eversound is an engagement amplifier that removes communication barriers, empowering
senior living communities to deliver extraordinary care in both group and one-on-one
situations. While the Eversound headphone system improves hearing whether or not the
user wears hearing aids, we discourage staff members from referring to Eversound as
an assistive-hearing device or hearing aid, as this could cause further social isolation by
creating a stigma around Eversound.
Getting everyone at your community engaged and excited about Eversound by introducing it
properly will ensure you get the most from your Eversound experience.
implementing eversound
at your community
in action
Visit Eversound Engage for new activity ideas >
One of the most exciting parts of using Eversound is how it enhances your community’s
current offerings and can be used in a variety of settings ranging from one-on-one
communication to group activities. After both residents and staff know what Eversound is, it’s
time to implement it into your daily programs and routines.
Receive exclusive, monthly activity calendars. Sign up for our newsletter >
Download our 365 Activity Idea Guide >
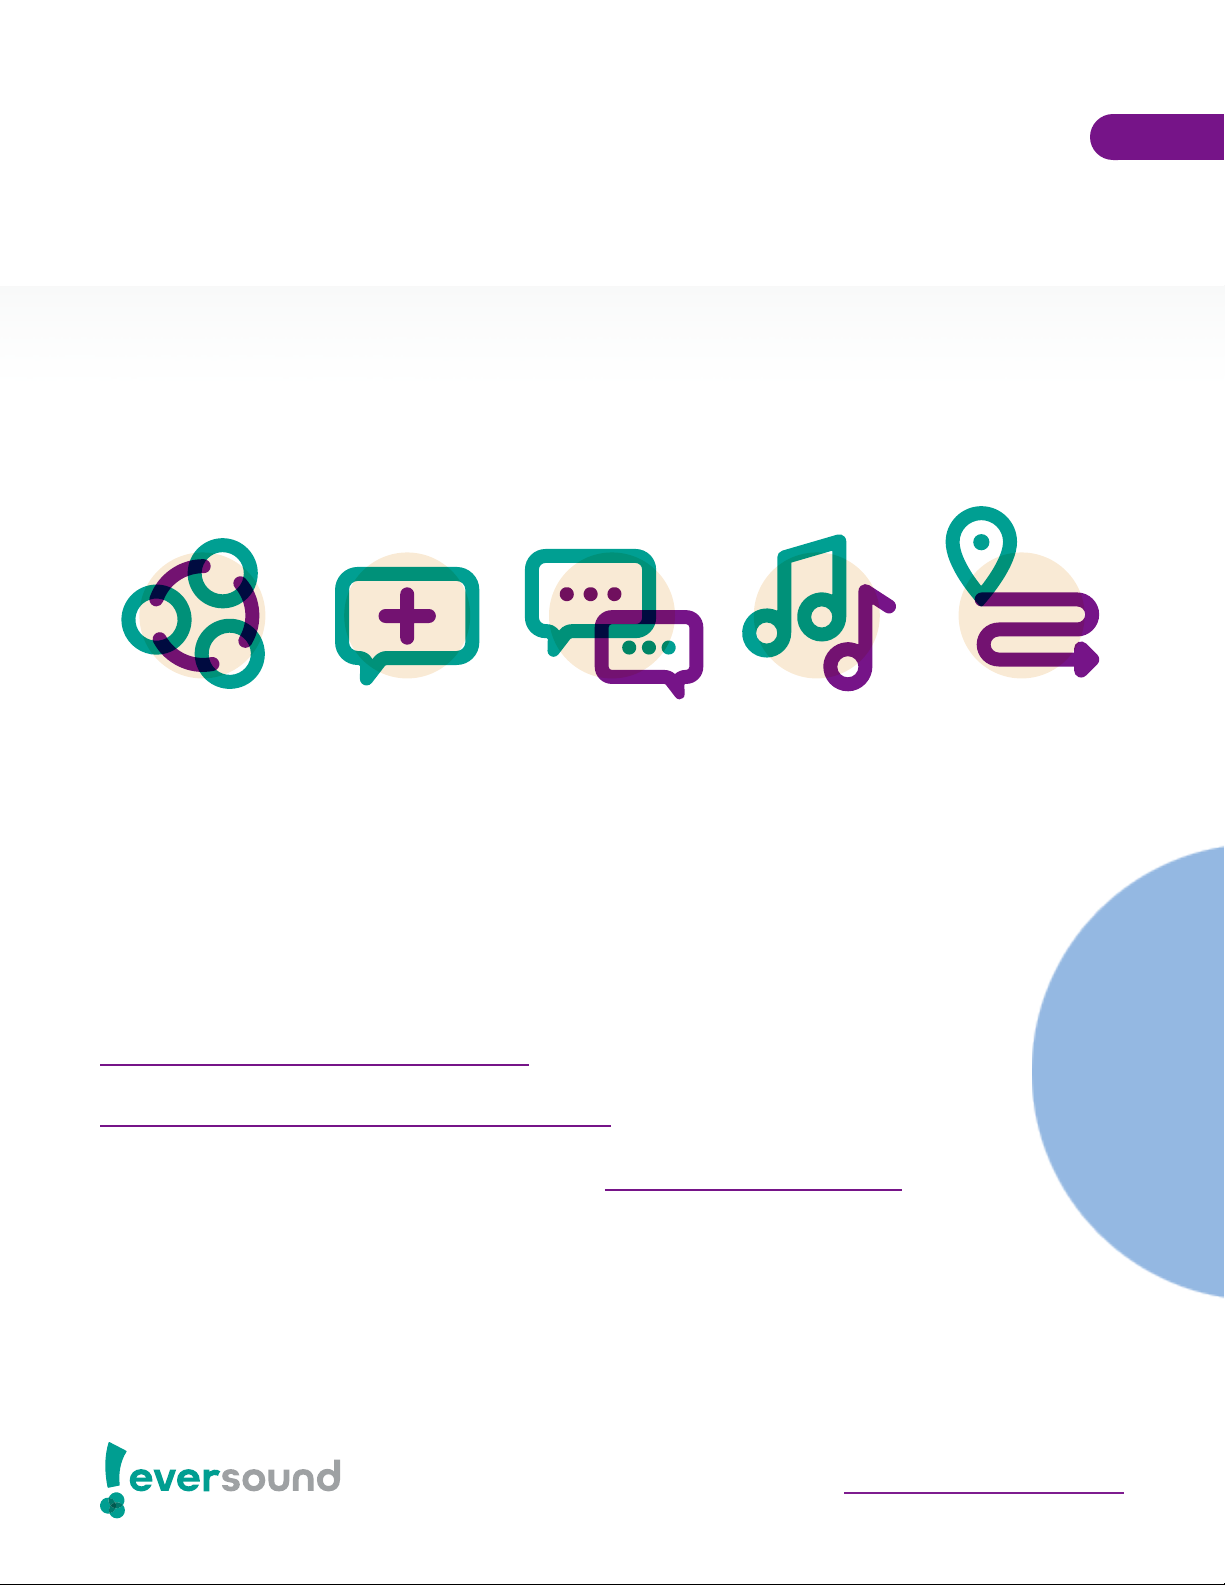
group
activities communication
with caregivers visits with family
and friends music
therapy prospective
resident tours
activities & ideas to get you started

cleaning & storing maintenance
1. wipe down headphones
Use a standard, alcohol-based sanitizer wipe (such as Lysol or Clorox)
to clean the headphones before returning them to the case.
2. store eversound system
Store Eversound in an area that is easily accessible to all staff
members and near an outlet for easy charging.
Did you know? Eversound headphones are designed
with anti-microbial plastics and materials.
Note: We offer free replacement ear covers upon
request as part of your Eversound subscription. To
place an order, please contact our support team.
social media
Eversound is a strong community of individuals working towards the
same goal: empowering at-risk seniors to live with social connection
and a sense of purpose. Contribute to the Eversound community by
sharing your community’s success with #EverMoments and keep up to
date on the latest news through our social media channels.
case studies/research
Eversound is committed to improving health outcomes for residents
by decreasing social isolation and the risk of cognitive decline. Our
communities have integrated Eversound in meaningful and creative
ways to improve resident engagement, participation, and attendance.
These case studies offer inspiration for how Eversound can provide
lasting change in your community. See the case studies >
training videos
Our training video library hosts all of our best parctices for using your
Eversound system. Visit the video library >
support & product center
Eversound is committed to not only helping you succeed, but thrive.
Get additional information and help regarding Eversound.
Visit our support center >
resources
Table of contents


